In this article
What you’ll learn
- Remove all racks and storage items before starting a high-heat cycle.
- Ventilation is critical to protect humans and pets from fumes.
- Never use commercial oven cleaners in a self-cleaning unit.
For many homeowners, the "Self-Clean" button on the oven range feels like a magic wand. You press a button, wait a few hours, and the charred remains of last month's lasagna disappear into a fine white ash. However, as a Domestic Efficiency Specialist, I’ve seen how this convenience can turn into a costly repair or a safety hazard if handled incorrectly. Knowing the right how to self cleaning oven tips is essential for maintaining your appliance's longevity and ensuring your home remains a safe environment.
In this guide, we will explore the best way self cleaning oven tips for 2025, incorporating new technology trends and safety protocols that will keep your kitchen sparkling without the stress of a blown fuse or a smoky kitchen.
Understanding the Two Types of Self-Cleaning
Before you push that button, you must understand what technology your oven uses. As of 2025, most modern units fall into two categories: Pyrolytic and Steam Clean.
Pyrolytic Cleaning (High Heat)
Traditional pyrolytic ovens are the heavy lifters of the kitchen. These cycles reach extreme temperatures between 800°F and 1,000°F. This intense heat incinerates food residue, turning it into a pile of ash that can be easily wiped away. While effective, this method is energy-intensive, consuming about 8 kWh of electricity per cycle.
Steam Cleaning (AquaLift/Hydrophilic)
Newer mid-to-high-end ovens often feature a "Steam Clean" or "AquaLift" option. These cycles use much lower temperatures (around 250°F) and require you to pour a small amount of distilled water into the bottom of the oven. The steam loosens the grime from specialized "easy-release" enamel coatings.
Note: Steam cleaning is designed for light, weekly maintenance. If you have months of baked-on grease, a steam cycle likely won't be enough to get the job done.
The Essential Pre-Clean Checklist
The biggest mistake people make is thinking "self-cleaning" means "zero preparation." To ensure the best way self cleaning oven tips work for you, follow this ritual every time.
1. Remove the Racks
Unless your manual specifically states your racks are "self-clean ready" (usually dark, porcelain-coated racks), take them out. High heat strips the lubricant from the sliders of chrome racks, causing them to squeak and stick.
2. The "Pre-Wipe" Rule
Never start a cycle with large chunks of food or pools of grease. Use a damp cloth to remove loose debris first. Large deposits of fat are the primary cause of smoke and "grease fires" inside the oven during a cleaning cycle.
3. Clear the Perimeter
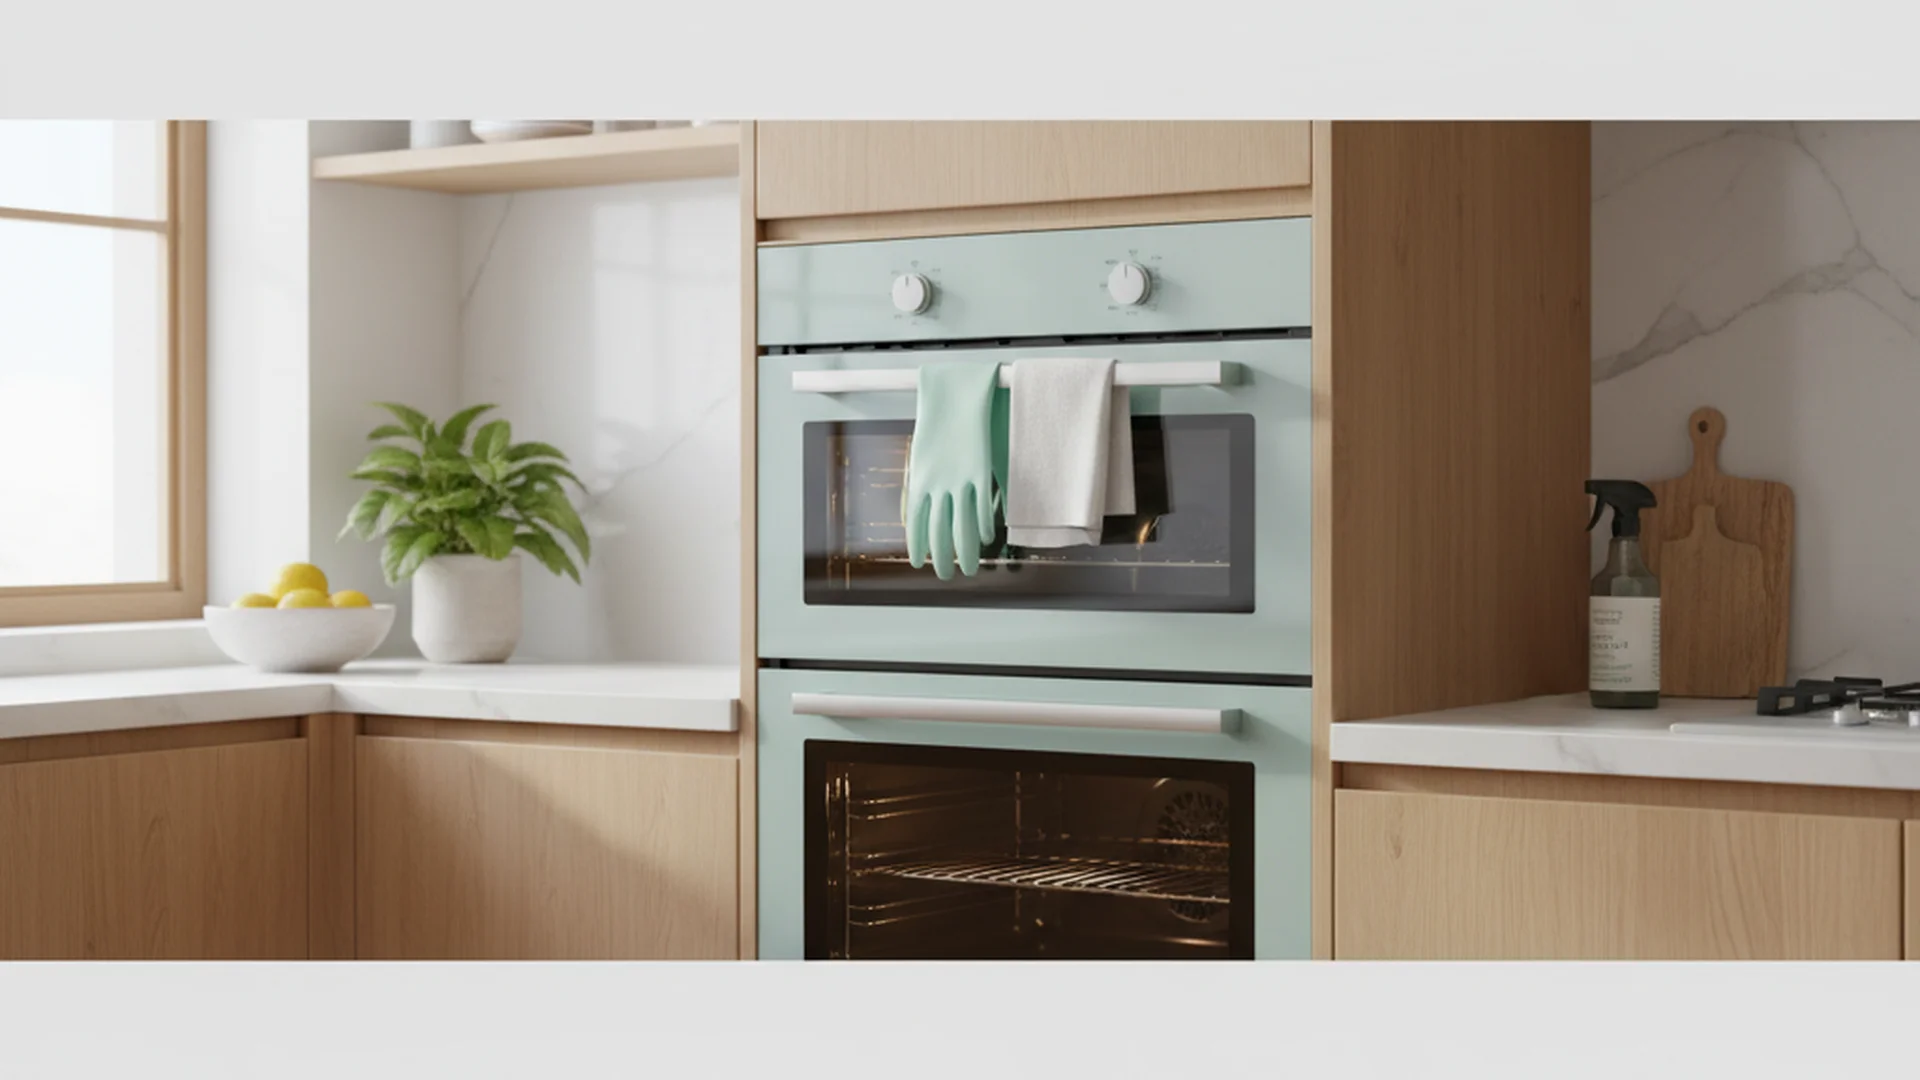
Check the storage drawer beneath the oven. People often forget that plastic containers or sensitive cookware stored there can melt or warp from the radiant heat of a 1,000-degree oven. Also, remove any dish towels hanging on the oven handle.
Warning: Blocking the rear vents or hanging towels on the handle during a cycle can cause the oven to overheat, potentially frying the electronic control board.
Real-World Example: The Holiday Spike
Appliance repair technicians report a 20-25% increase in service calls during the weeks before Thanksgiving and Christmas. Why? Homeowners try to deep clean their ovens a day or two before the big meal. The extreme heat can blow a thermal fuse or crack the glass door if there is a pre-existing micro-scratch.
Pro Tip: Run your self-clean cycle at least one month before a major hosting event. This ensures that if something goes wrong, you have plenty of time for a professional repair.
Safety First: Protecting Your Home and Pets
While the oven is designed to lock its door for safety, the process releases fumes that require your attention.
Ventilation is Non-Negotiable
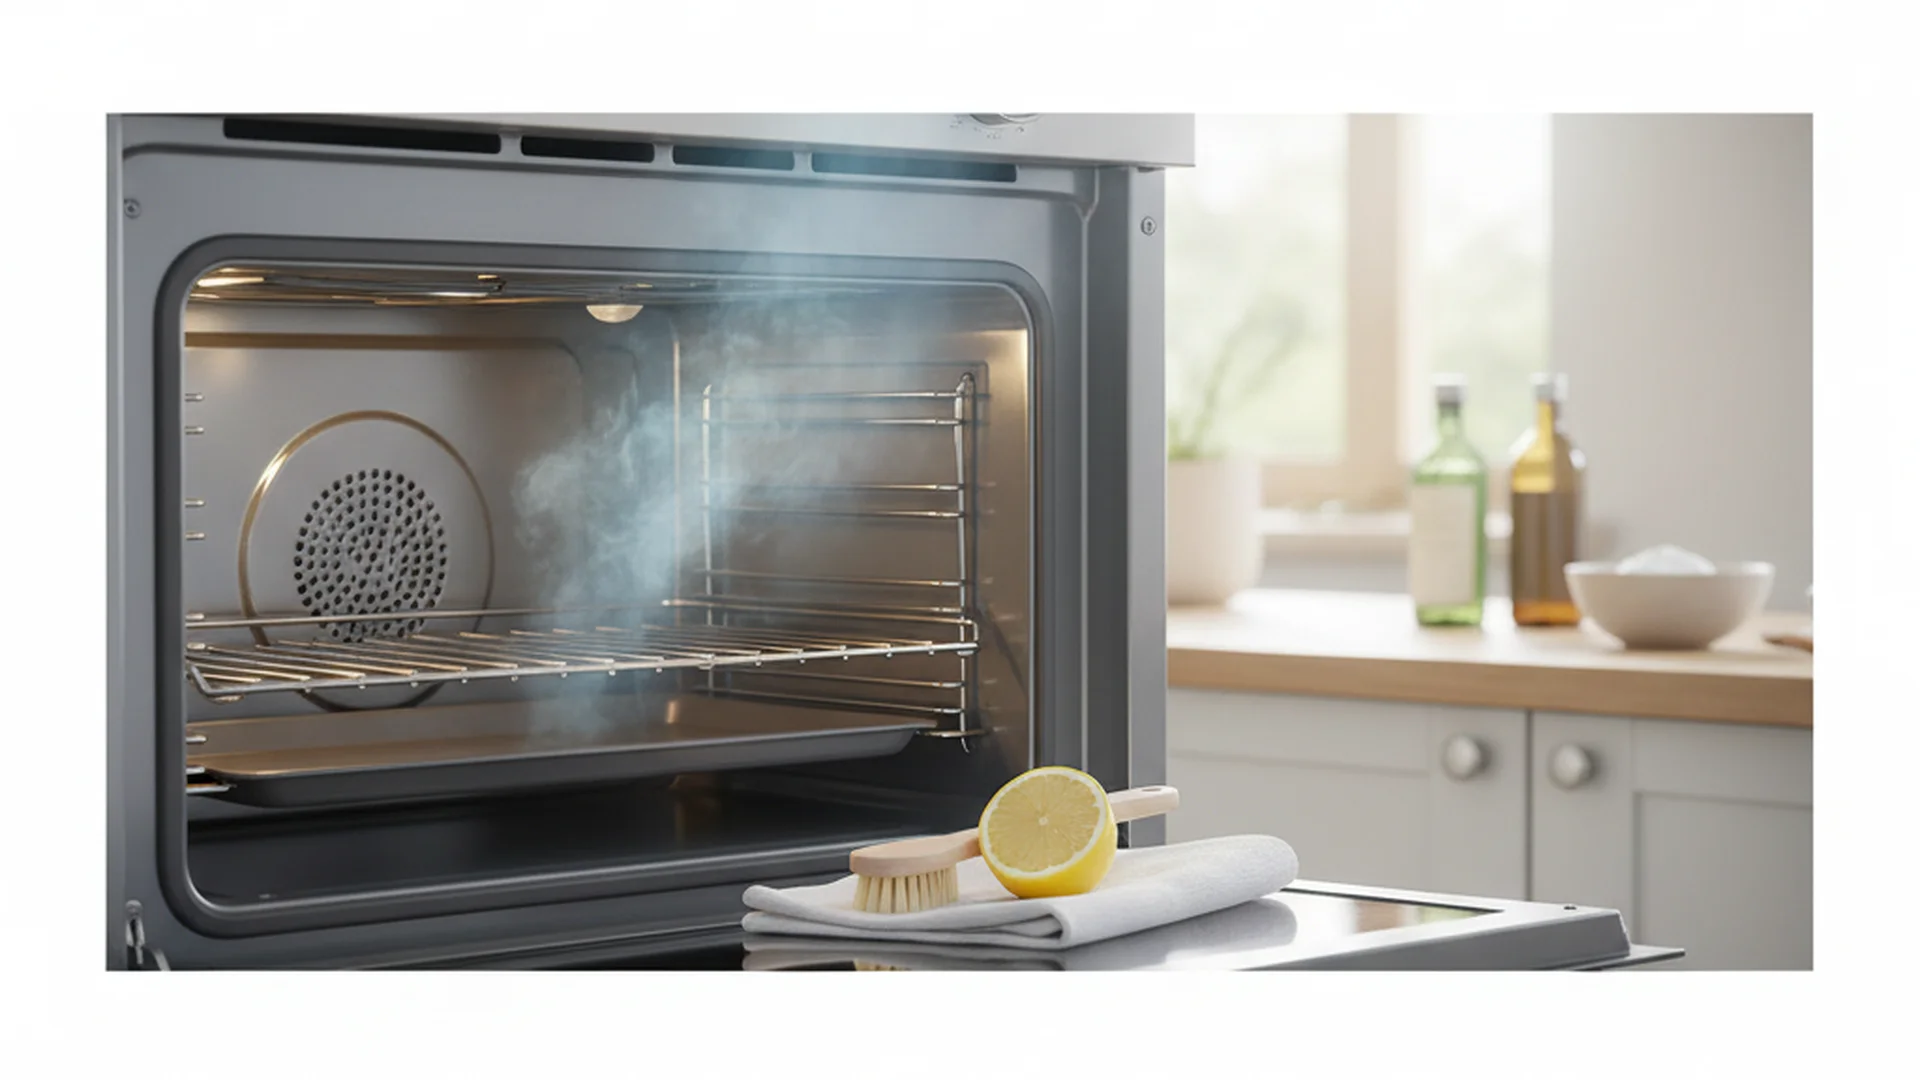
The carbonization of food waste produces odors and fumes. Always open your windows and run your range hood fan on its highest setting for the duration of the cycle and for at least 30 minutes afterward.
The "Bird Danger" (Polymer Fume Fever)
If you are a bird owner, this is the most critical of all how to self cleaning oven tips. The fumes released from non-stick coatings and baked-on grease during a self-clean cycle can be fatal to birds. Their respiratory systems are incredibly sensitive. Small dogs and cats can also experience distress.
Tip: If you have pets, move them to a well-ventilated room on a different floor or, ideally, out of the house entirely during the cleaning cycle.
Step-by-Step Guide to the Cleaning Cycle
- Check for "Smart" Features: Many 2025 models from brands like LG and Samsung feature AI-sensing. Check your app to see if the oven suggests a "light" vs. "heavy" cycle based on soil levels.
- Lock and Load: Ensure the door is shut properly. Most ovens will automatically lock once the temperature exceeds 500°F.
- Stay Home: Never leave the house during a self-clean cycle. While malfunctions are rare, the risk of a grease fire or electronic failure means you should be nearby to monitor the situation.
- Cool Down: Once the timer ends, the oven will remain locked for 1–2 hours until it reaches a safe temperature. Do not attempt to force the handle.
Common Mistakes to Avoid
- Using Chemical Sprays: Never use commercial oven cleaner sprays inside a self-cleaning oven. The chemicals can permanently damage the porcelain enamel and release toxic gases during the next high-heat cycle.
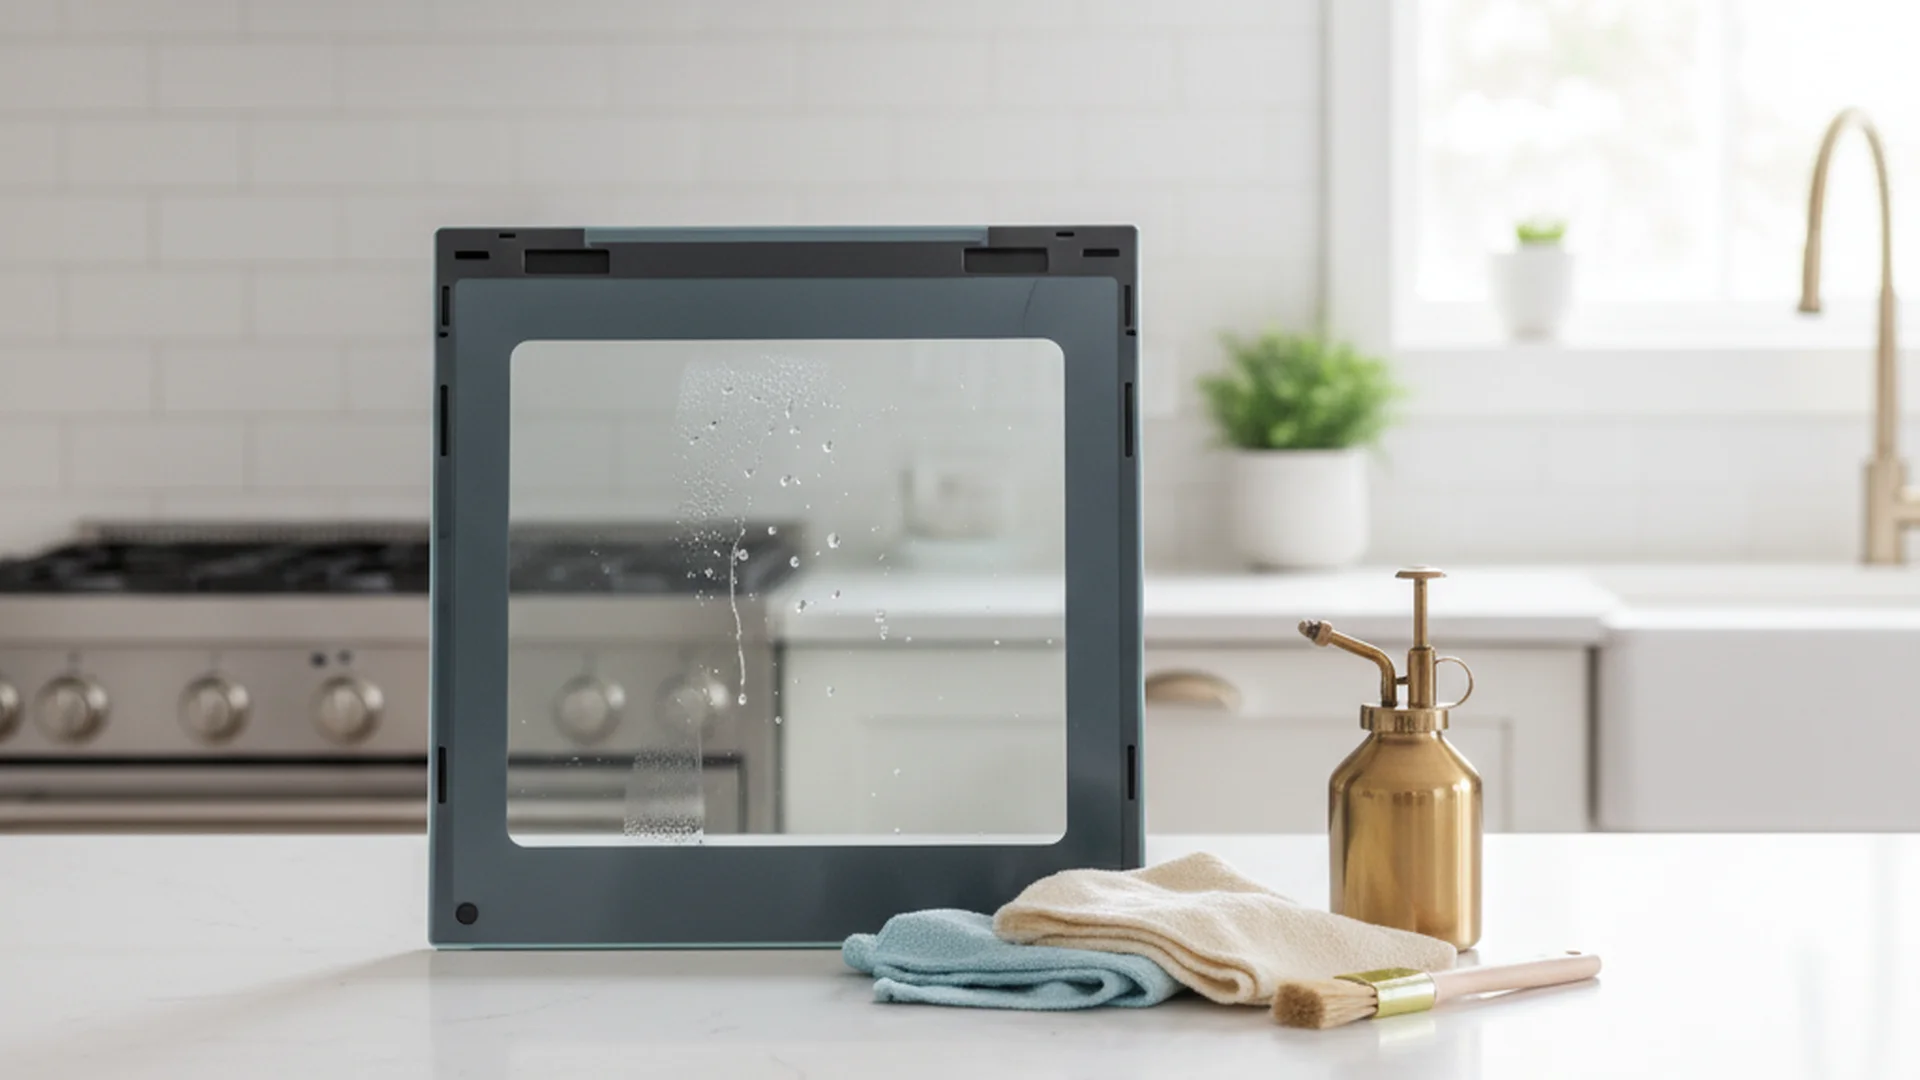
- Abrasive Scrubbing on Glass: Using steel wool on the inner door glass creates micro-scratches. Under 900°F heat, these scratches can cause the glass to shatter.
- Forgetting the Gasket: The fiberglass seal around the door is delicate. Avoid rubbing it or getting it wet with heavy cleaners.
Post-Clean Care: The Finishing Touches
Once the oven is completely cool and the door unlocks, you will likely see a pile of white or grey ash at the bottom.
The Vinegar Wipe
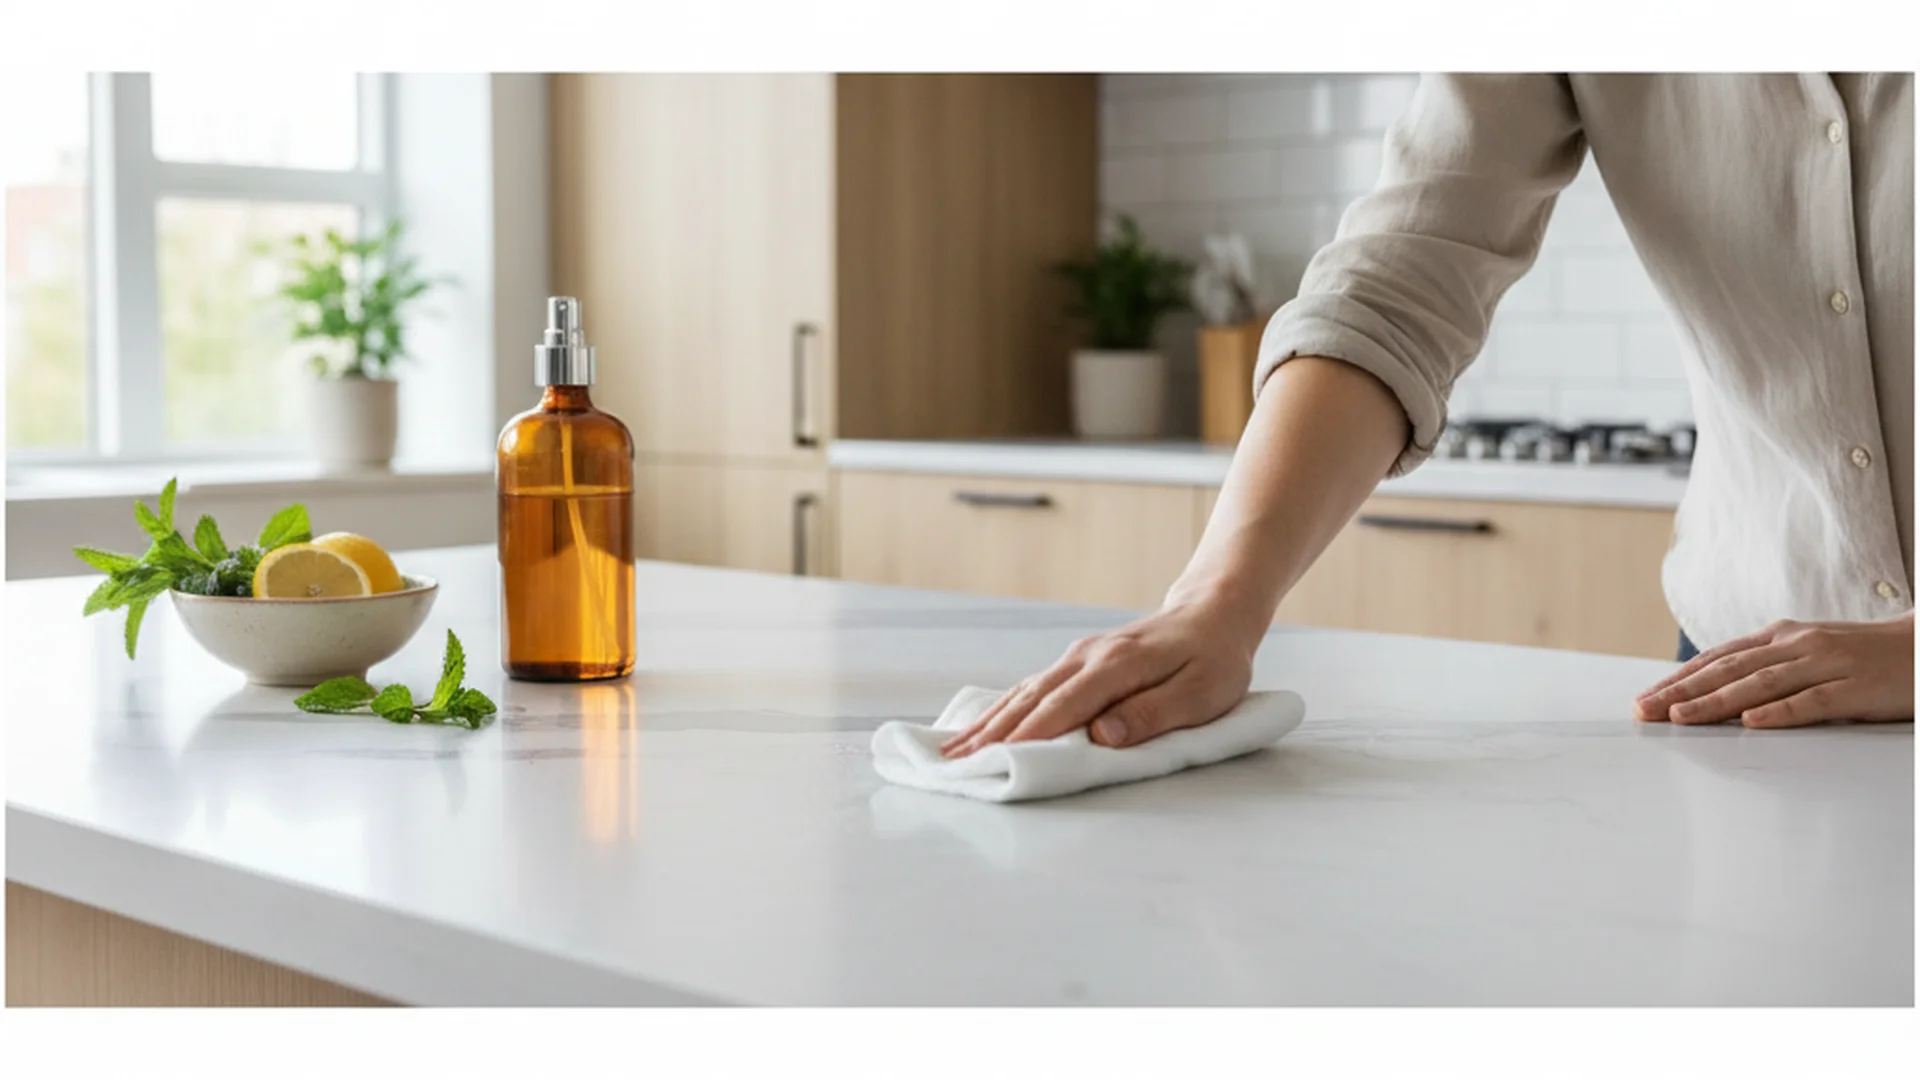
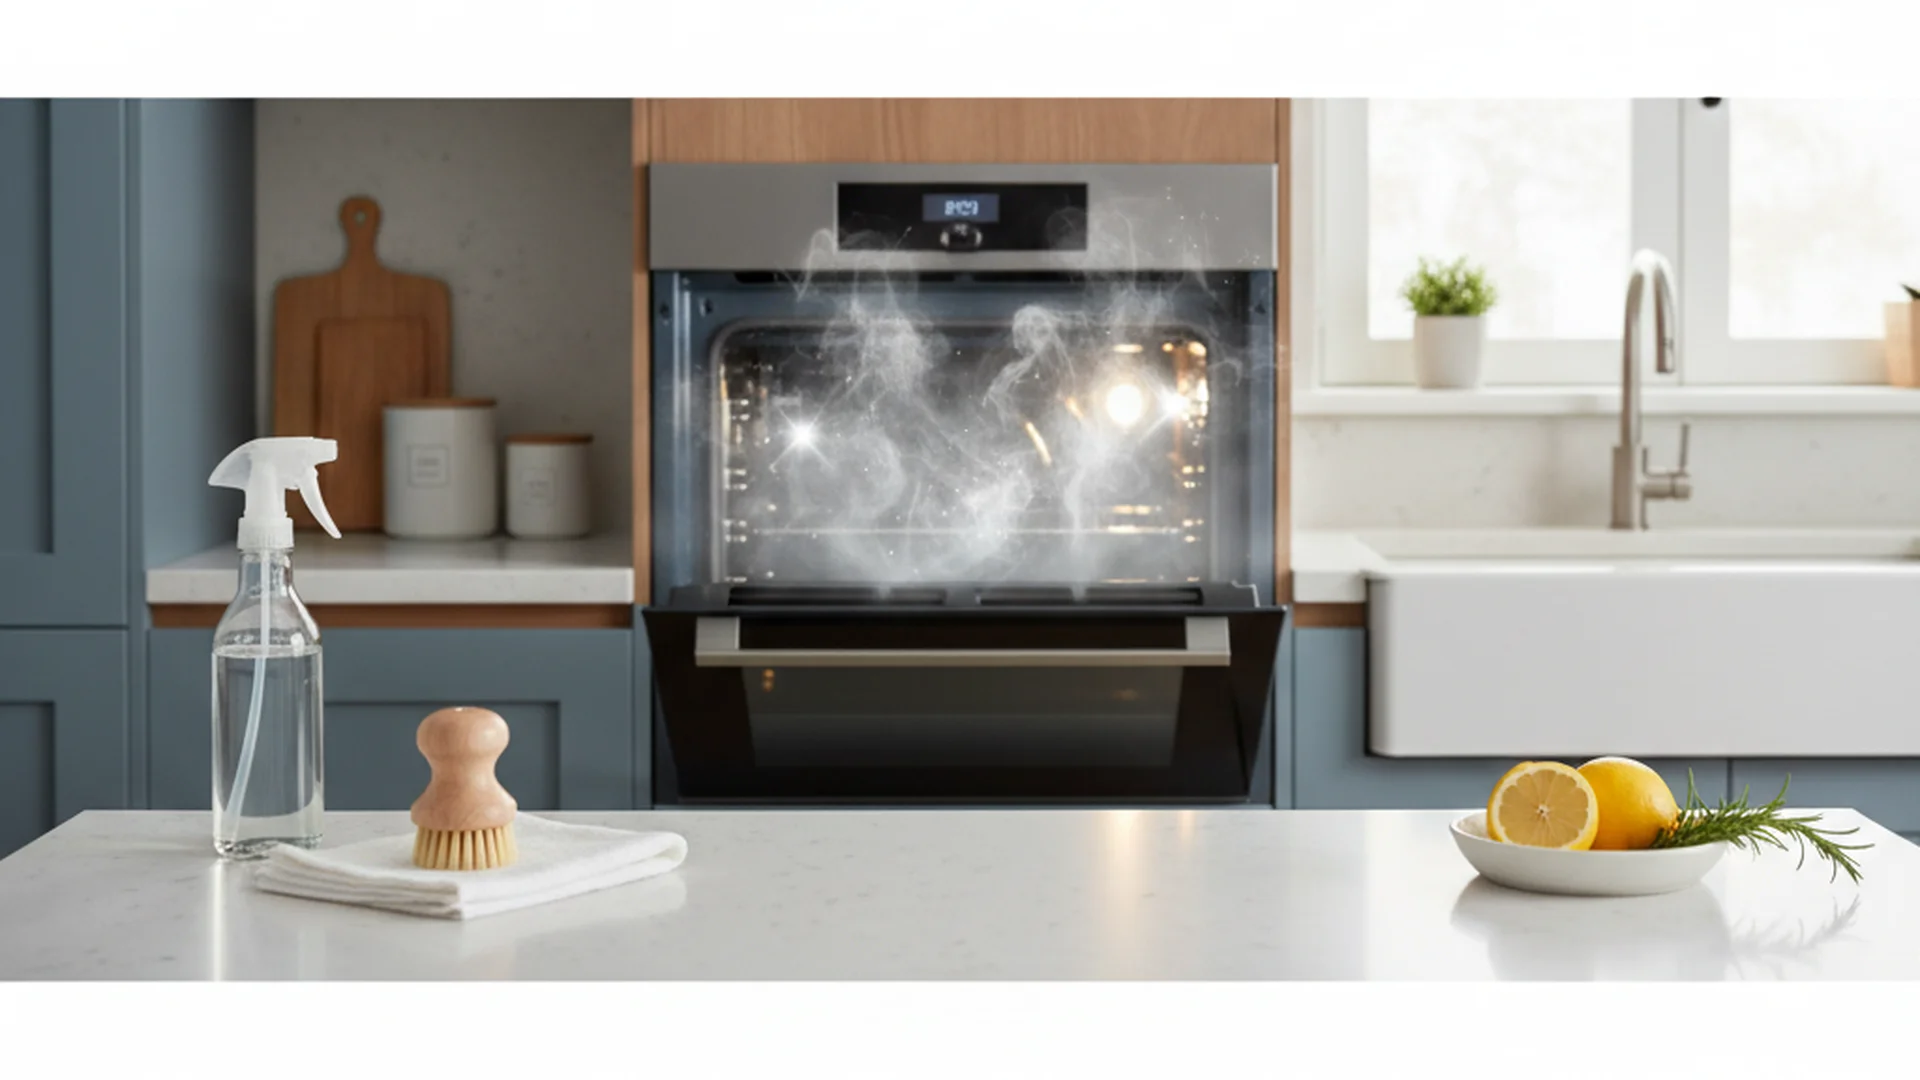
The best way self cleaning oven tips for finishing the job involve a simple mixture of water and white vinegar. Use a microfiber cloth dipped in this solution to wipe away the ash. The vinegar helps neutralize any lingering "burnt" odors and restores the shine to the porcelain enamel.
Inspect the Seal
Check the fiberglass door gasket. It should be soft and flexible. If it has become brittle, frayed, or "crunchy" from the heat, it’s time to order a replacement to maintain your oven's energy efficiency.
Success: A clean oven doesn't just look better—it heats more evenly and uses less energy, saving you money on your monthly utility bills.
Frequently Asked Questions
Why shouldn't I leave the racks in?
How long does the process take?
Is the burning smell normal?
Can I use the oven immediately after cleaning?
Should I use the "Eco-Mode" for cleaning?
Conclusion
Mastering the how to self cleaning oven tips provided here will transform a daunting chore into a simple maintenance routine. By preparing the space, respecting the heat, and prioritizing ventilation, you can keep your kitchen’s centerpiece in top condition for years to come. Remember, the best way self cleaning oven tips always prioritize safety and prevention over heavy scrubbing.
Cleaning that keeps score
Every task earns points, every streak multiplies them, and Premium adds a household leaderboard plus a monthly Dustagorgon to beat.
- Free forever
- 30 badges to earn
- Up to 6 in a household
No card needed. Set up your rooms in a couple of minutes.