In this article
What you’ll learn
- Cleaning between glass panes can be done without disassembly using a "cleaning wand."
- Maintaining clear glass improves energy efficiency by reducing the need to open the door.
- Avoid abrasive tools to prevent micro-scratches that could lead to tempered glass failure.
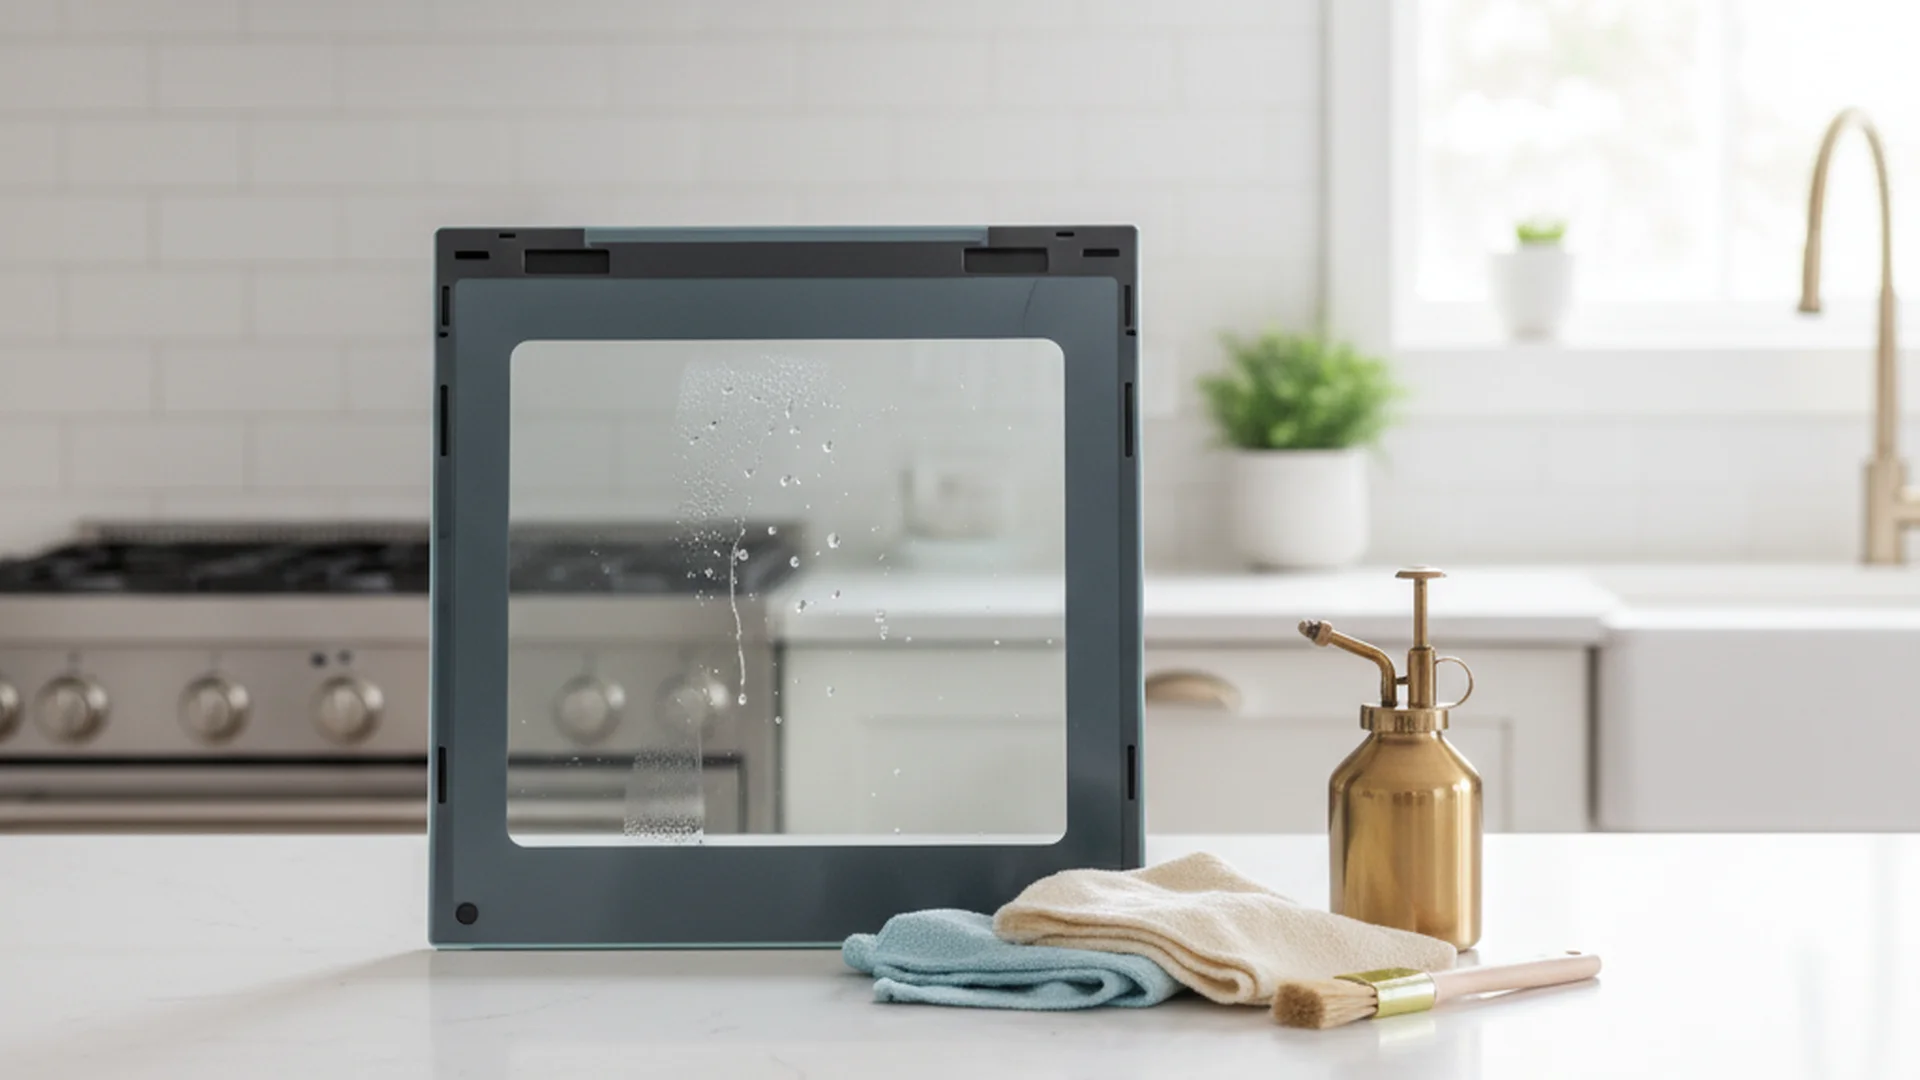
There is nothing quite as satisfying as a sparkling clean kitchen, yet one area remains the bane of many homeowners: the oven door. You’ve scrubbed the exterior, you’ve run the self-clean cycle, and yet, there it is—a stubborn layer of grease and dust trapped inside the glass panes. Learning how to clean oven door glass—specifically the space between the panels—is a crucial skill for any home cook who values both aesthetics and appliance performance.
Beyond the visual appeal, a clean oven door is a matter of efficiency. When your glass is clear, you can monitor your soufflé or roast without opening the door. This is vital because every time you open that door, the internal temperature can drop by as much as 25°F to 50°F. This forces your oven to work harder, leading to a 10% to 15% increase in energy consumption.
In this guide, we will explore the best way clean oven door glass using professional techniques, natural solutions, and the latest 2025-2026 maintenance trends.
Why Grease Traps Between the Glass
Most modern ovens are designed with a cooling system that involves air vents at the top or bottom of the door. While these vents prevent the exterior glass from becoming dangerously hot to the touch, they also serve as an entry point for airborne grease, steam, and fine dust. Over time, these particles settle on the interior surfaces of the glass, creating a foggy or streaky appearance that traditional wiping cannot reach.
Ignoring this buildup isn't just an eyesore; it’s a potential safety hazard. Built-up grease and food debris are a genuine ignition risk inside a hot oven. By keeping all surfaces of your oven—including the hidden ones—clean, you are actively protecting your home.
Note: Modern "Smart Ovens" like the Samsung Bespoke or GE Profile series now feature sensors that can alert you to cleaning needs, but they still require manual intervention for the glass-between-glass grime.
Method 1: The "No-Disassembly" Hack
Many people assume they have to be a mechanic to clean between the glass. Fortunately, for most ovens, you can reach the interior using a simple DIY tool often referred to as a "cleaning wand."
Step-by-Step Instructions:
- Access the Vents: Open the oven door fully. Look at the bottom or top edge (depending on your model) to find the narrow ventilation slots.
- Create Your Wand: Take a yardstick or an unbent wire coat hanger. Wrap a clean microfiber cloth around the end, securing it tightly with rubber bands. Ensure it is slim enough to fit through the vents.
- Apply the Solution: Dampen (do not soak) the cloth with a 50/50 mix of cleaning vinegar and water.
- The Cleaning Motion: Slide the wand through the vents and gently move it side-to-side across the inner glass.
- Dry and Polish: Replace the wet cloth with a dry one and repeat the process to remove any remaining moisture and prevent "foggy" condensation.
Tip: If you have a warming drawer or storage drawer beneath your oven, removing it completely often provides better access to the bottom vents of the oven door.
Method 2: Disassembling for a Deep Clean
If the stains are "baked-on" or years old, the wand might not be enough. In these cases, you may need to remove the inner glass panel.
Tools Needed:
- Screwdriver (usually Torx or Phillips, depending on the brand)
- A soft, thick towel
- Baking soda and cleaning vinegar
- Plastic scraper
The Process:
Most manufacturers, including Whirlpool and KitchenAid, design the inner glass to be removable. However, tempered glass is incredibly sensitive on its edges.
- Preparation: Lay a thick towel on the floor or a large table.
- Unscrewing: Carefully remove the screws holding the inner panel. Keep these in a small bowl so they don't get lost.
- Lifting: Gently lift the glass and place it on your towel.
- Deep Scrub: Apply a paste made of 3 parts baking soda to 1 part water. Let it sit for 20 minutes to break down the carbonized grease.
- Scraping: Use a plastic scraper to lift any stubborn spots.
Warning: Never use steel wool or metal scrapers on tempered glass. These create microscopic scratches that can cause the glass to shatter under the high heat of future cooking sessions.
The Best Natural Solutions for 2025
The trend for 2025-2026 is a move away from caustic, heavy-duty chemicals toward biodegradable, plant-based formulas. Not only are these safer for your family, but they also prevent the "chemical smell" from infusing into your food during the next bake.
| Cleaning Agent | Best For | Benefit |
|---|---|---|
| Baking Soda Paste | Stubborn, baked-on grease | Non-toxic and mildly abrasive |
| Cleaning Vinegar | Streaks and light film | High acidity cuts through oils |
| Steam Cleaner | Tight spaces and vents | Melts grease without chemicals |
| Lemon Juice | Polishing and odors | Natural degreaser with a fresh scent |
Real-World Example: The "Steam" Revolution
In 2026, handheld steam cleaners like those from Dupray or Bissell have become the "low-effort" favorite for kitchen maintenance. By directing a high-pressure jet of steam into the door vents, you can melt grease between the panes without ever picking up a screwdriver. The steam reaches corners that a yardstick simply cannot.
Success: Using a steam cleaner once every three months can prevent the need for a full door disassembly for the entire lifespan of the appliance.
Common Mistakes to Avoid
When homeowners try to figure out how to clean oven door glass, they often fall into traps that can damage the appliance or produce poor results.
- Over-Saturating the Vents: One of the biggest mistakes is spraying liquid cleaner directly into the vents. This can lead to internal rust, electrical shorts in door sensors, or permanent "drip" streaks that are impossible to remove without professional help.
- Cleaning While Hot: Thermal shock is real. Applying a cool, wet cloth to glass that is still cooling from a 400°F bake can cause the tempered glass to crack instantly.
- Ignoring the Gaskets: The rubber seal around the door (the gasket) often traps grease that eventually migrates between the glass. Always wipe the gasket with a damp cloth as part of your routine.
- Using Abrasive Pads: Even "heavy-duty" sponges can be too harsh. Stick to microfiber and plastic tools.
The Future of Oven Glass: Platinum Finishes
As we look toward 2026, manufacturers are introducing "Platinum Glass" and "Easy-Wipe" finishes. These surfaces are engineered to be smoother at a molecular level, making it harder for grease to bond to the surface. If you are in the market for a new oven, look for these features to simplify your future cleaning routine.
Note: Even with these advanced finishes, regular maintenance every 3 months is still the best way to prevent permanent staining.
Frequently Asked Questions
How do I clean between the glass without taking the door apart?
Is it safe to unscrew the oven door?
Why is there a foggy film between my glass panes?
Can I use Windex or standard glass cleaner?
Conclusion
Maintaining a clear view into your oven is about more than just a "clean look"—it's about energy efficiency, fire safety, and the longevity of your appliance. Whether you choose the quick "wand" hack or a full disassembly for a deep scrub, the key is consistency. By cleaning your oven door glass every three months, you prevent grease from becoming a permanent fixture in your kitchen.
Success: A clean oven door can save you up to 15% on your energy bill by allowing you to keep the door closed while cooking!
Cleaning that keeps score
Every task earns points, every streak multiplies them, and Premium adds a household leaderboard plus a monthly Dustagorgon to beat.
- Free forever
- 30 badges to earn
- Up to 6 in a household
No card needed. Set up your rooms in a couple of minutes.