Key Takeaways
- The 'Bake-to-Clean' method is the most effective for polymerized grease.
- Avoid dishwasher use and cooking sprays to extend the life of non-stick coatings.
- Use specific techniques for different materials like silicone and aluminum.
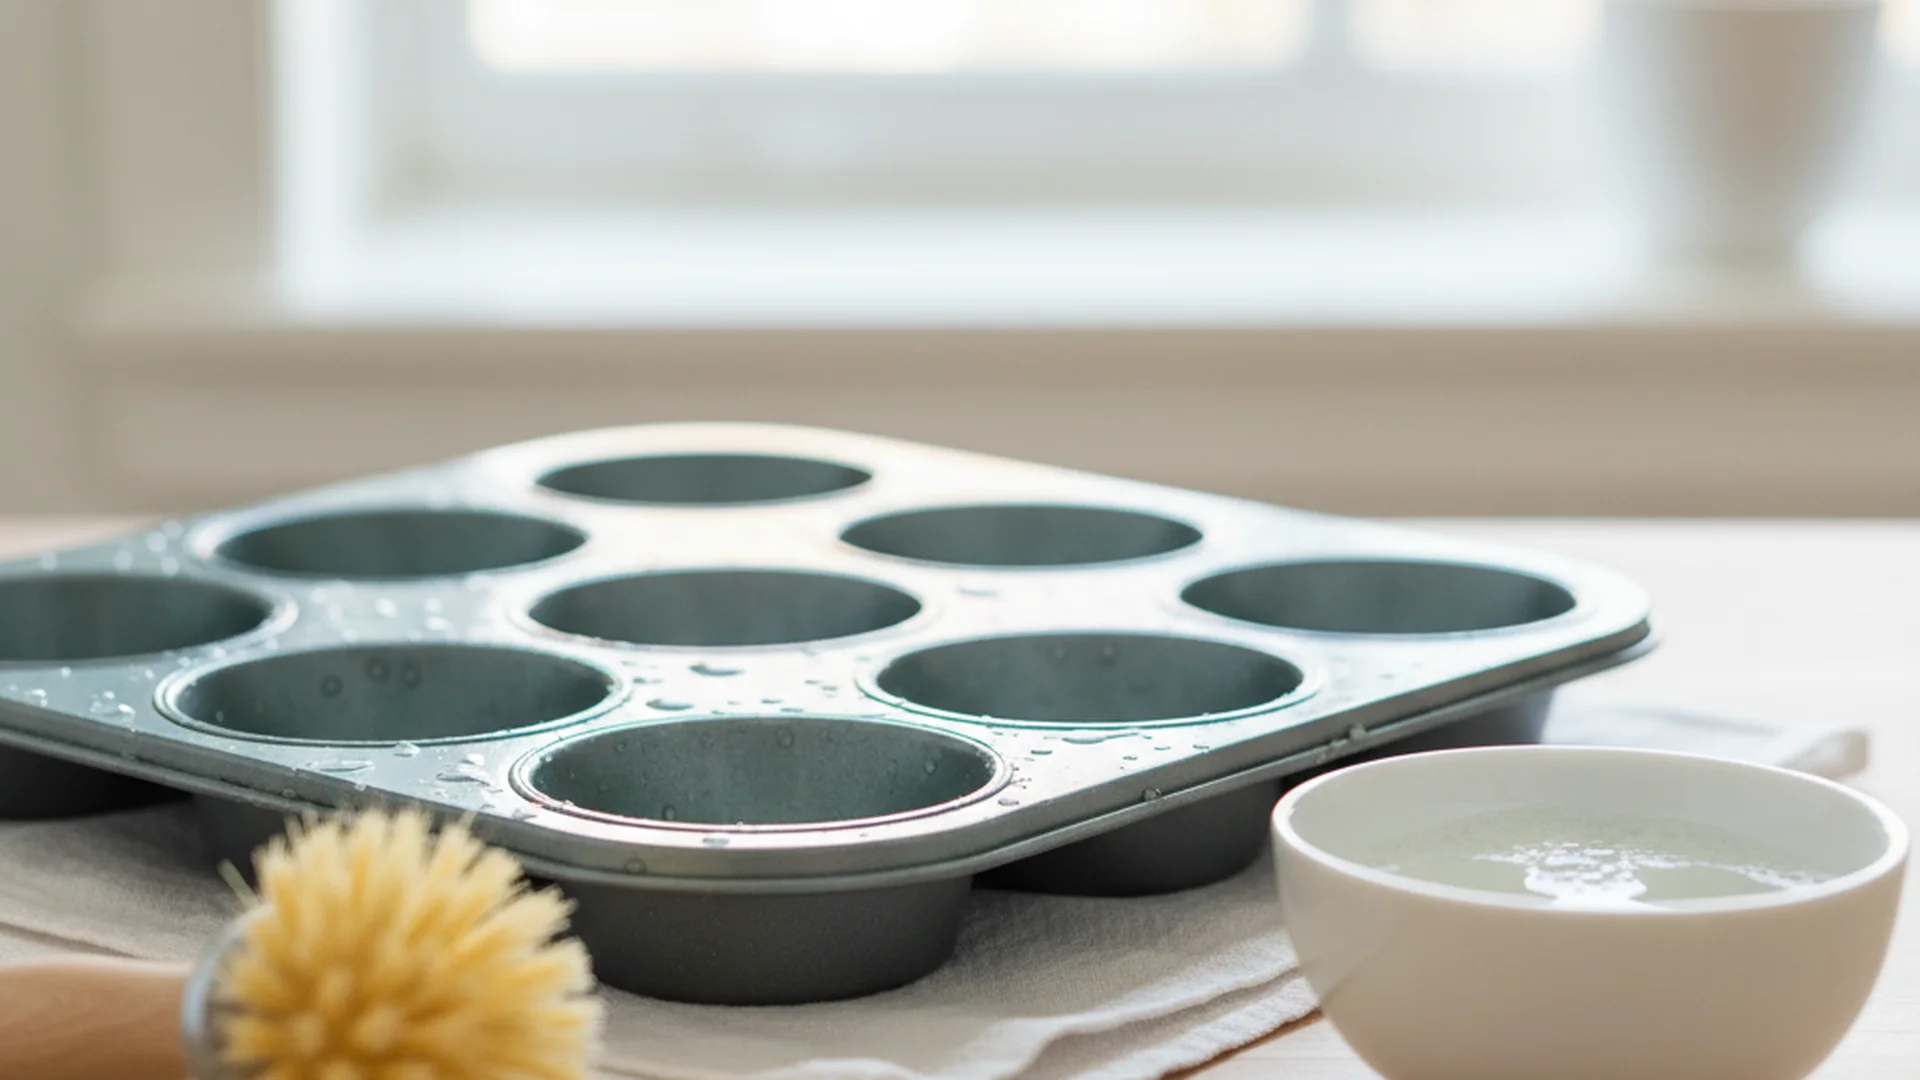
We have all been there: the muffins were a success, the kitchen smells like cinnamon and blueberries, but you are left staring at a tray covered in stubborn, brown, crusty rings. Because of their unique design—usually 12 deep, narrow crevices—learning how to clean muffin tins effectively is one of the most common challenges in the kitchen.
The struggle isn't just about food scraps; it’s about "polymerized grease," a chemical bond that occurs when fats and sugars are heated repeatedly, creating a shellac-like coating that defies standard dish soap. In this guide, we will explore the best way clean muffin tins using modern 2026 techniques, material-specific science, and expert "bake-to-clean" hacks that will restore your bakeware to its former glory without hours of scrubbing.
Understanding Your Muffin Tin Material
Before you grab the scrub brush, you must identify what your pan is made of. Using the wrong cleaning agent on a specific material can lead to permanent damage, such as stripping non-stick coatings or causing oxidation on carbon steel.
| Material | Heat Conduction | Durability | Cleaning Sensitivity |
|---|---|---|---|
| Aluminum | High | High | Medium (Avoid high pH) |
| Non-Stick Steel | Medium | Low | High (No abrasives) |
| Stainless Steel | Medium | Very High | Low (Can scrub hard) |
| Silicone | Low | High | Medium (Attracts oils) |
| Ceramic | High | Medium | High (Gentle care) |
The "Bake-to-Clean" Method: The Gold Standard
If you have a pan with heavy, brown buildup around the rims and inside the cups, standard soaking won't cut it. The most effective method for 2026 kitchen maintenance is the "Bake-to-Clean" technique. This uses controlled heat to activate cleaning agents, breaking the chemical bond of the grease.
How to Perform the Bake-to-Clean Hack:
- Create the Solution: Mix 2 tablespoons of baking soda with 1 quart of hot water.
- Fill the Cups: Pour the mixture into each muffin cup until they are approximately 3/4 full.
- The Heat Phase: Place the tin in the oven and "bake" it at 350°F (177°C) for 20 minutes.
- The Scrub: Carefully remove the hot pan. While the water is still warm (but safe to touch), use a nylon brush to swirl around the cups. The softened grease should lift away in sheets.
Specialized Techniques for Stubborn Messes
Sometimes the bake-to-clean method isn't enough, or perhaps you are dealing with a delicate non-stick surface that requires a gentler touch.
The Dryer Sheet Hack (Best for Non-Stick)
For pans where you are afraid to use any abrasive tools, try the dryer sheet method. Place a single new dryer sheet into the pan, fill the cups with warm water, and let it sit for one hour. The conditioning agents in the sheet are designed to reduce static and soften fibers; in a kitchen context, they help loosen the bond between the food residue and the non-stick coating.
The Paste Method (For Rims and Flat Surfaces)
The flat top surface of a muffin tin is often the dirtiest part. To clean this:
- Make a thick paste of baking soda and a few drops of white vinegar.
- Slather it onto the "gunked" areas of the rim.
- Let it sit for 30 minutes.
- Use a plastic scraper or an old credit card to lift the softened residue.
How to Handle Silicone and Modern Materials
Silicone muffin tins are beloved for their flexibility, but they have a secret flaw: they are porous. Over time, fats from butter and oils migrate into the silicone, leaving a "sticky" film that won't go away with regular washing.
To fix a sticky silicone tin, you need to "de-fat" the material. Submerge the tin in boiling water mixed with a heavy-duty grease-cutting soap (like Dawn Powerwash) for 15 minutes. This high heat expands the pores of the silicone, allowing the soap to emulsify the trapped oils.
Common Mistakes to Avoid
Even if you know the best way clean muffin tins, one wrong move can ruin your bakeware. Avoid these four common pitfalls:
- Using Steel Wool: Even on uncoated aluminum, metal scrubbers create microscopic scratches. These scratches act like "anchors" for future batter, making your muffins stick even worse next time.
- Aerosol Cooking Sprays: Research shows that sprays like Pam contain soy lecithin. This ingredient creates a gummy, plastic-like residue when heated that is nearly impossible to remove without destroying the pan's coating. Recommendation: Use a pastry brush with melted butter or oil instead.
- The Overnight Soak: While it seems helpful, soaking carbon steel or cheap tin-plated pans overnight can cause rust. Limit soaking to 60 minutes.
- Storing While Damp: Muffin tins have "rolled edges" where the metal is tucked under. Water gets trapped here and causes "hidden rust." Always dry your pans with a towel, then pop them into a warm (but turned off) oven for 5 minutes to evaporate trapped moisture.
Frequently Asked Questions
Is it safe to put muffin tins in the dishwasher?
How do I get burnt-on grease off the top rim?
Can I use oven cleaner on my muffin tin?
Why is my silicone muffin tin sticky even after washing?
Conclusion
Mastering how to clean muffin tins is about more than just aesthetics; it's about maintaining the performance of your bakeware. By using the "Bake-to-Clean" method for deep cleans and avoiding the common pitfalls of aerosol sprays and metal scrubbers, you can keep your pans in "like-new" condition for years.
If you want to avoid the cleaning process entirely, the only 100% effective solution is the use of high-quality parchment paper liners or individual silicone liners. However, when the mess does happen, you now have the professional toolkit to handle it.
Ready to Start?
Get your kitchen bakeware sparkling clean today with our expert-approved tools.
Browse Cleaning Supplies