Key Takeaways
- Never submerge a digital scale unless it has an IPX7 rating or higher.
- Cross-contamination from raw meat requires sanitization with 70% ethanol or white vinegar.
- Storing items on top of a scale can permanently damage the load cell sensors.
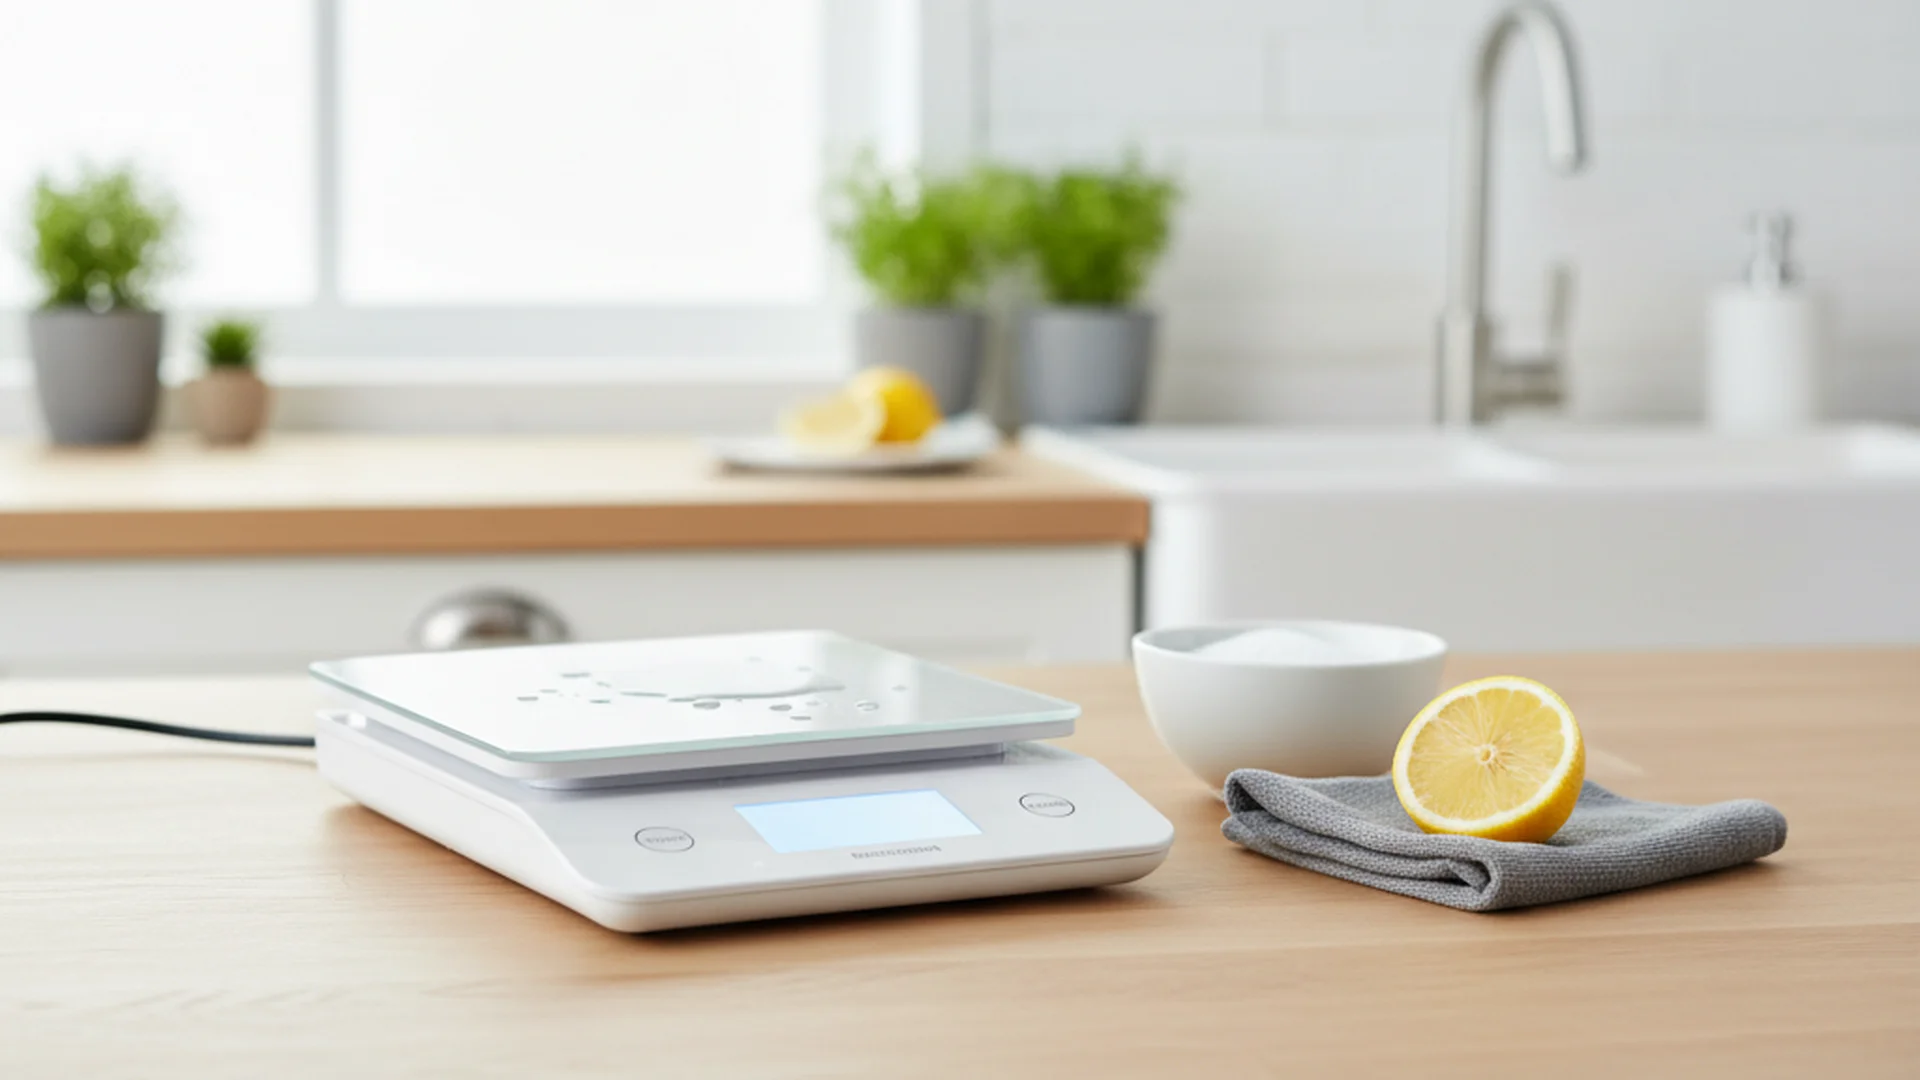
In the world of precision baking and meticulous meal prepping, your kitchen scale is your most trusted ally. However, it is also one of the most overlooked items when it comes to deep cleaning. Whether you are dealing with a dusting of flour from a weekend sourdough project or juices from raw chicken during Sunday meal prep, knowing how to clean kitchen scale components properly is essential for both food safety and device accuracy.
As a home organization expert, I have seen far too many high-quality scales end up in the bin simply because of improper maintenance. Beyond the visible grime, these devices house sensitive electronics that can be easily compromised. In this guide, we will explore the best way clean kitchen scale surfaces while protecting the delicate sensors that keep your recipes consistent.
Why Scale Hygiene and Maintenance Matter
Maintaining a clean scale is not just about keeping your kitchen looking tidy; it is a critical component of food safety. According to research from the USDA and FSEM, only about 32% of people properly clean and sanitize surfaces after preparing raw meat. High-touch items like the control panel of your scale can become primary vehicles for E. coli and Salmonella if not handled with care.
Furthermore, the "load cells" inside your scale—the sensors that convert weight into electrical signals—are incredibly sensitive. A build-up of debris as small as a grain of salt near these sensors can cause a 1–5% margin of error. For a pastry chef or a serious home baker, that tiny discrepancy can be the difference between a perfect souffle and a flat disappointment.
The Best Way to Clean a Kitchen Scale: A Step-by-Step Guide
To ensure your scale lasts its expected 5–8 year lifespan, you must adopt a "gentle but thorough" approach. Here is the professional method for cleaning most standard digital models.
Step 1: Preparation and Safety
Before you apply any cleaning agents, always turn off the scale. If your scale is a plug-in model, disconnect it from the power source. If it is battery-operated, you generally do not need to remove the batteries for a quick wipe, but you should do so for a deeper cleaning session.
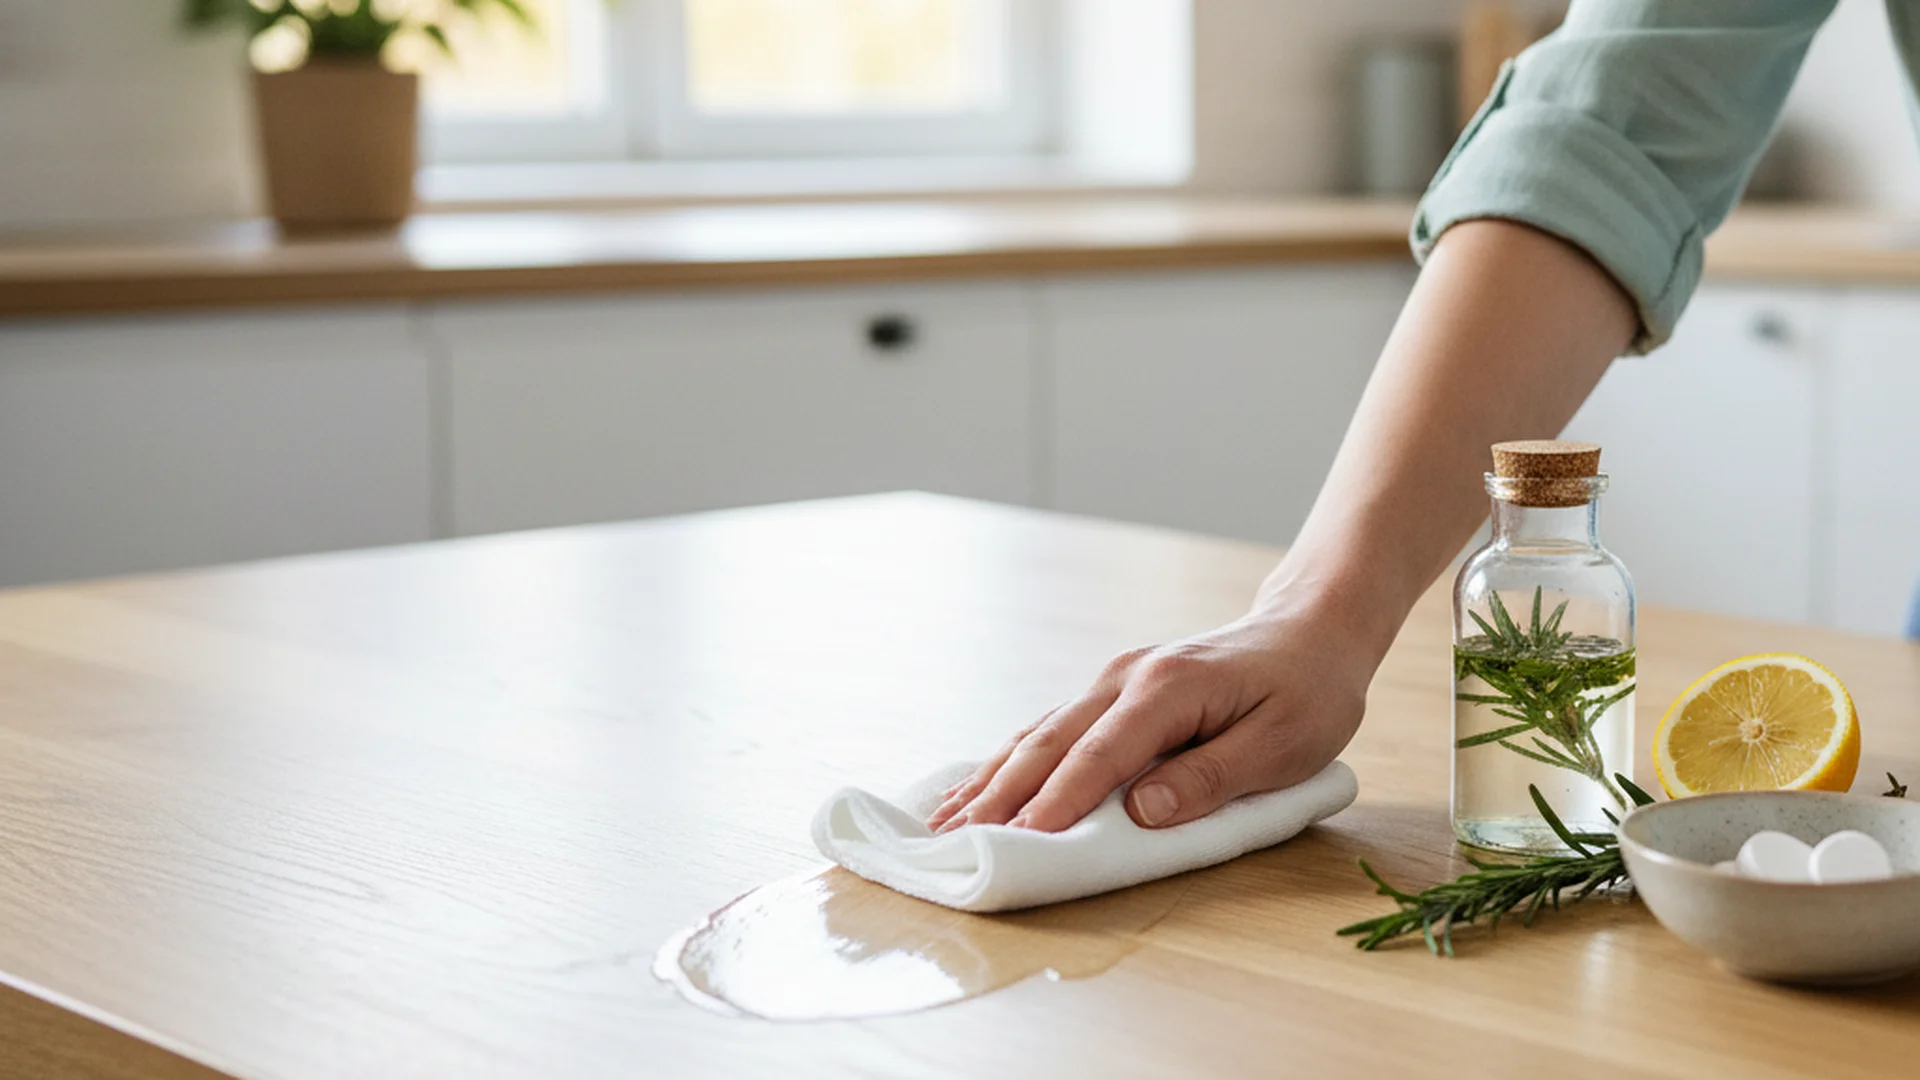
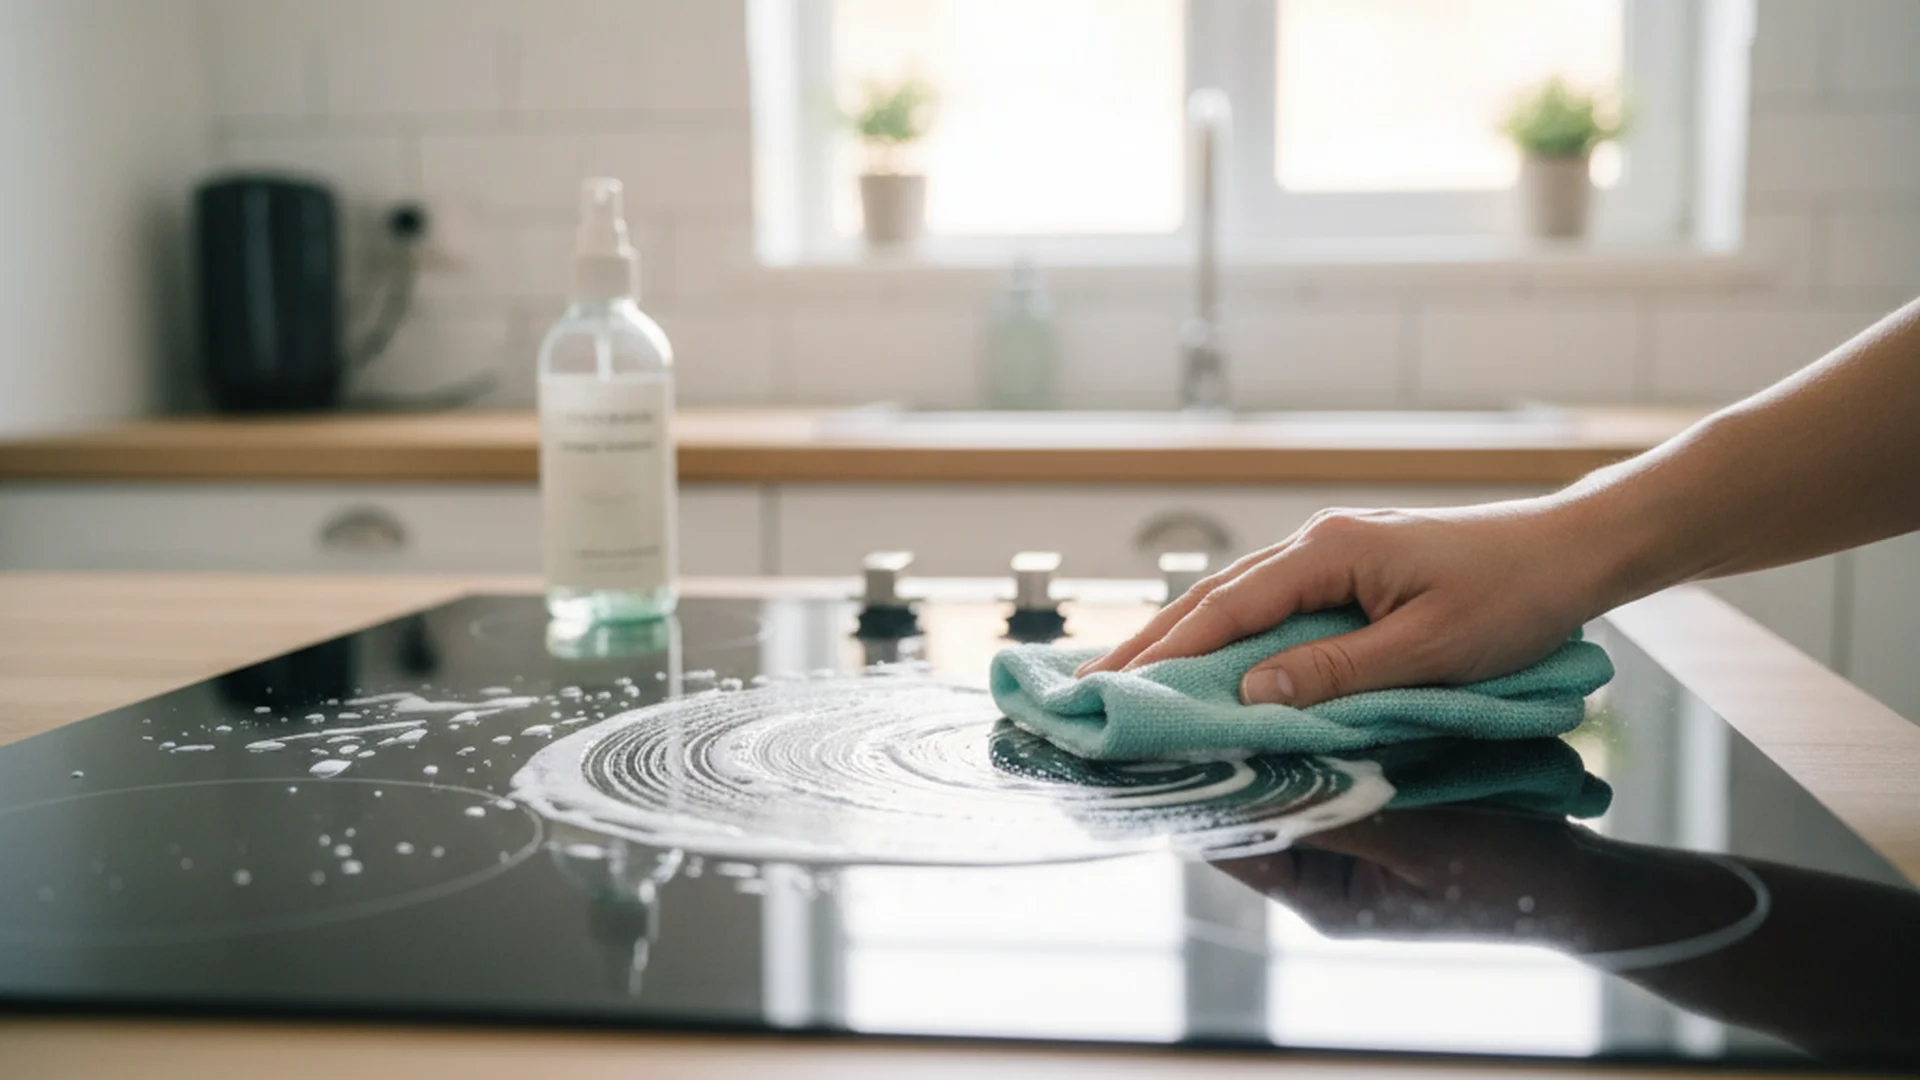
Step 2: The "Damp, Not Wet" Rule
The golden rule of cleaning kitchen electronics is to never spray liquid directly onto the device. Liquid can easily seep into the gaps around the buttons or under the weighing platform, shorting out the circuit board.
Instead, spray a high-quality microfiber cloth with your cleaning solution until it is damp to the touch, then wipe the surfaces.
Step 3: Dealing with Sticky Buttons
Sticky buttons are a common result of spilled oils or sugary liquids. Using a wet cloth here is risky. Instead, use a cotton swab dipped in 70% isopropyl alcohol. The alcohol dissolves grease and sugar effectively and, most importantly, evaporates almost instantly, minimizing the risk of internal moisture damage.
Step 4: Cleaning the Underside and Feet
Most people forget the bottom of the scale. However, if the rubber "feet" are sticky or covered in crumbs, the scale won't sit level on your counter. This leads to inconsistent and fluctuating readings. Wipe each foot with your damp cloth and ensure the underside is free of cobwebs or flour dust.
| Surface Type | Recommended Cleaner | Tool |
|---|---|---|
| Tempered Glass | Glass cleaner or Vinegar | Microfiber Cloth |
| Stainless Steel | 70% Ethanol | Soft cloth (wipe with grain) |
| Plastic Casing | Mild dish soap & water | Damp cloth |
| Control Panel | 70% Isopropyl Alcohol | Cotton Swab |
Advanced Sanitization After Raw Food Contact
If you have been weighing raw protein—such as chicken breasts or steaks—simple soap and water might not be enough to eliminate pathogens.
For these scenarios, use a solution of 70% ethanol or white vinegar. While bleach is a powerful disinfectant, it is generally too harsh for kitchen scales; it can degrade plastic casings over time and cloud the LCD screen, making it unreadable.
Real-World Examples: Handling Common Scenarios
Example 1: The Flour Explosion
Imagine you are measuring flour for bread and a cloud of dust settles into the thin gap between the weighing platform and the base. Over time, this dust can "jam" the load cell.
- The Fix: Use a can of compressed air (the kind used for keyboards) or a thin, dry pastry brush to whisk the dust out of the crevices.
Example 2: The Sticky Syrup Spill
You’re weighing honey or maple syrup for a glaze, and a large drop lands right on the TARE button.
- The Fix: Do not try to scrape it off once dry. Dampen a cloth with warm water and hold it against the spill for 30 seconds to soften the residue, then use the isopropyl alcohol/cotton swab method to finish the job.
Example 3: The Battery Leak
You haven't used your scale in six months and find it won't turn on. You open the compartment to find white, crusty battery acid.
- The Fix: Wear gloves. Use a cotton swab dipped in white vinegar to neutralize the alkaline leakage. Once the fizzing stops and the terminals are clean, dry them thoroughly before inserting new batteries.
Common Mistakes to Avoid
To keep your scale in peak condition, avoid these four common pitfalls:
- Submerging "Water-Resistant" Models: Many scales are marketed as water-resistant, which is fine for a spill. However, unless the scale specifically states an IPX7 rating, it is not waterproof. Submerging a standard scale will almost certainly ruin the electronics.
- The "Storage Weight" Error: This is the #1 cause of sensor fatigue. Never store heavy bowls or other kitchen items on top of your scale in the cupboard. Constant pressure on the load cells can permanently uncalibrate the device.
- Ignoring Invisible Dust: On silver or white scales, flour and sugar are often invisible. This debris can attract moisture from the air, leading to mold growth inside the casing.
- Skipping Calibration: If you have moved your scale or performed a deep clean, the sensors may have shifted. Experts recommend calibrating at least once a month using a certified calibration weight.
Future Trends: 2025–2026 Innovations
The kitchen tech industry is moving toward "worry-free" maintenance. If you are looking to upgrade, keep an eye out for these 2025-2026 features:
- IPX7 Waterproofing: Newer models from brands like KitchenAid are now fully submersible for up to 30 minutes.
- Anti-Microbial Coatings: High-end 2026 scales feature composite glass with permanent antimicrobial layers that inhibit bacterial growth between wipes.
- Hands-Free Controls: Smart scales now use infrared sensors or voice commands to TARE, so you never have to touch the device with "raw chicken hands" again.
Frequently Asked Questions
Can I put my kitchen scale in the dishwasher?
Why is my scale giving inconsistent readings after cleaning?
How do I get rid of lingering food odors on a plastic scale?
What is the "Tare Hack" for keeping scales clean?
Conclusion
Mastering how to clean kitchen scale equipment is a small task that yields significant rewards. By following the "damp, not wet" rule and paying attention to the sensitive gaps around the sensors, you ensure your measurements remain precise and your family stays safe from cross-contamination.
Whether you are using a legacy digital model or one of the newer 2026 waterproof versions, a little bit of maintenance goes a long way. Treat your scale like the scientific instrument it is, and it will serve your kitchen for years to come.
Ready to Organize Your Kitchen?
Get more expert tips on maintaining your kitchen appliances and streamlining your space.
Read More Guides