In this article
What you’ll learn
- Clean the fire pot every 20 hours of cook time to prevent ignition failure.
- Avoid wire brushes in favor of bristle-free steam tools or nylon brushes.
- Vacuuming ash is the most critical step for temperature stability.
Pellet grills have officially taken over the backyard. They have become one of the most popular choices for residential BBQ, and for good reason—they offer unmatched convenience and flavor. However, that "set it and forget it" ease often leads owners to neglect one critical task: maintenance. Learning how to clean pellet grill units properly isn't just about hygiene; it is a matter of fire safety and mechanical longevity. A dirty grill is the leading cause of temperature swings and flameouts, turning a high-end cooking machine into a frustrated hobbyist’s nightmare.
Why Regular Maintenance is Non-Negotiable
Before we dive into the "how-to," it is vital to understand what is at stake. Ash buildup in the fire pot is the most common cause of ignition failure. Even a mere 1/4 inch of ash can insulate the hot rod, preventing it from reaching the temperature necessary to ignite your wood pellets. Grease and creosote accumulation, meanwhile, is behind the vast majority of flare-ups and hopper fires.
By mastering the best way clean pellet grill components, you aren't just cleaning; you are performing essential preventative maintenance.
Note: Modern 2025 models from brands like Traeger and Weber now include AI-driven maintenance sensors. These will alert your smartphone when ash levels are high, but they don't replace the manual labor required to get the job done.
The Essential Toolkit for 2025
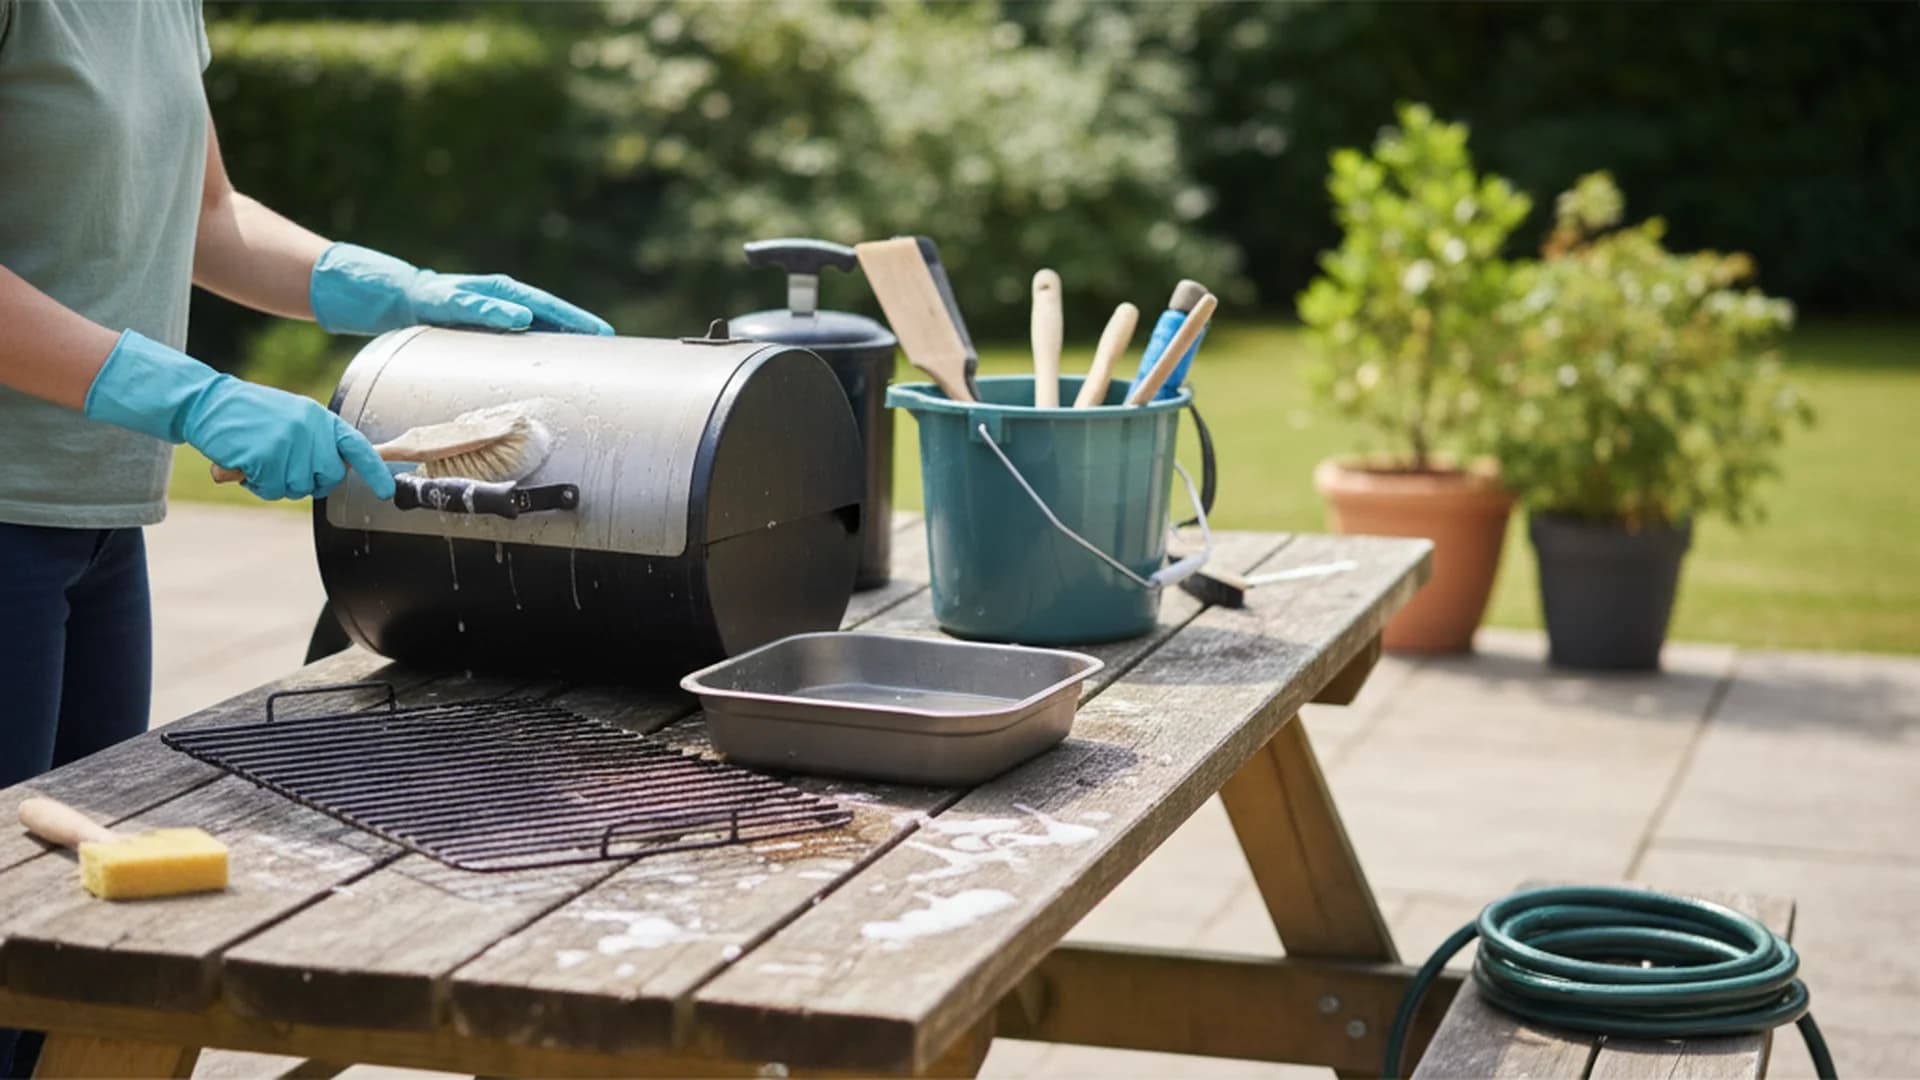
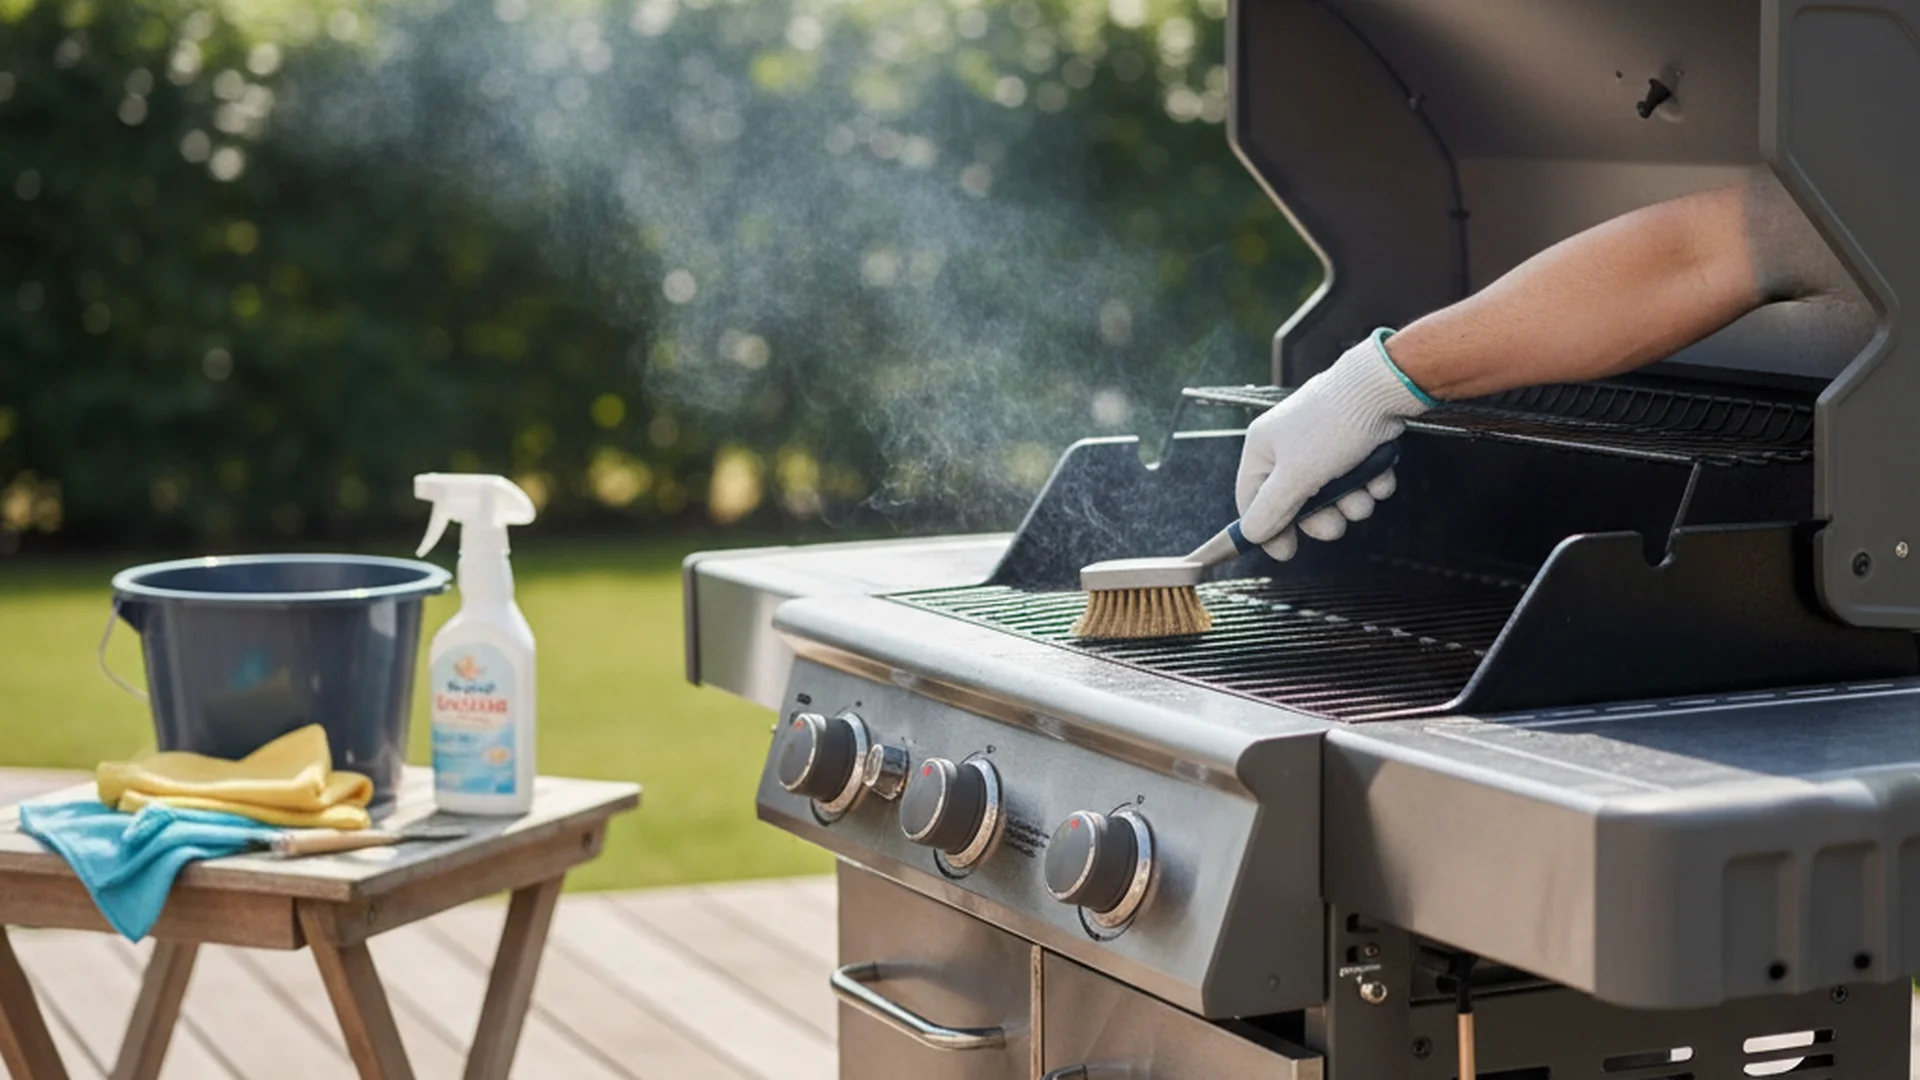
Cleaning a grill has evolved beyond a simple bucket of soapy water. To do it right, you need the proper tools:
- Ash-Rated Vacuum: A dedicated shop vac or ash vacuum is essential. Never use your household vacuum, as the microscopic ash particles can destroy standard motors and filters.
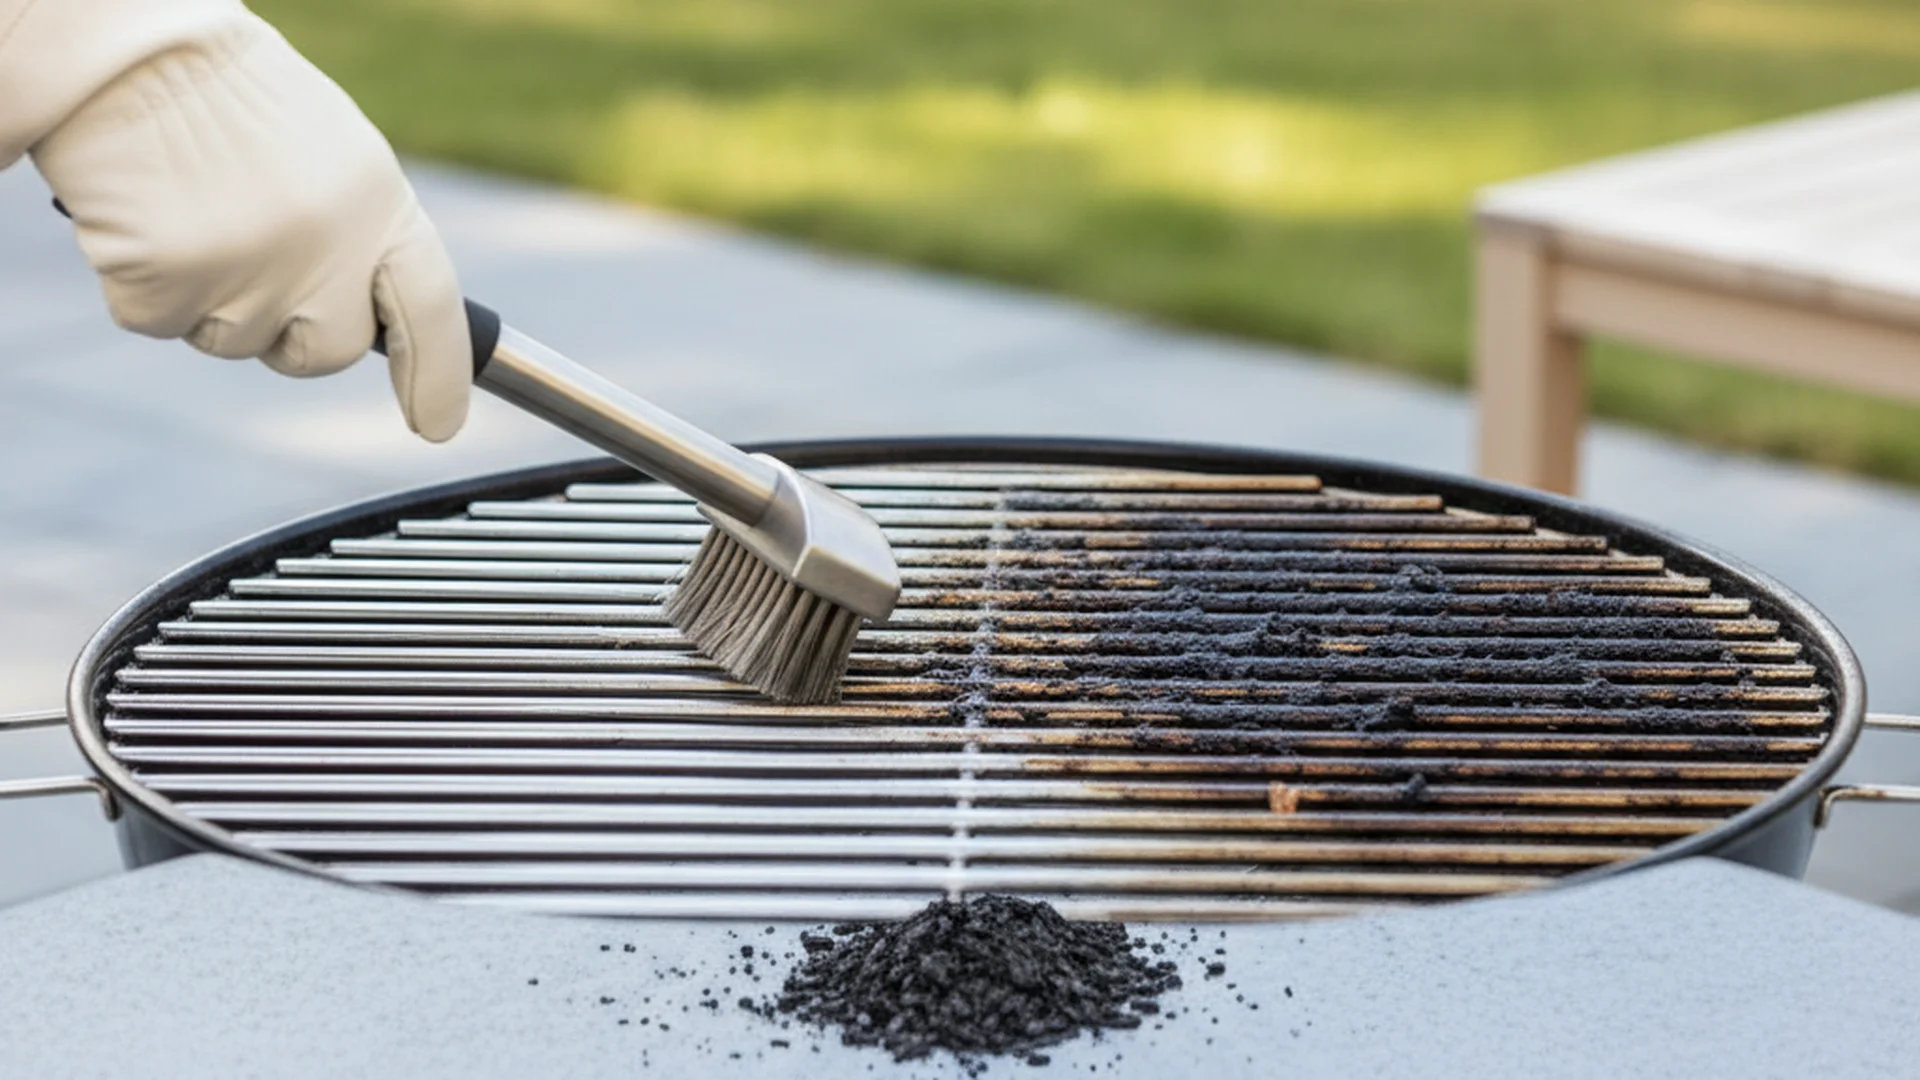
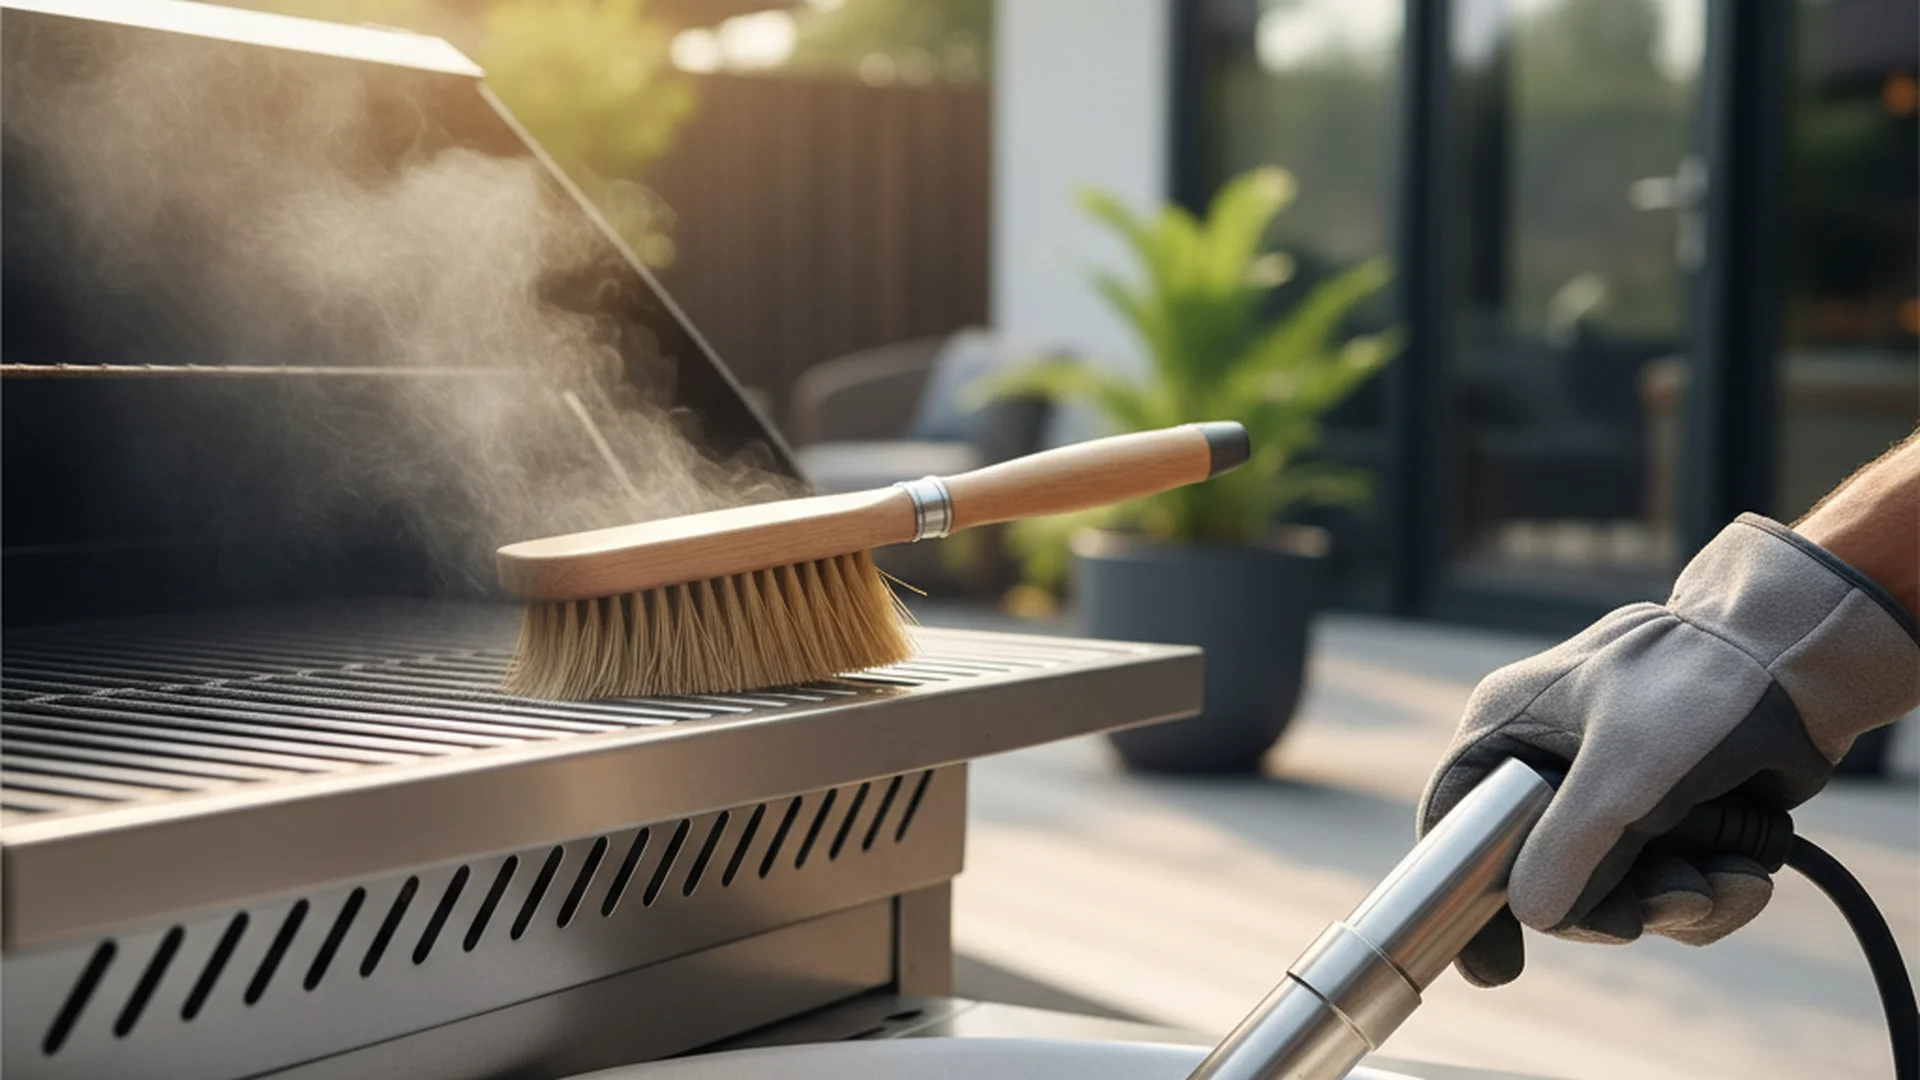
- Bristle-Free Scraper: Move away from wire brushes, which can shed metal into your food. Use a wooden scraper or a steam-based cleaning tool.
- Plastic Putty Knife: A 2-inch stiff putty knife is your best friend for scraping the drip tray and interior walls.
- Eco-Friendly Degreaser: Plant-based, biodegradable cleaners are now the industry standard, as they don't leave toxic residues that require heavy rinsing.
- Microfiber Cloths: For the exterior and the temperature probe.
Warning: Never spray cold water or cleaning solution onto a hot heat deflector. This can cause the metal to "tweak" or warp, leading to permanent hot spots in your grill.
Step-by-Step: The "Top-Down" Cleaning Method
The most efficient way to clean your grill is the top-down method. This ensures that soot and debris from the upper levels don't fall onto surfaces you’ve already scrubbed.
Step 1: The Lid and Chimney
Start with the underside of the lid. Over time, smoke creates a layer of carbonized grease that looks like peeling paint. This is not paint; it is a mixture of soot and grease called creosote. Use your putty knife to scrape this away.
Next, address the chimney (or "stack"). Creosote builds up heavily here and can drip back onto your food. Scrape the interior of the chimney every six months to ensure proper airflow.
Step 2: Grates and Heat Deflectors
Remove the grates. Steam cleaning tools, which use water-soaked foam heads on a warm grate, give a chemical-free finish. Once the grates are out, remove the drip tray and the heat deflector.
Success: Using a plastic putty knife to scrape the drip tray down to the bare metal every 3-5 cooks will significantly reduce the risk of a grease fire.
Step 3: The Barrel and Fire Pot
This is where the vacuum comes into play. Vacuum out the entire bottom of the "barrel." Focus heavily on the fire pot.
Example 1: The Ignition Failure. Consider the case of a local BBQ competitor who forgot to vacuum his fire pot before a 12-hour brisket smoke. Three hours in, the ash buildup smothered the igniter, causing a "flameout." The auger continued to feed pellets into the cold pot, and when he tried to restart it, the massive pile of pellets ignited at once, causing a dangerous "over-fire" situation. Regular vacuuming prevents this entirely.
Step 4: The Temperature Probe (RTD)
Locate the small vertical rod inside the grill—this is your RTD (Resistance Temperature Detector). If it is covered in black soot, it will under-read the internal temperature, causing the grill to run much hotter than the setting. Wipe this gently with a damp cloth and a bit of degreaser until the metal is shiny again.
Maintaining the Hopper and Auger
The hopper is often overlooked, but it is the "fuel tank" of your system.
Dusting the Hopper
Every three months, or after every 5 bags of pellets, empty the hopper completely. Use your vacuum to remove the "fines"—the sawdust that settles at the bottom. This dust can clog the auger or create a "bridge" that prevents pellets from falling into the screw.
The Moisture Hazard
Example 2: The Pellets-to-Concrete Scenario. A homeowner in a high-humidity coastal area left his hopper full of pellets during a rainy week. The pellets absorbed moisture and "mushroomed," expanding inside the auger tube. When he turned the grill on, the auger was jammed solid. He had to disassemble the entire motor assembly to chip out the hardened, cement-like wood.
Tip: If you live in a high-humidity area, always empty your hopper and store your pellets in a sealed, airtight container between uses.
Common Mistakes to Avoid
- Using Oven Cleaner: Most oven cleaners contain harsh lye and chemicals that can strip the powder coating off your grill’s exterior or leave a toxic residue inside the cooking chamber. Stick to food-safe, plant-based degreasers.
- Forgetting the Grease Chute: Most people clean the drip tray but ignore the small tunnel leading to the grease bucket. A blockage here is the leading cause of grease fires. Use a bottle brush or a rolled-up paper towel to clear this path.
- Using Wire Brushes: The industry is moving away from metal brushes because loose bristles can end up in your food. Crumpled aluminum foil is a safer and cheaper alternative for scrubbing grates.
- Ignoring the "Fines": As mentioned, sawdust in the hopper is an auger’s worst enemy. A quick 30-second vacuum of the hopper every few weeks saves hours of repair work later.
| Component | Cleaning Frequency | Tool Recommended |
|---|---|---|
| Cooking Grates | Every Use | Steam Tool / Wood Scraper |
| Fire Pot | Every 1-3 Uses | Ash-Rated Vacuum |
| Drip Tray | Every 3-5 Uses | Putty Knife |
| RTD Probe | Monthly | Microfiber Cloth |
| Chimney | Every 6 Months | Putty Knife |
Frequently Asked Questions
How often should I vacuum the ash?
Can I use a regular household vacuum?
Should I "season" my grill by not cleaning it?
What should I do if my pellets get wet?
Conclusion
Understanding how to clean pellet grill hardware is the difference between a frustrating afternoon and a world-class BBQ experience. By following the top-down method, utilizing modern 2025 tools like ash vacuums and eco-friendly degreasers, and keeping a close eye on your fire pot and RTD probe, you ensure your grill remains a reliable centerpiece of your outdoor kitchen.
Example 3: The Resale Value. A well-maintained 2024 Traeger Ironwood recently sold on the secondary market for 80% of its original retail price because the owner kept a meticulous cleaning log and the interior was free of creosote buildup. Maintenance isn't just about the next meal; it’s about protecting your investment.
Success: Regular cleaning ensures stable temperatures, prevents dangerous grease fires, and guarantees that the only thing you taste is the delicious wood-fired flavor of your food.
Cleaning that keeps score
Every task earns points, every streak multiplies them, and Premium adds a household leaderboard plus a monthly Dustagorgon to beat.
- Free forever
- 30 badges to earn
- Up to 6 in a household
No card needed. Set up your rooms in a couple of minutes.