In this article
What you’ll learn
- Clean and defrost your mini fridge whenever frost exceeds 1/4 inch to keep it running efficiently.
- Use a 1:1 white vinegar and water solution for a non-toxic, food-safe deep clean.
- Never use sharp objects to scrape ice; this is the leading cause of permanent unit failure.
Is your mini fridge hiding a "glacier" in the back or a secret mold colony in the door seals? With electricity prices fluctuating and the 2026 shift toward smart-hygiene standards, knowing how to clean mini fridge units is no longer just about aesthetics—it is about saving money and protecting your health. Whether you are a student in a cramped dorm or a professional with a sleek office cooler, a neglected fridge is more than an eyesore; it is a drain on your wallet.
A frost buildup of just 1/4 inch acts as insulation and noticeably reduces a mini fridge’s cooling efficiency. This forces the compressor to work overtime, significantly raising your energy bills and shortening the lifespan of the appliance. In this guide, we will walk you through the best way clean mini fridge interiors and exteriors to keep your snacks fresh and your energy costs low.
Why Regular Maintenance Matters in 2025
The modern landscape of home maintenance has shifted. More of us now look for "hygiene attributes," such as antibacterial properties and non-toxic ingredients, when choosing cleaning products. This is particularly vital for mini fridges, which are often kept in bedrooms or under desks where airflow is limited.
Furthermore, neglected office and dorm fridges have been found to harbor higher bacteria levels than the average household kitchen. The drainage holes and door gaskets are common sites for mold growth that can contaminate your food. By following a regular cleaning schedule, you can improve energy performance by 3% to 5% and potentially extend your unit's life by several years.
Phase 1: Preparation and Defrosting
You cannot properly learn how to clean mini fridge interiors without first addressing the ice. Most mini fridges lack the sophisticated "auto-defrost" cycles of their full-sized counterparts, leading to rapid ice accumulation.
Step 1: Empty and Unplug
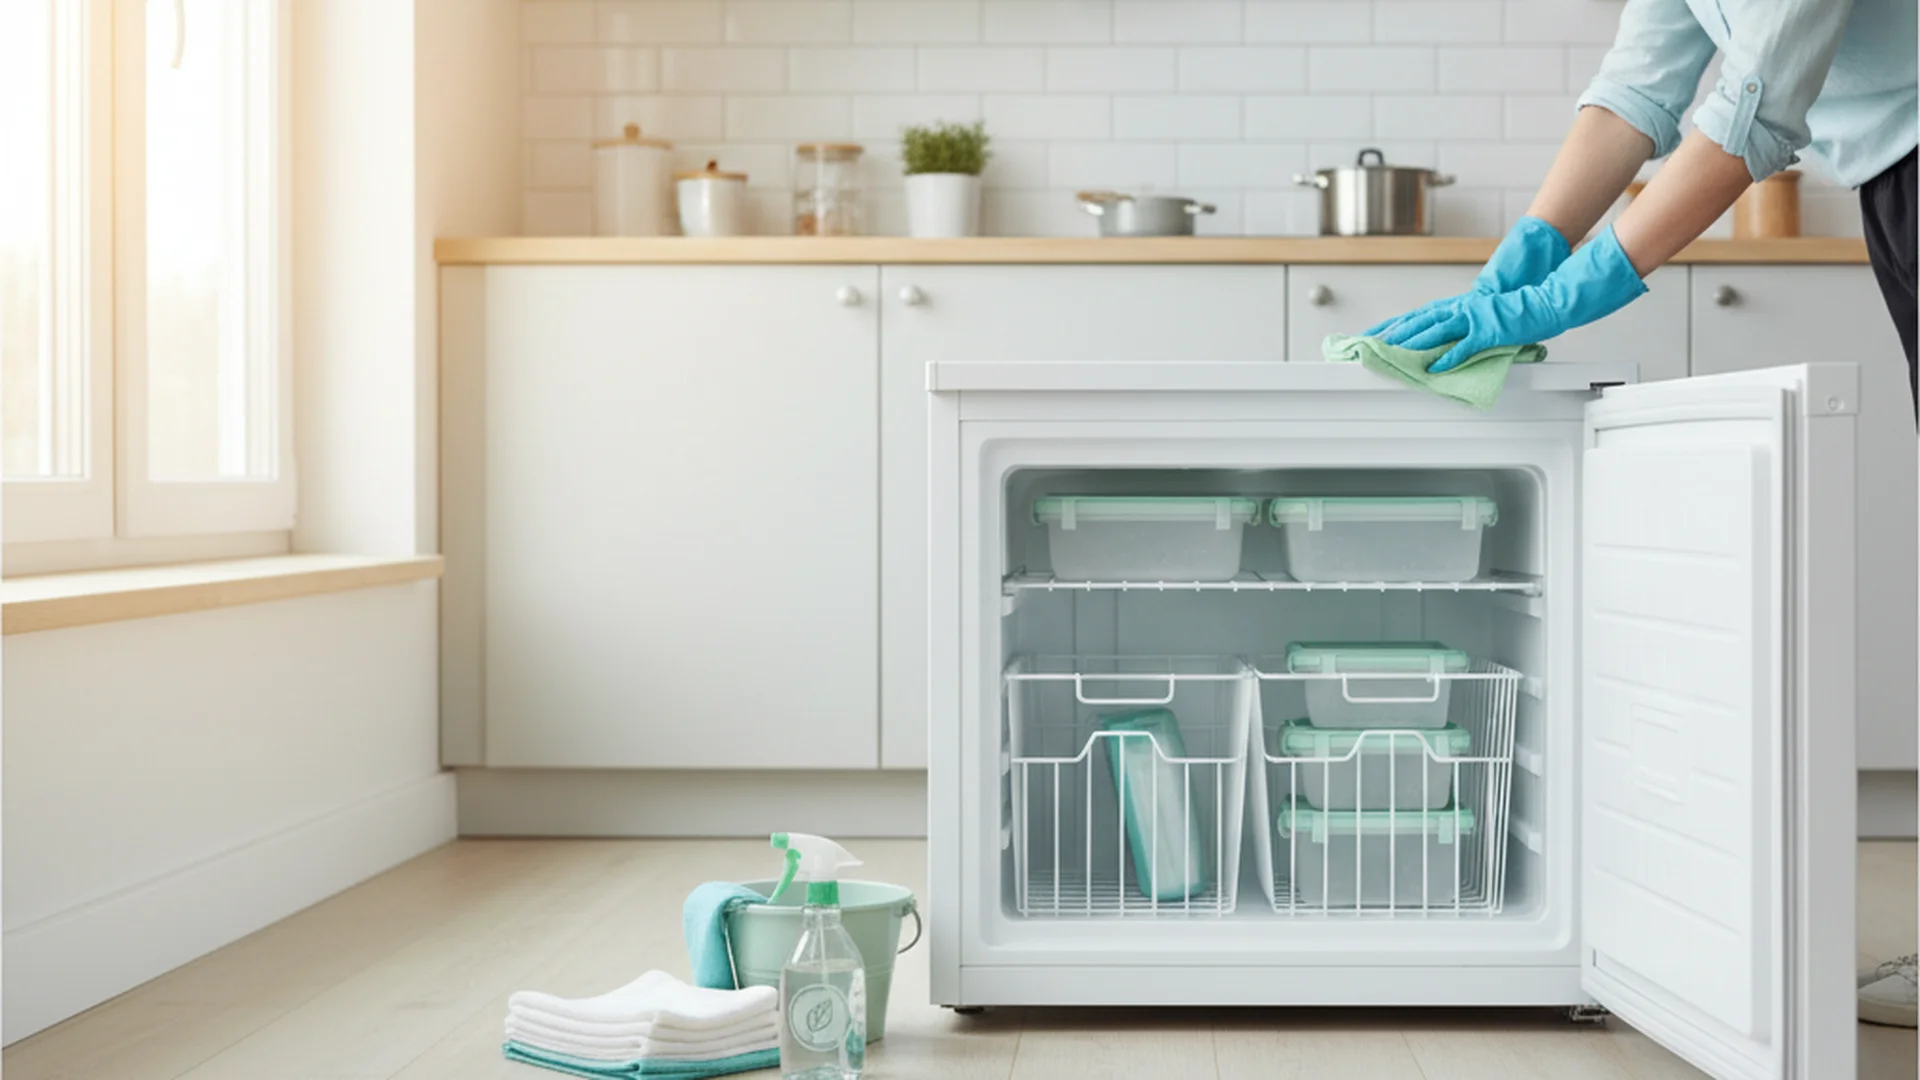
The first step is the most critical for safety. Unplug the unit from the wall. Removing all food items is the perfect time to check expiration dates.
Step 2: The Defrosting Process
A natural defrost usually takes between 2 to 8 hours depending on the thickness of the ice. To speed this up safely, place bowls of hot water on the shelves and close the door. The steam will loosen the ice.
Warning: Never use a knife, screwdriver, or any sharp metal tool to "help" the ice fall off. This is the #1 cause of punctured coolant lines, which effectively destroys the fridge and releases hazardous chemicals.
Step 3: Managing the Water
As the ice melts, water will pool at the bottom. Lay down old towels or a shallow tray to catch the runoff. This is also the time to locate your drip tray, usually found near the compressor at the back, and prepare to empty it.
Tip: You can use a hairdryer to speed up the process, but only on a low-heat setting. Keep it at a safe distance from standing water and plastic walls to prevent melting the liner or causing an electrical shock.
Phase 2: The Best Way to Clean Mini Fridge Surfaces
Once the ice is gone, it is time to tackle the grime. For 2025-2026, the "Natural Gold Standard" remains the preferred method for health-conscious homeowners.
The Vinegar Solution
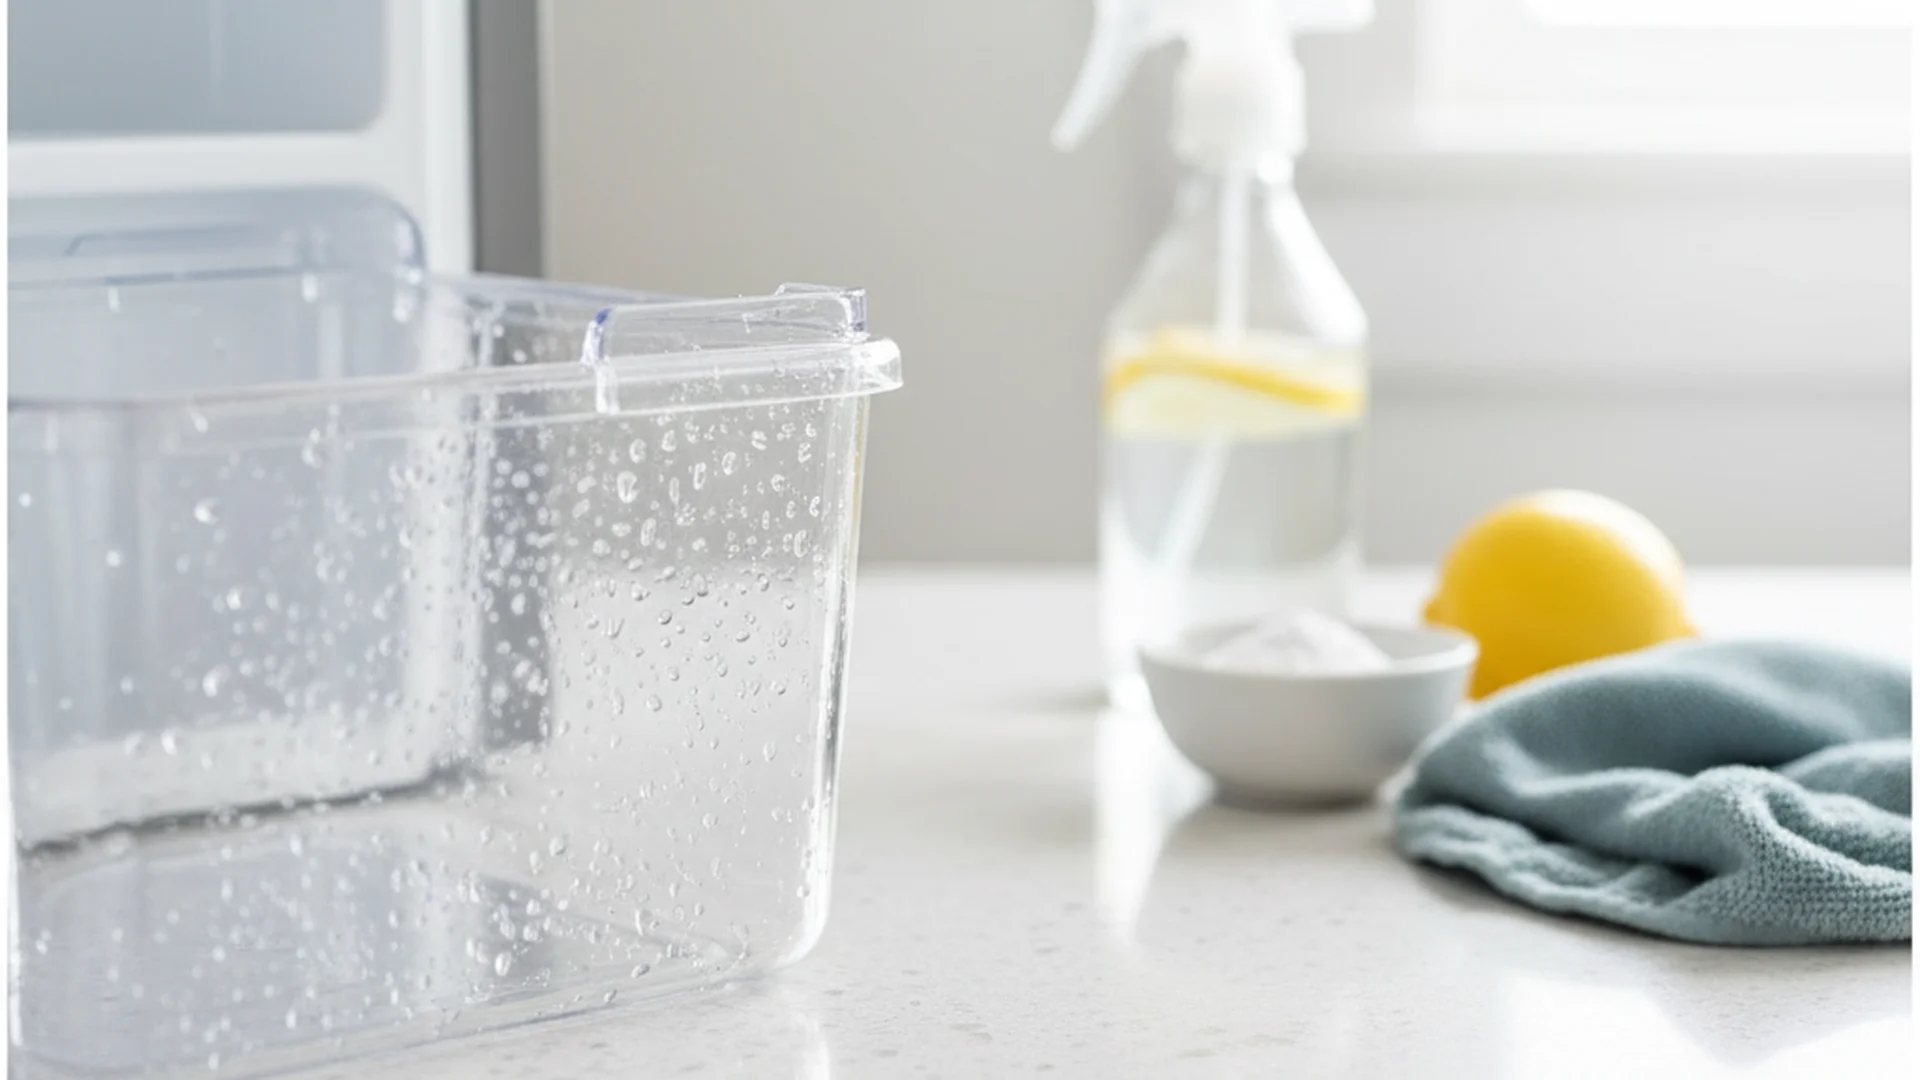
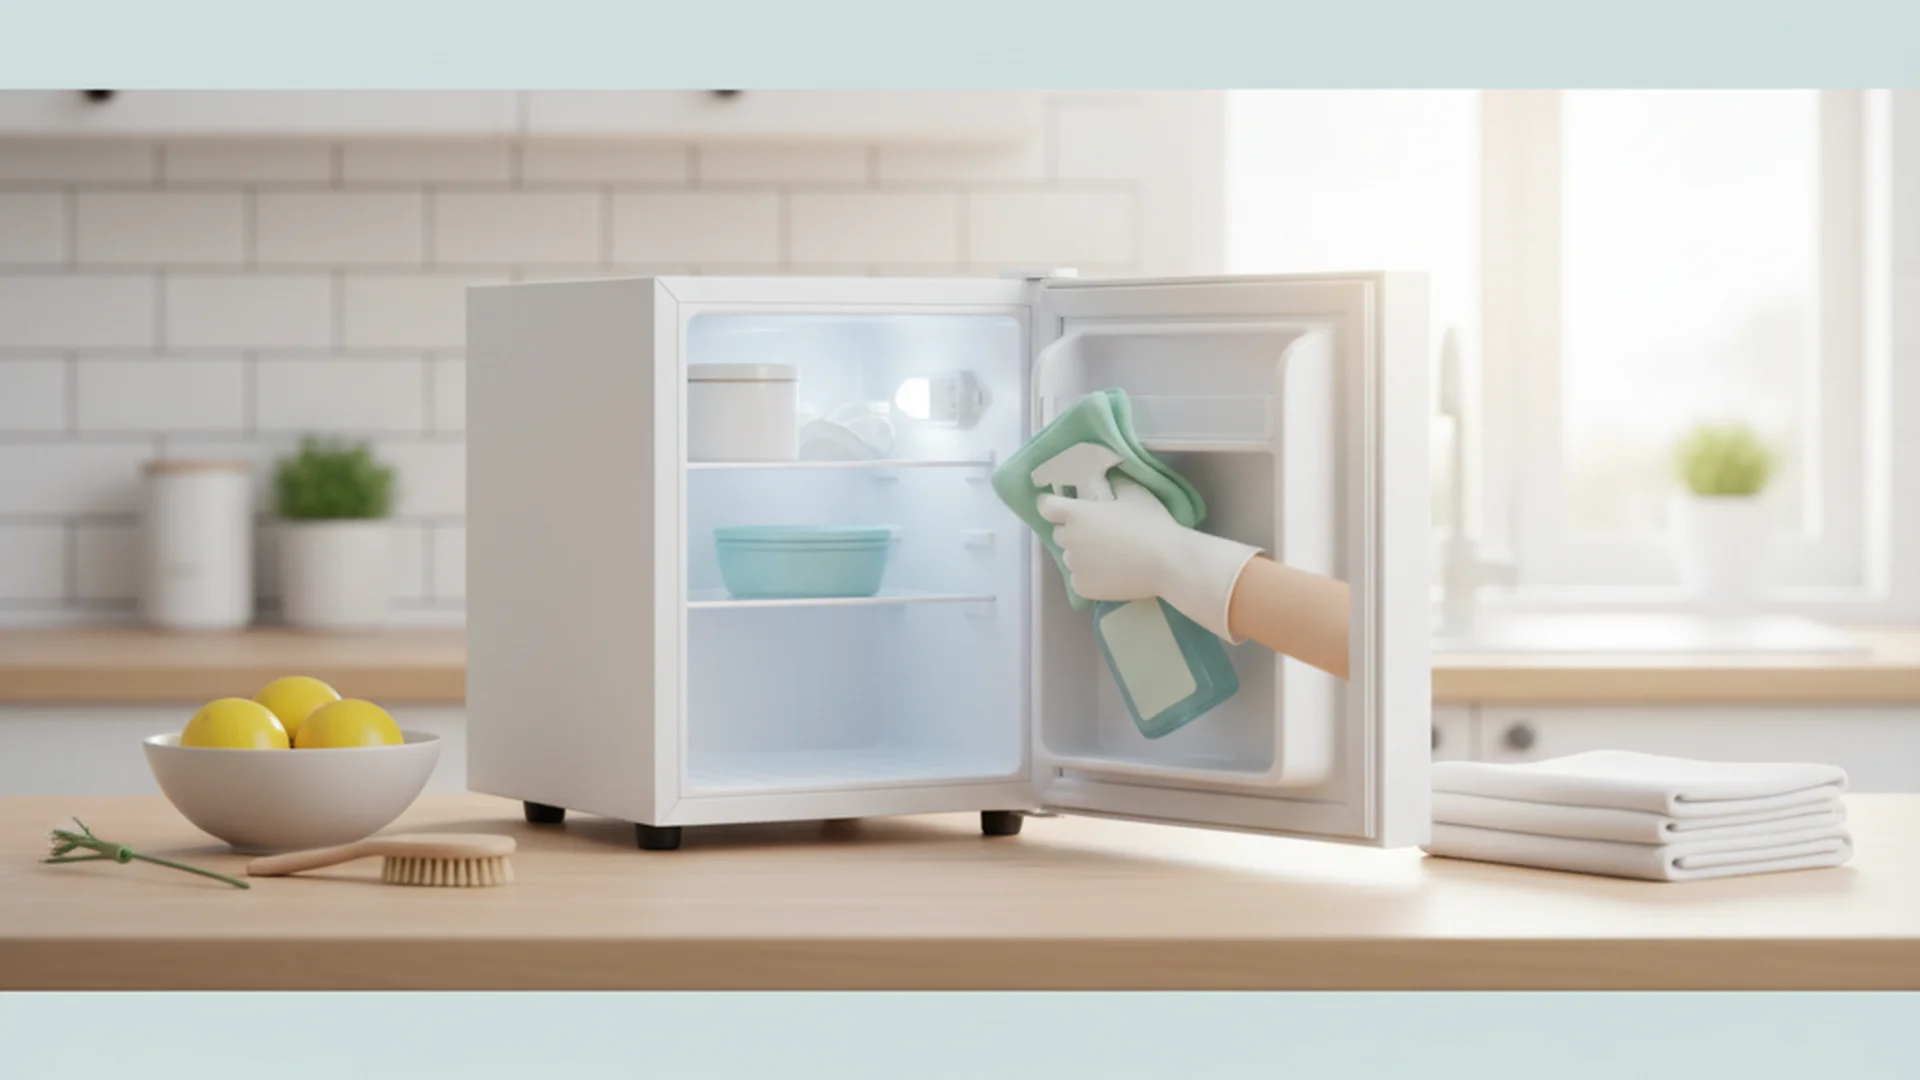
Mix a 1:1 ratio of white vinegar and warm water in a spray bottle. This solution is naturally antibacterial and eliminates odors without leaving harsh chemical residues that could affect the taste of your food.
Handling Stubborn Stains
If you find dried-up soda spills or mystery residues, create a paste using baking soda and a small amount of warm water. Apply the paste to the stain, let it sit for 10 minutes, and scrub gently with a soft cloth.
Note: Never use hot water on cold glass shelves or plastic bins immediately after removing them from the fridge. The thermal shock can cause the material to crack or shatter. Always let them reach room temperature first.
Phase 3: Cleaning the "Forgotten Zones"
To truly master how to clean mini fridge units, you must look where others don't. These "forgotten zones" are often the source of bad smells and mechanical failure.
The Gaskets (Door Seals)
The rubber seals around the door are magnets for crumbs and mold. Use an old toothbrush dipped in a baking soda solution to scrub inside the folds. A clean gasket ensures a tight seal, which is essential for energy efficiency.
The Drainage Hole
Most mini fridges have a small drain hole at the back to channel condensation. If this gets clogged, water will pool at the bottom of the fridge and grow mold. Use a small pipe cleaner or a specialized thin brush to clear any blockages.
The Condenser Coils
Vacuum the condenser coils (usually located at the back or bottom of the unit) at least once a year. Dust buildup acts as an insulator, causing the motor to overheat. Cleaning these coils is the best way clean mini fridge components for longevity.
Real-World Examples of Mini Fridge Maintenance
Example 1: The "Glacier" Dorm Room Fridge
A college student noticed her mini fridge was making a loud buzzing sound and her milk was spoiling. Upon inspection, the freezer compartment was encased in 2 inches of ice. By performing a full defrost and cleaning the coils, the buzzing stopped, and the fridge returned to its optimal temperature, saving her the cost of a replacement.
Example 2: The Office "Mystery Smell"
In a shared office space, a mini fridge developed a foul odor that wouldn't go away even after the food was removed. The culprit? The drip tray near the compressor had collected stagnant water and dust. Once the tray was cleaned and sanitized with vinegar, the odor vanished instantly.
Example 3: The Energy-Conscious Studio
A renter used a smart plug to monitor his appliance energy usage. He noticed a 20% spike in consumption over three months. After a deep clean of the gaskets and a thorough vacuuming of the back coils, the energy usage dropped back to baseline levels, proving that maintenance is a financial win.
Common Mistakes to Avoid
- The Overloading Myth: Many believe a full fridge stays colder. In reality, overloading a mini fridge blocks limited airflow, leading to "hot spots" where food can spoil despite the unit being on.
- Single-Cloth Cleaning: Using the same cloth to wipe the meat shelf and then the vegetable drawer is a major cause of cross-contamination. Use separate cloths or paper towels for different zones.
- Ignoring the Drip Tray: Most users don't realize there is a tray near the compressor. If left uncleaned, it becomes a breeding ground for foul odors and even mosquitoes.
- Using Bleach Inappropriately: A heavily diluted bleach solution (1 tablespoon per gallon of water) has its place after a food recall or a raw-meat spill, but vinegar is the better choice for routine cleaning, since bleach leaves lingering chemical odors in small, enclosed spaces.
2026 Trends in Mini Fridge Care
As we move into 2026, new technologies are making maintenance easier. We are seeing a massive shift toward "microbiome-friendly" cleaning products. These use enzymes and probiotics to "eat" away at bacteria and odors rather than using harsh surfactants.
Additionally, many 2026 mini fridge models now come integrated with IoT sensors. These "Smart Maintenance" systems send notifications to your smartphone when air quality drops or when frost reaches a level that requires a defrost cycle. Manufacturers are also increasingly treating interior liners with silver-ion coatings that actively inhibit mold growth between deep cleans.
Frequently Asked Questions
How often should I clean my mini fridge?
Can I use a hairdryer to speed up defrosting?
Is it safe to use bleach?
How long does a full defrost take?
What is the best way to remove odors?
Conclusion
Mastering how to clean mini fridge units is a vital skill for anyone looking to maximize appliance lifespan and minimize energy costs. By using natural cleaners like vinegar, paying attention to hidden areas like the drip tray, and avoiding the "knife mistake" during defrosting, you can keep your unit running perfectly for a decade or more.
Success: Following this routine twice a year will keep your mini fridge hygienic, odor-free, and running at peak energy efficiency.
Cleaning that keeps score
Every task earns points, every streak multiplies them, and Premium adds a household leaderboard plus a monthly Dustagorgon to beat.
- Free forever
- 30 badges to earn
- Up to 6 in a household
No card needed. Set up your rooms in a couple of minutes.