In this article
What you’ll learn
- Clean the dispenser nozzle monthly and flush lines every 3–6 months.
- Distilled white vinegar is the safest and most effective descaling agent.
- Refrigerator dispensers are high-risk zones for yeast, mold, and coliform bacteria.
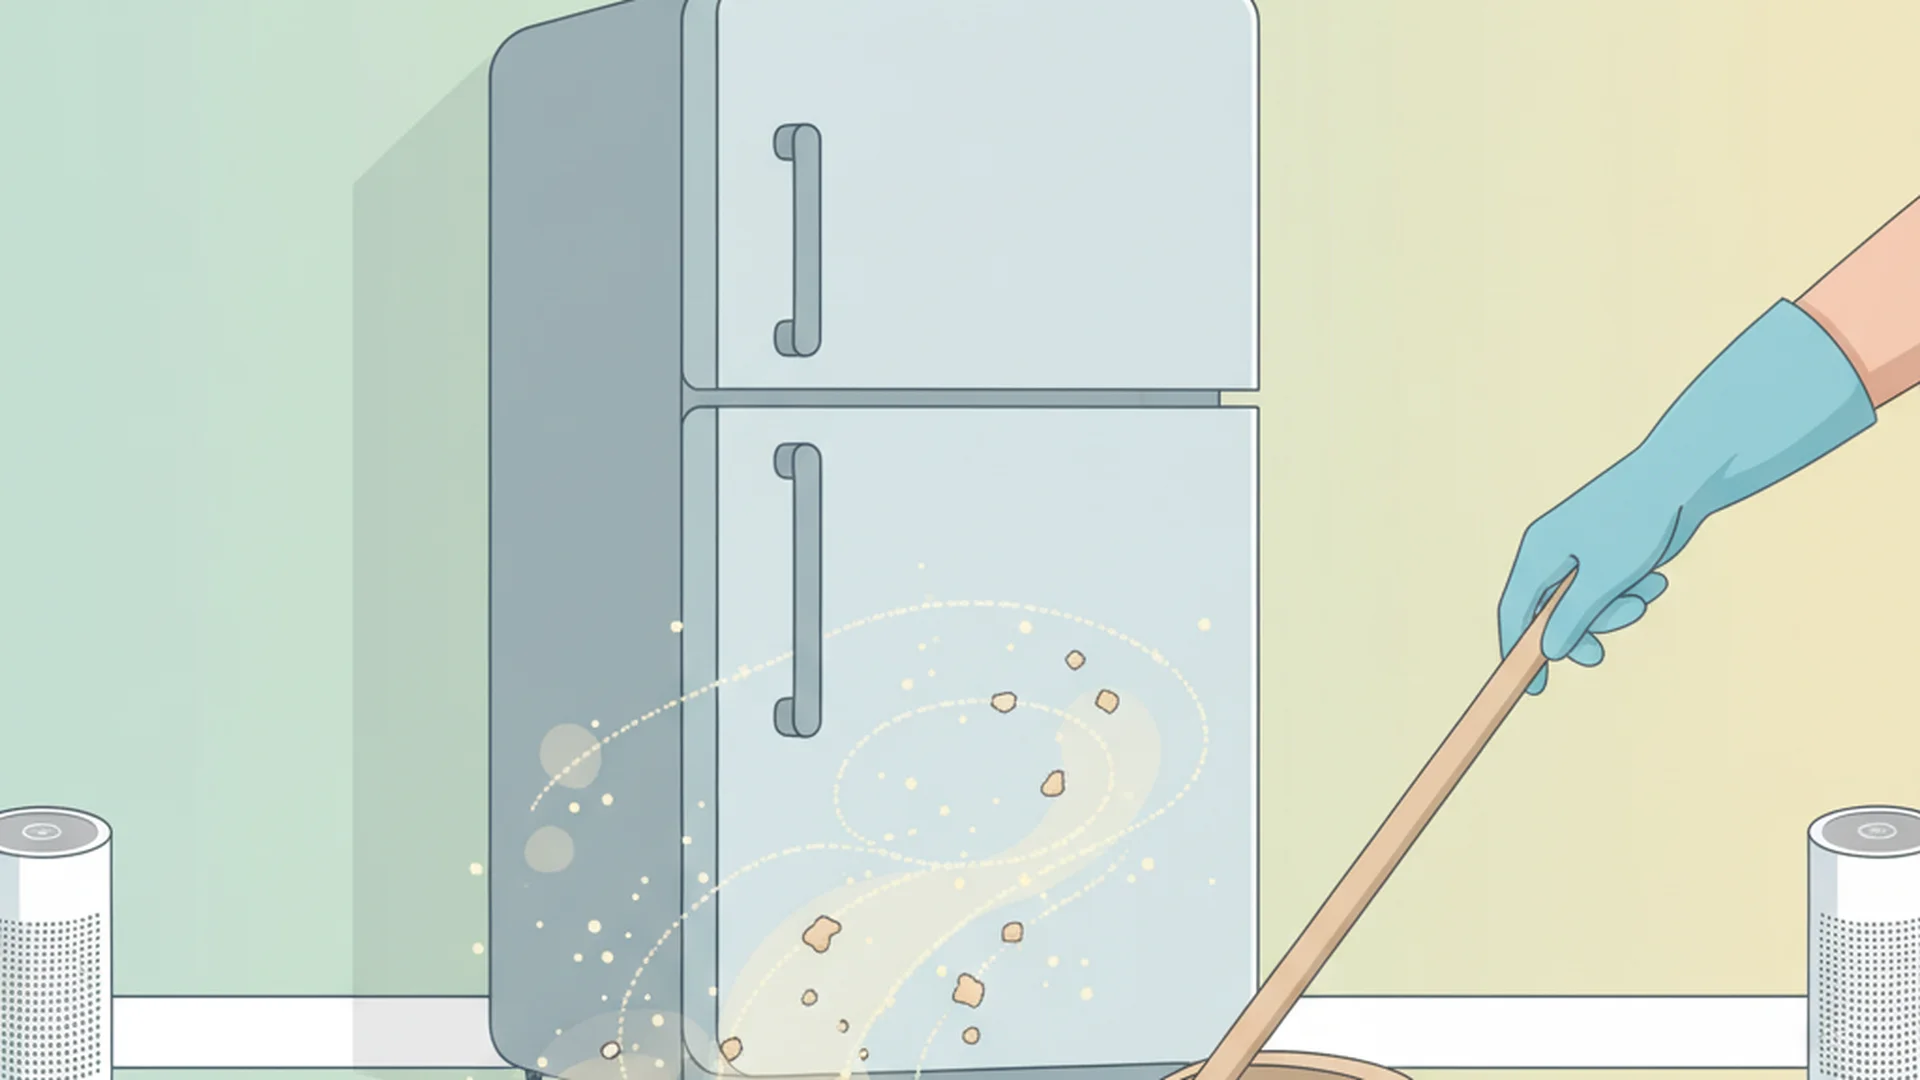
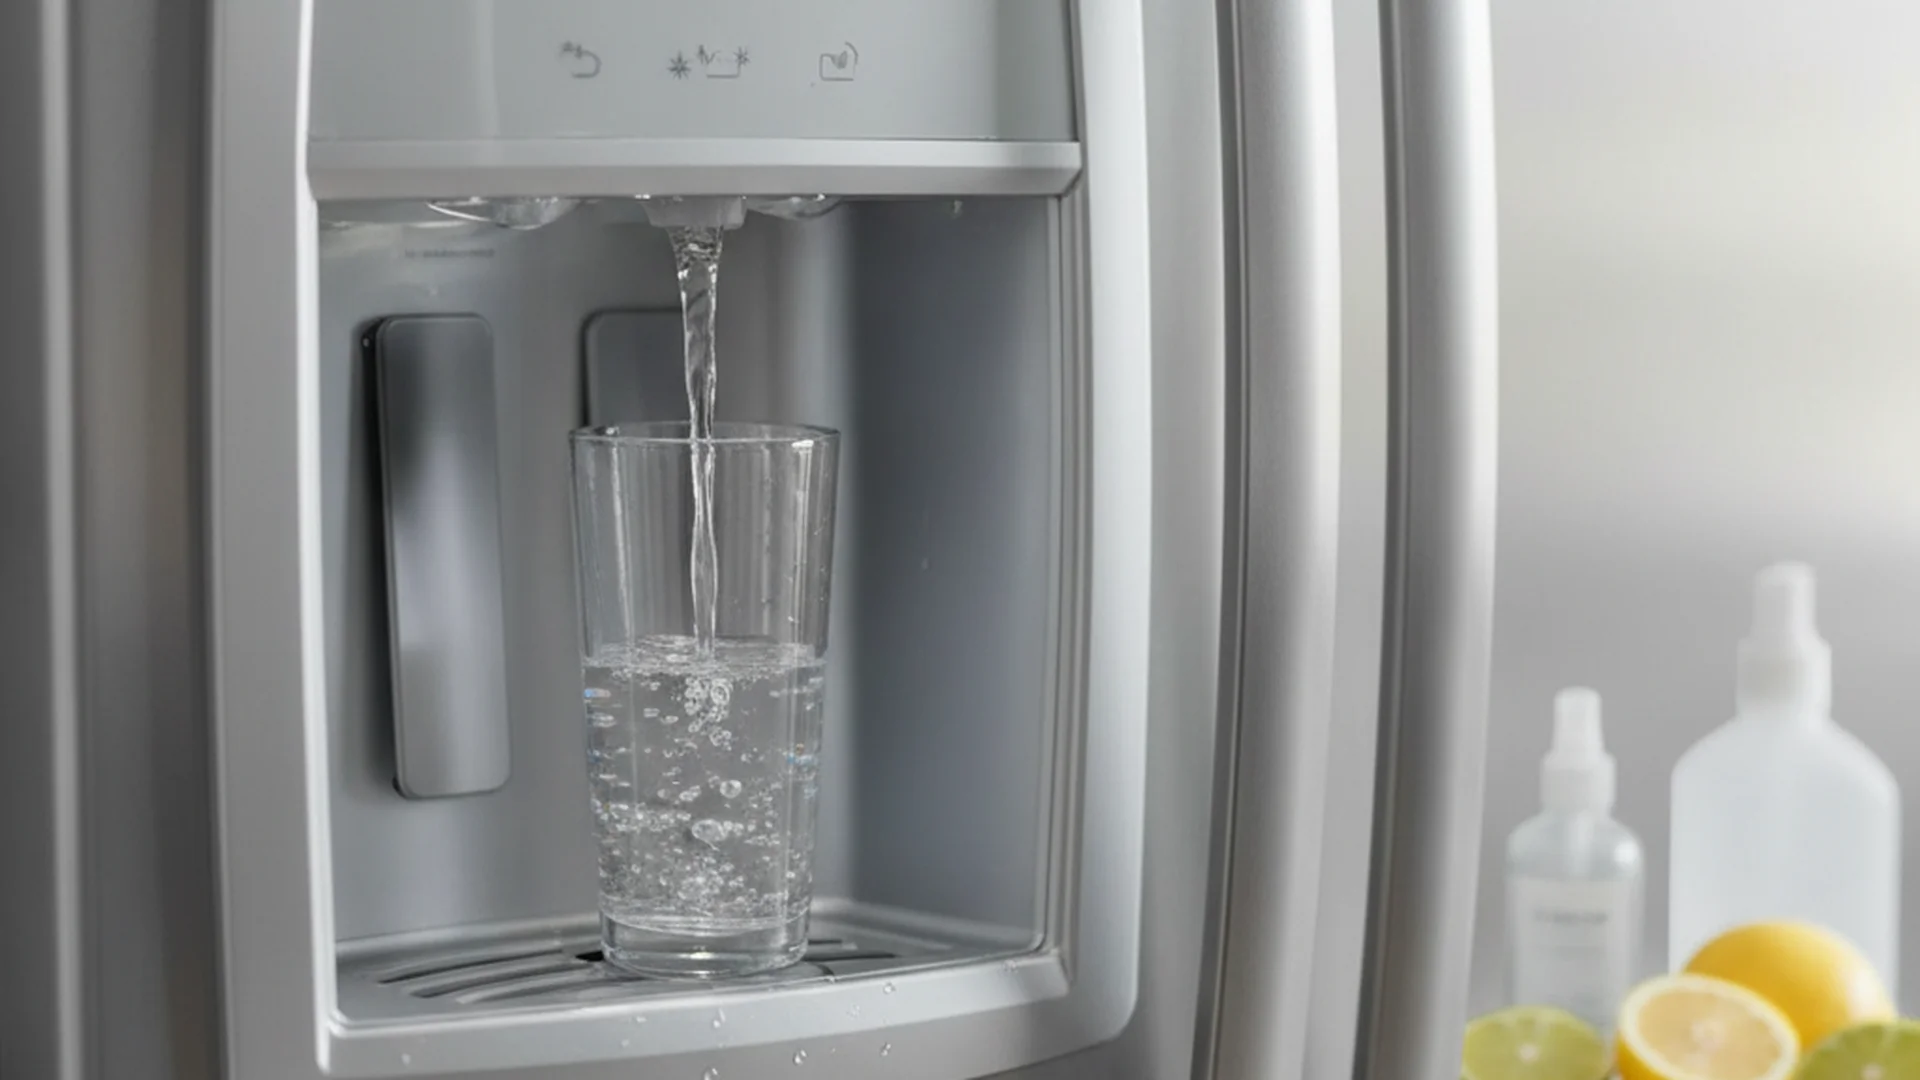
When was the last time you thought about the internal cleanliness of your refrigerator’s water system? Most of us reach for a glass of water multiple times a day, assuming the filter handles everything. However, learning how to clean fridge dispenser components is a vital part of home maintenance that goes far beyond simple filtration. While the water coming out may look clear, the internal lines and the external nozzle can become breeding grounds for microorganisms that thrive in dark, damp environments.
In this guide, we will dive deep into the science of dispenser hygiene, provide a comprehensive walkthrough for deep cleaning your system, and explore the latest 2025-2026 trends in appliance technology.
Why Dispenser Hygiene Matters: The Science of "Invisible" Germs
It might surprise you to learn that your kitchen’s water dispenser is one of the most contaminated spots in your home. Both the water and the ice dispenser are classic trouble spots for yeast and mold—often grubbier than anything else in the kitchen.
The environment inside the dispenser tubing is ideal for "biofilm" development. Water drawn from a neglected dispenser can carry coliform bacteria or Pseudomonas aeruginosa.
This is why simply changing the filter is not enough—you must physically clean the delivery system.
Preparation and Supplies
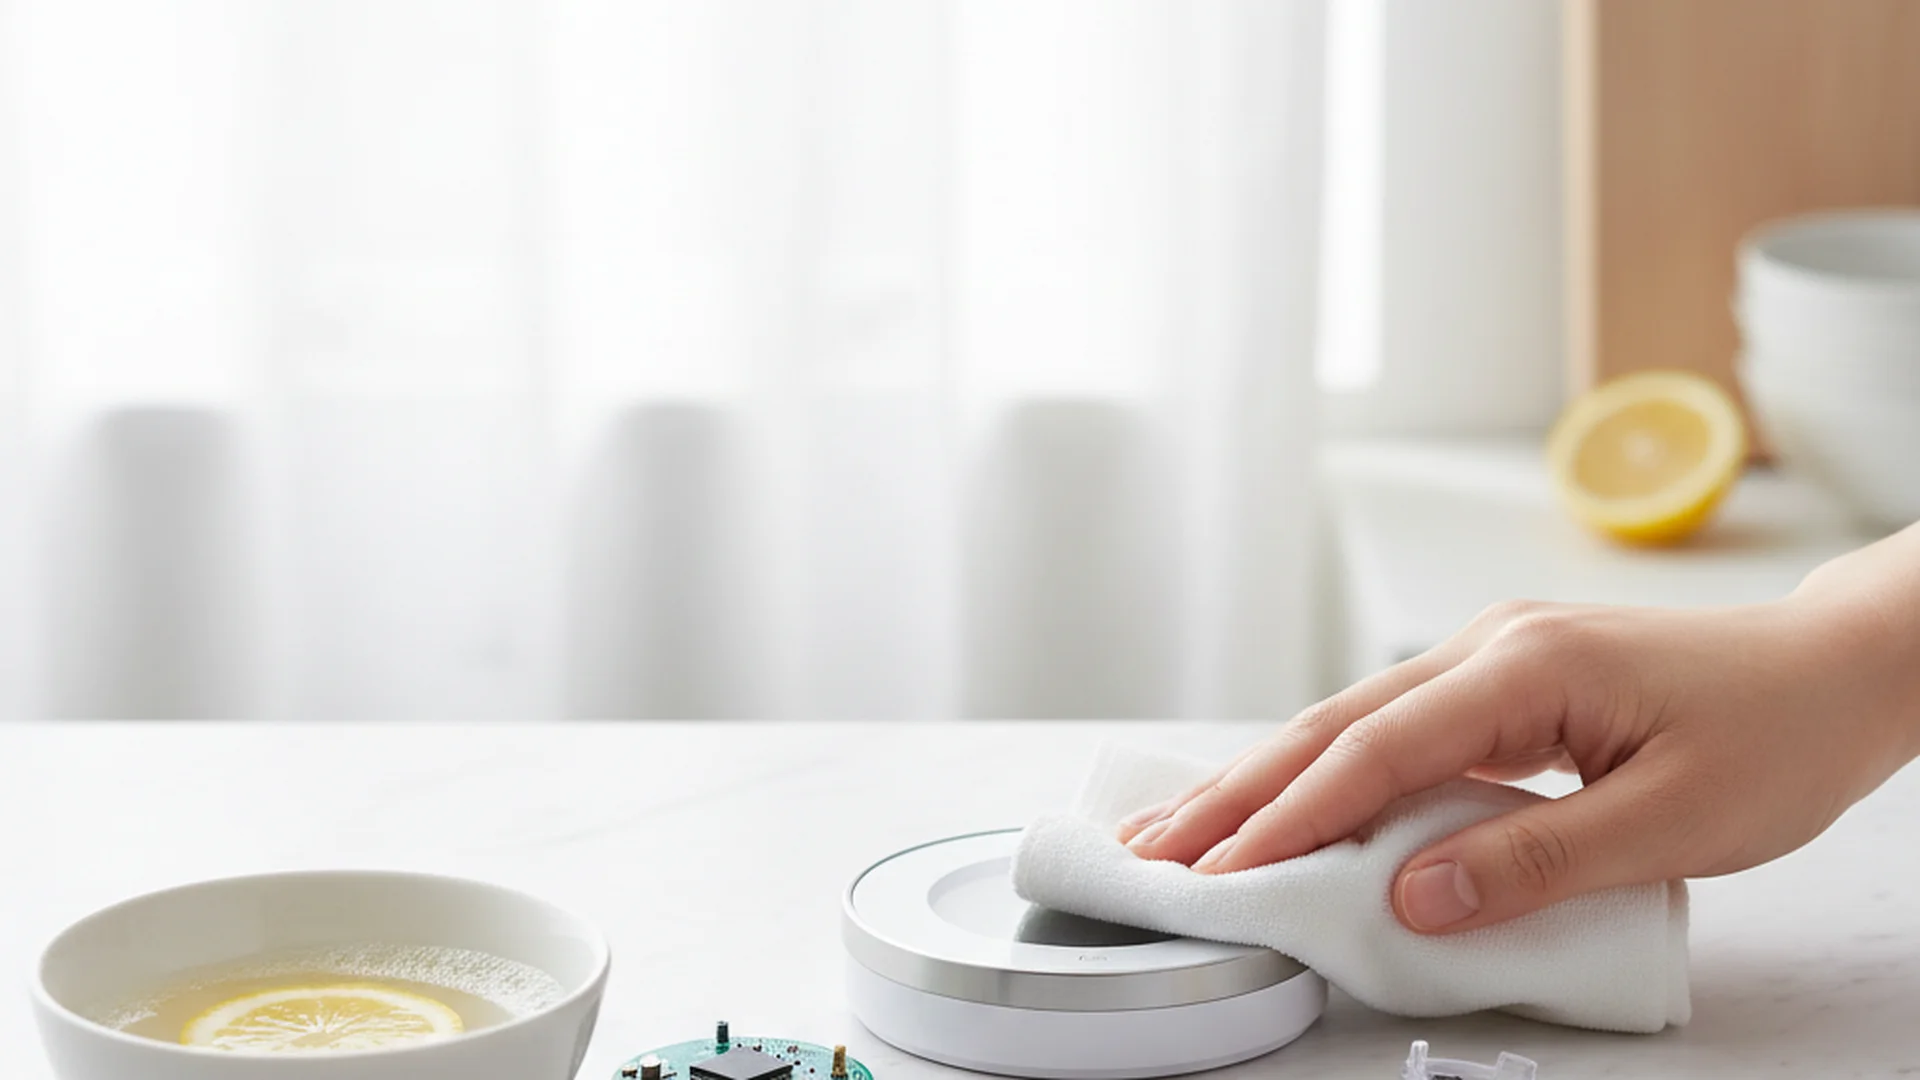
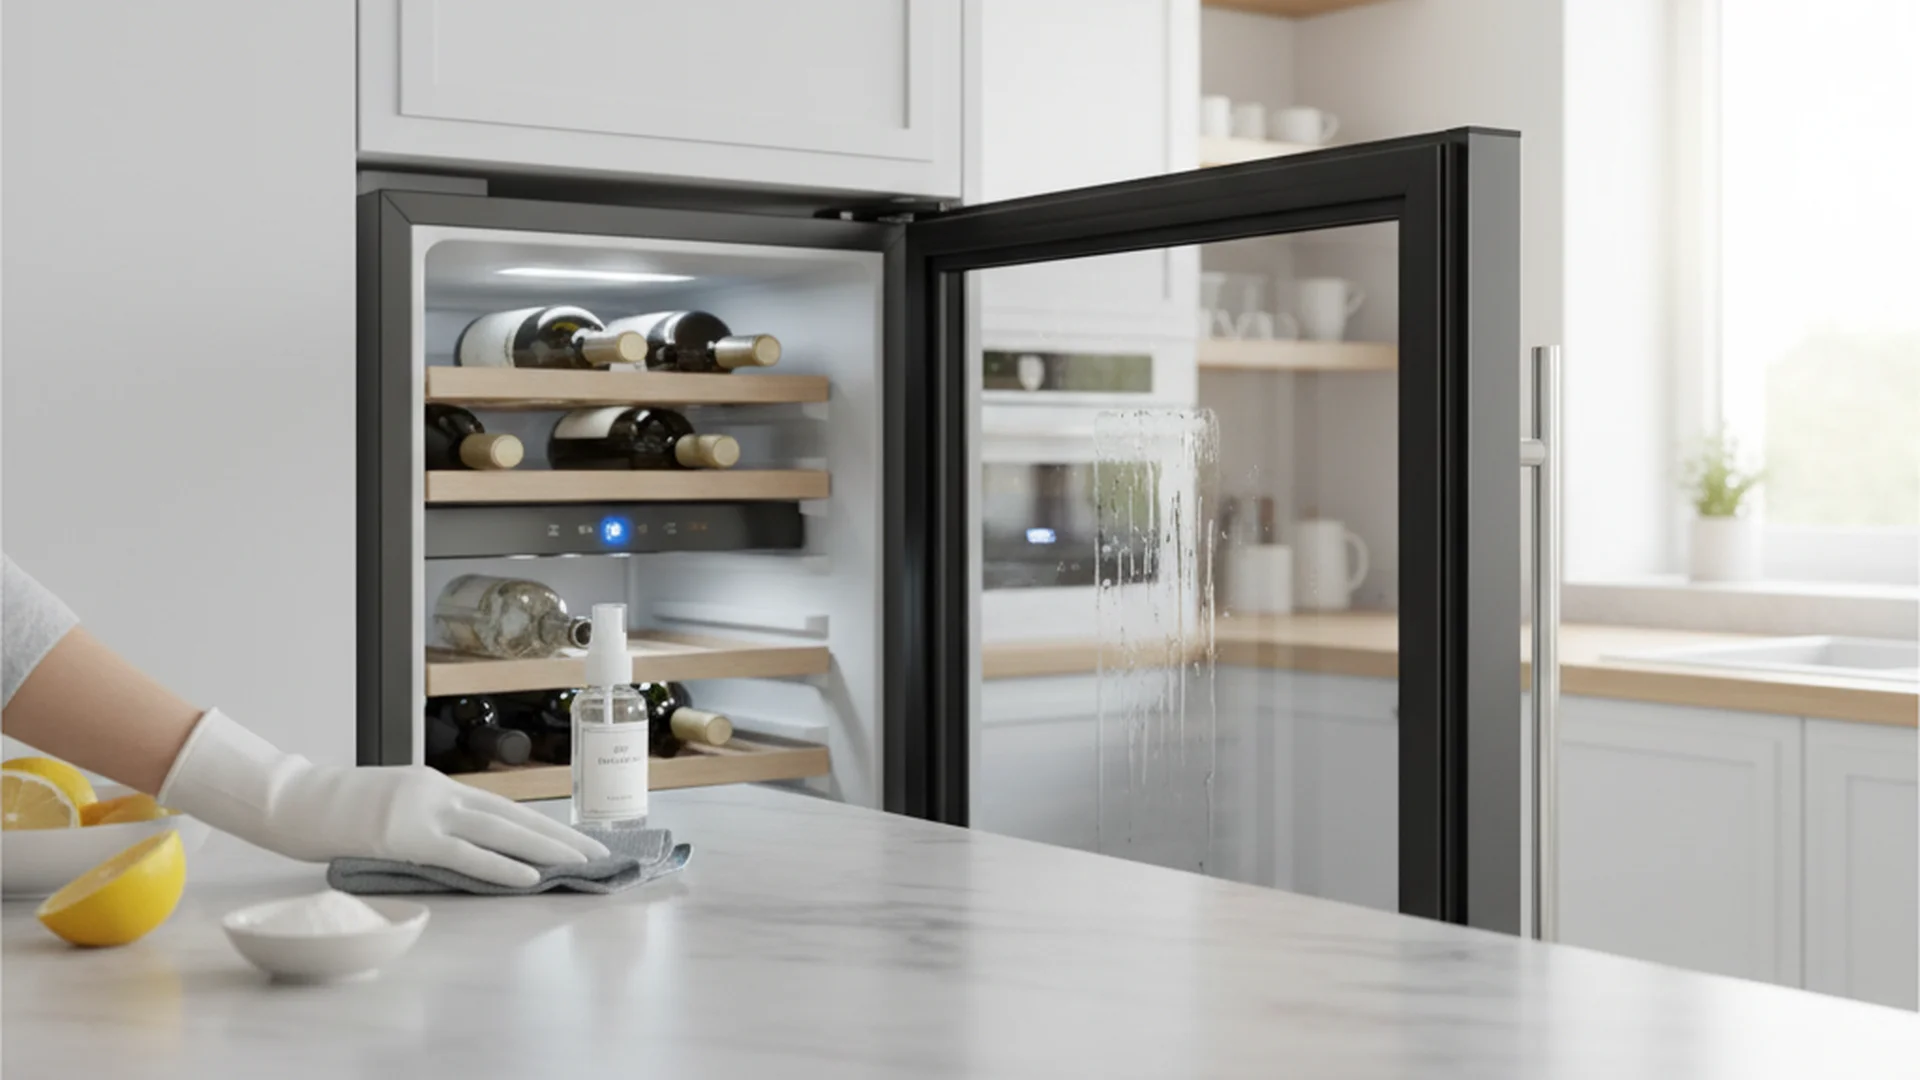
Before you begin, gather the necessary supplies. Using the best way clean fridge dispenser methods involves natural acids rather than harsh industrial chemicals.
| Supply | Purpose |
|---|---|
| Distilled White Vinegar | Descaling and disinfecting |
| Small Funnel | Pouring vinegar into water lines |
| Clean Toothbrush | Scrubbing the nozzle and crevices |
| Microfiber Cloth | Exterior cleaning without scratching |
| Large Bucket/Pitcher | Catching flush water |
| Screwdriver | (Optional) For removing certain nozzle plates |
Warning: Never use bleach or ammonia to clean your water lines. These chemicals can corrode the plastic and copper components of your refrigerator and leave behind toxic residues that are difficult to flush out.
Step-by-Step: How to Clean Your Fridge Dispenser
Step 1: Safety First and Water Shut-off
Start by turning off the water supply valve. This is typically located behind the refrigerator or under the kitchen sink. For safety, especially if you are working near electronic panels, unplug the refrigerator or turn off the corresponding circuit breaker.
Step 2: Accessing and Flushing the Lines
This is the "deep clean" phase. Find where the water line connects to the dispenser (usually at the back or bottom of the door). Disconnect the tube carefully.
- Insert a small funnel into the disconnected water line.
- Pour 2–3 cups of distilled white vinegar into the tube.
- Hold the tube upright or secure it so the vinegar stays in the line.
- Let the vinegar sit for 10–15 minutes. This timeframe is crucial for the acetic acid to break down calcium deposits (limescale) and neutralize bacterial colonies.
Step 3: Detailed Nozzle Cleaning
While the vinegar sits in the lines, focus on the dispenser nozzle. This is where "pink slime" (Serratia marcescens) frequently appears.
Tip: If you see stubborn buildup on the nozzle, soak a paper towel in vinegar and wrap it around the dispenser head with a rubber band. Leave it for 30 minutes to dissolve the scale effortlessly.
Use a clean toothbrush or a dedicated pipe cleaner dipped in vinegar to scrub the inside of the nozzle. Be thorough, as this is the final point of contact before water enters your glass.
Step 4: The Rinse Cycle
Reconnect the water line and turn the water supply back on. Place a large pitcher under the dispenser and hold the lever. You will need to dispense 2–3 gallons of water.
Note: Do not stop flushing until the water is completely clear and no longer smells like vinegar. This ensures all loosened debris and mineral flakes are removed.
Step 5: The Drip Tray and Surroundings
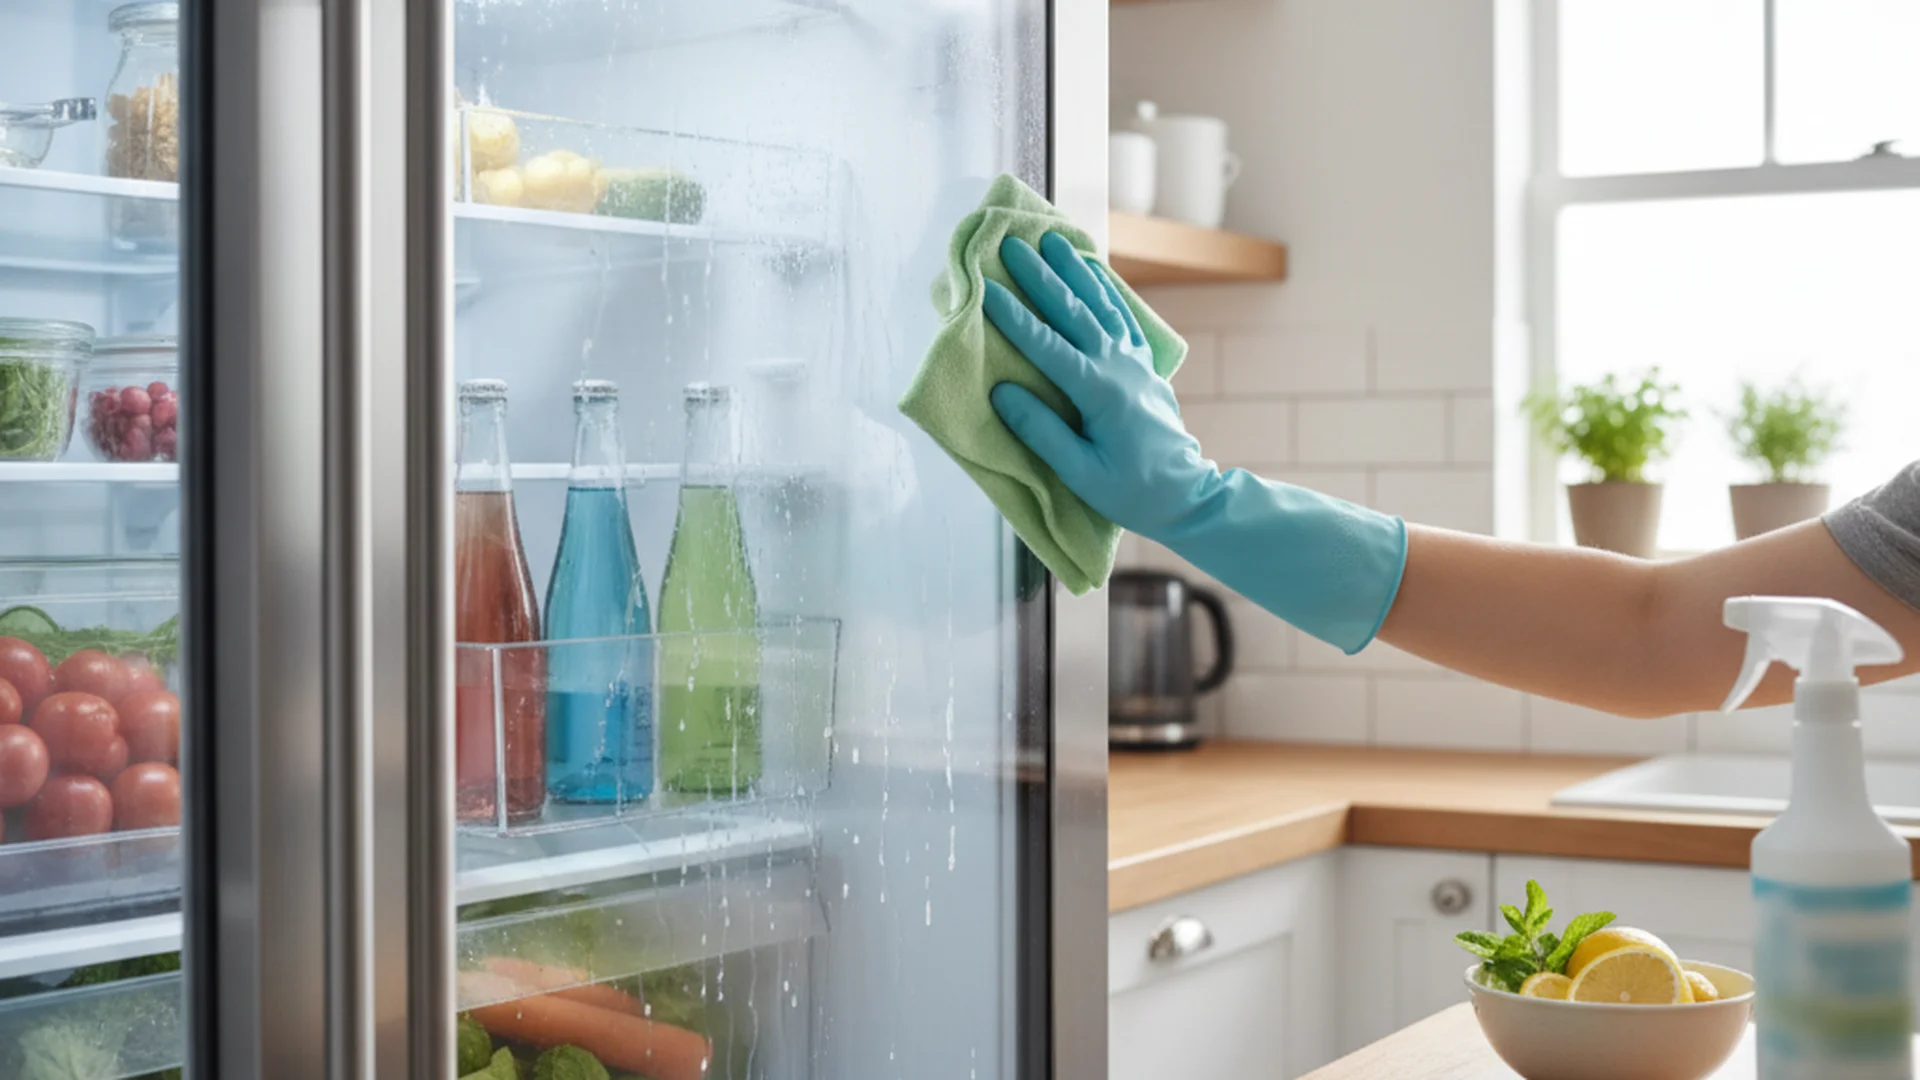
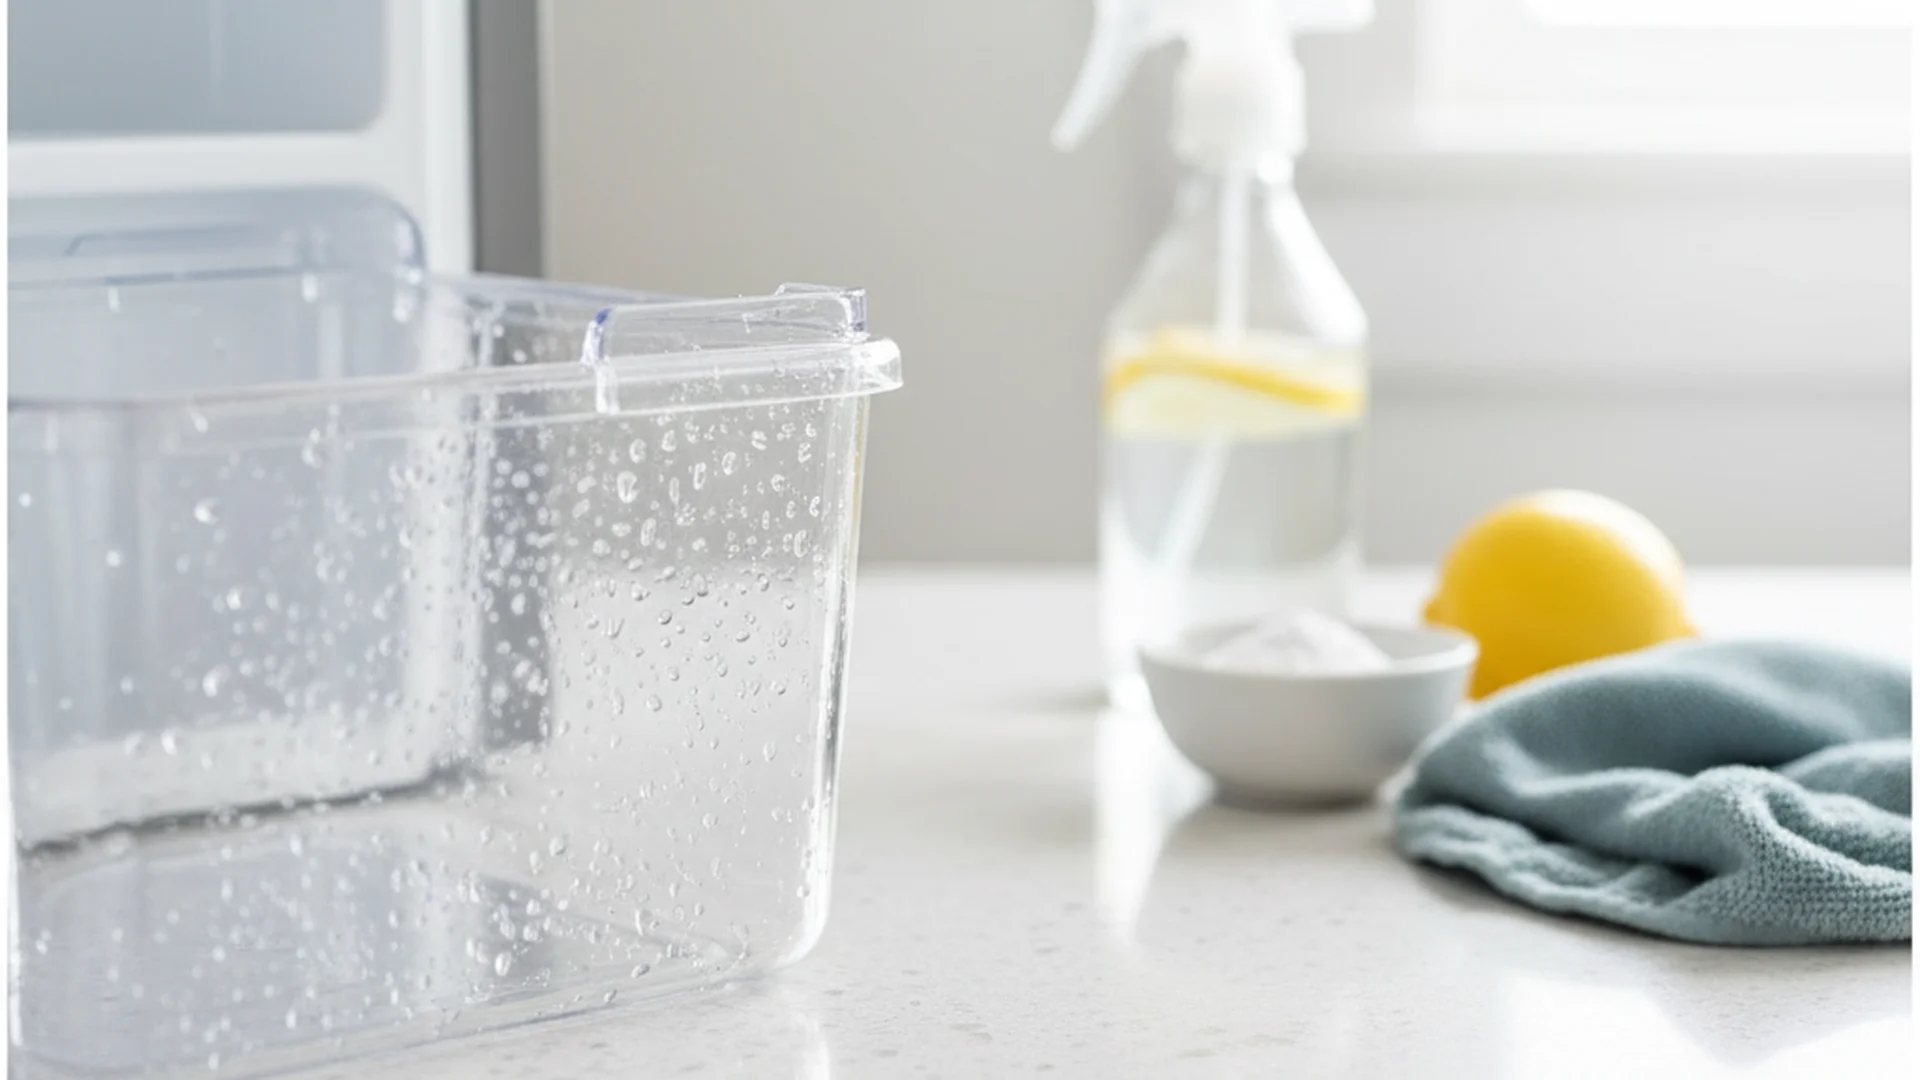
The drip tray often collects stagnant water, leading to mold growth. Remove the tray and wash it in the sink with warm, soapy water and a dash of baking soda to deodorize it. Use a microfiber cloth to wipe down the exterior of the dispenser.
Success: A clean drip tray not only looks better but prevents odors from wafting through your kitchen.
2025–2026 Trends in Dispenser Technology
As we move into 2026, appliance manufacturers are prioritizing hygiene more than ever. If you are in the market for a new fridge, look for these emerging features:
- AI-Enabled Monitoring: Brands like Samsung and LG have introduced AI diagnostics that monitor water flow rates. If the system detects a slowdown indicative of biofilm or scale, it sends a "Deep Clean Required" notification to your smartphone.
- Built-in UV-C Sterilization: Many high-end models now feature UV-C LED lights built directly into the dispenser head. These lights activate periodically to kill 99.9% of bacteria at the exit point.
- Antimicrobial Materials: The integration of Microban into the plastic levers and housing is now a standard for hygiene-conscious designs, inhibiting the growth of surface bacteria.
- Eco-Friendly Tablets: Many users are moving away from liquid vinegar toward specialized, biodegradable descaling tablets. These are pre-measured to ensure the perfect concentration for refrigerator reservoirs.
Common Mistakes to Avoid
Even with the best intentions, it is easy to make mistakes that can damage your appliance or compromise your health.
- Mixing Bleach and Vinegar: This is the most dangerous mistake possible. Combining these two creates lethal chlorine gas. Always stick to one cleaning agent.
- Ignoring the Ice Maker: The ice maker often shares the same water line as the dispenser. If your water tastes "off," your ice likely does too. Always clean the ice bin and flush the ice maker lines simultaneously.
- Using Abrasive Tools: Never use steel wool or paper towels on stainless steel dispensers. Paper towels are surprisingly abrasive and can leave micro-scratches that dull the finish over time.
- Assuming the Filter is a Shield: A common misconception is that "the filter cleans everything." Filters are designed to catch sediment and chemicals before they reach the tank. They cannot stop bacteria from growing in the lines or on the nozzle after the filtration point.
Frequently Asked Questions
How often should I clean my water dispenser?
Why does my water taste like "old pennies" or metal?
Why is the water flow from my dispenser so slow?
Is the "pink slime" in my dispenser dangerous?
Conclusion
Maintaining a clean refrigerator water dispenser is a small task that yields significant health benefits. By following these steps and utilizing the best way clean fridge dispenser techniques—specifically the distilled white vinegar flush—you ensure that your family is drinking truly fresh, pathogen-free water. Remember that in the modern kitchen, hygiene is a proactive habit, not a reactive fix.
Success: Regular maintenance not only improves water taste but also extends the lifespan of your refrigerator's internal components.
Cleaning that keeps score
Every task earns points, every streak multiplies them, and Premium adds a household leaderboard plus a monthly Dustagorgon to beat.
- Free forever
- 30 badges to earn
- Up to 6 in a household
No card needed. Set up your rooms in a couple of minutes.