Key Takeaways
- Defrost your freezer whenever frost exceeds 1/4 inch to save 15% on energy costs.
- Never use sharp objects or high-heat hair dryers to remove ice.
- Use a baking soda solution to neutralize odors without damaging plastic linings.
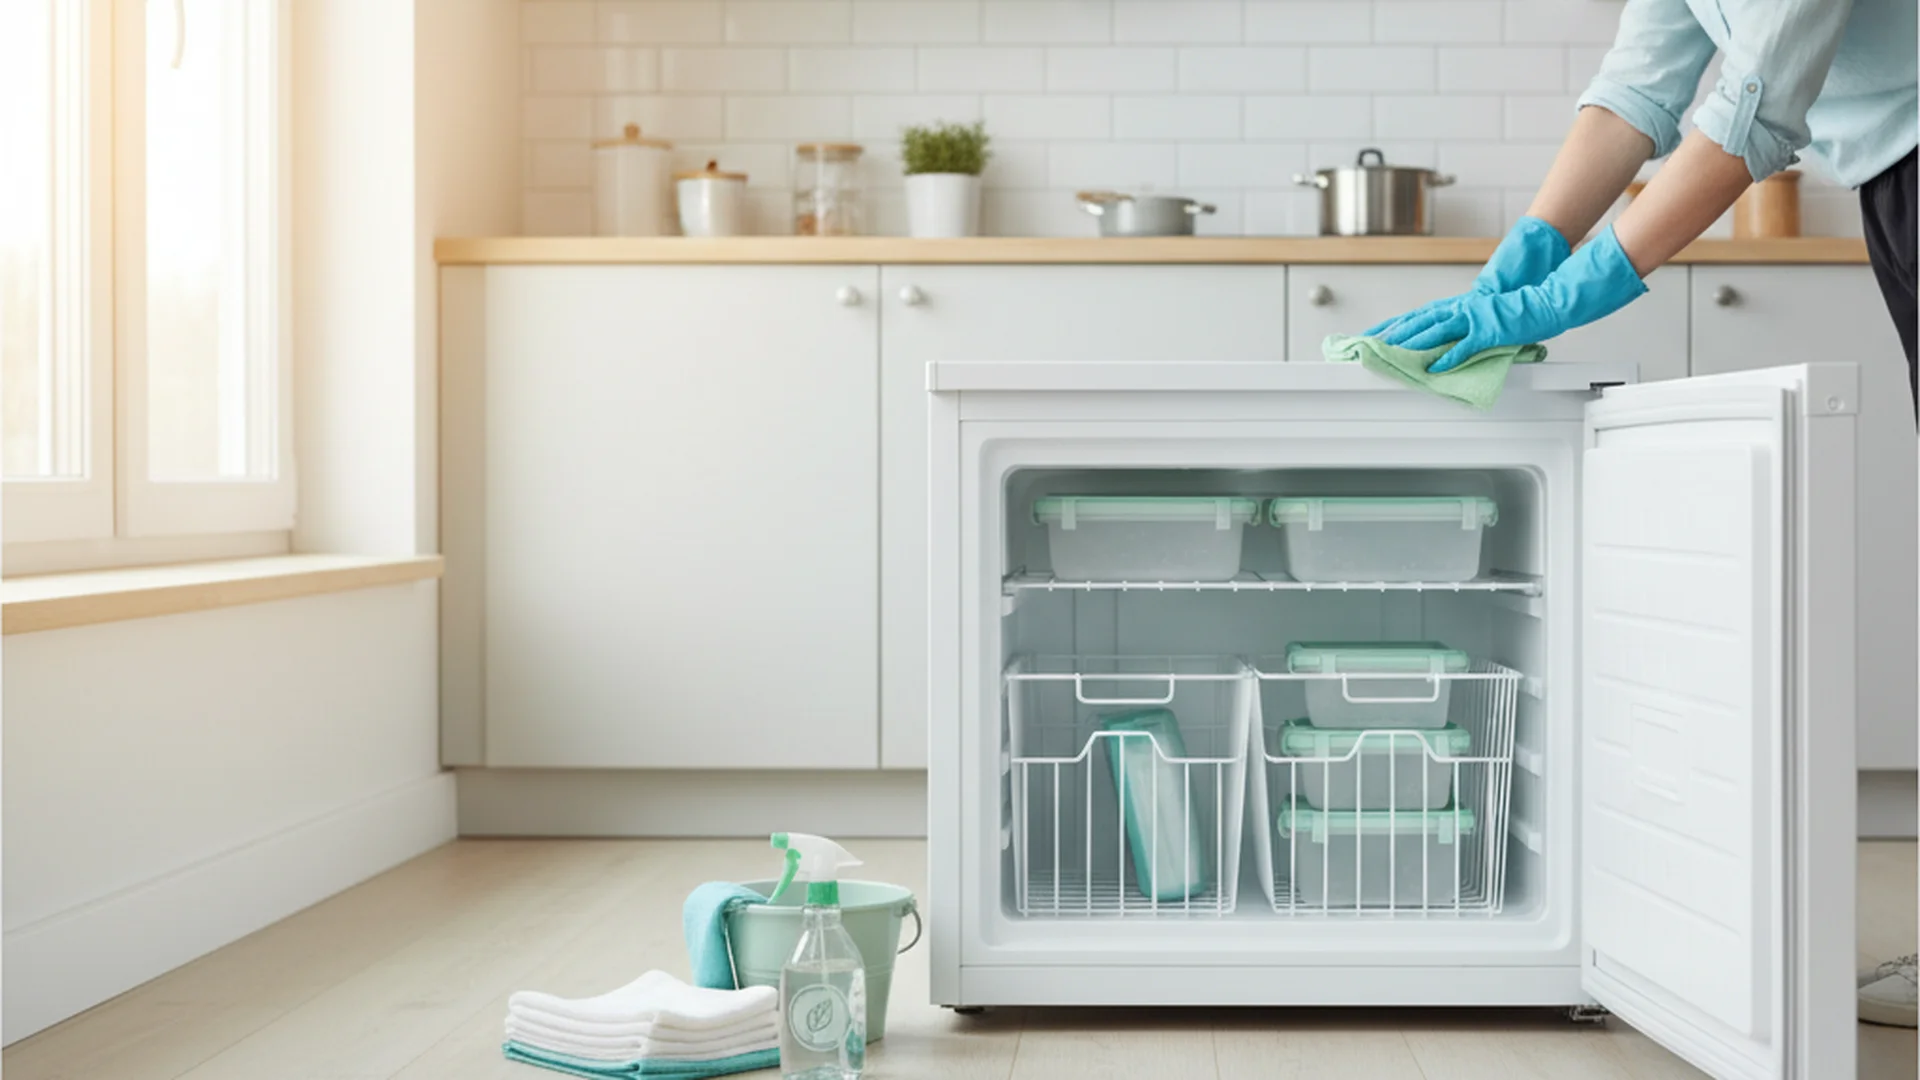
If you have ever opened your freezer only to be met with a wall of ice and a mystery bag of peas from three years ago, you are not alone. Learning how to clean a chest freezer is one of those essential home maintenance tasks that often gets pushed to the bottom of the "to-do" list. However, keeping this appliance pristine isn't just about aesthetics; it is about performance and food safety. A well-maintained freezer can last up to 20 years, while a neglected one may struggle to reach a decade.
In this guide, we will walk through the best way clean chest freezer units, incorporating the latest 2025 technology trends and expert-backed safety protocols to ensure your appliance runs at peak efficiency.
Why Freezer Maintenance Matters in 2025
Before we dive into the "how," it is important to understand the "why." Manual defrost chest freezers are a favorite for long-term storage because they use approximately 50% less energy than automatic defrost models. This is because they lack the internal heating elements required for "frost-free" cycles.
However, that efficiency comes with a trade-off: you have to manage the frost yourself. Just 1/4 inch (6mm) of frost buildup acts as an insulator, forcing the motor to work harder. This small layer of ice can increase your energy consumption by 10-15%. To keep your freezer at the optimal temperature of 0°F (-18°C) without breaking the bank, a regular deep clean is mandatory.
Phase 1: Preparation and the "Cooler Strategy"
You cannot effectively clean a freezer that is full of food. Timing is everything.
The Inventory Audit
Start by taking everything out. This is the perfect time to perform a "freezer audit." Discard anything with significant freezer burn—look for white, icy patches or a shriveled, leather-like texture on meats.
Managing Your Perishables
One of the biggest concerns during this process is food safety. According to the USDA, perishables can safely stay in a high-quality, closed cooler for 2 to 4 hours.
Phase 2: The Defrosting Process
The most time-consuming part of learning how to clean a chest freezer is waiting for the ice to melt.
Speeding Up the Melt
While it is tempting to walk away for six hours, you can speed things up safely. Place several bowls of hot (not boiling) water inside the freezer and close the lid. The trapped steam will loosen the ice from the walls much faster than ambient air.
The Drain and Slush Management
Most modern chest freezers feature a drain plug at the base. Attach a garden hose if the freezer is in a garage, or place a shallow pan to catch the runoff if it is indoors.
Phase 3: Scrubbing and Sanitizing
Once the ice is gone, it is time to address the surfaces.
The Natural Solution
The best way clean chest freezer interiors involves avoiding harsh chemicals like bleach or ammonia. These can damage the plastic lining and leave behind toxic residues that absorb into your food. Instead, use the "Natural Duo":
| Cleaning Agent | Ratio | Best For |
|---|---|---|
| Baking Soda & Water | 2 tbsp per 1 quart | Odor neutralization and mild scrubbing |
| White Vinegar & Water | 1:1 Ratio | Tough stains and disinfecting |
| Mild Dish Soap | 1 tsp per 1 quart | Gasket and exterior cleaning |
Cleaning the Gasket (The Seal)
The rubber seal around the lid is the most critical part of your freezer's efficiency. Wipe it down with mild soap and water. If you notice the rubber feels dry or brittle, apply a thin layer of food-grade silicone lubricant or petroleum jelly. This keeps the seal supple and airtight, preventing new frost from forming quickly.
Phase 4: Exterior and Mechanical Maintenance
Many homeowners forget that the most important parts of the freezer are the ones they can't see.
Condenser Coil Care
Dusty coils are the number one cause of cooling failure. Locate the grill (usually on the side or back) and use a vacuum with a brush attachment to remove dust and pet hair. This simple 5-minute task can add years to your appliance's lifespan.
2025 Tech Considerations
If you have a 2025 model from brands like GE or Danby, your unit may feature Wi-Fi-enabled sensors. These sensors alert your smartphone when the internal temperature rises above 10°F or when frost is too thick. Ensure these sensors are wiped clean and are not blocked by food when you restock.
Common Mistakes to Avoid
- Using Sharp Objects: Never, under any circumstances, use an ice pick or a metal knife to scrape ice. Puncturing the interior wall can hit a refrigerant line, instantly "killing" the freezer. Only use plastic scrapers.
- Restocking Too Soon: After cleaning, the interior of the freezer will be at room temperature. Let the unit run empty until it reaches 0°F before putting food back in. Restocking a warm freezer causes "thermal shock" to the food, which degrades quality.
- Incomplete Drying: If the interior isn't 100% dry before you turn it back on, the remaining moisture will turn into a new layer of frost immediately. Use a microfiber cloth to get into every corner.
Frequently Asked Questions
How often should I clean my chest freezer?
Can I use a hair dryer to melt the ice?
Why does my freezer have a "silver" lining?
How long does it take for a freezer to get back to 0°F?
Conclusion
Taking the time to learn how to clean a chest freezer is an investment in your home's efficiency and your family's food safety. By following the "Natural Solution" method and paying attention to mechanical details like the condenser coils and gaskets, you ensure that your appliance remains a reliable part of your kitchen for decades to come.
Make it a habit to check your frost levels every time you do a large grocery shop. A little maintenance today prevents an expensive repair—or a melted mess—tomorrow.