In this article
What you’ll learn
- Clean your ice maker every 3–6 months to prevent biofilm and bacteria.
- Never use sharp tools or splash-less bleach during the cleaning process.
- 2026 technology includes UV-C sanitization and smart AI maintenance alerts.
Most of us treat the refrigerator ice maker as a "set it and forget it" appliance. However, ice from a poorly maintained machine can carry a startling amount of bacteria. If you haven't performed a deep clean recently, you are likely consuming "biofilm"—a slimy colony of microorganisms. Knowing how to clean fridge ice maker units is no longer just a suggestion; it is a critical food safety task for every modern household.
Why Ice Maker Hygiene Matters in 2025
Automatic ice makers are standard equipment in most kitchens now, yet hardly anyone keeps to a consistent maintenance schedule for them. Because ice is technically a "food item," it requires the same level of sanitation as your cutting boards or dinner plates.
The primary culprit in a dirty ice machine is biofilm. This "slime" acts as a protective shield for dangerous pathogens like Salmonella, Listeria, and E. coli. Because ice makers are dark, moist, and often neglected, they become the perfect breeding ground for these colonies.
Note: Ice is consumed daily in most homes, making it one of the most frequently ingested items in the house.
Preparation: What You Will Need
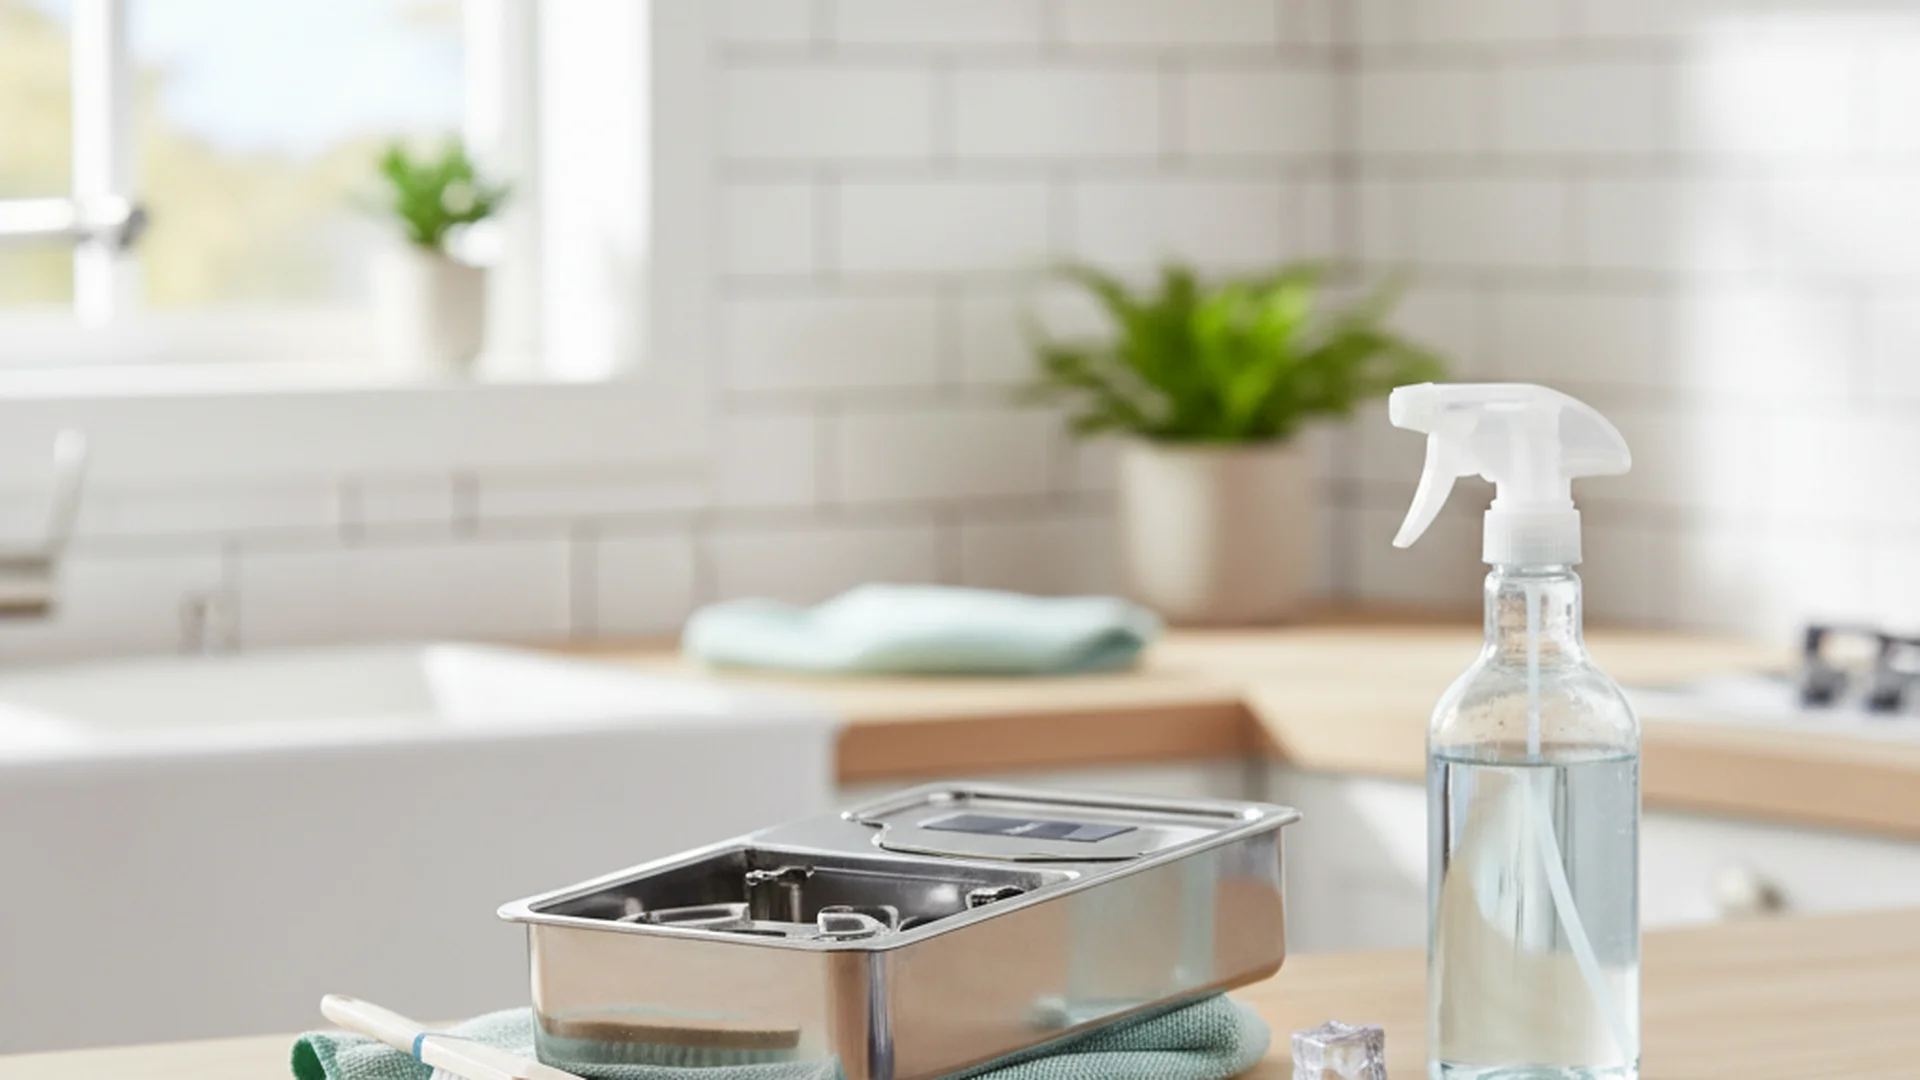
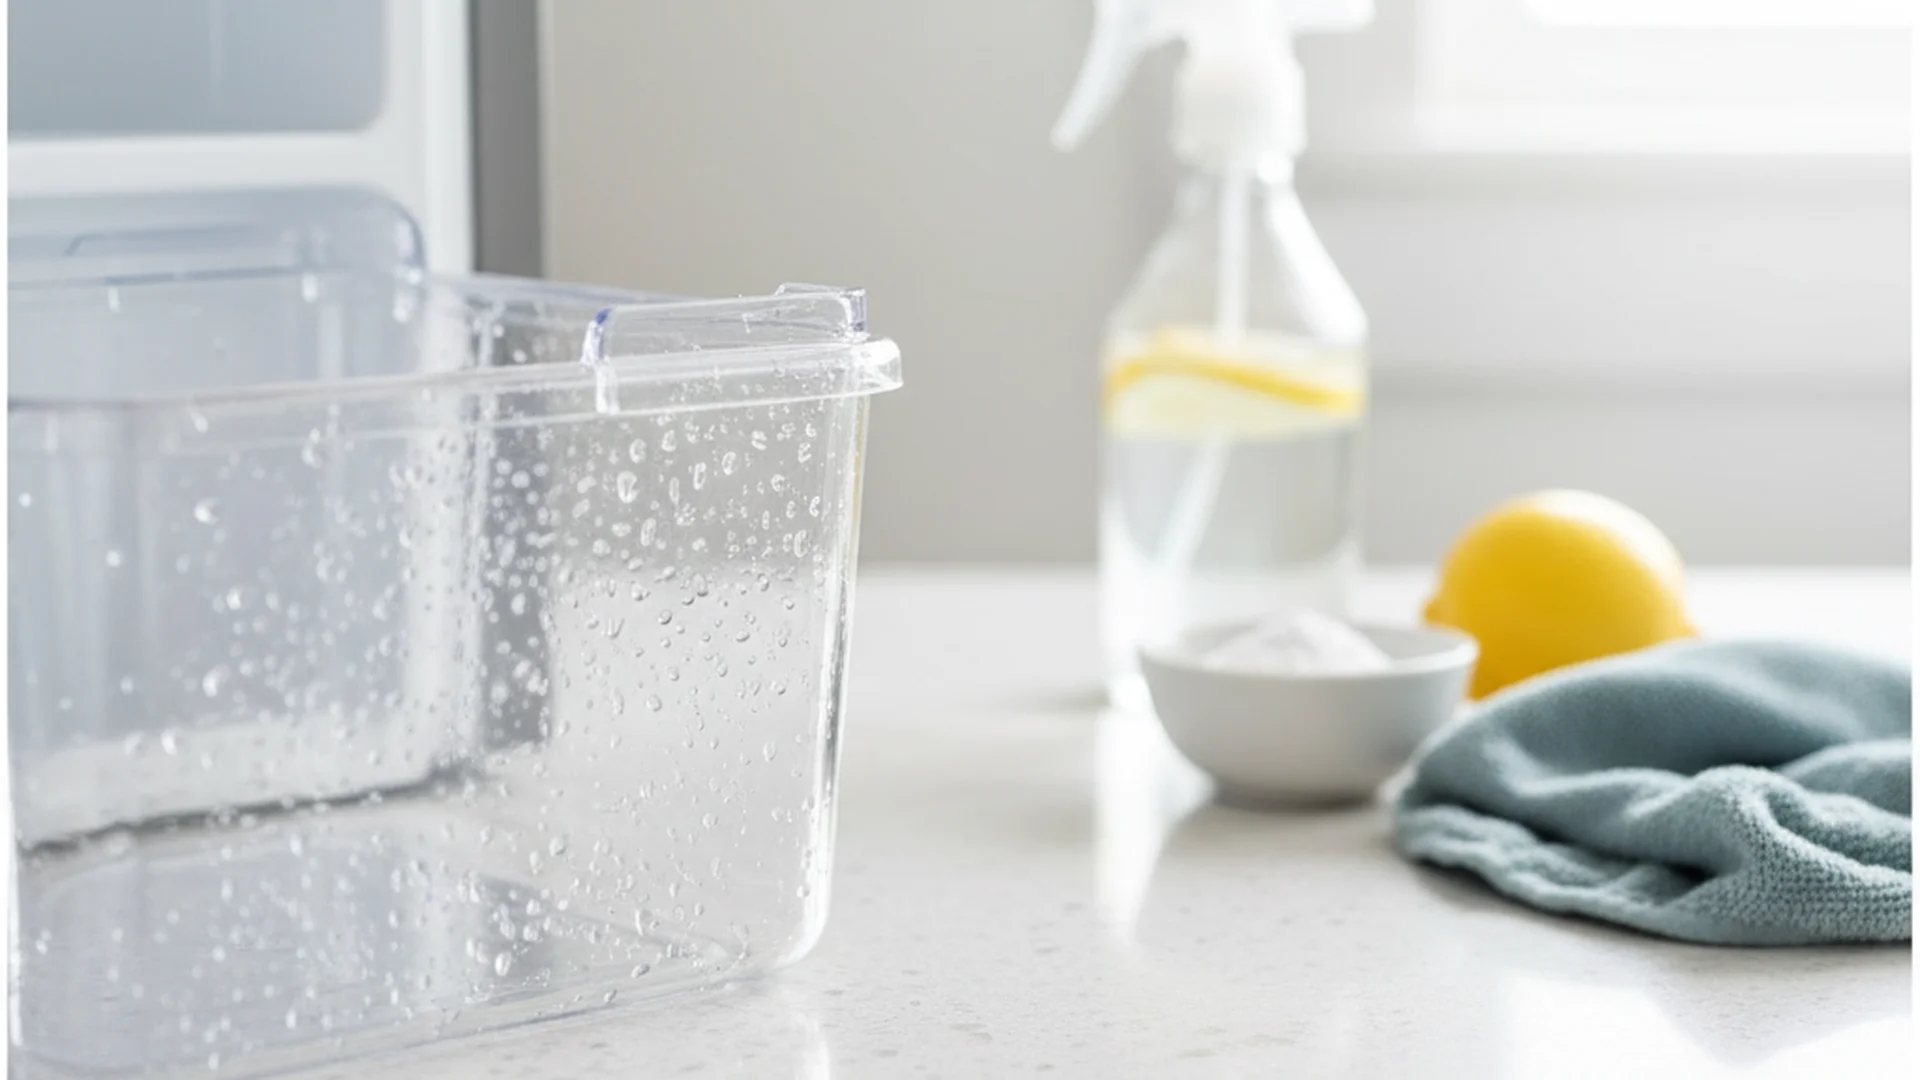
Before you begin, gather the following supplies to ensure you are using the best way clean fridge ice maker components effectively:
- Distilled white vinegar or a citric acid-based descaler.
- Warm, soapy water (using mild dish soap).
- A clean, soft-bristled toothbrush.
- Microfiber cloths.
- A funnel.
- A large bowl or bucket.
Warning: Always unplug the refrigerator or turn off the specific ice maker switch before cleaning to avoid electrical shock or mechanical damage.
The Step-by-Step Cleaning Process
Step 1: Power Down and Empty
First, switch off the ice maker. Most modern units have a physical switch or a setting on the digital display. Once powered down, remove the ice bin and discard all existing ice.
Tip: Use this discarded ice to water your outdoor plants so it doesn’t go to waste!
Step 2: Soak and Scrub the Bin
Wash the ice bin in the sink with warm, soapy water. If there are stubborn mineral deposits (white crusty spots), soak the bin in a 1:1 ratio of water and white vinegar for 10 minutes.
Step 3: Sanitize the Internal Components
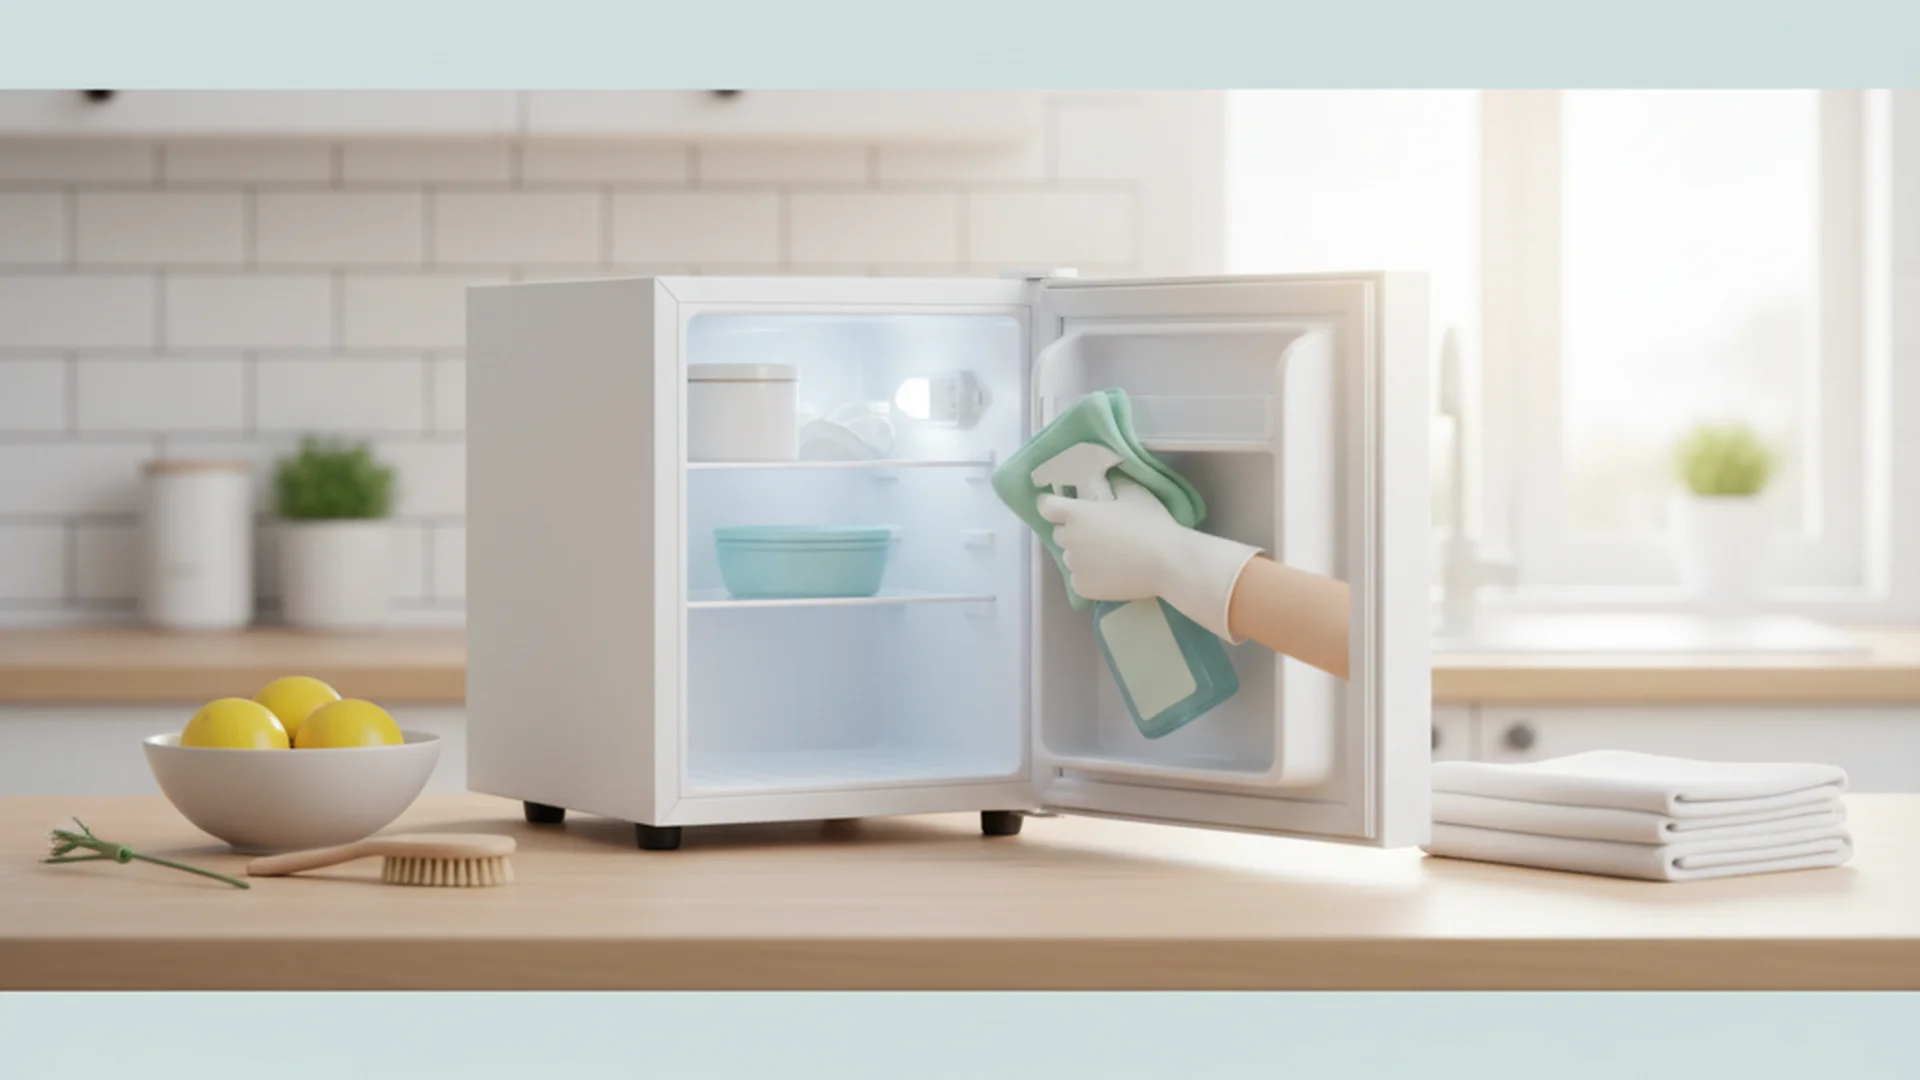
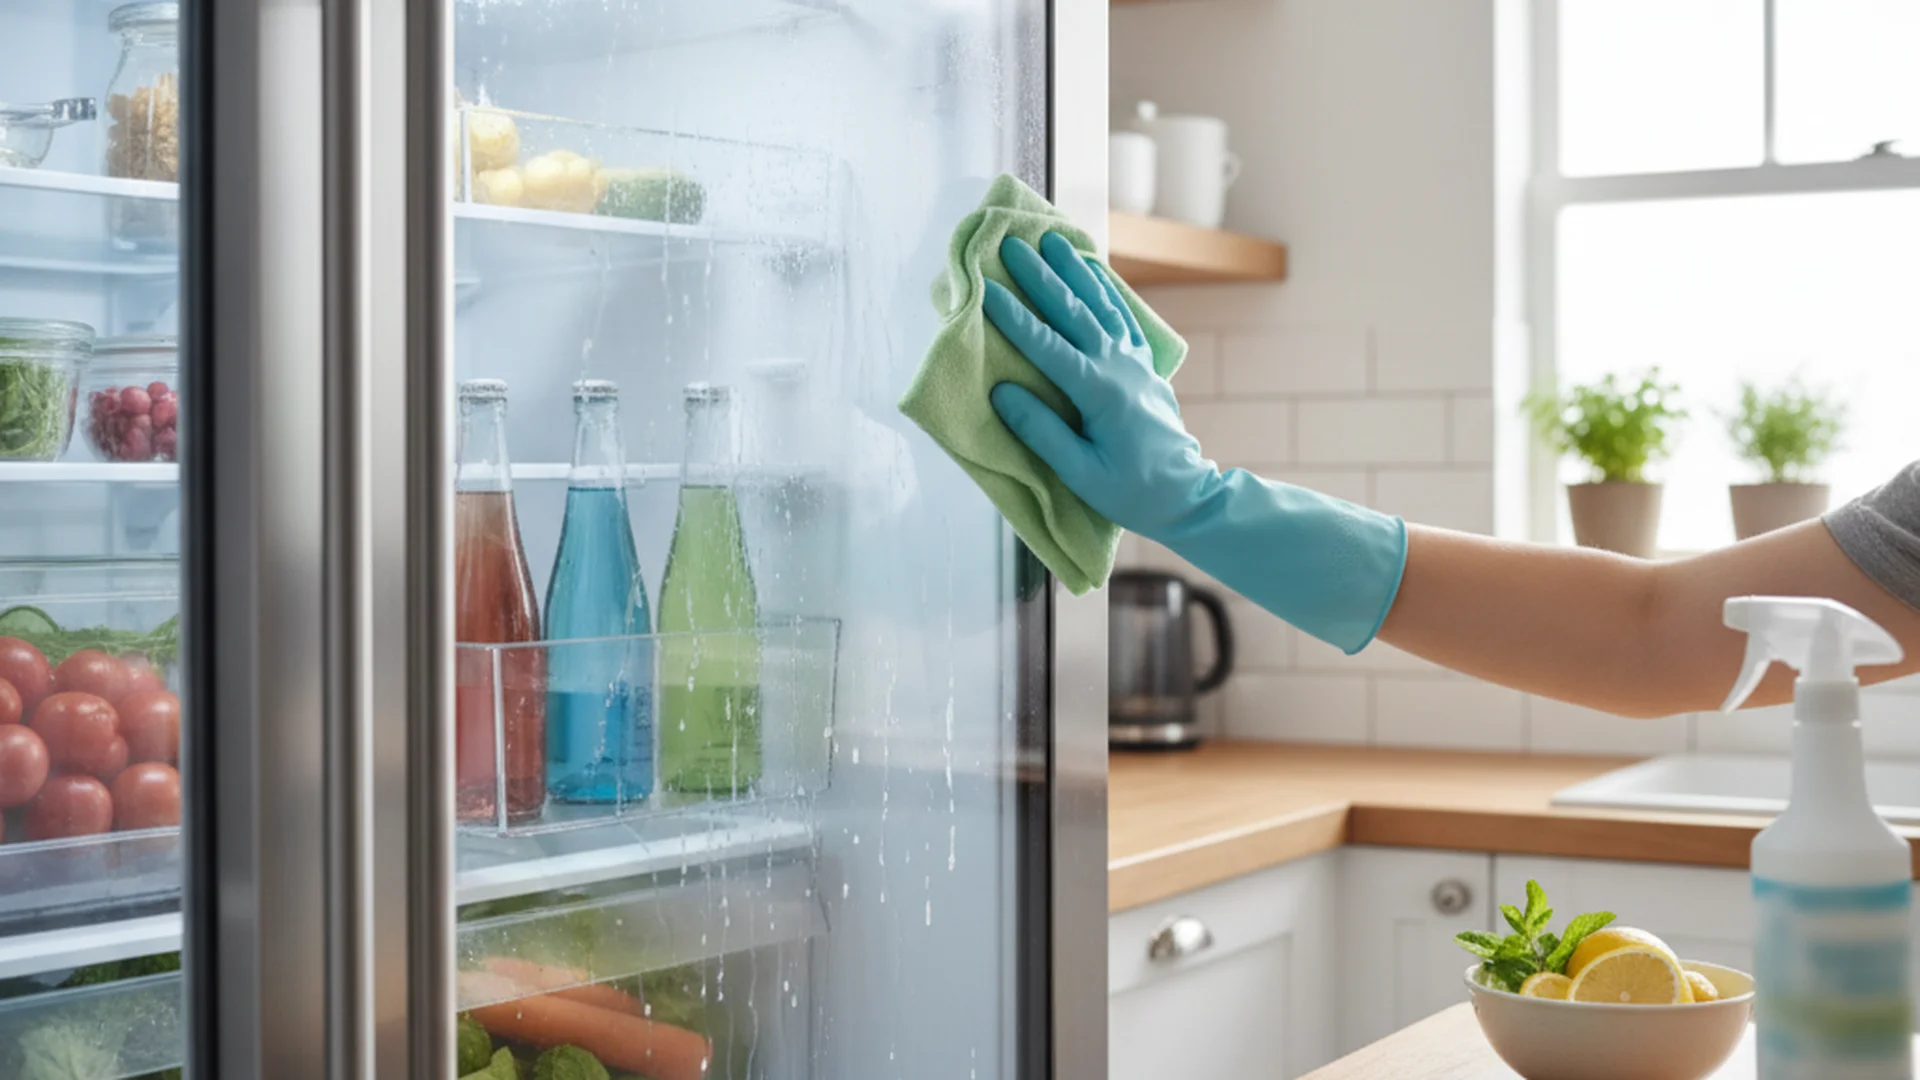
Wipe down the interior of the ice maker compartment with a vinegar-soaked microfiber cloth. For the small "nooks and crannies" of the ice mold, use the toothbrush. This is where calcium and scale typically hide, which can slow down ice production.
Step 4: Flush the Water Line
Using a funnel, pour a small amount of vinegar solution into the water line. Let it sit for 20 minutes to break down any internal mineral buildup. Afterward, reconnect the water and run a few cycles to flush the system.
Step 5: The Exterior Dispenser Chute
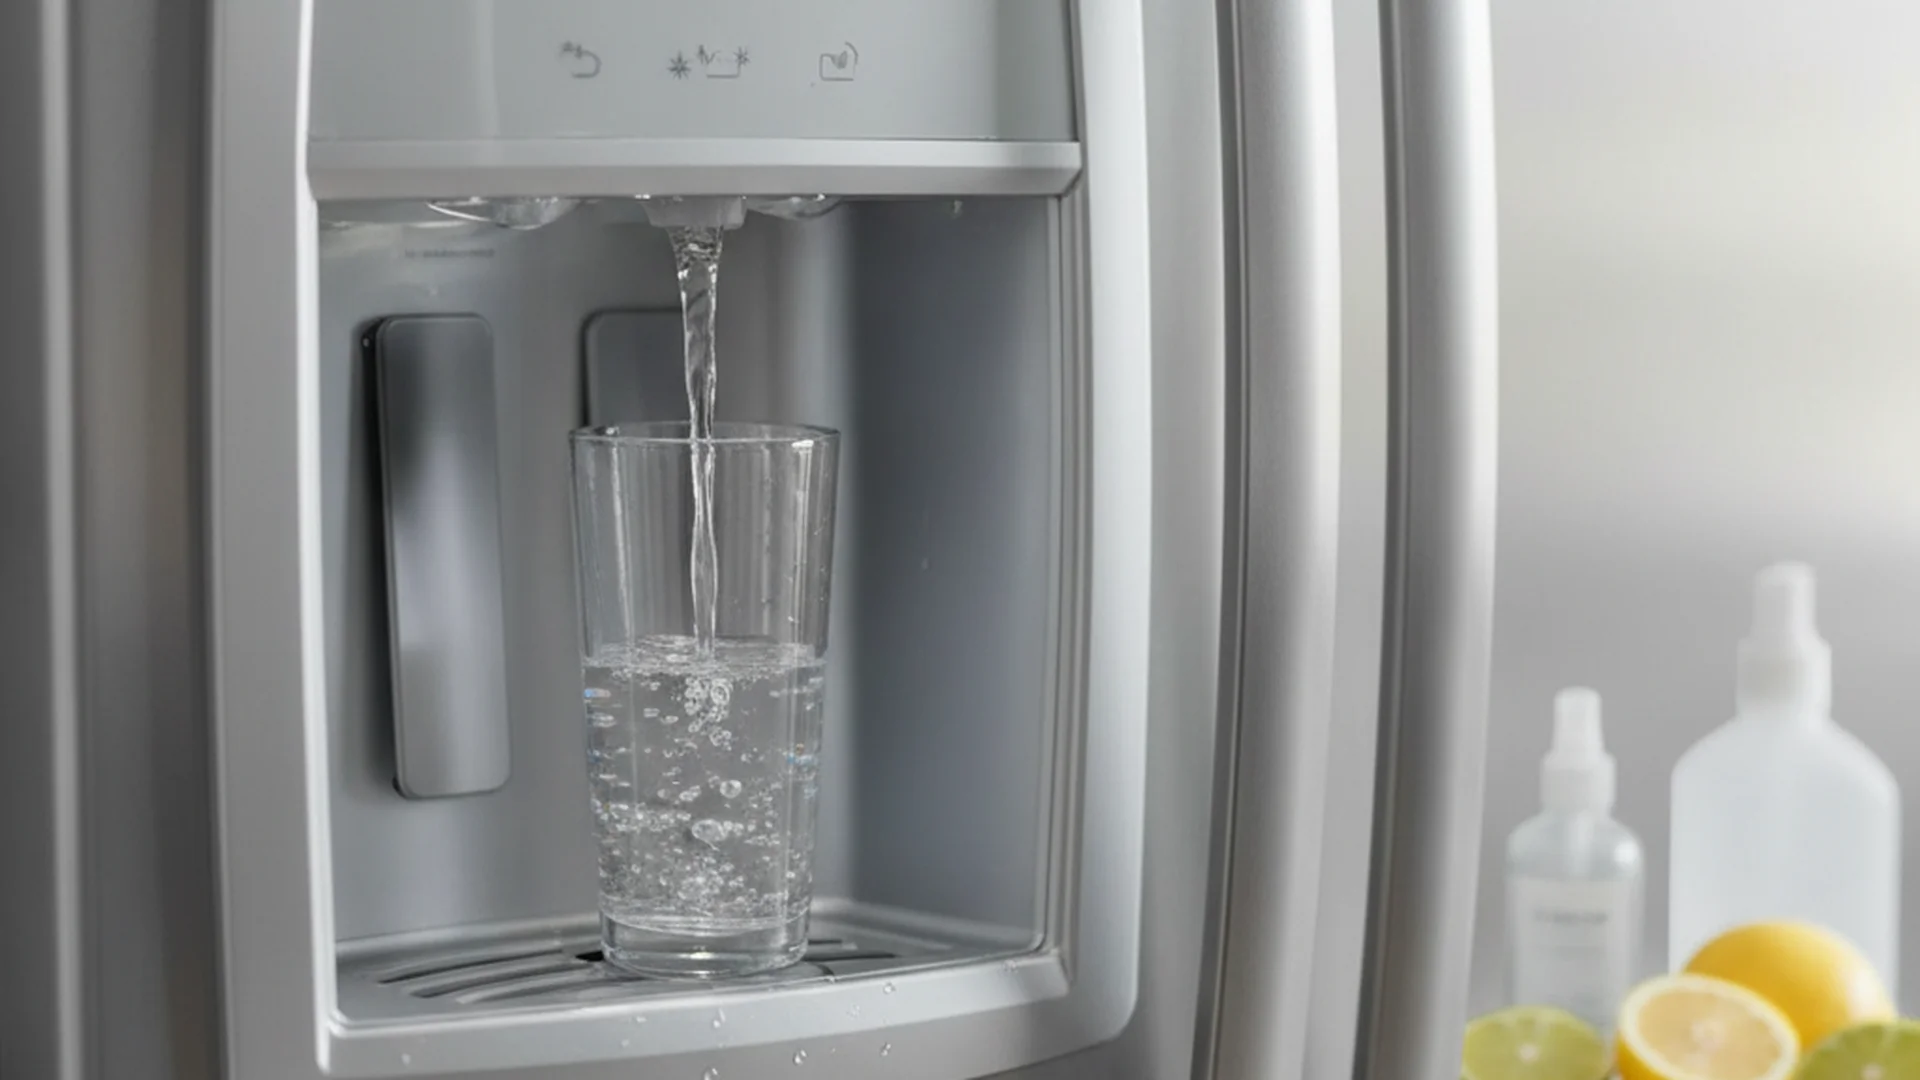
The exterior dispenser hole is a common site for "pink mold" (Serratia marcescens) because it is exposed to room-temperature air. Wipe this area thoroughly with a sanitizing solution.
Success: Regularly cleaning the dispenser chute prevents the "musty" smell often associated with older refrigerator units.
Real-World Examples of Maintenance Issues
Example 1: The "Onion Ice" Mystery
A common complaint is ice that tastes like onions or garlic. Since ice is porous, it acts like a sponge for odors. If you store uncovered aromatic foods in your fridge, the air circulation transfers those scents to your ice. Regular cleaning and covering your food can solve this instantly.
Example 2: The Pink Slime Discovery
A homeowner in Florida noticed pink residue on their ice dispenser. This wasn't just dirt; it was Serratia marcescens, a bacteria that thrives on phosphorus and fatty substances (like kitchen grease). A quick scrub with a vinegar solution and a toothbrush eliminated the hazard.
Example 3: The Frozen Coil Disaster
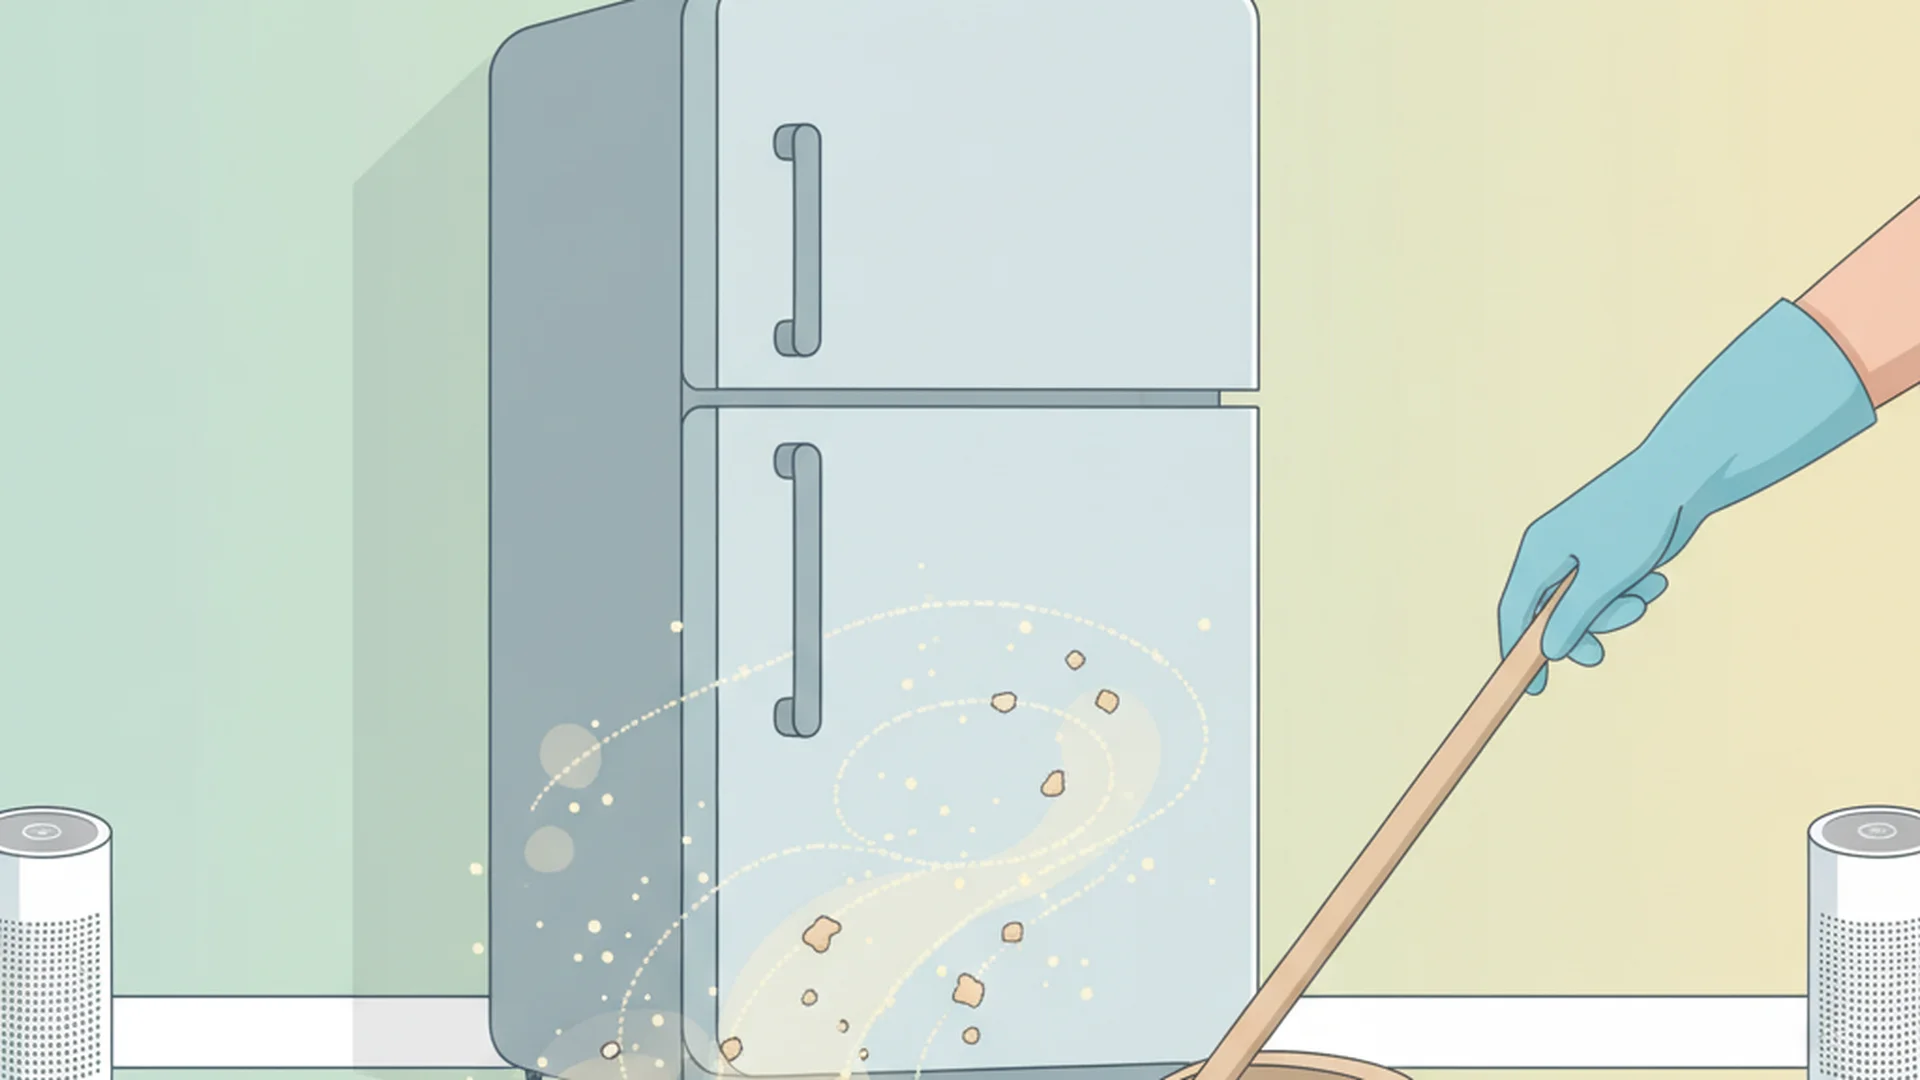
One user attempted to remove frost build-up using a screwdriver. They accidentally punctured the heat-exchange coil, leading to a costly $800 repair. Always use a warm, damp cloth or a hair dryer on a low, cool setting to melt frost—never sharp tools.
2025–2026 Industry Trends
The technology behind ice makers is evolving rapidly. Here are the latest trends currently shaping the industry:
- Smart Maintenance Alerts: 2026 models from brands like Samsung and LG now feature AI-driven "Clean Me" notifications. These track water flow and mineral build-up, sending a push notification to your phone when it’s time to scrub.
- UV-C Sanitization: High-end refrigerators are increasingly incorporating built-in UV-C LED lights in the dispenser chute to kill 99.9% of bacteria automatically.
- Nugget Ice Needs: The popularity of "Sonic-style" nugget ice makers has increased maintenance requirements. These machines have more moving parts and require cleaning every 2 months.
- Citric Acid Shift: There is a 2026 shift away from bleach toward citric acid-based descalers, which are biodegradable and safer for high-efficiency machines.
| Feature | Standard Ice Maker | Nugget Ice Maker (2026) |
|---|---|---|
| Cleaning Frequency | Every 6 Months | Every 2 Months |
| Best Agent | Vinegar/Water | Citric Acid Descaler |
| Common Issue | Mineral Scale | Biofilm/Slime |
Common Mistakes to Avoid
Using "Splash-Less" Bleach
Standard bleach is acceptable if highly diluted (1 tbsp per gallon), but "splash-less" or scented bleaches contain thickening agents that are not food-safe. They will leave a permanent chemical taste in your ice.
Neglecting the Filter
The best way clean fridge ice maker units is to sync the cleaning with your water filter replacement. A clogged filter restricts water flow, leading to smaller, cloudy cubes that harbor concentrated minerals.
Forgetting to Dry
Before reassembling your machine, ensure every component is bone-dry. Remaining moisture can lead to immediate mold regrowth or cause the first batch of ice to clump together into a single solid mass.
Frequently Asked Questions
How often should I clean my ice maker?
Can I use vinegar to clean it?
Do I really need to throw away the first few batches?
Why is my ice cloudy?
Conclusion
Maintaining a clean ice maker is a small task that yields significant health benefits. By following these steps and staying updated with 2026 trends like UV-C sanitization and smart alerts, you ensure that your family’s ice is as fresh and safe as possible. Don't wait for the ice to taste "off" before you take action—consistency is the key to domestic efficiency.
Success: A clean ice maker not only provides better-tasting ice but also extends the lifespan of your refrigerator's internal components.
Cleaning that keeps score
Every task earns points, every streak multiplies them, and Premium adds a household leaderboard plus a monthly Dustagorgon to beat.
- Free forever
- 30 badges to earn
- Up to 6 in a household
No card needed. Set up your rooms in a couple of minutes.