In this article
What you’ll learn
- Built-up grease and dust noticeably reduce a fixture's light output.
- Always turn off power at the breaker for deep cleaning involving liquids.
- Use material-specific methods for glass, metal, and natural materials like rattan.
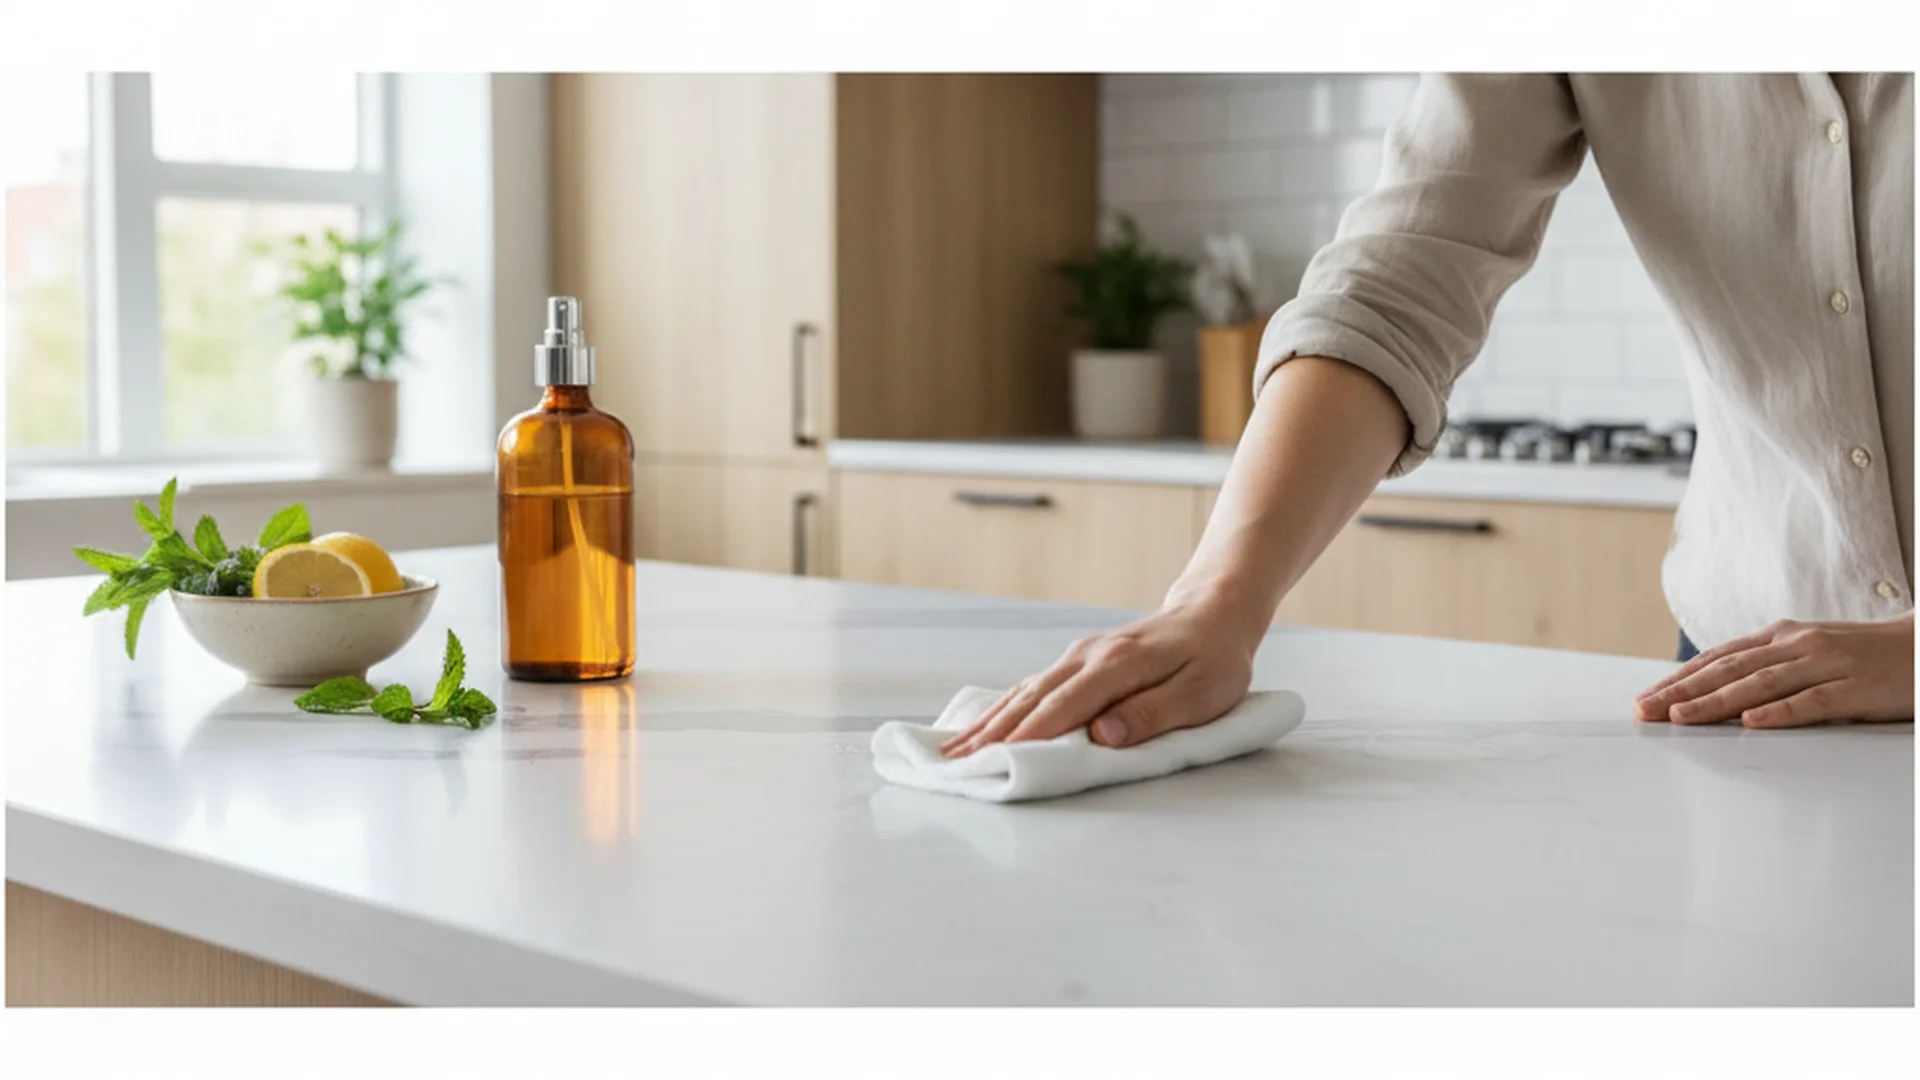
Learning how to clean kitchen lights is one of those household tasks that yields immediate, satisfying results. In the heart of the home, light fixtures are subject to more than just standard household dust; they contend with a relentless cocktail of airborne grease, steam, and cooking particulates. Over time, this mixture creates a sticky film that dims your workspace and can even become a fire hazard. Whether you have modern recessed LEDs or a vintage chandelier, finding the best way clean kitchen lights is essential for maintaining both the efficiency and the aesthetic of your culinary space.
Why Kitchen Lights Require Special Attention
The kitchen environment is unique. Unlike a bedroom or living room where dust is dry and easily whisked away, kitchen "grime" is a hybrid substance. When you sauté or boil water, microscopic droplets of fat and water vapor enter the air. These droplets act as a binder, trapping dust and solidifying it into a tacky layer.
This isn't just an aesthetic issue. A film of dust and grease sits between the bulb and the room, so a fixture can lose a noticeable share of its brightness long before the bulb reaches the end of its life. This "dimming effect" often leads homeowners to turn on additional lamps, inadvertently increasing energy consumption.
Note: A dusty bulb runs significantly hotter than a clean one. This excess heat can degrade the internal components of LED drivers and shorten the lifespan of incandescent bulbs.
Safety First: Pre-Cleaning Protocol
Before you grab a ladder, safety must be your priority. Working with electricity and liquids is a dangerous combination.
- Cool Down Period: Always wait at least 30 minutes for bulbs to cool before touching them. Halogen and incandescent bulbs can cause severe burns.
- The Power Down Rule: While many people simply flip the wall switch, cut the power at the circuit breaker for any deep cleaning involving wet solutions. This prevents accidental shocks if liquid seeps into the socket.
- Stability: Use a sturdy A-frame ladder rather than balancing on kitchen chairs or countertops.
Warning: Never spray cleaning solutions directly onto a light fixture. This is the primary cause of internal corrosion and electrical shorts. Always apply the cleaner to your cloth first.
The Best Way to Clean Kitchen Lights by Material
Different materials require different approaches to avoid damage. Using the wrong chemical on a delicate finish can strip lacquer or cloud glass permanently.
Glass Globes and Shades
Glass is the most common material for kitchen pendants and flush mounts.
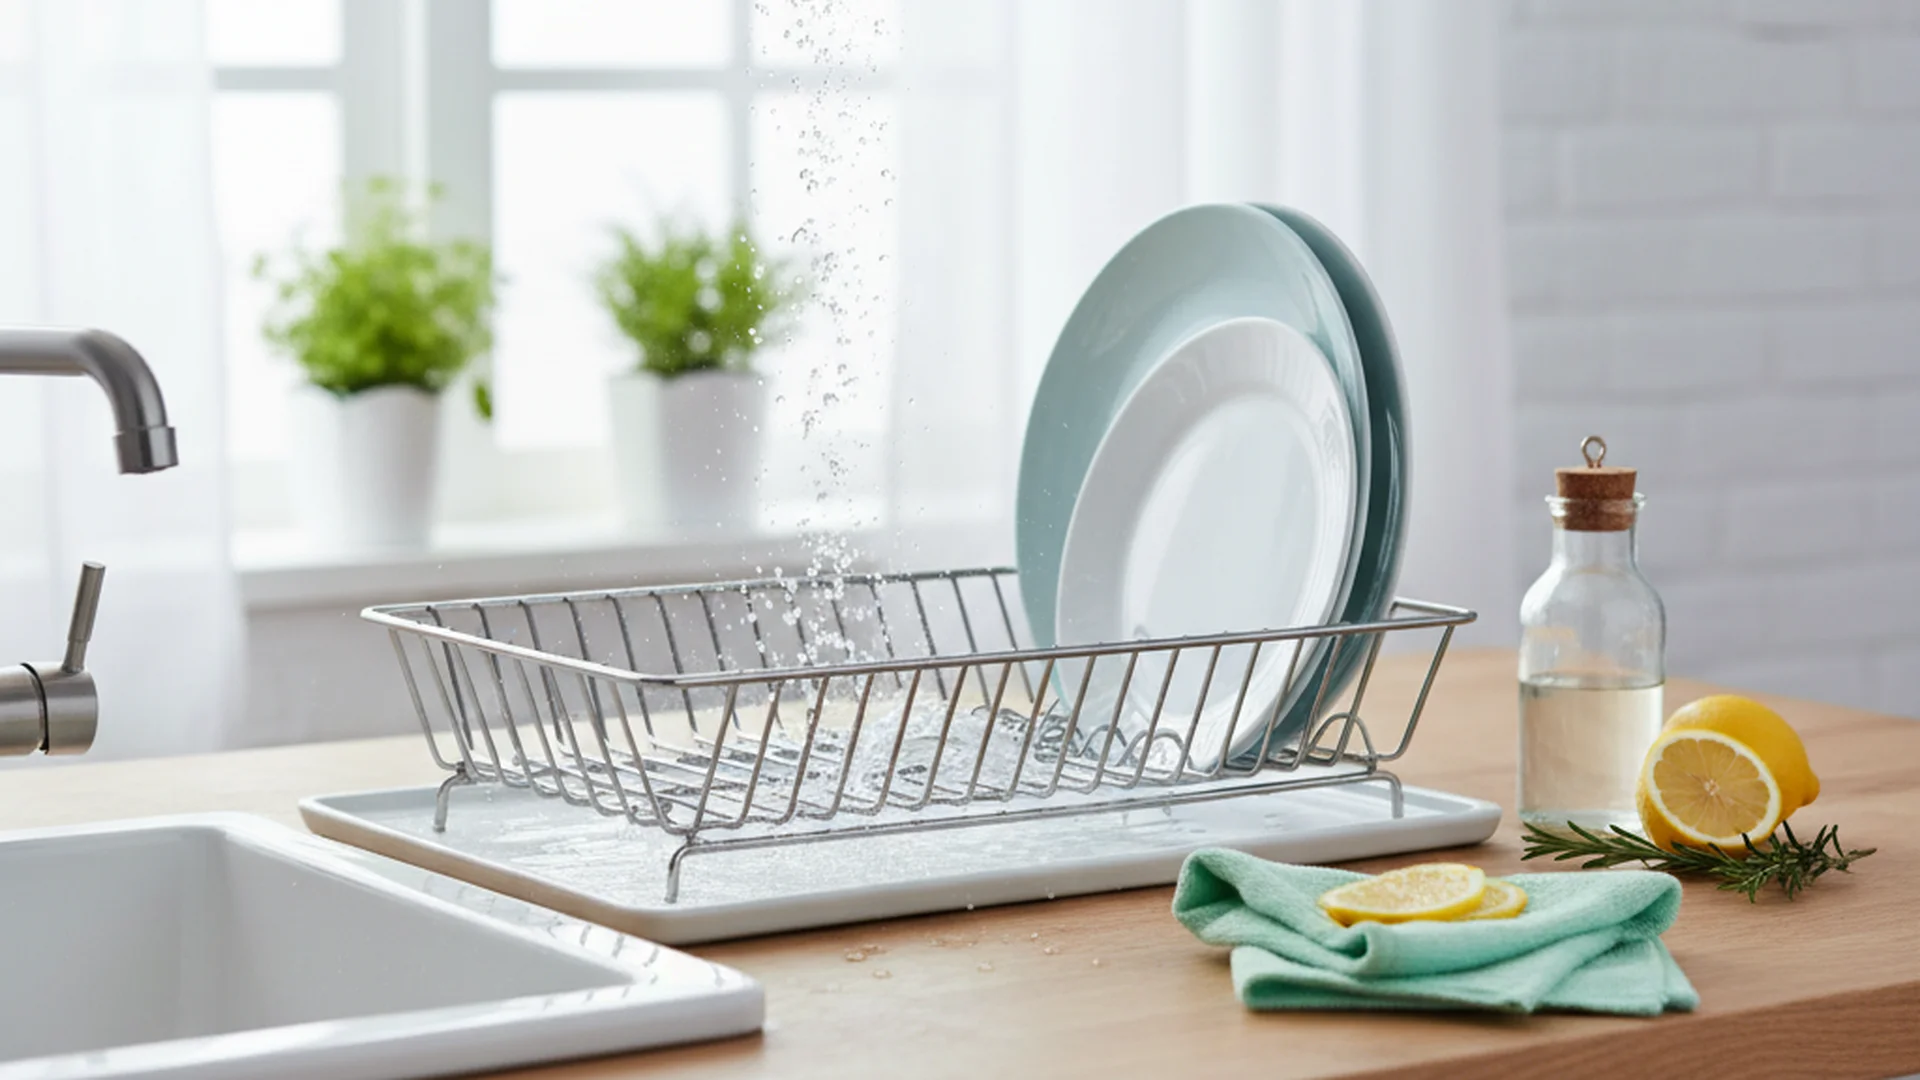
- The Method: Remove the glass covers and soak them in a sink filled with warm, soapy water (using a mild dish soap, which is an excellent degreaser).
- The Pro Secret: Add a splash of white vinegar to the rinse water. This ensures a streak-free shine and helps dissolve any remaining mineral deposits from steam.
Metal and Stainless Steel
Metal fixtures are prone to spotting and fingerprints.
- The Method: Use a damp microfiber cloth. Avoid cleaners containing ammonia, as they can strip the protective clear-coat lacquer found on many brass and bronze fixtures.
- Example: A homeowner in Seattle recently shared how using a generic window cleaner on their "brushed gold" pendants caused the finish to peel within months. Stick to mild soap and water.
Natural Materials (Rattan, Wood, Stone)
In line with 2025-2026 design trends, natural materials are surging in popularity.
- The Method: These materials are porous and can warp or rot if they get too wet. Use a "dry-cleaning" approach. A vacuum with a soft brush attachment is best for wicker and rattan. For wood, a slightly damp cloth followed immediately by a dry one is the safest route.
| Material | Cleaning Agent | Tool | Avoid |
|---|---|---|---|
| Glass | Dish Soap + Vinegar | Microfiber Cloth | Dishwasher |
| Metal | Mild Soap | Microfiber Cloth | Ammonia / Bleach |
| Rattan | Vacuum / Dry Cloth | Soft Brush | Excessive Water |
| Plastic | Hydrogen Peroxide | Sponge | Abrasive Scrubbers |
Modern Cleaning Trends (2025–2026)
As we move into 2025 and 2026, kitchen lighting maintenance is evolving with new technology and sustainability goals.
Eco-Friendly Steam Cleaning
The "toxin-free kitchen" movement has popularized the use of handheld dry steam cleaners. These devices use high-heat, low-moisture steam to melt grease instantly without the need for chemical degreasers. It is an incredibly efficient way to sanitize intricate fixtures where a cloth cannot reach.
Hydrogen Peroxide "Retro-brighting"
If you have older plastic light covers that have turned an unsightly yellow, don't throw them away. A major 2025 trend is "retro-brighting." By applying a 12% hydrogen peroxide cream and exposing the plastic to UV light (or direct sunlight), you can reverse the chemical reaction that causes yellowing, restoring the fixture to its original white.
Smart Lighting and Integrated LEDs
Modern kitchens now feature integrated LED strips under cabinets and in recessed channels. These require specialized narrow brushes or compressed air to clear the dust that settles in the thin tracks.
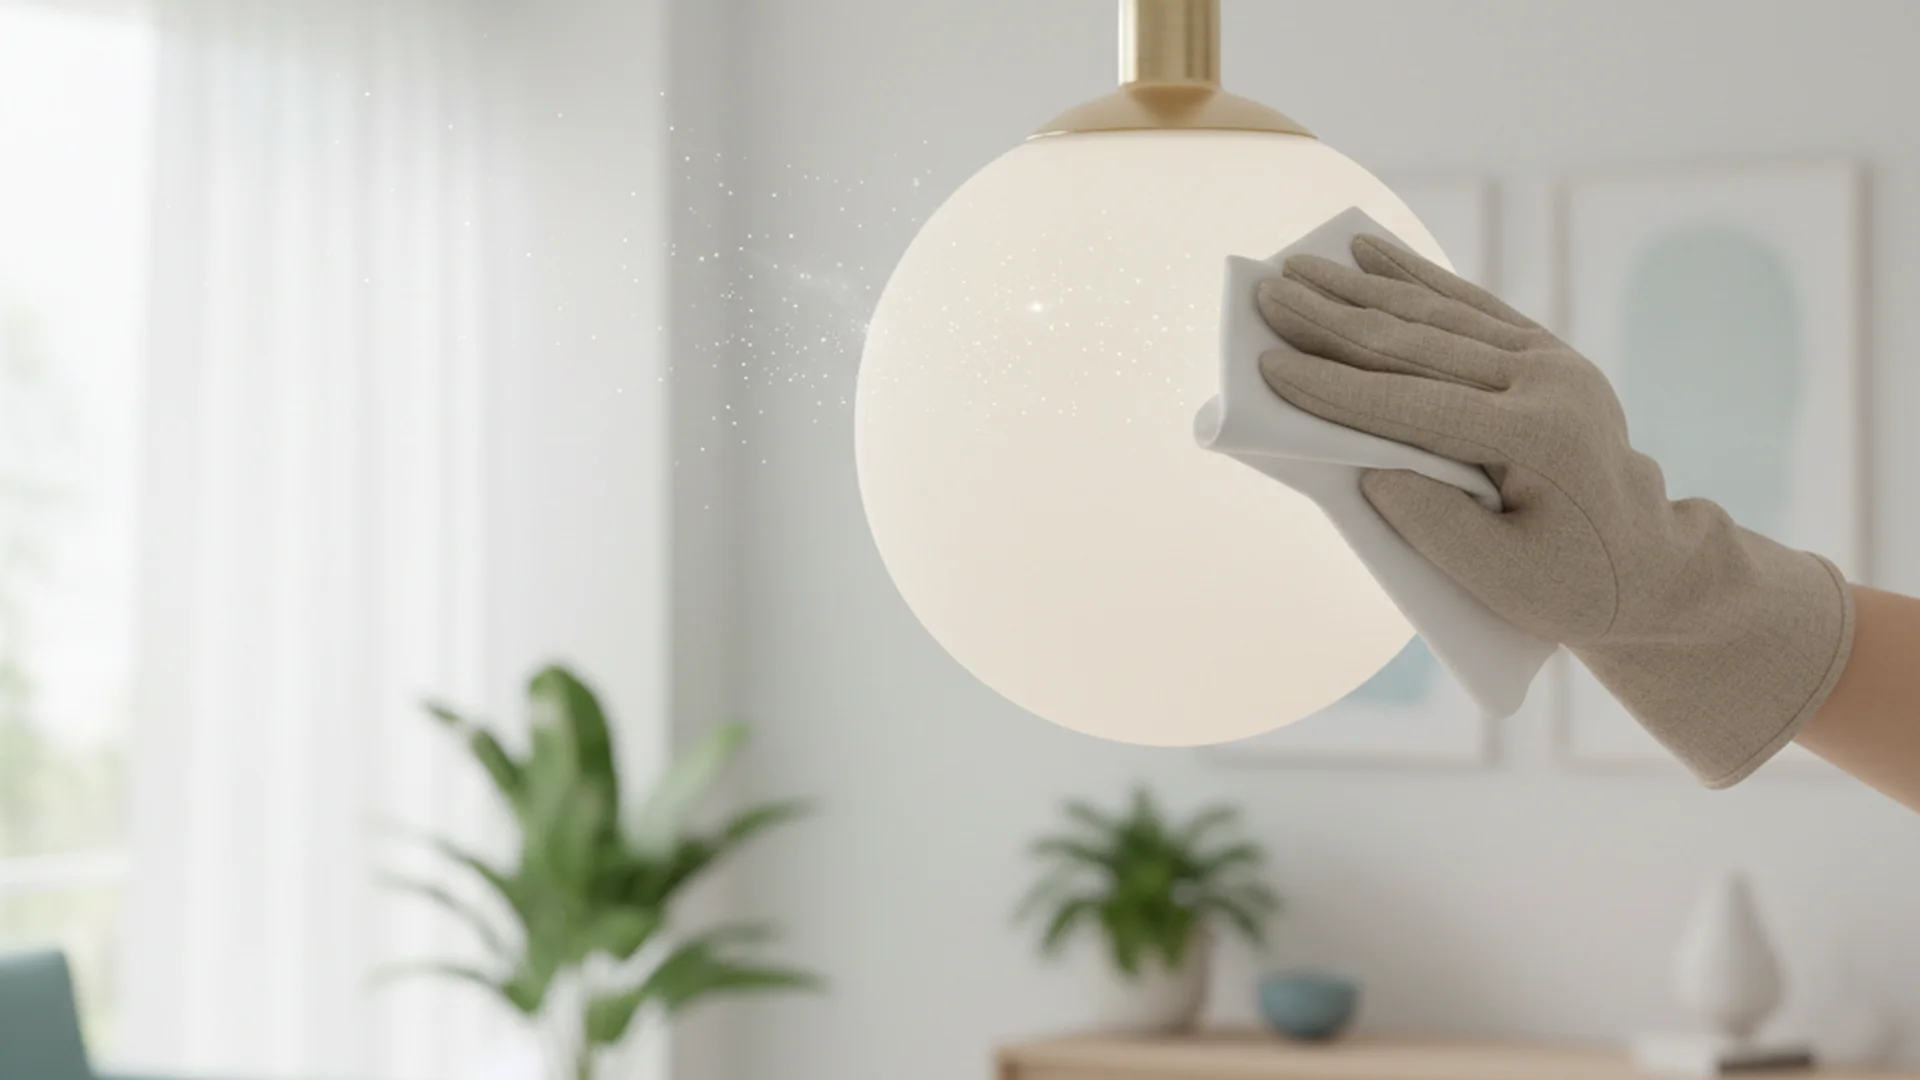
Tip: For chandeliers or fixtures with many crystals, wear a pair of white cotton "cleaning gloves." Dip the fingers of the gloves in a 1:3 vinegar-water solution and run your fingers over each crystal. This prevents leaving behind new fingerprints as you clean.
Step-by-Step Deep Cleaning Process
- Preparation: Place a towel or drop cloth on the floor and countertops beneath the fixture to catch falling debris.
- Dry Dust: Use a telescoping duster to remove loose cobwebs and surface dust. This prevents you from creating a "muddy" mess when you introduce liquids.
- Dismantle: Carefully remove bulbs and shades. Place them on a soft surface.
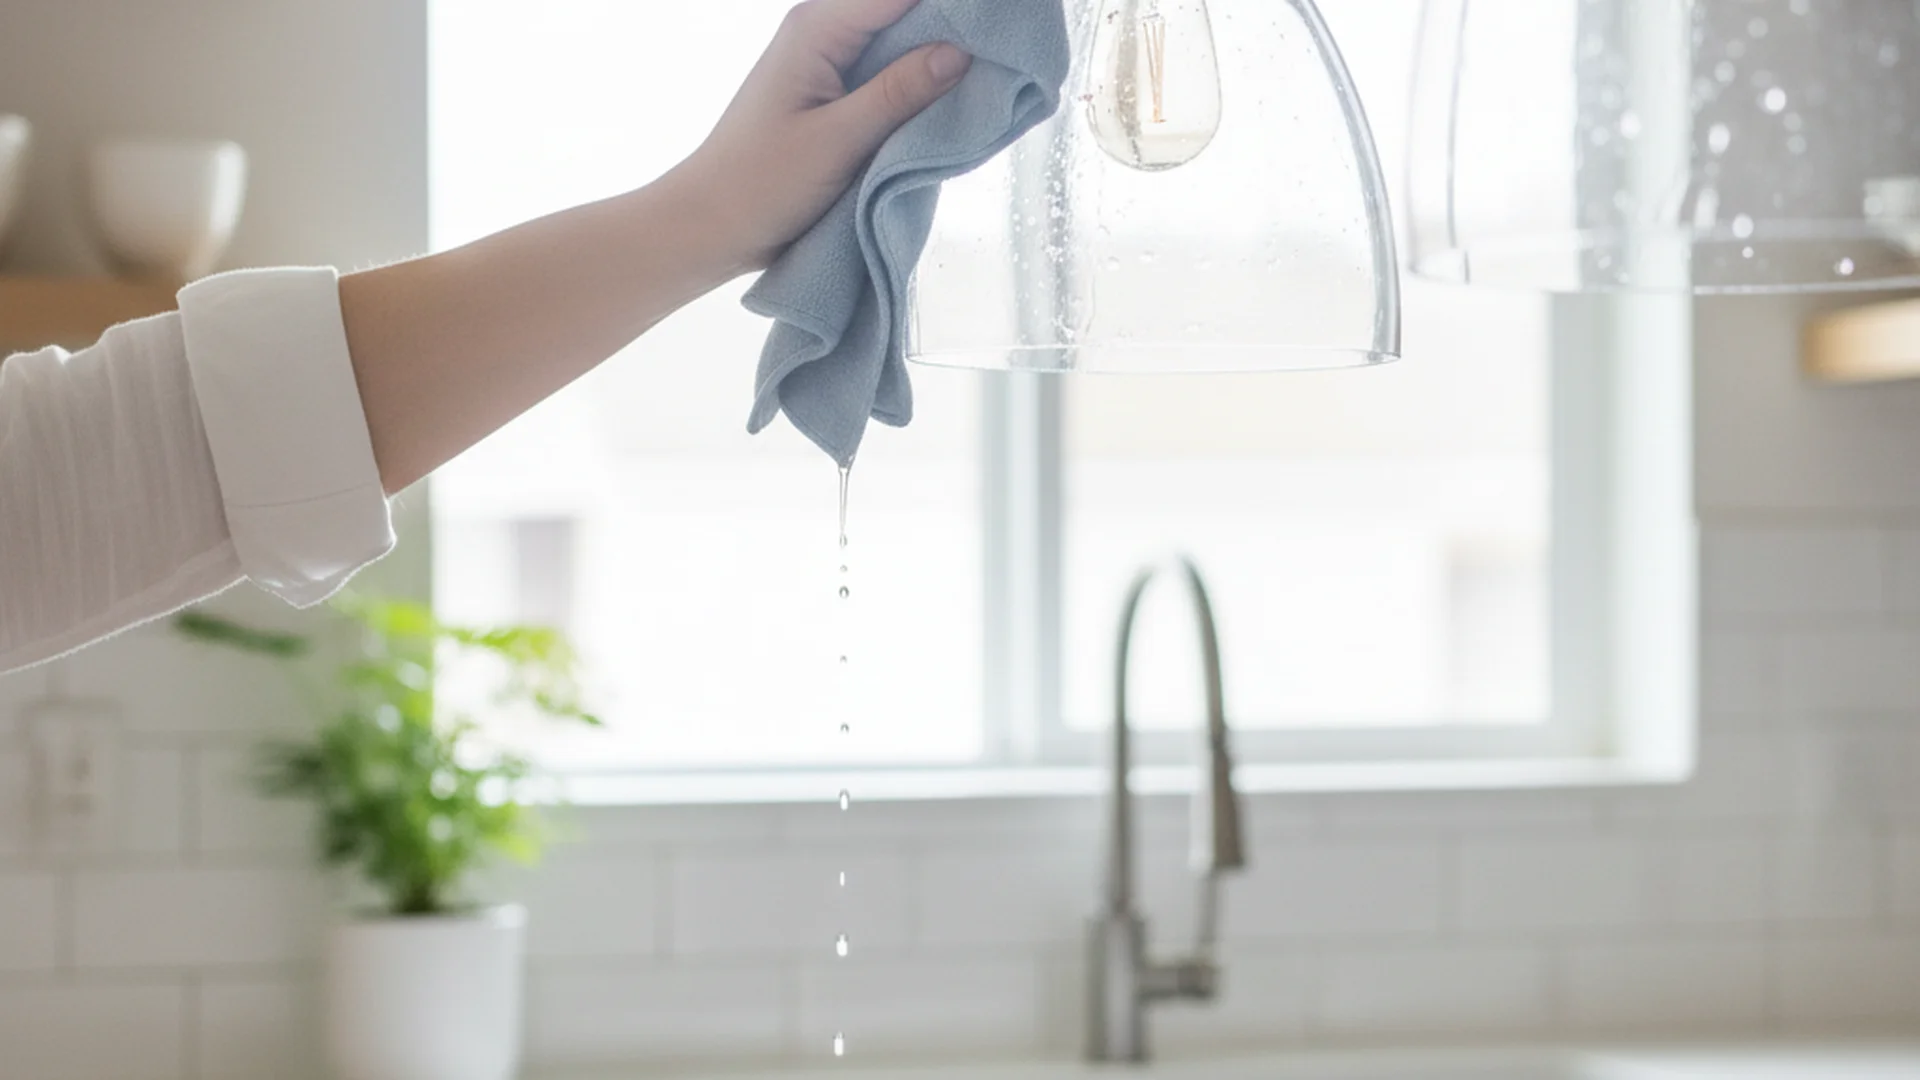
- The Wipe Down: Using your damp (not dripping) microfiber cloth, wipe the housing, the cord/chain, and the canopy (the part attached to the ceiling).
- Socket Care: Use a dry cotton swab or a puff of compressed air to clear dust from the inside of the socket.
- Bulb Cleaning: Wipe the bulbs with a dry microfiber cloth. A clean bulb can increase light output significantly.
- Reassemble: Once all parts are completely dry, reassemble and restore power.
Common Mistakes to Avoid
- Using Paper Towels: Paper towels are made of wood pulp and can leave micro-scratches on acrylic or delicate glass. They also leave behind lint.
- The Dishwasher Shortcut: While it’s tempting to put glass globes in the dishwasher, the high heat and abrasive detergents can cause "etching" (permanent cloudiness). Always hand wash.
- Neglecting the "Top-Down" Method: If you clean your counters first and then your lights, you’ll end up cleaning your counters twice. Always start with the highest point in the room.
- Ignoring the Sockets: Dust inside the socket can lead to poor electrical contact, causing bulbs to flicker or burn out prematurely.
Success: By implementing a quarterly deep clean, you not only improve the ambiance of your kitchen but also extend the life of your fixtures and reduce your energy footprint.
Frequently Asked Questions
How often should I clean my kitchen lights?
Can I put glass light covers in the dishwasher?
How do I clean lights without taking them down?
Why are my plastic covers turning yellow?
Conclusion
Mastering the best way clean kitchen lights is about more than just aesthetics; it is a vital part of home maintenance that impacts energy efficiency and safety. By moving from a "dust only" mindset to a degreasing strategy, and by utilizing modern tools like steam cleaners or microfiber, you can keep your kitchen glowing at its maximum potential. Remember to always work from the top down and prioritize safety by ensuring all components are cool and powered off before you begin.
Cleaning that keeps score
Every task earns points, every streak multiplies them, and Premium adds a household leaderboard plus a monthly Dustagorgon to beat.
- Free forever
- 30 badges to earn
- Up to 6 in a household
No card needed. Set up your rooms in a couple of minutes.