In this article
What you’ll learn
- Dish brushes are more hygienic than sponges because they dry faster.
- Plastic brushes are usually dishwasher-safe, while wood requires a vinegar soak.
- Weekly deep cleaning and proper air-circulated storage are essential for longevity.
Most people spend hours scrubbing their countertops and sanitizing their sinks, but they often overlook the very tool they use to clean their plates. The kitchen, not the bathroom, is the germiest room in most homes. If you aren't learning how to clean dish brush bristles regularly, you are likely just spreading microscopic germs around your "clean" dishes.
Maintaining a hygienic kitchen starts with your tools. While traditional sponges are notorious for trapping bacteria, a high-quality dish brush is a much safer alternative—provided you know how to maintain it. In this guide, we will explore the best way clean dish brush heads of all materials, ensuring your kitchen remains a safe environment for food preparation.
The Hygiene Gap: Why Brushes Win Over Sponges
Before diving into the "how," it is important to understand the "why." There is a significant hygiene gap between the two most common cleaning tools: dish brushes carry far lower bacterial counts than sponges.
Why is this the case? Sponges are porous and stay damp for hours, creating a "microscopic jungle" where pathogens like Salmonella and E. coli thrive—a used kitchen sponge can host an astonishing diversity of bacteria. Brushes, however, typically feature synthetic or natural bristles that shed moisture quickly and a non-porous structure that inhibits colony growth.
Daily Maintenance: The Post-Wash Rinse
The first step in knowing how to clean dish brush tools is establishing a daily routine. You shouldn't wait for a weekly deep clean to remove visible debris.
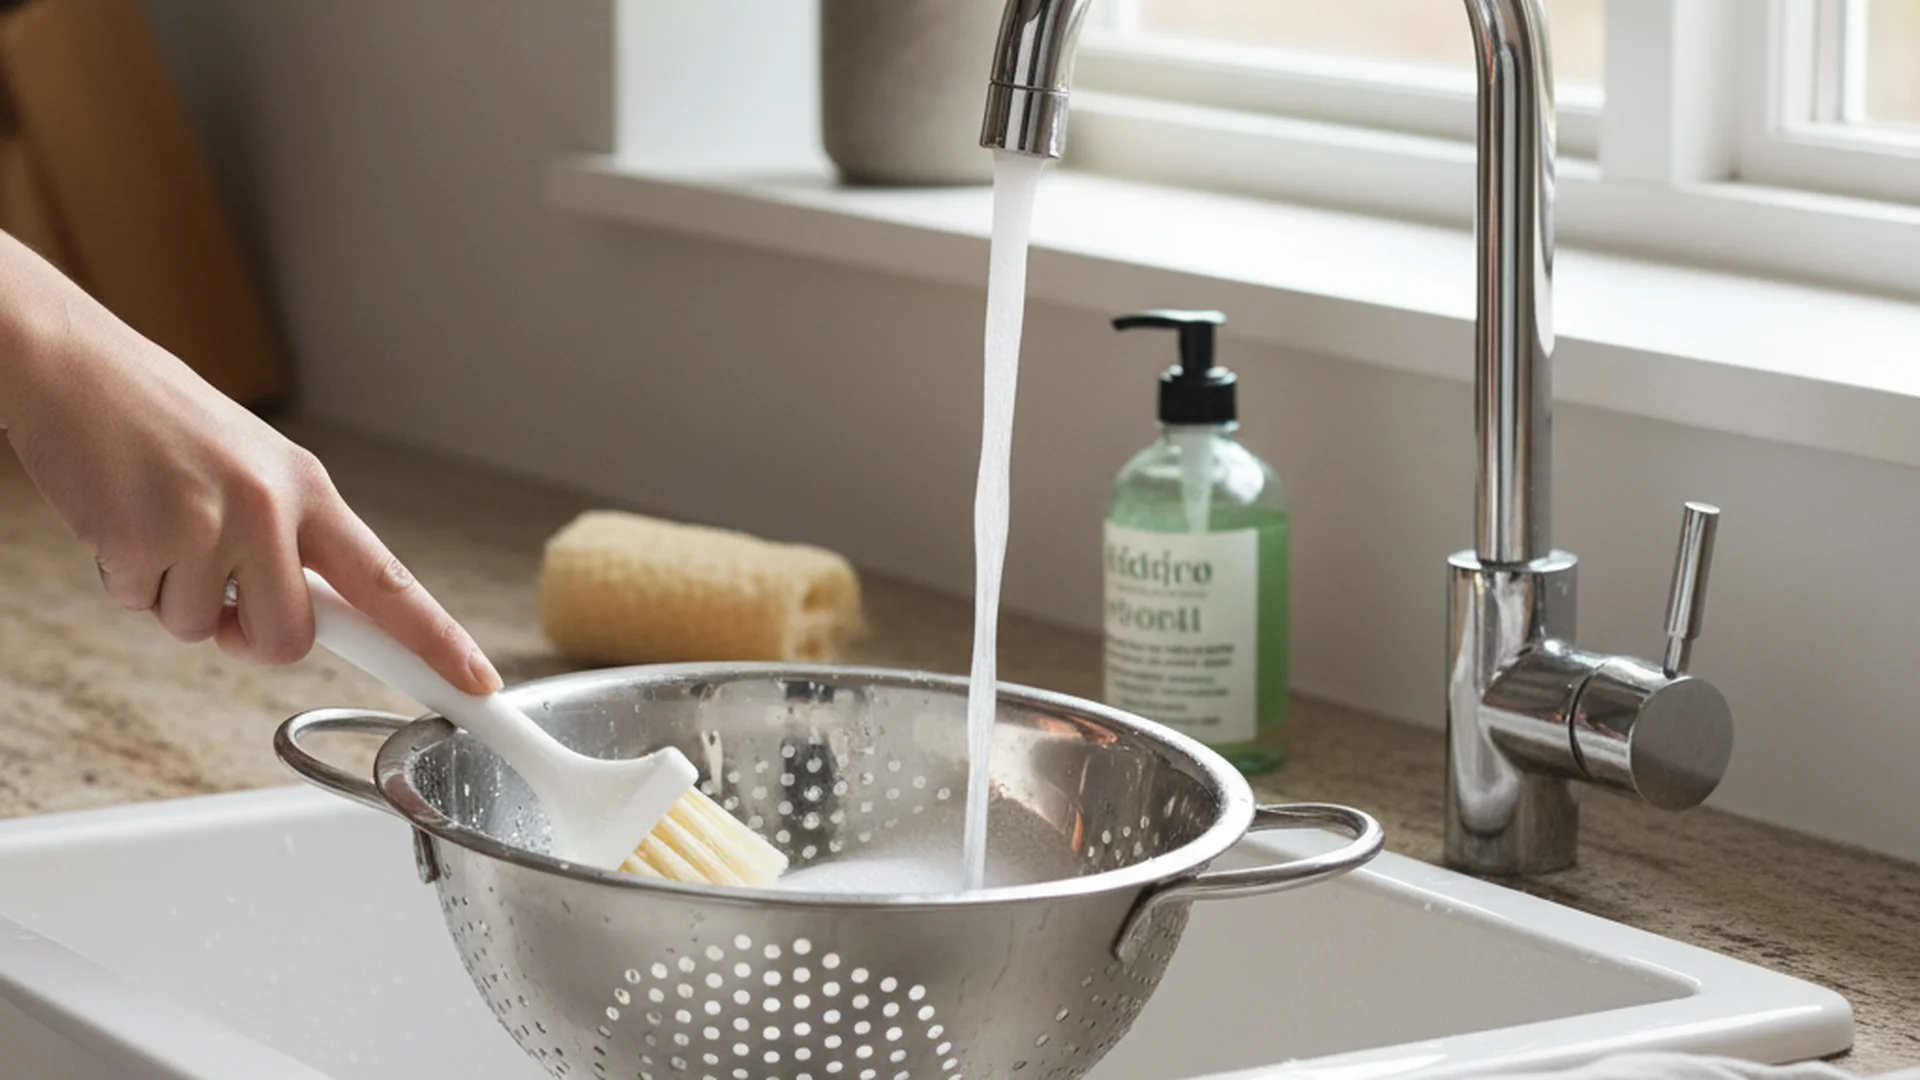
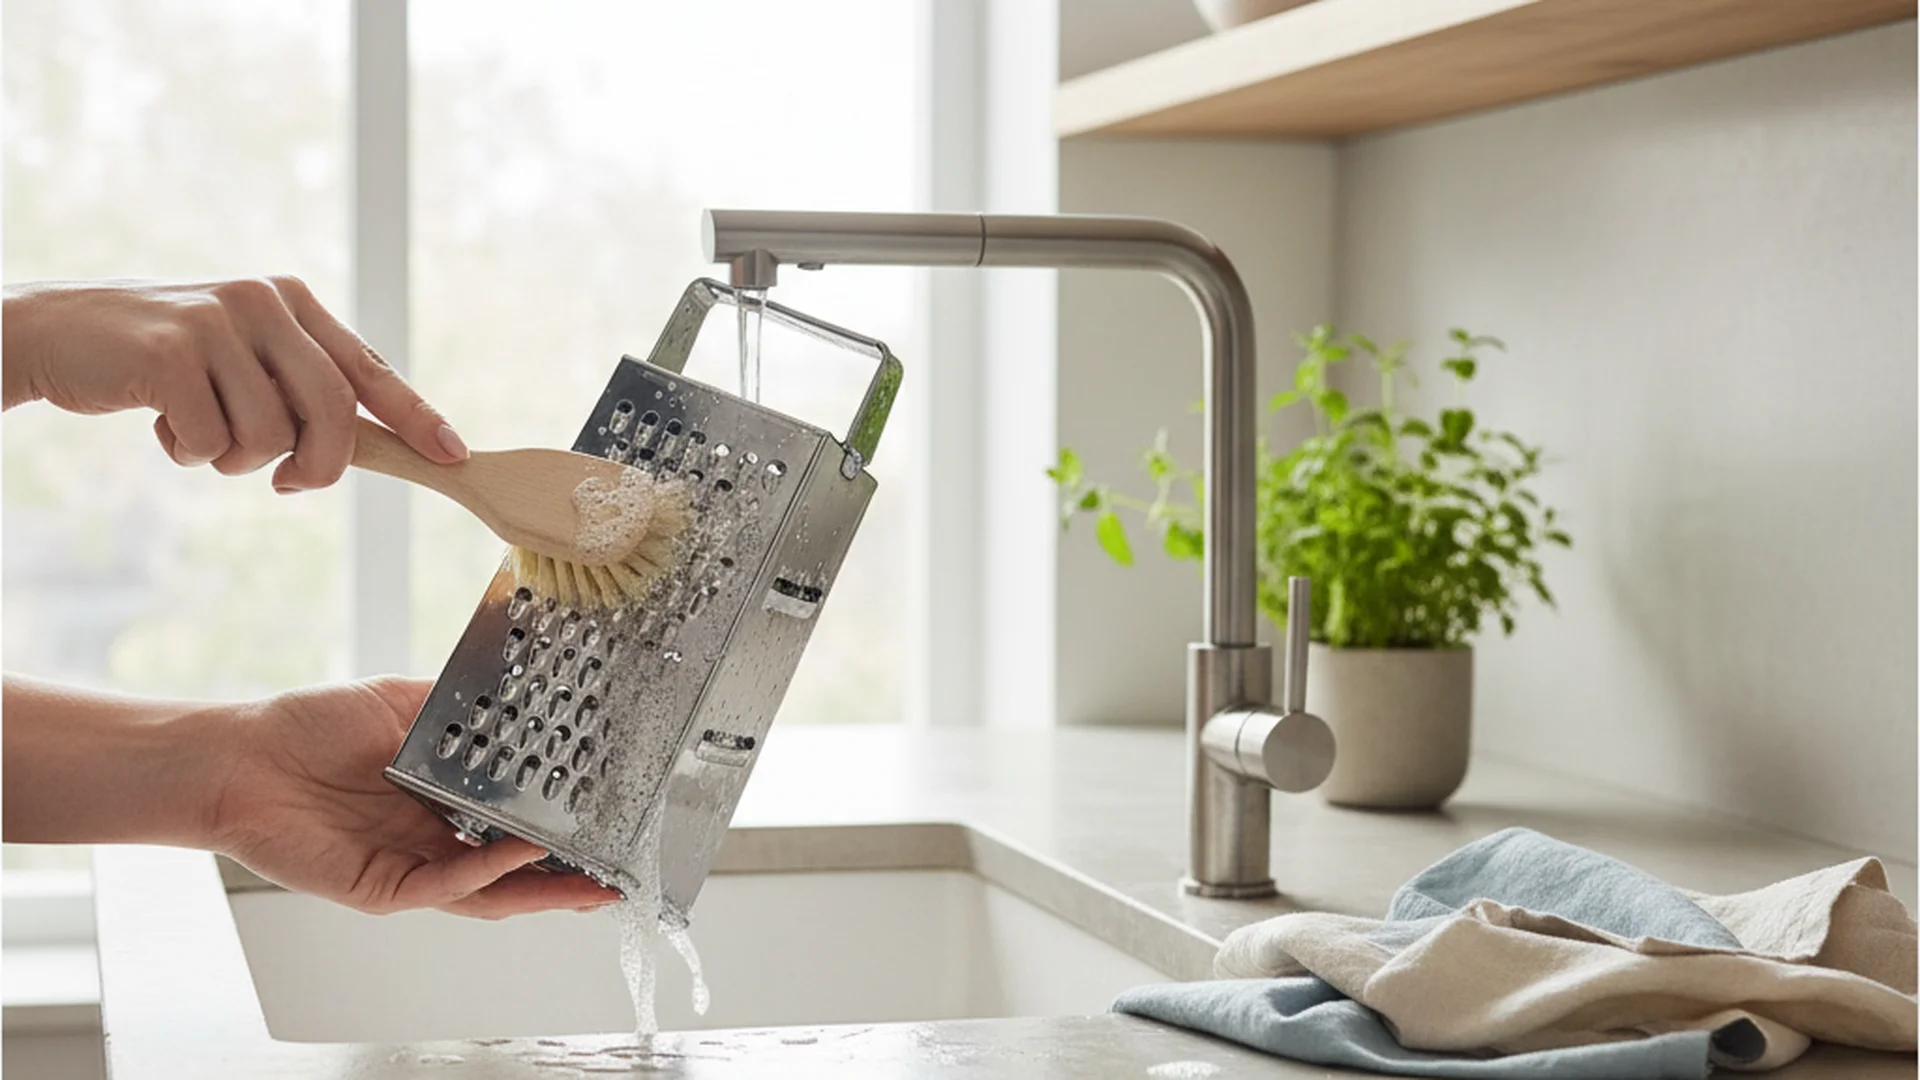
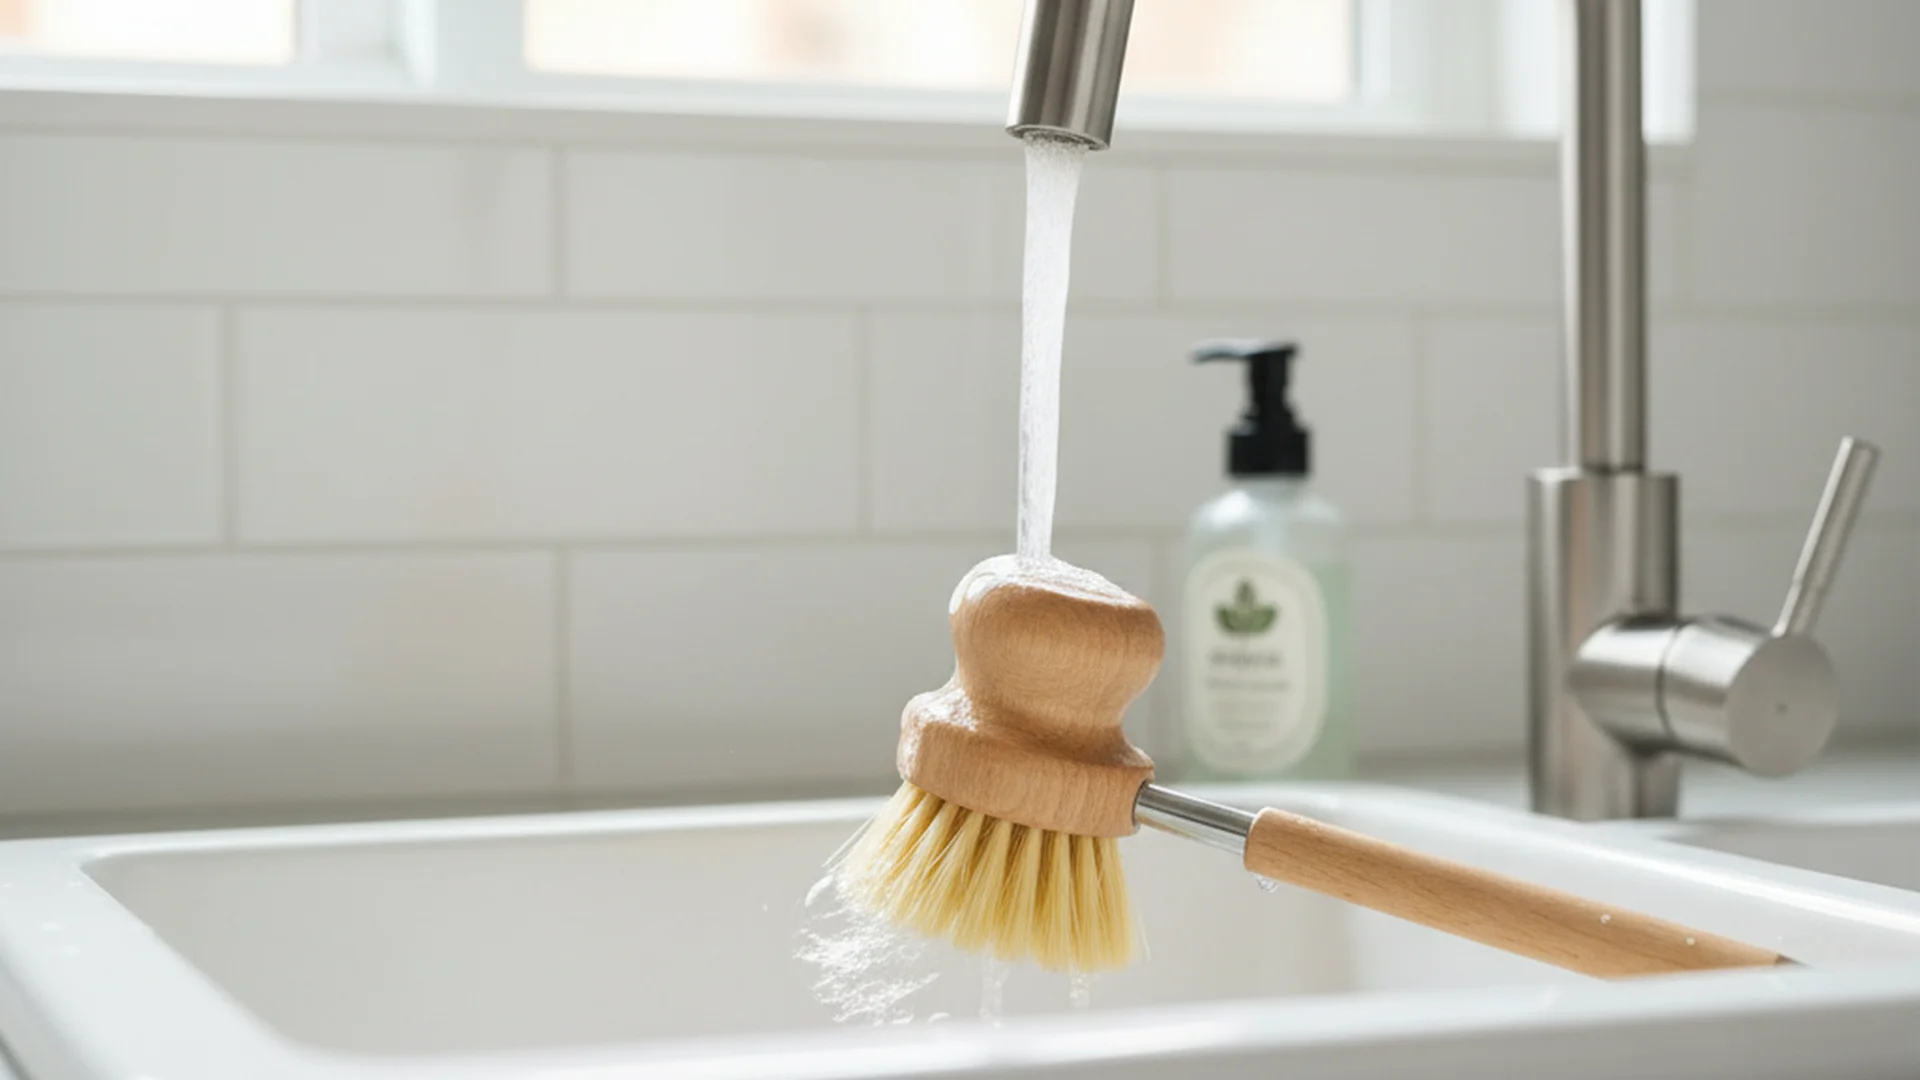
After every dishwashing session, hold the brush under hot running water. Use a fork to comb through the bristles and dislodge any trapped food particles. This is a professional secret: a fork is significantly more effective than your fingers for clearing the "base" of the bristles where grease and food scraps tend to hide.
Tip: Always shake the brush vigorously after rinsing to remove excess water before placing it in its holder.
How to Clean Dish Brush Tools: 3 Proven Methods
Depending on the material of your brush, the method you choose for sanitization will vary. Using the wrong method can ruin a high-quality brush, especially those made from natural materials.
1. The Dishwasher Method (Best for Plastic and Silicone)
For most modern plastic brushes, the dishwasher is your best friend. The high heat and detergent provide a level of sanitization that is hard to replicate by hand.
- Placement: Place the brush bristle-end up in the silverware caddy or secure it on the top rack.
- Cycle: Use a standard cycle with a "heated dry" setting. The heat helps kill any lingering bacteria.
- Check: Ensure the brush is rated as "top-rack dishwasher safe" by the manufacturer before starting.
Warning: Never put wooden or bamboo brushes in the dishwasher. The intense heat and prolonged moisture will cause the wood to swell, crack, and eventually rot.
2. The Vinegar Soak (Best for Wood and Natural Fibers)
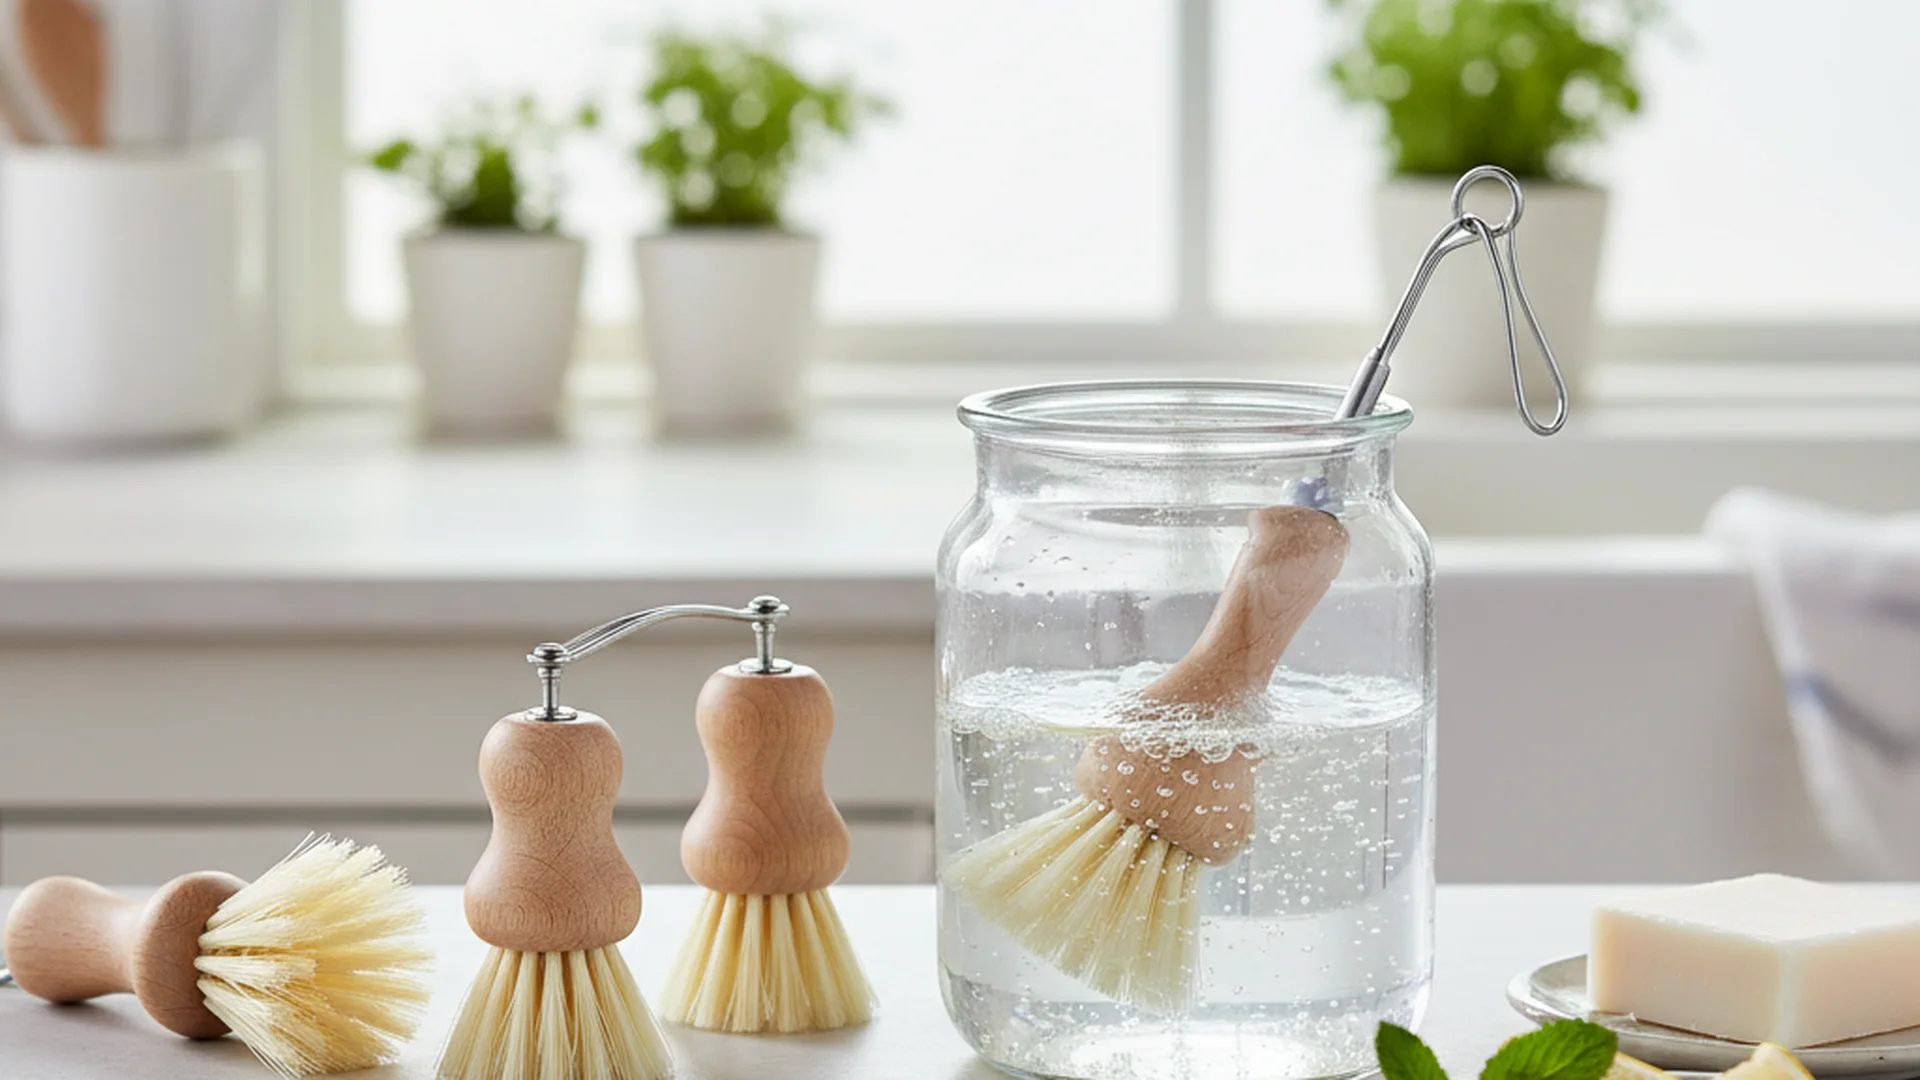
If you prefer eco-friendly bamboo handles or bristles made from agave (tampico) or coconut husk, you need a gentler touch.
- Solution: Mix 1 cup of white distilled vinegar with a drop of liquid dish soap in a small bowl.
- Soak: Submerge only the bristle head in the mixture for approximately one hour.
- Rinse: Rinse thoroughly with warm water and hang to dry.
3. The Chlorine/Bleach Dip (For Heavy-Duty Disinfection)
If your brush has been used to clean a raw meat prep area or has developed a slight odor, a weak bleach solution is the most effective way to ensure total sterilization.
- Ratio: Mix 1 tablespoon of unscented bleach per gallon of water.
- Duration: Dip the bristles into the solution for 30–60 seconds.
- Caution: Do not leave the brush soaking in bleach for extended periods, as it can degrade synthetic bristles and discolor wood.
Real-World Examples of Dish Brush Care
To better understand how these methods apply to your home, consider these three common scenarios:
- The Lasagna Disaster: You’ve just scrubbed a pan of baked-on cheese and grease. The bristles are now matted with orange oil. The Fix: Immediately rinse with boiling water and use a fork to comb out the cheese bits. Follow this with a top-rack dishwasher cycle to break down the residual oils.
- The Eco-Conscious Bamboo Brush: You’ve switched to a bamboo brush with agave bristles. After a month, the base looks dark. The Fix: This is often just tannin reaction, not mold. Perform a weekly vinegar soak and ensure it hangs in a well-ventilated area to prevent actual mold growth.
- The "Flattened" Synthetic Brush: Your plastic brush bristles are starting to splay outward. The Fix: Dip the bristles into boiling water for 1 minute. The heat often helps "reset" the memory of the plastic, allowing you to reshape them with your gloved hands.
| Brush Material | Best Cleaning Method | Frequency | Expected Lifespan |
|---|---|---|---|
| Plastic/Nylon | Dishwasher (Top Rack) | Weekly | 4–6 Months |
| Silicone | Dishwasher or Boiling | Weekly | 6–12 Months |
| Bamboo/Wood | Vinegar Soak | Weekly | 3–4 Months |
| Natural Fiber | Vinegar Soak | Weekly | 2–3 Months |
2025–2026 Trends in Kitchen Hygiene
The industry is moving toward sustainability and "smart" design. In 2025, we have seen a massive shift toward biomaterials. Consumers are ditching plastic for recycled silicone or brushes with replaceable heads.
One rising trend for 2026 is the subscription-based model for "replaceable heads." This allows you to keep a high-quality stainless steel or bamboo handle while swapping out only the bristle head every few months. This significantly reduces plastic waste while ensuring you always have a fresh, hygienic scrubbing surface.
Note: Newer premium models now incorporate antimicrobial treatments directly into the bristles to inhibit the growth of odor-causing bacteria. However, even "antimicrobial" brushes still require regular cleaning to remove food oils.
Common Mistakes to Avoid
Even with the best intentions, certain cleaning habits can do more harm than good.
- The "Black Spot" Myth: Many people discard wooden brushes when they see black discoloration. In many cases, this is a natural reaction of wood tannins to water. Unless the spot is fuzzy (indicating mold), it is safe to use after a vinegar sanitization.
- Submerging Wood: Never leave a wooden brush soaking in a sink full of water. This is the fastest way to ruin the handle and cause the bristles to fall out.
- Microwaving Brushes: While you may have heard that microwaving a sponge kills germs, never microwave a dish brush. Most brushes contain small metal staples to hold the bristles in place. Putting them in the microwave can cause sparks, fire, or permanent damage to your appliance.
- Improper Storage: Storing a wet brush in a closed cabinet or a flat-bottomed holder where water pools is a recipe for bacterial growth. Always use a hanging hook or a ventilated caddy.
Frequently Asked Questions
How often should I clean my dish brush?
Can I boil my dish brush to kill germs?
How do I know when it’s time to throw it away?
Is silicone better than nylon?
Conclusion
Understanding the best way clean dish brush tools is a small change that makes a massive difference in your home's overall hygiene. By moving away from bacteria-laden sponges and adopting a routine of weekly deep cleaning and proper storage, you ensure that your "clean" dishes are truly sanitary. Whether you use a modern silicone scrubber or a traditional bamboo brush, a little maintenance goes a long way in protecting your family from foodborne illnesses.
Success: By following these professional cleaning tips, you'll extend the life of your brushes by up to 50% while maintaining a laboratory-clean kitchen environment.
Cleaning that keeps score
Every task earns points, every streak multiplies them, and Premium adds a household leaderboard plus a monthly Dustagorgon to beat.
- Free forever
- 30 badges to earn
- Up to 6 in a household
No card needed. Set up your rooms in a couple of minutes.