Key Takeaways
- Never submerge a kitchen timer in water or put it in the dishwasher.
- Use 70% isopropyl alcohol for 99.9% pathogen elimination on digital surfaces.
- Regular degreasing prevents button-sticking and extends the device lifespan by 3-5 years.
In the high-stakes environment of a modern kitchen, we often focus our cleaning efforts on the "big" surfaces: the countertops, the stovetop, and the cutting boards. However, one of the most frequently touched yet overlooked tools is the humble kitchen timer. Whether you are timing a perfect soft-boiled egg or monitoring a multi-hour roast, your timer is a constant companion in food preparation. Learning how to clean kitchen timer controls is not just about keeping your gadgets looking shiny; it is a critical component of home food safety and device longevity.
As a professional cleaning consultant, I have seen how quickly grease and bacteria can turn a helpful tool into a health hazard. In this guide, we will explore the best way clean kitchen timer models of all types, ensuring your kitchen remains a safe space for culinary creativity.
The Science of Kitchen Germs and Your Timer
Before we dive into the "how-to," we must understand the "why." Your kitchen timer is a primary candidate for cross-contamination.
According to a landmark study by NSF International, the kitchen is consistently the "germiest" room in the home. While we are diligent about wiping down counters, small gadgets like timers are often handled mid-prep with hands that have just touched raw meat, unwashed produce, or eggshells.
Research from the University of Arizona highlights a concerning reality: hand-to-surface-to-food transfer is a leading cause of foodborne illness. If you adjust your timer after handling raw poultry, bacteria such as Salmonella can survive on that hard plastic casing for up to 24 hours. Without proper disinfection, you are essentially inviting those pathogens into your next meal.
Furthermore, grease is the silent killer of kitchen electronics. In a kitchen environment, oils atomize into the air and settle as a microscopic film on every surface. Over time, this film hardens into a "varnish" that causes buttons to stick and mechanical gears to seize. Regular cleaning can extend the lifespan of your device by an impressive 3 to 5 years.
Essential Tools for Cleaning Kitchen Timers
To clean your timer effectively without damaging its internal components, you need the right kit. Avoid the temptation to use heavy-duty sponges or abrasive chemicals.
- Microfiber Cloths: These are essential for lint-free cleaning and protecting LCD screens from scratches.
- 70% Isopropyl Alcohol: This is the gold standard for disinfection. It kills 99.9% of common kitchen pathogens within 30 seconds and evaporates quickly.
- Cotton Swabs (Q-tips): Perfect for reaching into the crevices around buttons or the seam of a rotating dial.
- Soft-Bristled Toothbrush: Useful for gently dislodging dried food particles or thick grease buildup.
- Baking Soda: A natural, non-abrasive degreaser for stubborn spots.
How to Clean Digital Kitchen Timers
Digital timers are the most common variety found in modern kitchens, but their electronic "guts" make them vulnerable to moisture.
Step 1: Preparation
If your timer has removable batteries, take them out before you begin. This prevents any accidental shorts if moisture happens to find its way inside.
Step 2: Surface Degreasing
Dampen a microfiber cloth with a small amount of warm, soapy water (using a mild dish soap). Wring it out until it is barely damp. Wipe the exterior casing, focusing on the areas where you most frequently press the buttons.
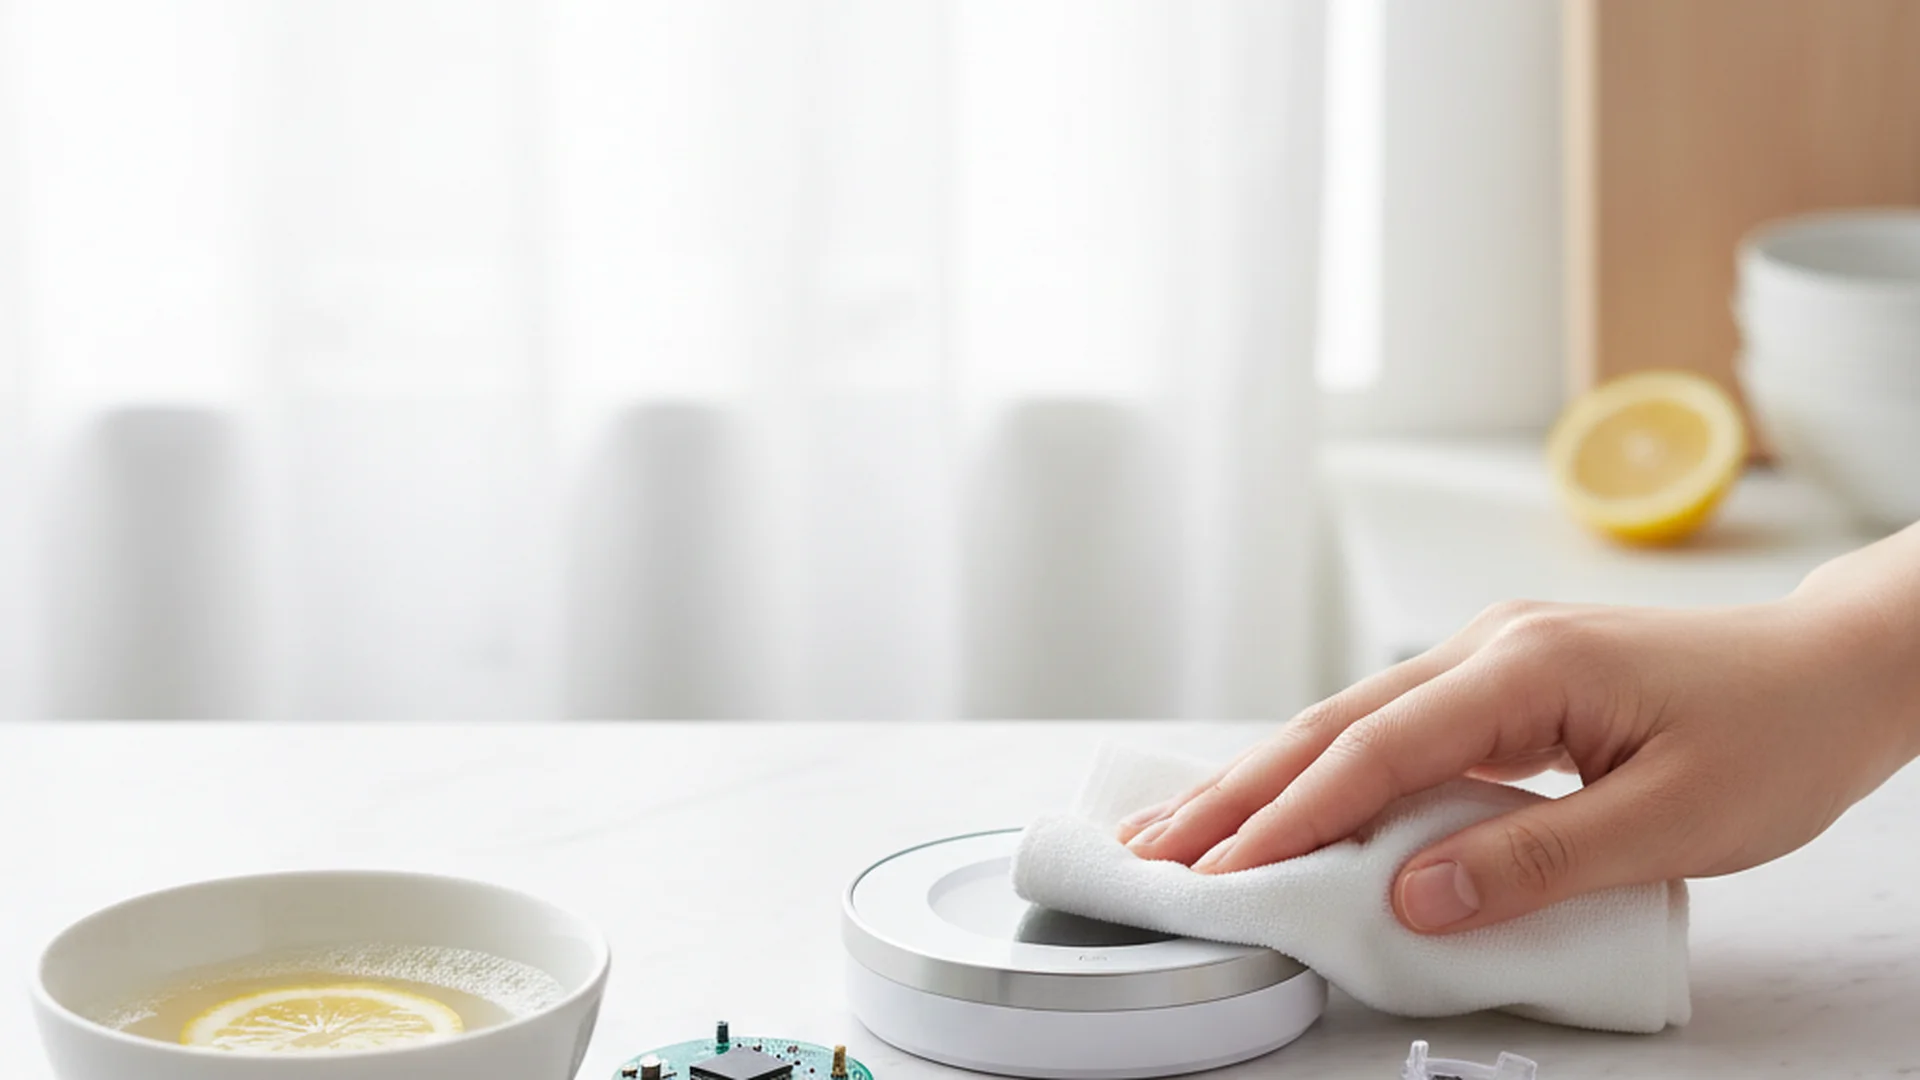
Step 3: Detailed Cleaning
For the gaps around the buttons—where "grease-wicking" often occurs—use a cotton swab dipped in 70% isopropyl alcohol. Gently run the swab around the perimeter of each button. This dissolves the oils that cause buttons to become "mushy" or stuck.
Step 4: Disinfecting the Screen
LCD screens are sensitive. Use a fresh microfiber cloth lightly misted with alcohol to wipe the screen. This ensures the display remains clear without stripping away any anti-glare coatings.
Maintaining Mechanical (Wind-up) Timers
Mechanical timers rely on a series of springs and gears. While they don't have circuits to fry, they are highly susceptible to rust and internal mechanical failure if moisture enters the winding mechanism.
The Rotating Seam
The most important part of a mechanical timer to clean is the seam where the top dial meets the base. This is where flour, sugar, and grease often accumulate. Use a dry, soft toothbrush to flick out any debris from this seam.
Restoring the Shine
If you have a vintage or high-end stainless steel mechanical timer, you may notice it loses its luster over time. After cleaning it with a damp cloth, apply a single drop of olive oil to a clean cloth and buff the surface. This not only restores the shine but also creates a thin protective layer that resists future fingerprints.
Common Mistakes to Avoid
Even with the best intentions, it is easy to damage these small appliances. Here are the most common errors I see in the field:
1. Submerging the Device
Many home cooks believe a quick "dunk" in soapy water is fine as long as they dry the timer immediately. Unfortunately, "capillary action" pulls water into the internal sensors and clockwork almost instantly. Once moisture is inside, corrosion begins, and the device is usually ruined.
2. Using the Dishwasher
It might be tempting to toss your timer in with the plates, but even "water-resistant" models are rarely rated for the high heat and high-pressure spray of a dishwasher. The heat can melt internal seals, and the detergent is often too abrasive for the plastic finish.
3. Storing on the Stove Backsplash
Many people keep their timers on the back of the stove for easy access. However, the ambient heat and constant exposure to steam and atomized grease from cooking promote bacterial growth and can warp the plastic casing or degrade the battery life.
4. Forgetting the Back and Magnets
Most timers have a magnet on the back for refrigerator storage. This area is a magnet for "dust-grease," a sticky mixture that builds up over time. If you don't clean the back, you are simply transferring that grime from the timer to your clean appliance surfaces.
Recent Trends: The Future of Kitchen Timing (2025–2026)
As we move through 2025 and into 2026, the way we interact with kitchen timers is evolving.
- Touchless Technology: There has been a significant surge in gesture-based and voice-controlled timers (such as integrated Alexa or Google Home setups). These devices reduce the need for physical cleaning by eliminating contact entirely during messy food prep.
- Antimicrobial Materials: Newer high-end timers are now being manufactured with silver-ion infused plastics (like Microban). These materials naturally inhibit the growth of bacteria on the surface between cleanings, though they still require regular degreasing.
- Eco-Friendly Degreasers: Following the 2026 consumer trend toward "green" maintenance, citrus-based bio-degreasers have become the preferred choice over synthetic chemicals for breaking down kitchen oils.
Frequently Asked Questions
Can I put my kitchen timer in the dishwasher?
Why are my digital timer buttons sticking?
Is it safe to use bleach on my timer?
How often should I clean my kitchen timer?
Conclusion
Your kitchen timer is a small but vital component of your culinary success. By following the best way clean kitchen timer techniques outlined here—focusing on the "Damp, Not Drenched" rule and using the right disinfecting agents—you can ensure your kitchen remains a hygienic environment. A clean timer is more than just an aesthetic preference; it is a commitment to food safety and a smart way to protect your investment in kitchen tools.
Implement a simple weekly maintenance schedule: a quick wipe with alcohol and a minute spent on the crevices will keep your gadget running accurately for years to come.