In this article
What you’ll learn
- Use the 30-second pulse method for daily cleaning
- Replace extractor blades every 6 months for safety
- Avoid high-heat dishwasher cycles to prevent plastic warping
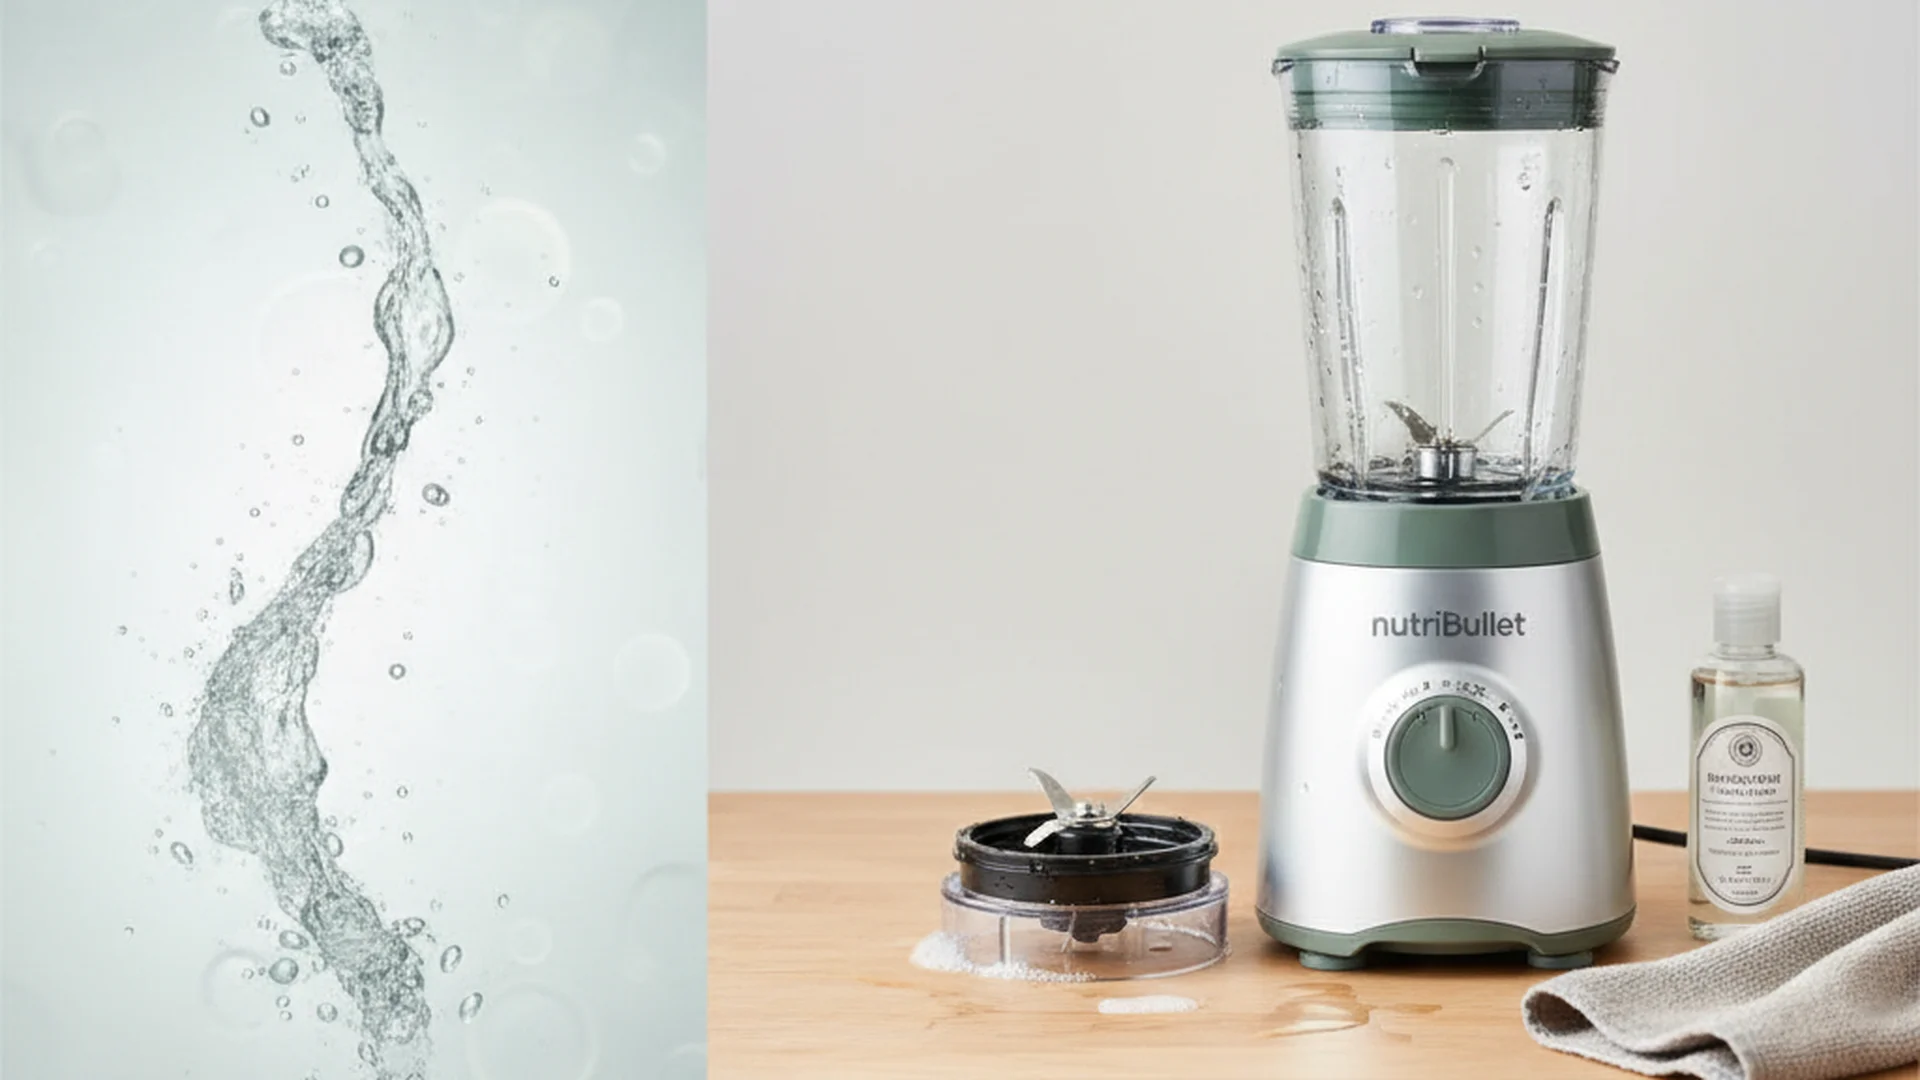
Owning a NutriBullet has revolutionized the way we approach healthy eating, making it easier than ever to whip up a nutrient-dense smoothie in seconds. However, if you aren't prioritizing a regular cleaning schedule, your favorite kitchen companion could be harboring more than just kale and protein powder. Learning how to clean NutriBullet components properly is essential for protecting your health, ensuring the longevity of the motor, and maintaining the integrity of the BPA-free plastic cups.
In this comprehensive guide, we will explore the latest 2025 maintenance standards to keep your device in peak condition. Whether you are dealing with a "musty" smell or a cloudy cup, these proven techniques—including how to clean NutriBullet without chemicals—will ensure every smoothie you make is fresh and safe.
Why Proper NutriBullet Maintenance Matters
Blender gaskets are among the germiest spots in a typical kitchen. This is due to the formation of "biofilms"—slimy layers of bacteria that thrive in the damp, dark crevices of the blade assembly. If you only give your NutriBullet a quick rinse under the tap, you are likely leaving behind microscopic food particles that can lead to mold growth and unpleasant odors.
Furthermore, the materials used in your NutriBullet require specific care. Most cups are made from Eastman Tritan plastic. While durable and BPA-free, the "sanitize" cycle on most modern dishwashers will warp it over time. By following the manual cleaning methods outlined below, you can extend the life of your appliance by years.
The Daily Routine: The "30-Second Pulse" Method
The most effective way to prevent buildup is to clean your blender immediately after use. The "30-second pulse" is the gold standard for daily maintenance. This method uses centrifugal force to blast debris out of the hard-to-reach blade crevices before it has a chance to harden.
How to Perform the 30-Second Pulse
- Rinse: Immediately after pouring your smoothie, rinse the cup and blade with warm water.
- Fill: Fill the NutriBullet cup about halfway with warm (not hot) water.
- Add Soap: Add exactly one drop of liquid dish soap. Do not over-soap, as excessive bubbles can create pressure.
- Pulse: Attach the blade and run the motor for 20–30 seconds.
- Final Rinse: Rinse thoroughly with clear water and air-dry.
Tip: If you are in a rush and cannot clean the cup immediately, at least fill it with water to prevent ingredients like chia seeds or spinach from "gluing" themselves to the plastic.
Deep Cleaning: How to Clean NutriBullet with Vinegar
Once a week, or whenever you notice a "musty" odor, it is time for a deep clean. If you prefer to clean NutriBullet without chemicals, white vinegar is your best friend. A 10% white vinegar solution kills 99% of common food-borne bacteria, making it highly effective for breaking down protein buildup and neutralizing odors.
The Vinegar Soak Process
To clean NutriBullet vinegar style, follow these steps:
- Mix the Solution: Create a mixture of 1 part white vinegar to 2 parts warm water.
- Submerge: Submerge the blade assembly (gasket side up) and the cups in the solution.
- Wait: Let the components soak for at least 30 minutes.
- Scrub: Use a soft-bristled toothbrush or a dedicated straw brush to clean around the rubber gasket and the base of the blades.
- Rinse and Dry: Rinse with cool water. For best results, let the components air-dry in direct sunlight. UV rays act as a natural disinfectant.
Note: Many users try to remove the rubber gasket to clean under it. Manufacturers generally advise against this as it can stretch the rubber, leading to leaks that damage the motor. Use a small brush to clean around it instead.
Caring for the Motor Base
The motor base is the heart of your NutriBullet, and it requires the most delicate touch. Because it contains electrical components, it should never be submerged in water or placed under a running faucet.
In 2025, the trend has shifted toward using split-filament microfiber cloths. These cloths are designed to trap 99.9% of bacteria using only water, making them perfect for wiping down the exterior of your blender without the need for harsh sprays.
Cleaning the Actuators
If your NutriBullet ever feels like it is "sticking" in the ON position, it is likely because smoothie residue has leaked into the actuator slots (the three small openings where the cup tabs click in).
- Step 1: Unplug the unit.
- Step 2: Dip a cotton swab in rubbing alcohol.
- Step 3: Clean inside the actuator slots to dissolve sticky sugars.
- Step 4: Use a dry toothbrush to flick out any dried debris.
Warning: Never attempt to clean the motor base while the unit is plugged in. Even a small amount of moisture can cause a short circuit or an electric shock.
Common Mistakes to Avoid
Even well-intentioned cleaning can sometimes damage your appliance. Avoid these common pitfalls:
- The "Boiling Water" Mistake: Never use boiling water in the pulse method. The steam creates immense pressure inside the sealed cup, which can cause the plastic to crack or the seal to burst, potentially leading to severe burns.
- Submerging the Base: It sounds obvious, but a common mistake is trying to "rinse" the base after a spill. This almost always results in a dead motor.
- Using Abrasive Sponges: Steel wool or green scouring pads will scratch the Tritan plastic, creating "micro-scratches" where bacteria can hide. Use only microfiber or soft sponges.
- The Dishwasher Trap: While the cups are technically "top-rack dishwasher safe," the high heat of modern drying cycles causes the plastic to become brittle and cloudy over time.
2025-2026 Maintenance Trends
As we move into 2026, NutriBullet maintenance is becoming more high-tech and eco-conscious.
- Eco-Enzymatic Cleaners: Many enthusiasts are switching from traditional dish soap to enzyme-based cleaners. These cleaners are designed to specifically target organic matter like fruit sugars and proteins, which prevents the "cloudy" look often seen on older cups.
- Smart Reminders: If you use a kitchen management app, you can now sync your blender usage. Try a "cycle count" approach: every 50 blends, perform a vinegar deep clean. Every 180 blends (roughly 6 months), replace the blade assembly entirely to prevent seal failure.
- Sustainability Tools: Despite manufacturer warnings, the "Repair over Replace" movement has led to the popularity of gasket-pick tools. If you must remove the gasket for a deep mold issue, these tools allow you to do so with minimal stretching.
| Component | Cleaning Method | Frequency |
|---|---|---|
| Cups | Hand-wash/Pulse | After every use |
| Blades | Pulse + Brush | After every use |
| Gasket Area | Vinegar Soak | Weekly |
| Motor Base | Microfiber Wipe | Weekly |
| Blade Unit | Replacement | Every 6 Months |
Frequently Asked Questions
Is the NutriBullet dishwasher safe?
How do I get rid of the "musty" smell?
Can I wash the rubber gasket?
Why is my NutriBullet cup cloudy?
Conclusion
Keeping your NutriBullet clean is the simplest way to ensure your morning smoothies remain a healthy habit rather than a hygiene hazard. By implementing the 30-second pulse for daily care and a vinegar soak for weekly deep cleaning, you can avoid the buildup of biofilms and keep your motor running smoothly for years to come. Remember, the key to longevity is avoiding extreme heat and keeping the motor base bone-dry.
Success: Consistent maintenance not only keeps your smoothies tasting better but also saves you money by preventing premature motor burnout and part replacement.
Cleaning that keeps score
Every task earns points, every streak multiplies them, and Premium adds a household leaderboard plus a monthly Dustagorgon to beat.
- Free forever
- 30 badges to earn
- Up to 6 in a household
No card needed. Set up your rooms in a couple of minutes.