In this article
What you’ll learn
- Regular cleaning prevents Salmonella and Listeria growth in the "Danger Zone."
- Vinegar and lemon juice are the most effective non-toxic cleaning agents.
- Never submerge the base unit or heating element in water.
For home preservation enthusiasts, there is nothing quite like the satisfaction of pulling a perfectly dried batch of apple chips or beef jerky out of the machine. However, many hobbyists overlook a critical component of the process: hygiene. Knowing how to clean food dehydrator units effectively is not just about keeping your kitchen looking tidy; it is a vital step in ensuring food safety and extending the lifespan of your appliance.
Because dehydrators operate at relatively low temperatures—typically between 115°F and 160°F—they often linger in what food scientists call the "Danger Zone." This temperature range is where bacteria thrive rather than perish. Without a rigorous cleaning routine, your healthy snacks could become a breeding ground for unwanted pathogens. In this guide, we will explore the best practices for 2025 to keep your dehydrator spotless and your food safe.
Why Proper Dehydrator Hygiene is Non-Negotiable
It is a common misconception that the heat generated during the drying process is enough to sanitize the unit. Dehydrators run at low temperatures, so a standard drying cycle should never be treated as a sanitizing step for the food residue left behind on your trays.
Beyond food safety, machine longevity is at stake. Grease, dust, and sugary vapors accumulate over time and block the ventilation system, forcing the motor to work harder than it should. When you learn how to clean food dehydrator components properly, you are essentially protecting your investment.
Warning: Never use bleach to clean food-grade plastics. Bleach can degrade the material over time and may leach into your food during future drying cycles.
The Best Way to Clean Food Dehydrator Without Chemicals
Many users are moving away from harsh detergents in favor of natural alternatives. If you want to clean food dehydrator without chemicals, your best allies are already in your pantry: white vinegar, baking soda, and lemon juice.
The Vinegar and Lemon Solution
White vinegar is mildly acidic, which makes it a capable everyday degreaser for food-contact surfaces. For a superior clean, try this "Power Mix":
- Mix: 1 part white vinegar with 2 parts warm water.
- Add: 1 tablespoon of lemon juice. The citric acid helps break down stubborn fruit sugars (pectin) that vinegar alone might struggle with.
- Apply: Spray the solution onto the trays and interior walls, then let it sit for 10-15 minutes before scrubbing.
The Baking Soda Paste for Odors
If you have recently made a batch of garlic-heavy jerky or onion snacks, you may notice a lingering scent. Because many dehydrator components are made of porous plastic, they absorb odors easily. To clean food dehydrator vinegar and baking soda combinations are highly effective here. Create a thick paste of baking soda and water, apply it to the smelly surfaces, and let it sit for an hour before rinsing.
Tip: For box-style dehydrators with stubborn stuck-on grime, place a bowl of boiling water mixed with vinegar inside the unit and close the door (with the power OFF) for 15 minutes. The steam will loosen the residue, making it easy to wipe away.
Cleaning Different Tray Materials
Not all trays are created equal. Depending on whether your model uses stainless steel, BPA-free plastic, or silicone inserts, your cleaning approach should vary.
| Tray Material | Dishwasher Safe? | Best Cleaning Tool |
|---|---|---|
| Stainless Steel | Yes | Metal Scrubbie or Ultrasonic Cleaner |
| BPA-Free Plastic | Top Rack Only | Soft Bamboo Brush |
| Silicone Mesh | Yes | Microfiber Cloth |
The "Pre-Soak" Strategy
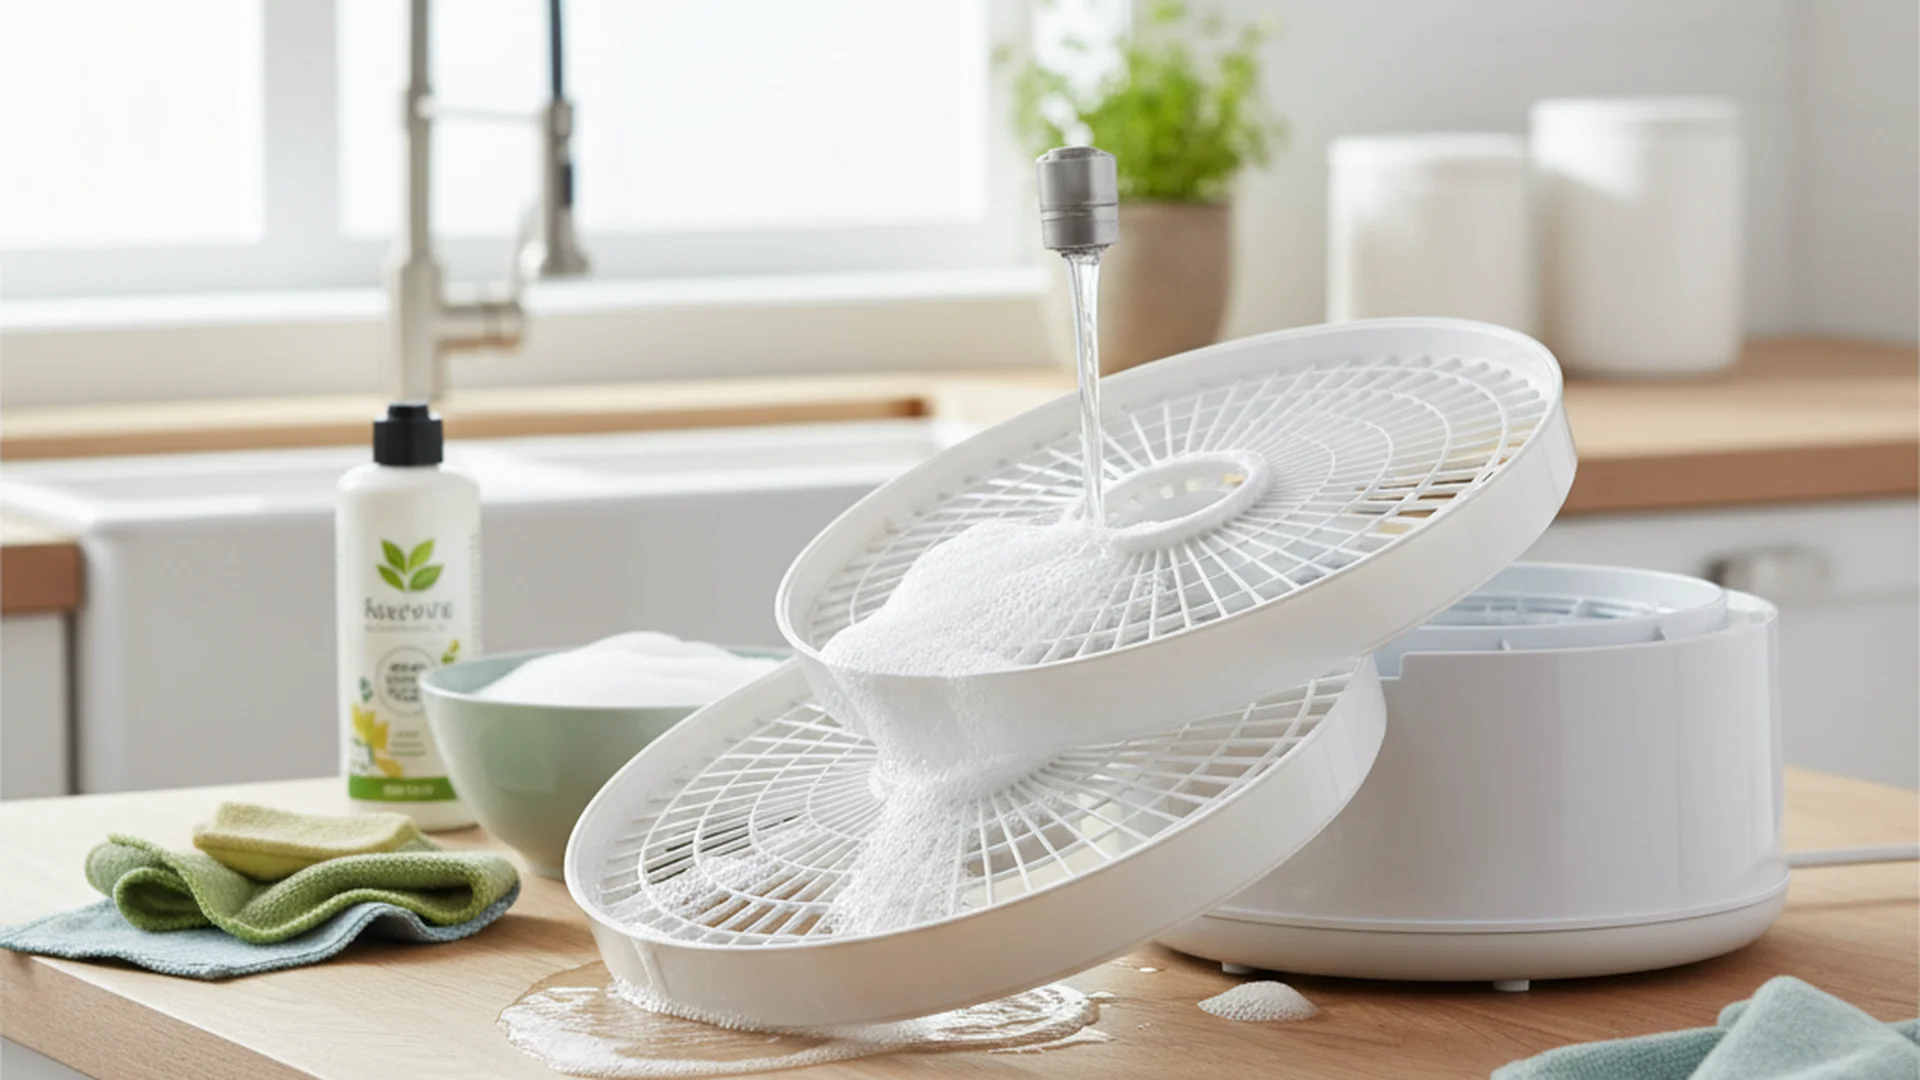
The golden rule of tray maintenance is the pre-soak. As soon as you remove your food, submerge the trays in warm, soapy water. Once food sugars or proteins harden and "re-dehydrate" onto the surface, they become exponentially harder to remove.
Avoiding Microplastics
A growing trend in 2025 is the shift toward sustainable scrubbers, with home preservers swapping synthetic "yellow-and-green" sponges for natural fiber brushes like luffa or bamboo. This prevents microplastic shedding onto the food-contact surfaces of your trays.
The Hidden Spots: Fan, Motor, and Air Vents
Most users focus on the trays but ignore the "engine room" of the dehydrator. This is a mistake that leads to uneven drying and eventual motor burnout.
The Air Intake Filter
Most dehydrators have an air intake screen. Over time, this collects household dust and pet hair. Use a vacuum with a brush attachment to clear this vent every month. A clogged intake forces the motor to run hotter, shortening its lifespan.
The Fan Blades
If you dry high-fat items like marinated meats, oil can actually atomize and coat the fan blades. Every 5–10 uses, you should inspect the fan.
- Step 1: Ensure the unit is unplugged.
- Step 2: Use a slightly damp microfiber cloth (with your vinegar solution) to wipe the blades.
- Step 3: Use a cotton swab to reach the center hub where grease tends to accumulate.
Note: Never submerge the base unit in water. The heating element and electronic components are housed here and any liquid ingress can cause a short circuit or permanent damage.
2025 Pro-Tips and Recent Trends
The world of food preservation is evolving, and so are the tools we use to maintain our equipment.
- Enzymatic Cleaners: Many enthusiasts are now using food-safe enzymatic cleaners. These products use specialized enzymes to "eat" protein and sugar residues, making them far more effective than standard dish soap for jerky lovers.
- Ultrasonic Cleaning: High-end users have started utilizing small ultrasonic cleaners (traditionally used for jewelry) to deep-clean stainless steel mesh inserts. This removes microscopic food particles that manual scrubbing simply cannot reach.
- UV-C Sterilization: Some 2026 models are being released with built-in UV-C lights to kill mold spores after the cleaning cycle is complete. If you have an older model, you can achieve a similar effect by letting your trays dry in direct sunlight for an hour.
Common Mistakes to Avoid
Even seasoned pros make mistakes when learning how to clean food dehydrator units. Avoid these pitfalls to keep your machine in top shape:
- Using Abrasive Steel Wool on Plastic: This creates micro-scratches where bacteria can hide and flourish.
- Reassembling While Damp: This is the #1 cause of "closet mold." Ensure every tray and the interior housing is bone-dry before storing.
- Ignoring the Drip Tray: If your model has a bottom tray to catch drips, clean it after every single use to prevent rancid oil buildup.
- Cleaning While Plugged In: It sounds obvious, but many "steam clean" hacks or damp-cloth wipes are performed while the unit is still connected to power. Safety first!
Frequently Asked Questions
Are dehydrator trays dishwasher safe?
How do I remove the smell of jerky or onions?
Can I submerge the base in water?
How often should I deep clean the fan?
Conclusion
Mastering how to clean food dehydrator appliances is a small investment of time that pays massive dividends in food quality and machine reliability. By choosing to clean food dehydrator without chemicals using vinegar and lemon, you ensure that your preserved snacks remain as healthy and non-toxic as possible.
Remember to prioritize the "hidden" areas like air vents and fan blades, and always allow your unit to dry completely before storage. With these 2025 best practices, your dehydrator will continue to produce delicious, safe, and nutritious snacks for years to come.
Success: A clean dehydrator ensures consistent airflow, leading to faster drying times and better-tasting food!
Cleaning that keeps score
Every task earns points, every streak multiplies them, and Premium adds a household leaderboard plus a monthly Dustagorgon to beat.
- Free forever
- 30 badges to earn
- Up to 6 in a household
No card needed. Set up your rooms in a couple of minutes.