In this article
What you’ll learn
- The blender gasket is one of the worst germ hotspots in the kitchen.
- Avoid abrasive scouring pads to prevent permanent cloudiness in Tritan plastic.
- Self-cleaning cycles with warm water and soap are the safest way to clean sharp blades.
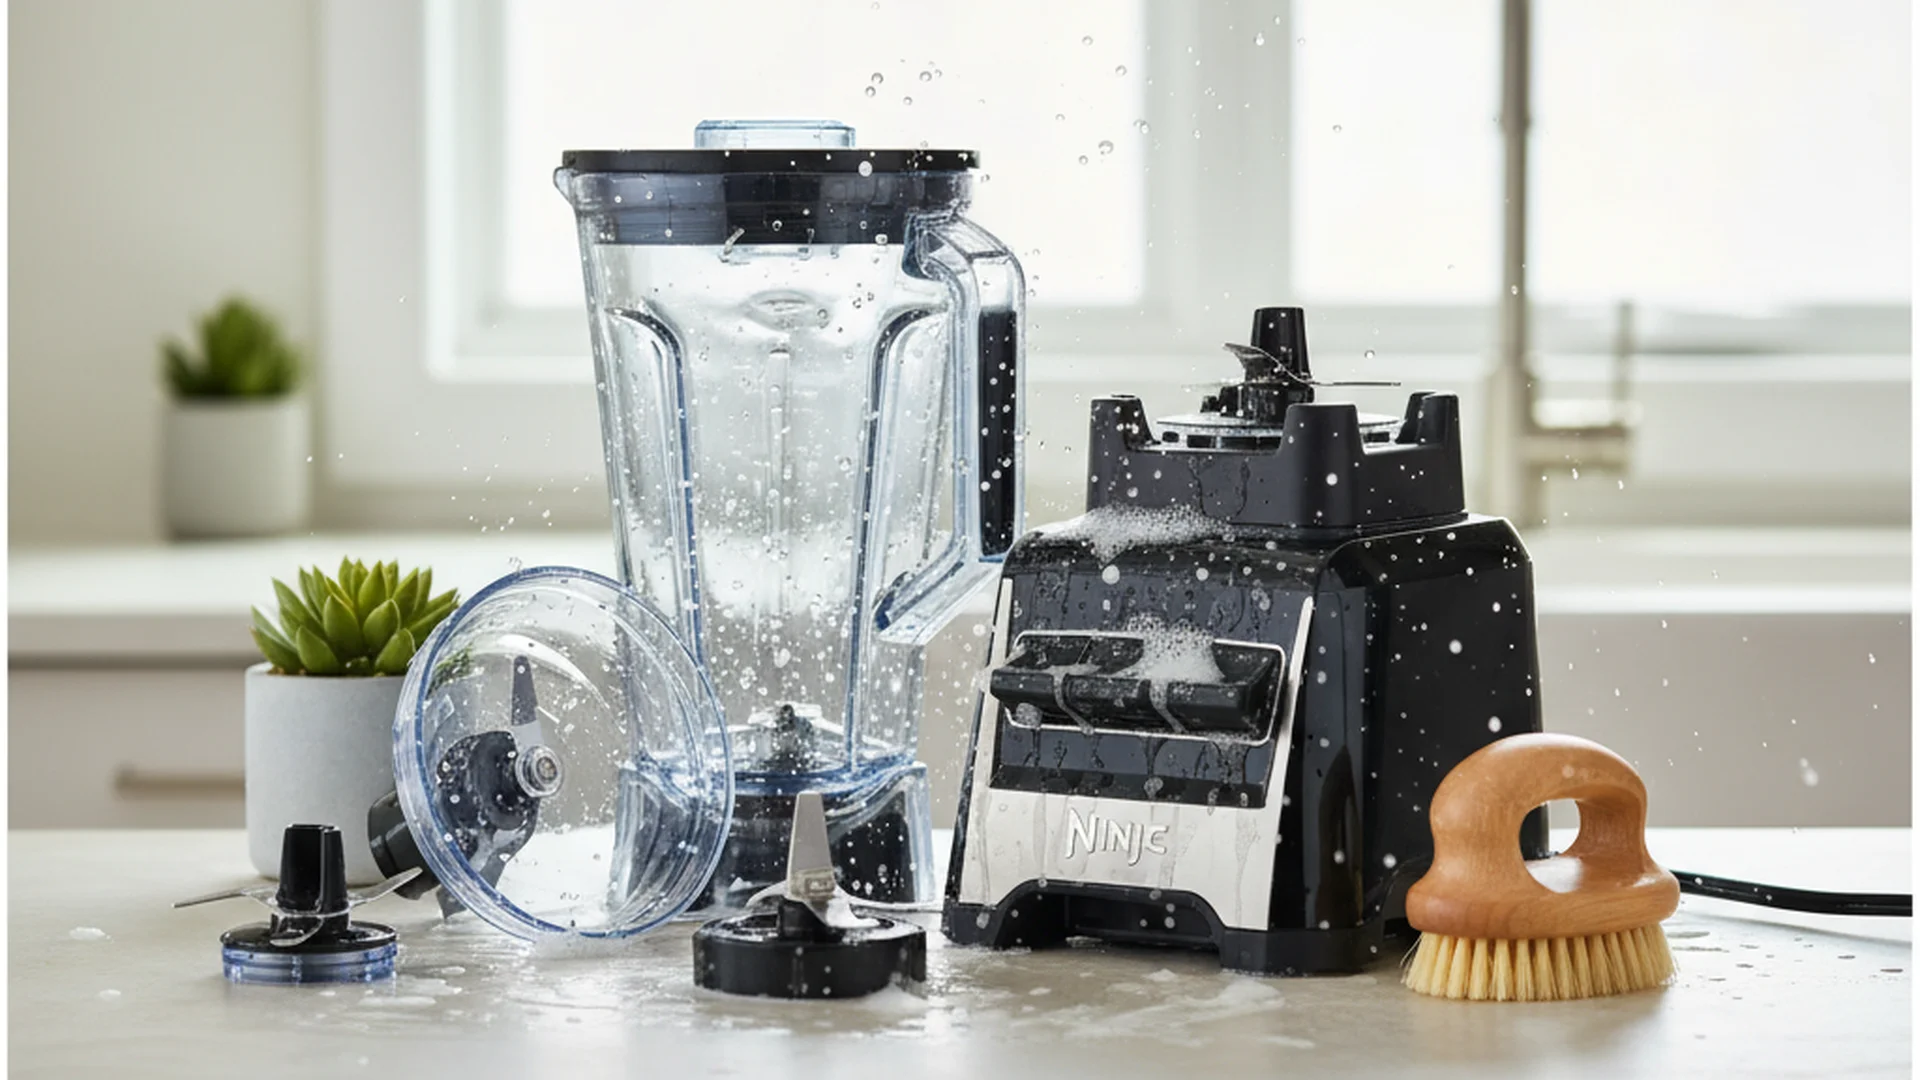
If you are a fan of daily smoothies, homemade nut milks, or spicy salsas, your Ninja blender is likely the workhorse of your kitchen. However, because of the unique design of Ninja’s "Total Crushing" blade towers and the porous nature of their BPA-free Tritan plastic pitchers, knowing how to clean ninja blender components properly is vital for both food safety and appliance longevity. Neglecting the small crevices of your blender doesn't just result in a cloudy pitcher—it can lead to significant bacterial growth and mechanical failure.
In this guide, we will explore the most effective methods to sanitize your machine, including how to clean ninja blender vinegar solutions and other ways to clean ninja blender without chemicals. By following these 2025-ready maintenance protocols, you can ensure your morning smoothie is as healthy as it looks.
The Invisible Danger: Why Deep Cleaning Matters
Most users assume a quick rinse under the tap is enough to keep their blender ready for the next use. The reality is far less comforting. The blender gasket is one of the germiest items in the average kitchen. Traces of Salmonella and E. coli turn up in gaskets far more often than anyone would like, and yeast and mold are close to universal in a gasket that has never been pried out and scrubbed.
Beyond hygiene, the vast majority of blender failures are caused by preventable neglect. This includes food buildup under the blade assembly or liquid entering the motor base. When you learn how to clean ninja blender parts correctly, you aren't just cleaning; you are performing essential maintenance that prevents the motor from seizing and the plastic from "etching."
Level 1: The "90-Second Daily Ritual" (Self-Cleaning)
The best time to clean your blender is the exact second you finish pouring your drink. The longer food sits, the more it bonds to the Tritan plastic.
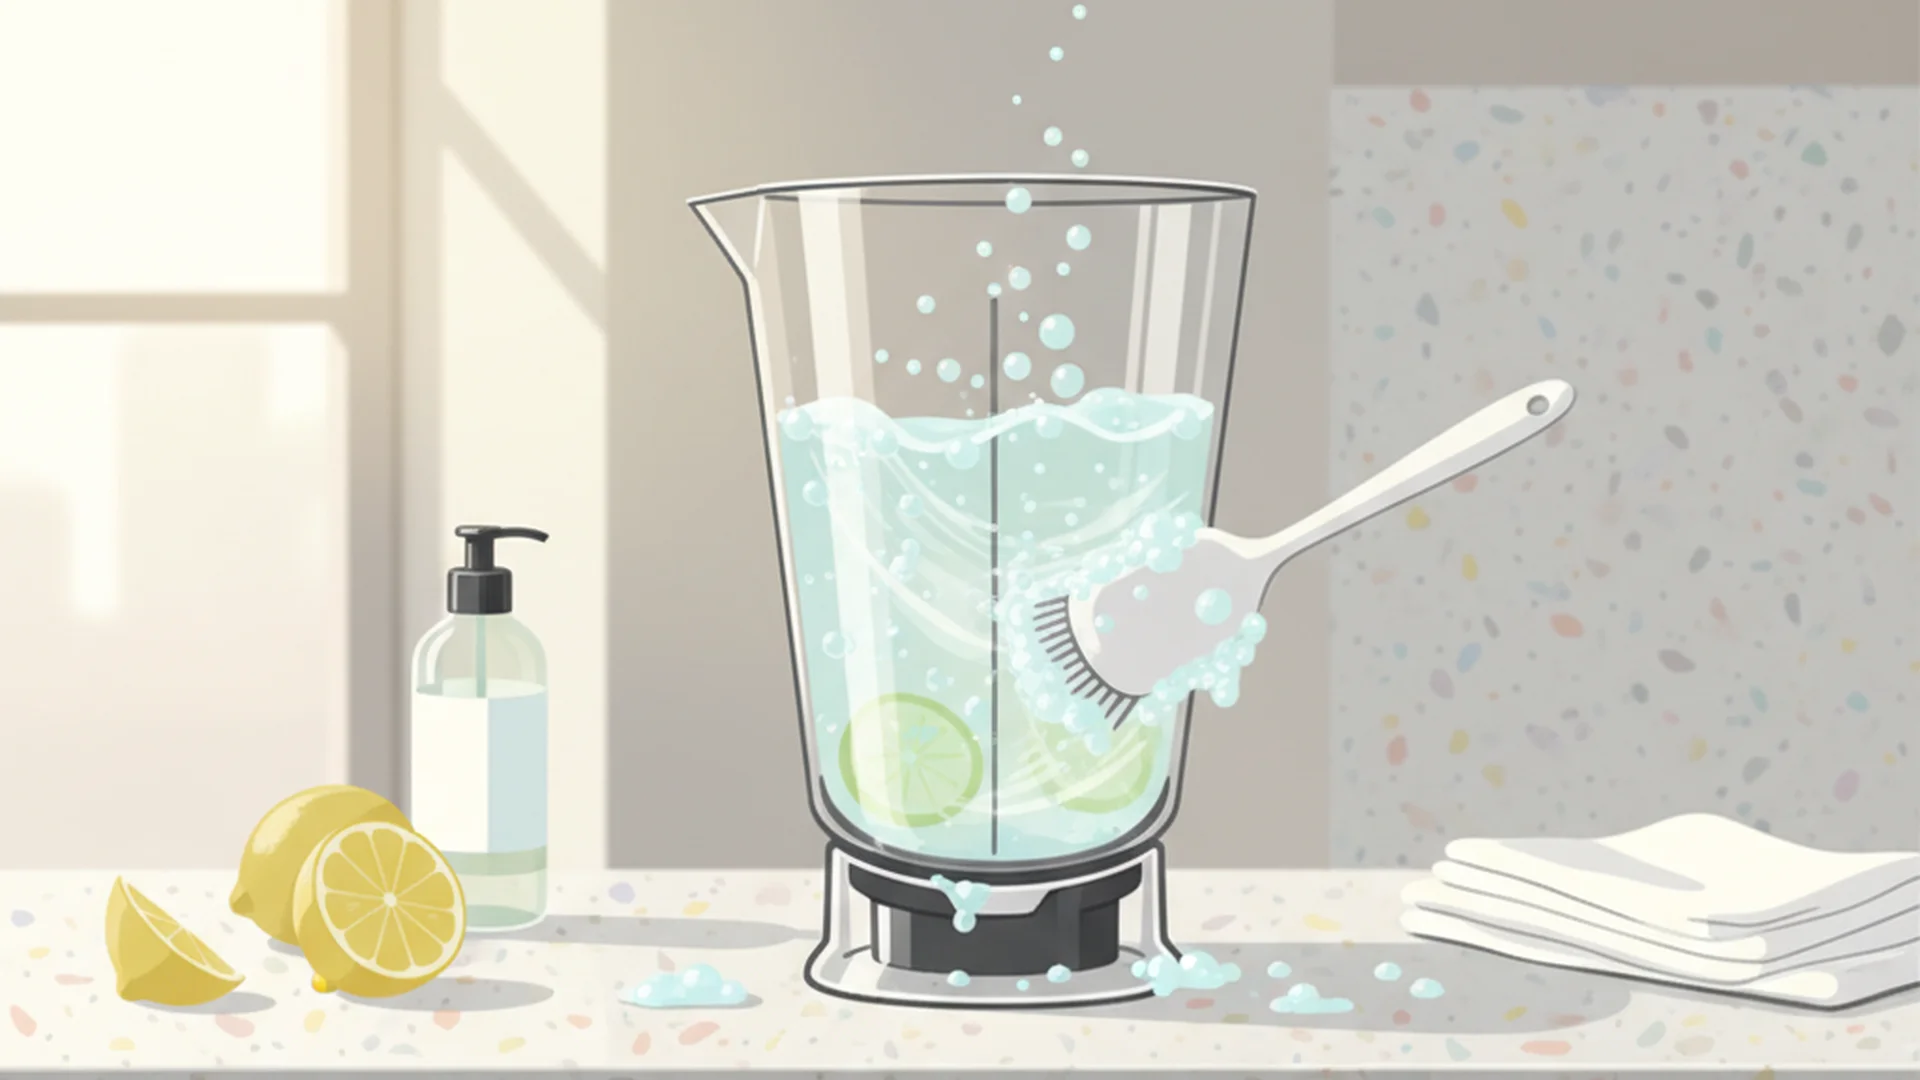
- Immediate Rinse: Pour out your contents and immediately fill the pitcher halfway with warm (not boiling) water.
- The Soap Trick: Add exactly two drops of dish soap. Using more than this will create excessive suds that can overflow or leak into the handle.
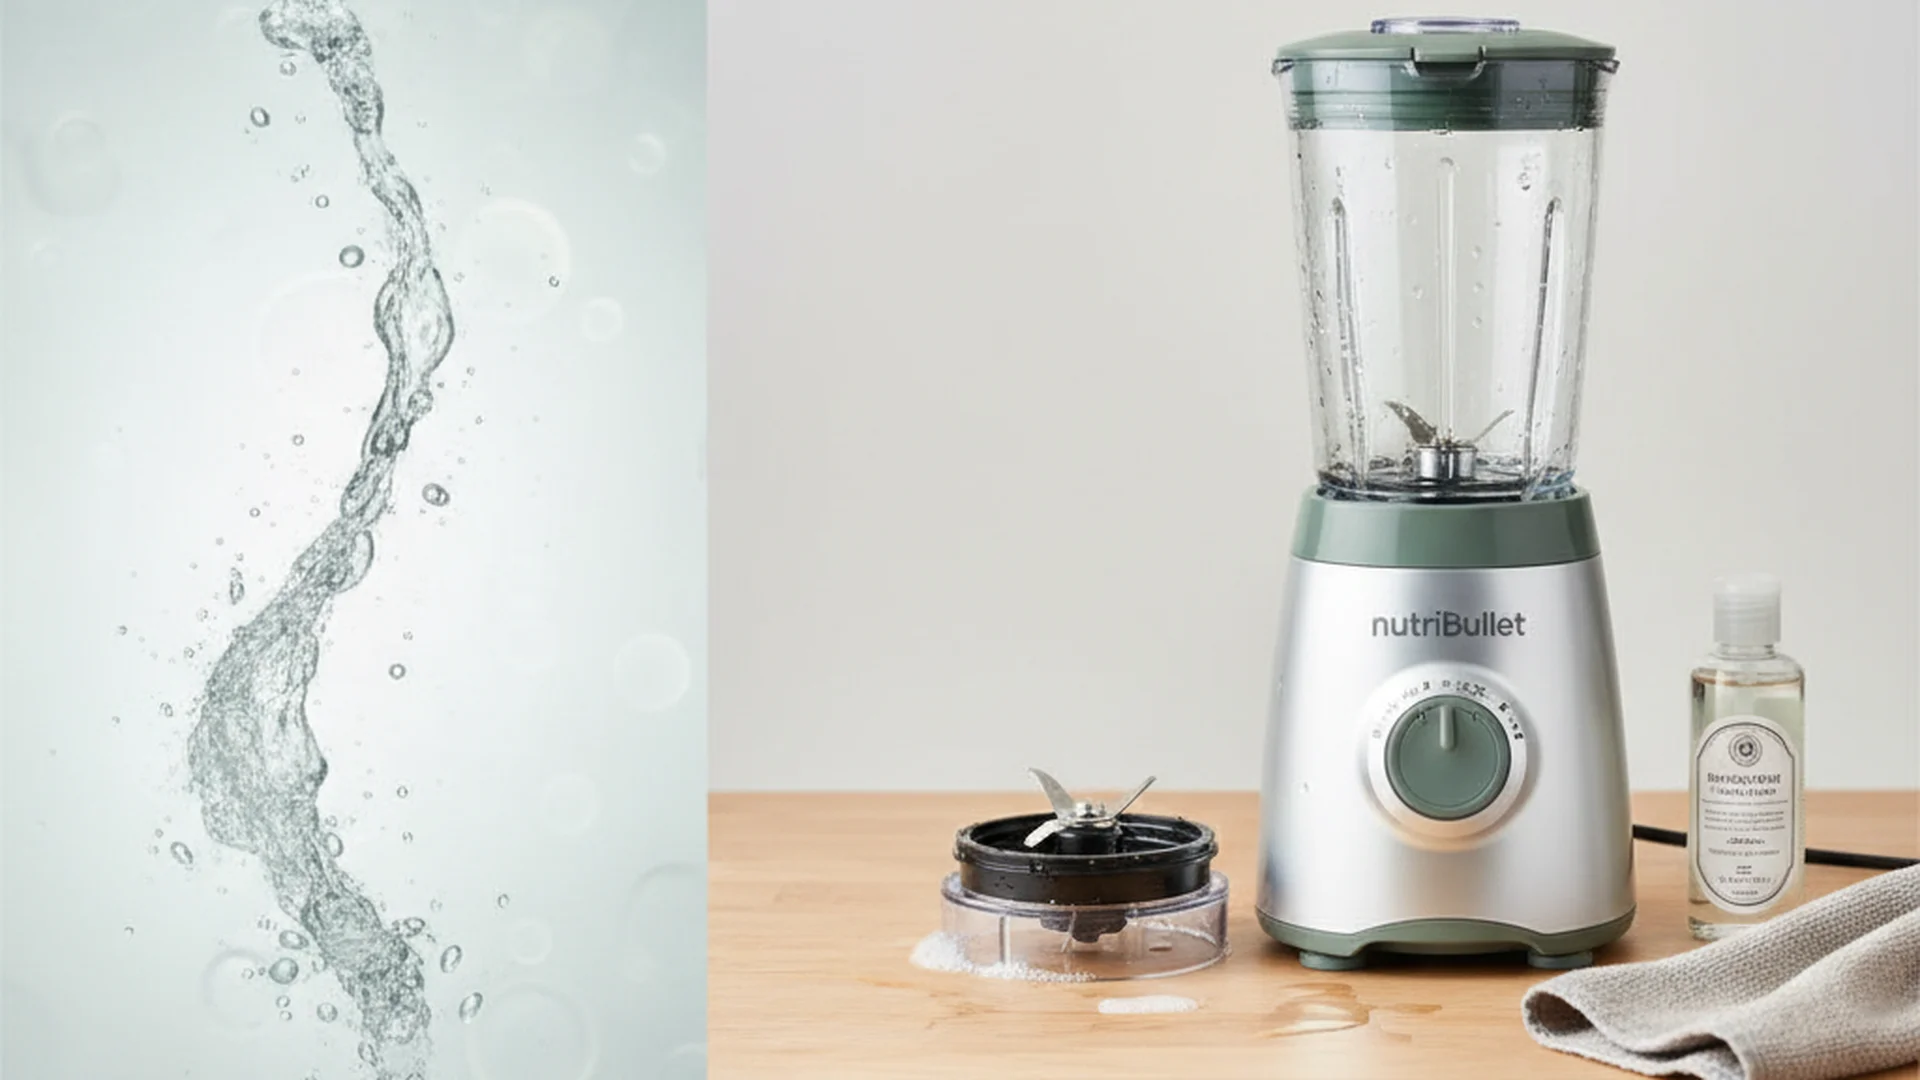
- Pulse Power: Secure the lid and run the blender on "Pulse" or "High" for 30–60 seconds. This creates a powerful vortex that dislodges particles from the blade crevices without you having to touch the sharp edges.
- Air Dry: This is the most overlooked step. Invert the pitcher on a drying rack. Do not towel-dry the interior.
Tip: Microfiber lint can bond to wet plastic and cause permanent cloudiness. Always allow your Ninja pitcher to air dry completely.
Warning: Ninja’s "Total Crushing" blades are significantly sharper than standard blender blades. Most blender injuries happen during hand-washing. Use the pulse cleaning method to minimize contact.
Level 2: How to Clean Ninja Blender Without Chemicals
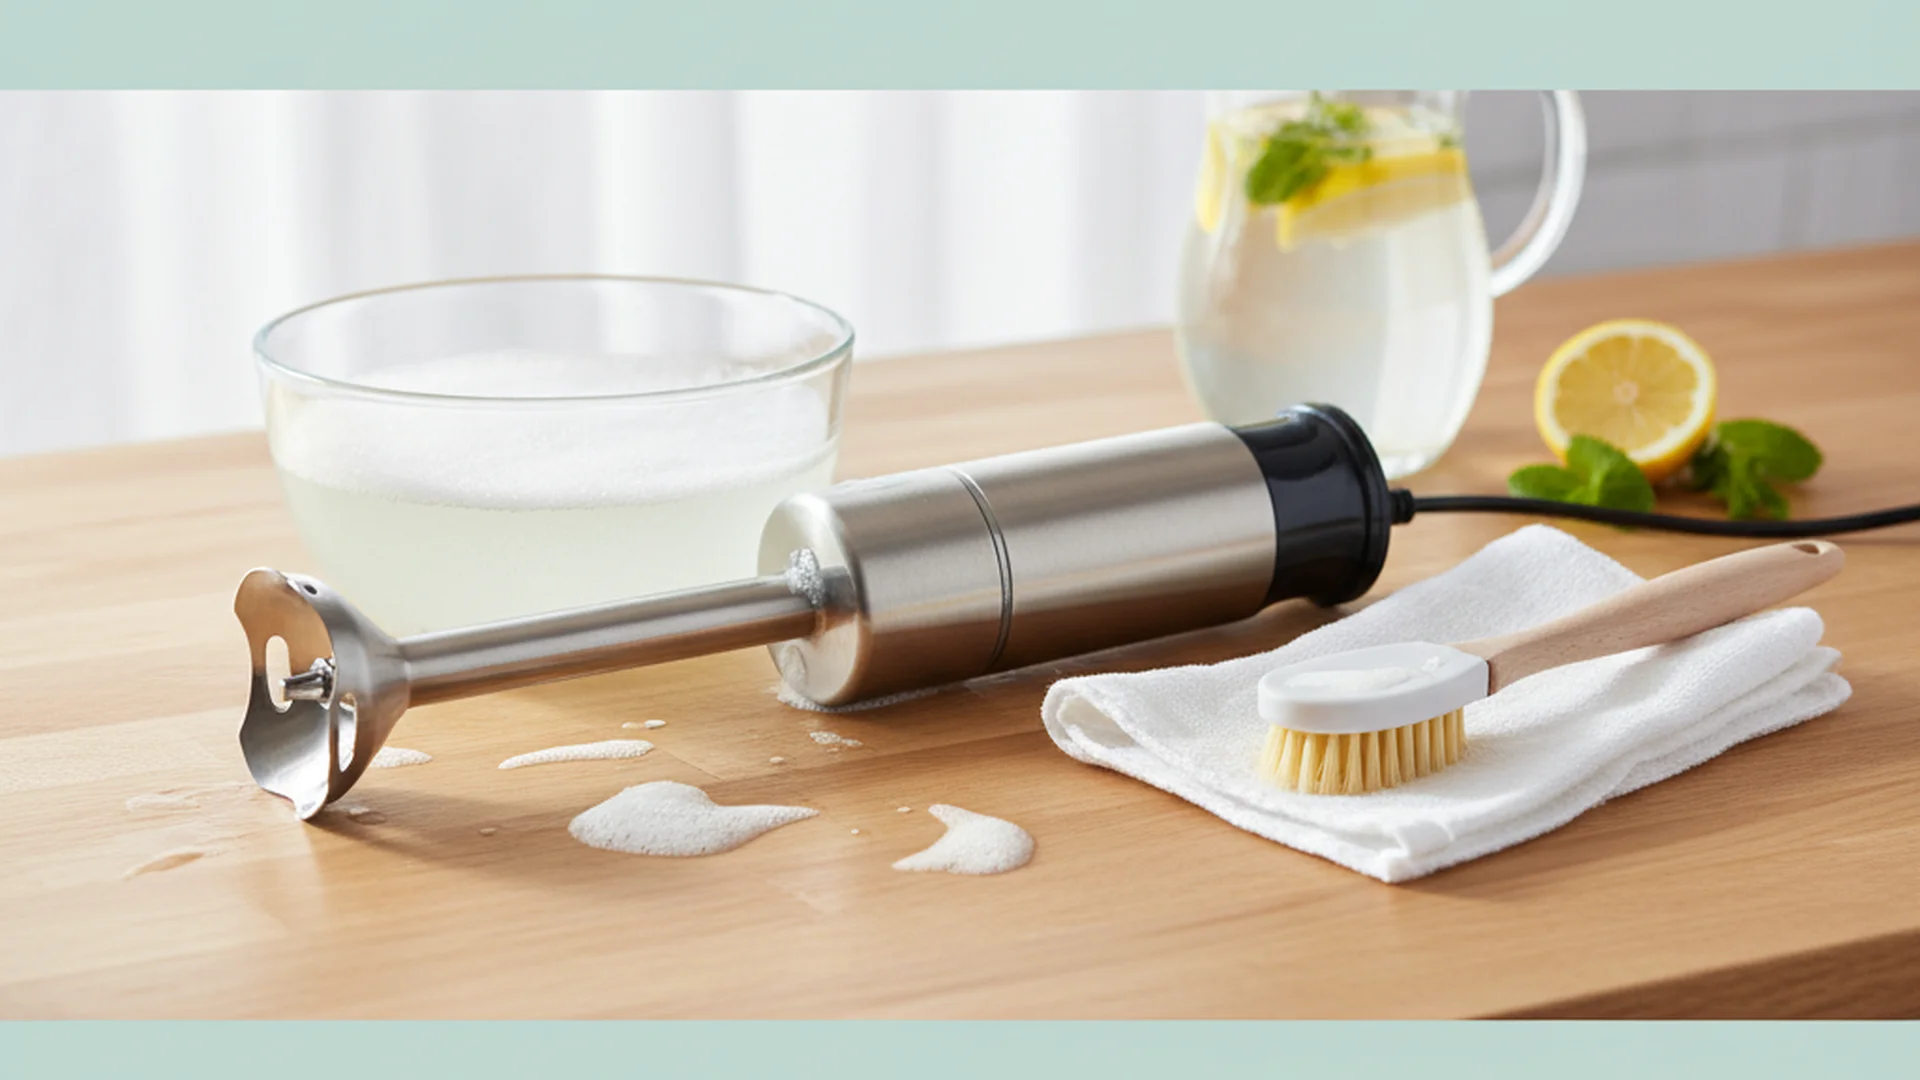
Many households are moving away from harsh detergents in 2025, favoring "pantry staple" cleaning. If you want to clean ninja blender without chemicals, you can achieve professional results using items already in your kitchen.
The Lemon and Salt Power Scrub
For stubborn, dried-on fruit or vegetable skins, use coarse salt as a natural abrasive. Salt provides enough friction to scrub the blades and the bottom of the pitcher without scratching the plastic.
- Add 1 tablespoon of coarse-ground salt.
- Add the juice of half a lemon.
- Add 1 cup of warm water and pulse for 60 seconds.
The Baking Soda Deodorizer
If you’ve recently made a garlicky dip or an onion-based salsa, the smell can linger in the plastic. To fix this, blend 2 tablespoons of baking soda with 2 cups of water. Let the mixture sit for 15 minutes before rinsing.
Success: This method neutralizes acidic odors and breaks down protein films left behind by whey powder or nut butters.
Level 3: Removing Cloudiness with Vinegar
Has your clear pitcher turned a milky, foggy color? This is often mineral buildup from hard water or "etching" from acidic foods. To restore clarity, you need to clean ninja blender vinegar treatments.
The Overnight Restoration Soak
- Create a paste of baking soda and a small amount of water.
- Rub the paste in circular motions on the cloudy areas with a soft cloth.
- Fill the pitcher with 1 cup of white vinegar and fill the rest with warm water.
- Let the pitcher sit overnight.
- In the morning, rinse thoroughly.
Note: Most Ninja pitchers are made of BPA-free Tritan plastic. While durable, it is porous and can become "etched" if left with acidic residue (like tomato sauce) for more than 30 minutes.
The Monthly Gasket Maintenance: The "Secret" Step
The rubber gasket (the O-ring inside the lid or blade base) is where most mold and bacteria live. To clean it:
- Use a dull tool, like a spoon handle, to gently pry the rubber ring out.
- Clean the groove in the lid with a toothbrush.
- Soak the rubber ring in a 50/50 solution of white vinegar and water for 30 minutes.
- Ensure the ring is completely dry before re-inserting it.
| Cleaning Component | Frequency | Method |
|---|---|---|
| Pitcher/Cups | Daily | Pulse with soap & water |
| Blade Assembly | Daily | Pulse cleaning (No-touch) |
| Rubber Gasket | Monthly | Vinegar soak & scrub |
| Motor Base | Weekly | Damp cloth & Q-tip |
Common Mistakes to Avoid
- The Scouring Pad Mistake: Never use the green abrasive side of a sponge. It creates micro-scratches that trap bacteria and make the pitcher permanently cloudy.
- The "Soak it in the Sink" Myth: Submerging the blade assembly in a soapy sink for hours leads to rust in the internal bearings. This causes the blades to "seize" or become extremely loud.
- Heat Shock: Pouring boiling water into a cold pitcher can cause the plastic to crack or the lid seal to warp.
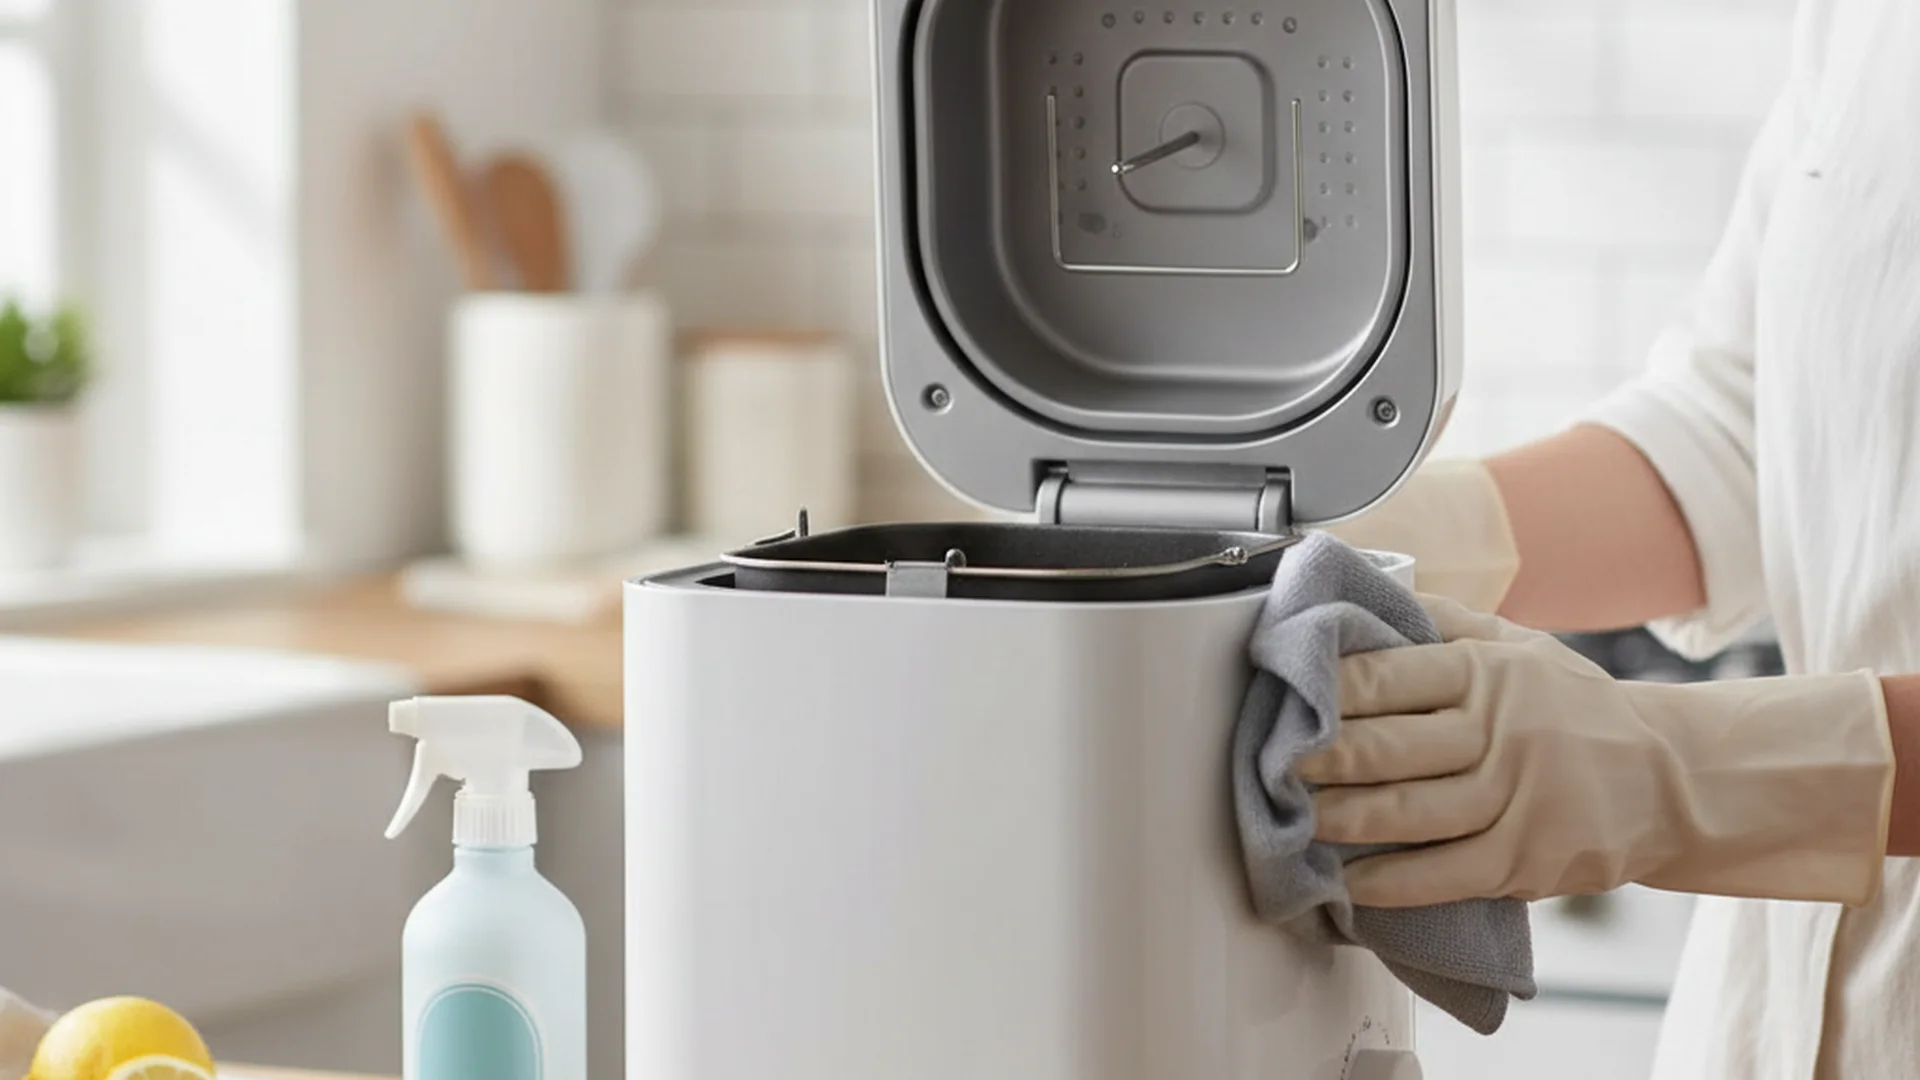
- Ignoring the Base: Food spills in the motor base can harden and prevent the safety sensors from engaging, meaning your blender won't turn on even if the lid is secure.
Modern Cleaning Trends (2025–2026)
As we look toward 2025 and 2026, blender maintenance is becoming more tech-driven and eco-conscious.
- Enzyme-Based Cleaners: There is a major shift toward enzyme cleaners that naturally break down fats and proteins. These are particularly effective for Ninja Nutri-cups used for protein shakes.
- Sonic Cleaning Tools: Many users are now using handheld sonic scrubbers (similar to electric toothbrushes) to clean the "nooks" of the blade tower without getting their fingers near the sharp edges.
- Preventative Apps: Newer 2026 Ninja models are beginning to integrate with smart home apps that track "blend hours" and send notifications when it is time for a deep gasket inspection.
Frequently Asked Questions
Is my Ninja blender dishwasher safe?
How do I get the 'cloudy' look off my pitcher?
Why does my blender smell like old onions/garlic?
Can I submerge the motor base in water?
Conclusion
Learning how to clean ninja blender equipment properly is about more than just aesthetics; it’s about protecting your health and your investment. By implementing the 90-second daily ritual and performing a monthly gasket deep-clean with vinegar, you can prevent the vast majority of common blender failures. Whether you choose to clean ninja blender without chemicals or use modern enzyme-based solutions, consistency is key to a sparkling, safe kitchen.
Success: Following this guide will keep your Ninja blender hygienic, odor-free, and performing like new for years to come.
Cleaning that keeps score
Every task earns points, every streak multiplies them, and Premium adds a household leaderboard plus a monthly Dustagorgon to beat.
- Free forever
- 30 badges to earn
- Up to 6 in a household
No card needed. Set up your rooms in a couple of minutes.