Key Takeaways
- Freezing temperatures do not kill bacteria like Salmonella or E. coli.
- Distilled white vinegar is the best natural solution for descaling and sanitizing.
- Regular maintenance should occur every 3 to 6 months to prevent biofilm formation.
We often assume that because an ice maker is cold, it is inherently clean. However, the reality is much more chilling. Research from 2024 and 2025 has highlighted that the dark, damp interior of an ice machine is the perfect breeding ground for mold and antibiotic-resistant bacteria. If you want to ensure your family’s drinks stay safe, learning how to clean ice maker units effectively is an essential home maintenance skill. In this guide, we will explore how to clean ice maker naturally to ensure your appliance remains hygienic and high-performing for years to come.
Why You Can’t Ignore Your Ice Maker’s Hygiene
Many homeowners are surprised to learn that freezing temperatures do not act as a disinfectant. According to 2024 research from Easy Ice, pathogens such as Salmonella, E. coli, and Norovirus can survive and even thrive in freezing environments. Even more concerning is a 2024 CDC report which linked 46 cases of serious respiratory and abdominal infections to contaminated ice machines in hospitals. These machines were found to be harboring Burkholderia multivorans, a particularly stubborn, antibiotic-resistant bacterium.
The culprit is often a "biofilm"—a slimy, protective layer created by microorganisms. This film acts as a shield, making bacteria significantly more resistant to standard cleaning agents. This is why a simple rinse isn't enough; you need a dedicated strategy to break down these biological barriers.
How to Clean Ice Maker Naturally with Vinegar
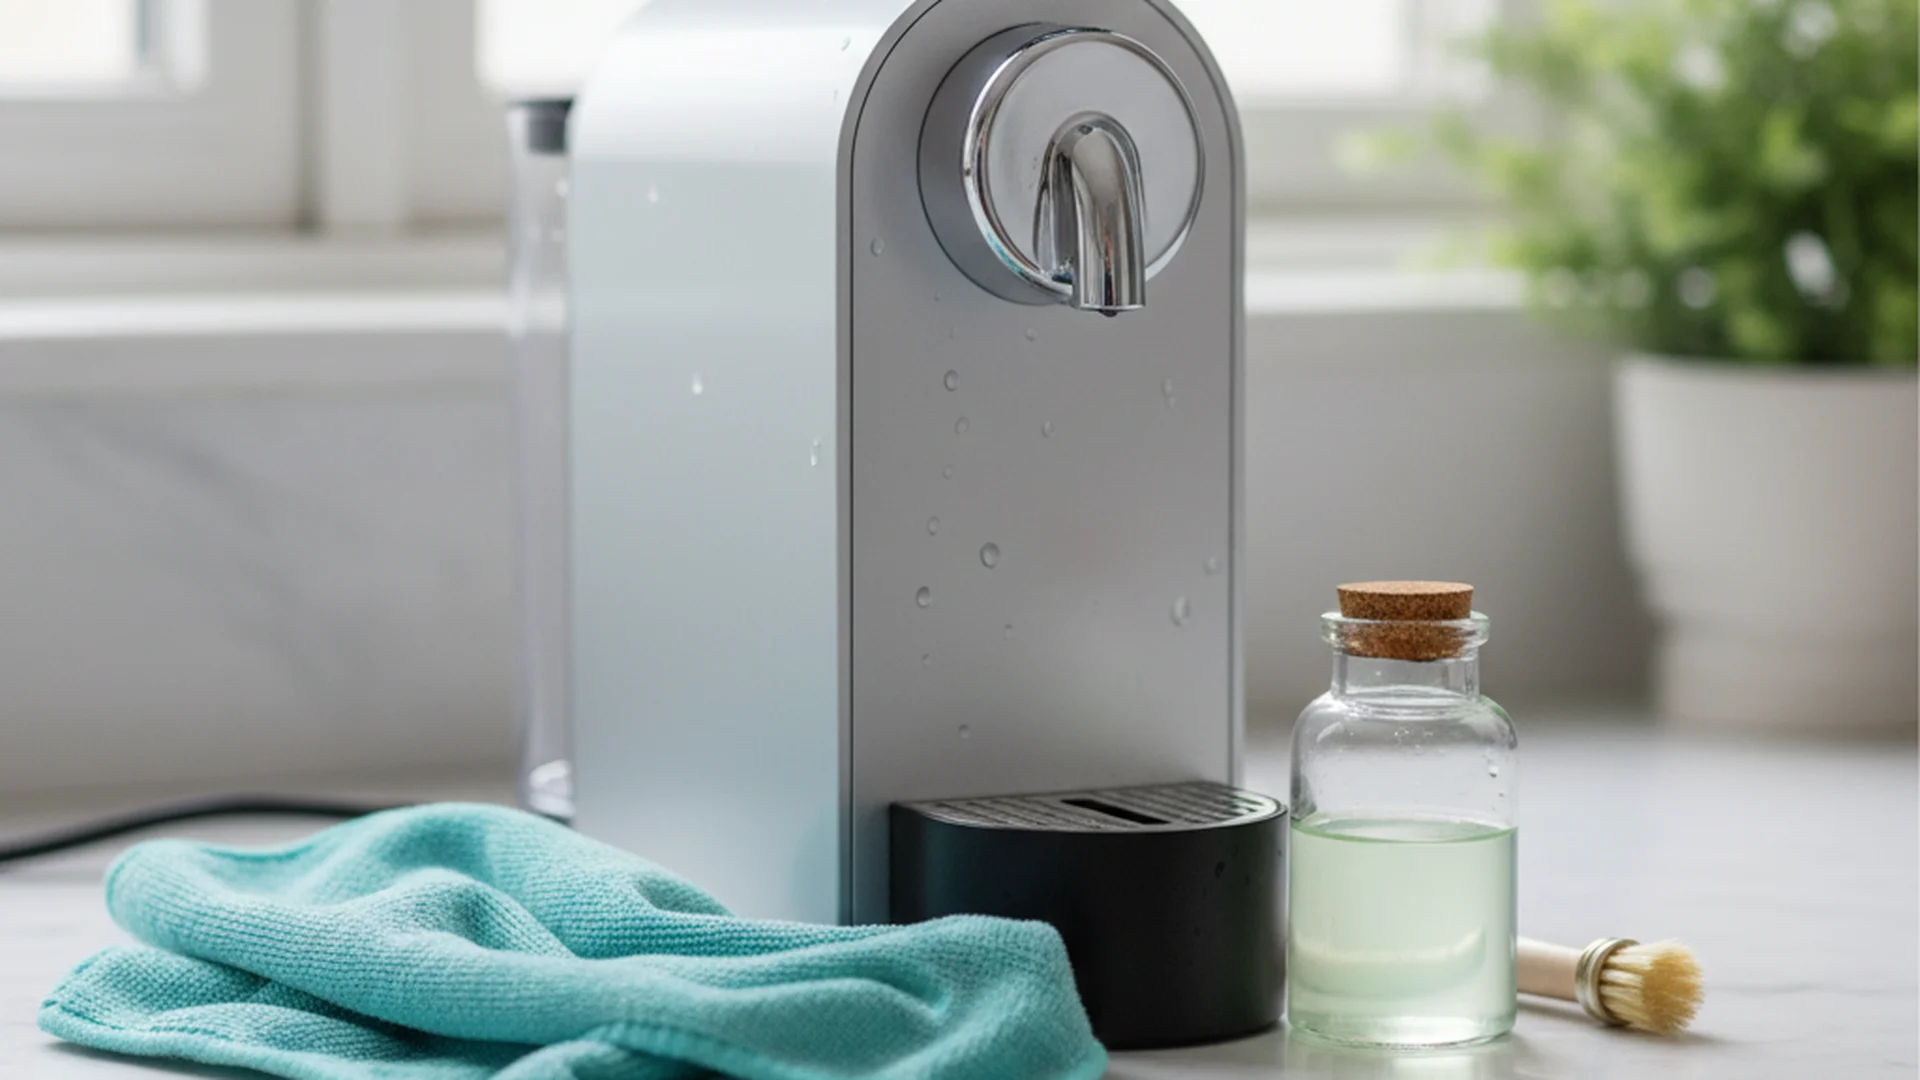
The most effective and safe way to maintain your machine is to clean ice maker with vinegar. Distilled white vinegar contains acetic acid, which is powerful enough to break down mineral scale (calcium buildup) and kill most common household molds without introducing toxic chemicals into your drinking water.
Step 1: Preparation and Power Down
Before you begin, turn off the ice maker and unplug it from the wall. If you have a built-in refrigerator model, locate the shut-off valve for the water line. Empty any remaining ice from the bin—you can use this to chill drinks in a cooler while you work, but do not put it back in the machine once you're finished.
Step 2: Create Your Cleaning Solution
For routine maintenance, experts recommend the 10:1 Rule: mix 10 parts filtered water with 1 part distilled white vinegar. However, if you notice visible white scales or "flakes" in your ice, you may need a stronger 1:1 ratio to tackle the heavy mineral deposits.
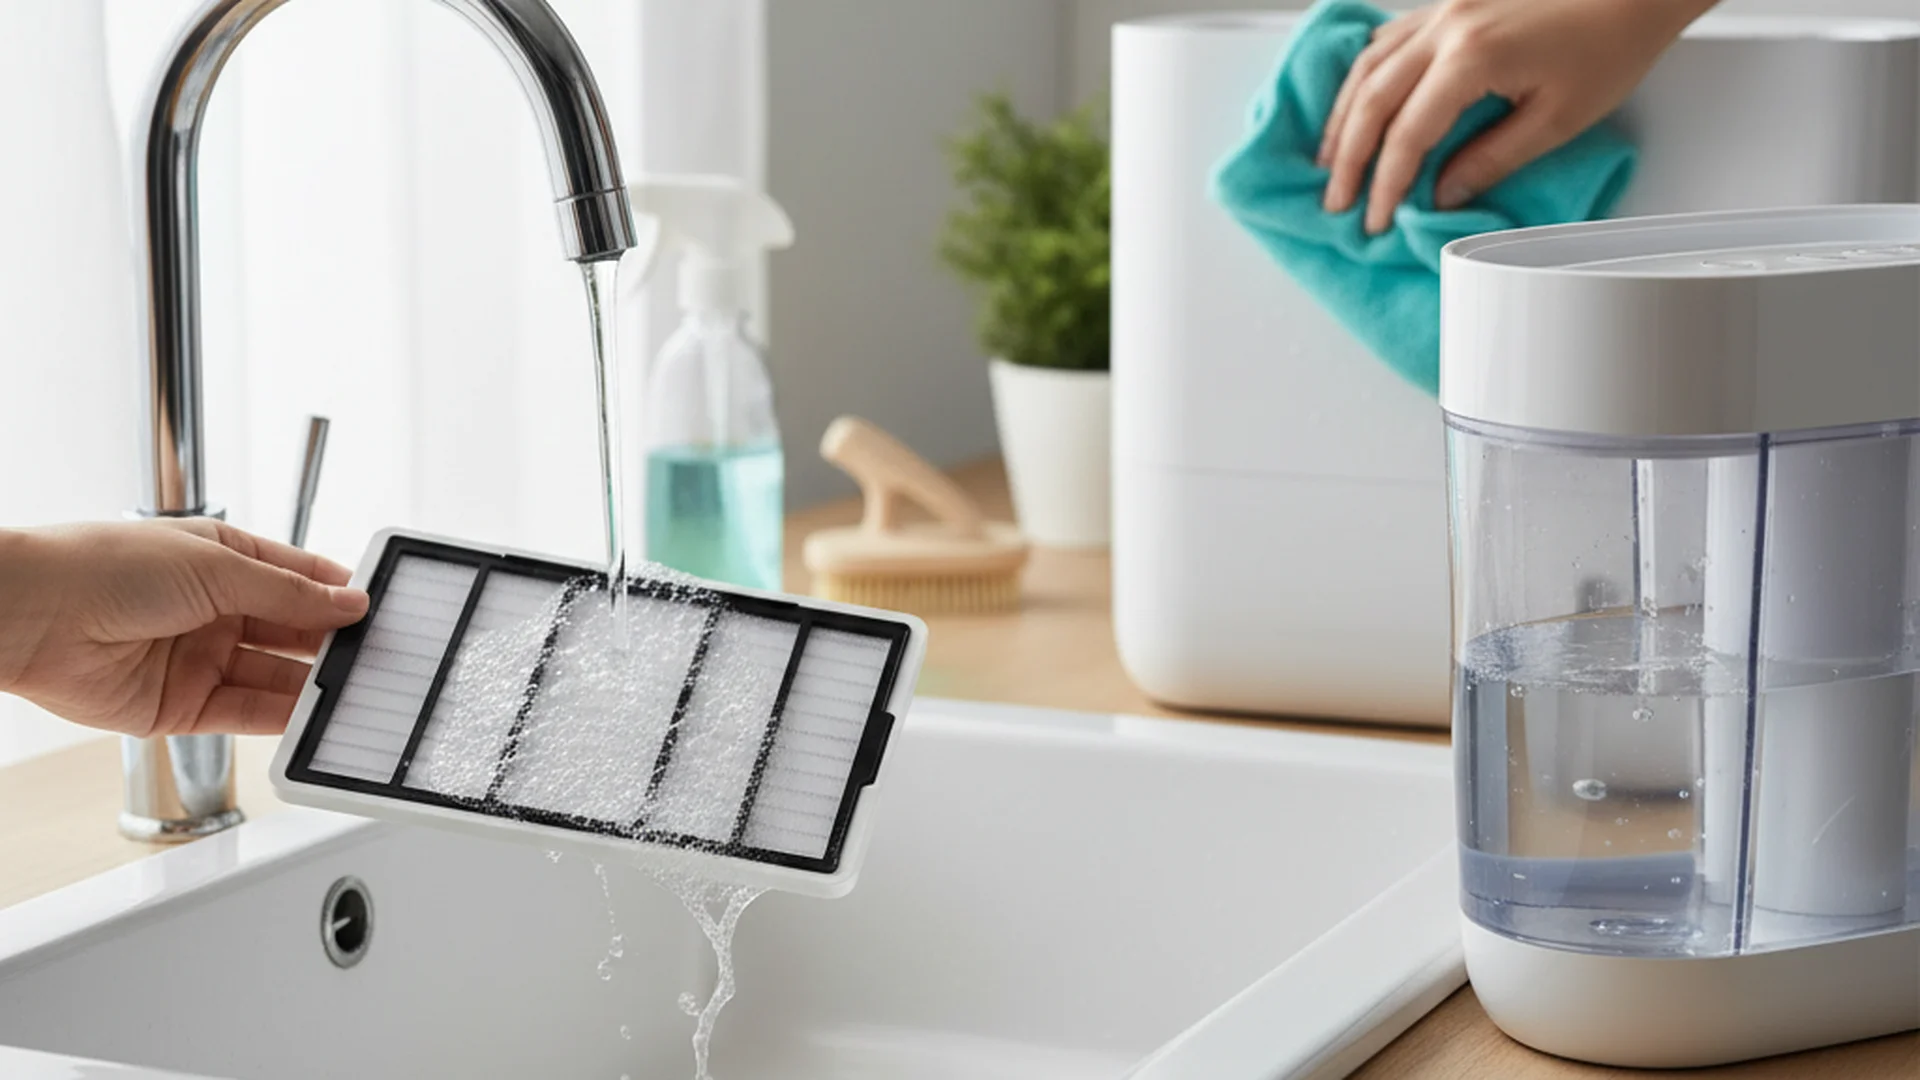
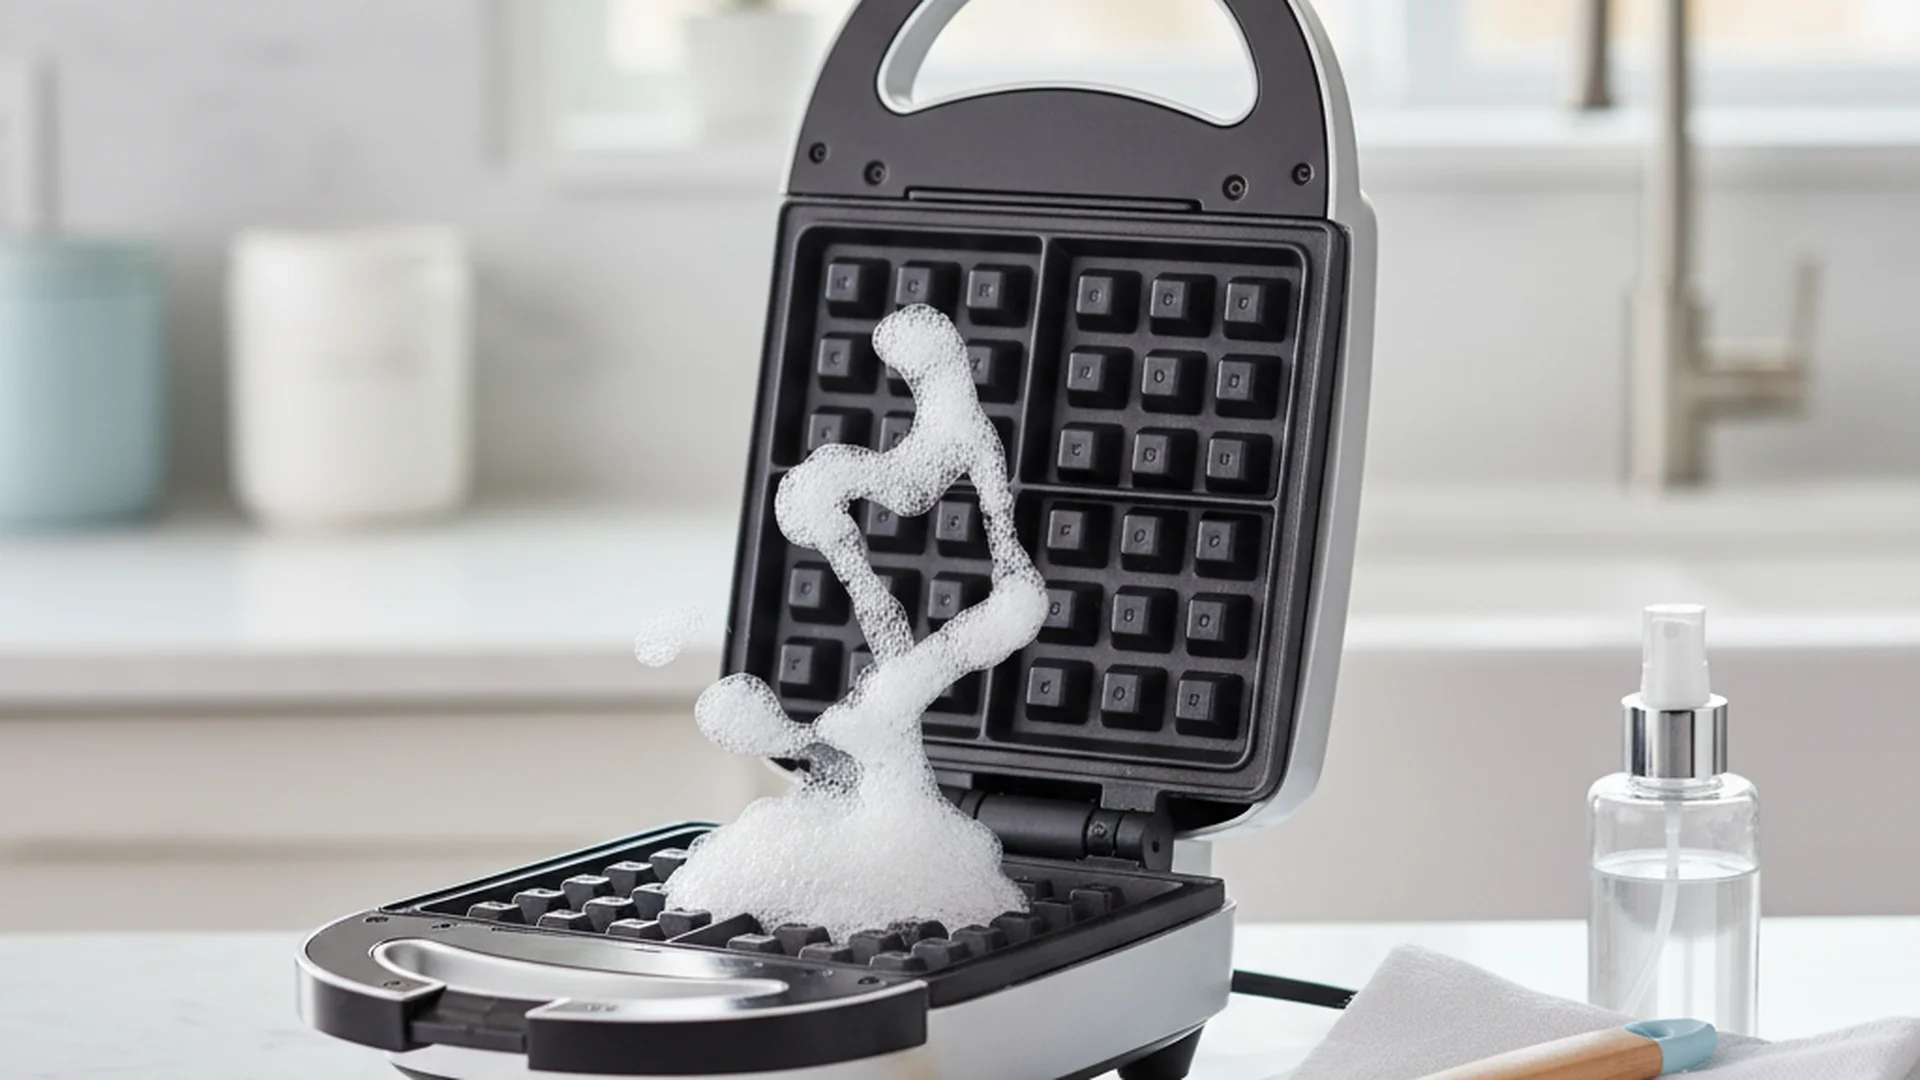
Step 3: Soak and Scrub
If your machine has a removable ice bin, take it out and submerge it in a sink filled with your vinegar solution. For the internal components—like the evaporator prongs where the ice forms—use a soft cloth dipped in the mixture.
Step 4: Run a Cleaning Cycle
If your unit has a "Clean" button, pour the vinegar solution into the water reservoir and initiate the cycle. For manual units, let the solution sit in the reservoir for 30–60 minutes to break down internal scale before draining.
| Cleaning Component | Recommended Solution | Frequency |
|---|---|---|
| Interior Bin | Vinegar & Water (1:10) | Monthly |
| Evaporator Plate | Vinegar & Water (1:1) | 6 Months |
| Water Filter | Replace New | 6 Months |
| Exterior Vents | Vacuum/Dust | Quarterly |
Advanced Features: The 2025-2026 Innovation Wave
The world of appliance maintenance is changing. If you are in the market for a new unit, 2026 models from brands like Euhomy and GE Profile now feature app-integrated sensors. These sensors monitor water hardness in real-time and send a push notification to your smartphone when it’s time to clean.
Furthermore, high-end countertop nugget ice makers are now incorporating built-in UV-C sanitization. These modules run continuously to kill 99.9% of bacteria in the water reservoir without the need for chemicals. While these features make maintenance easier, they do not replace the need for occasional manual descaling, especially in hard water areas.
Common Mistakes to Avoid
Even with the best intentions, many people accidentally damage their appliances during the cleaning process. Here are the top errors to watch out for:
- Submerging the Entire Unit: This is a common mistake with portable ice makers. Submerging the unit can destroy the electrical motor and the compressor. Only the removable plastic bins and trays should ever be submerged.
- Using Abrasive Tools: Steel wool or scouring pads will create microscopic scratches on the plastic surfaces. These scratches become "safe harbors" where bacteria and mold can hide, making it nearly impossible to fully sanitize the machine in the future.
- Skipping the First Batches: After cleaning, the first batch of ice will likely taste like vinegar or contain loosened mineral deposits. Always discard the first 2–3 batches of ice to ensure the lines are fully flushed.
- Reassembling While Damp: Trapped moisture is the primary cause of rapid mold regrowth. Ensure every component is 100% air-dried before putting the machine back together.
Frequently Asked Questions
How often should I clean my ice maker?
Can I use bleach instead of vinegar?
Why does my ice taste like plastic or metal?
My ice maker doesn't have a "Clean" button. How do I clean it?
Conclusion
Learning how to clean ice maker components isn't just about making your ice taste better—it’s a vital step in protecting your household from hidden pathogens. By choosing to clean ice maker naturally with vinegar and maintaining a regular schedule, you can extend the life of your appliance and ensure every glass of water is truly refreshing and safe.
Ready to Start?
Check your machine's manufacture date and schedule a cleaning if it’s been more than 90 days.
View Maintenance Checklist