In this article
What you’ll learn
- Clean your spiralizer immediately after use to prevent vegetable starches from hardening.
- Never use a sponge on spiralizer blades; use a stiff-bristled brush to protect your fingers.
- Natural ingredients like white vinegar and vegetable oil are more effective than harsh chemicals for sanitizing and removing stains.
Spiralizers have revolutionized the way we approach healthy eating, turning humble zucchinis and sweet potatoes into nutritious "noodles" in seconds. However, for many home cooks, the excitement of a low-carb meal is often dampened by the daunting task of cleaning the gadget afterward. Learning how to clean spiralizer components effectively is not just about keeping your kitchen tidy; it is a vital step in maintaining food safety and ensuring your appliance lasts for years to come.
In this guide, we will explore the best techniques for keeping your spiralizer pristine, from the "30-second rinse" rule to expert-approved natural cleaning hacks that avoid harsh chemicals.
The Science of Clean: Why "Good Enough" Isn't Enough
While a quick rinse under the tap might seem sufficient, the complex geometry of spiralizer blades makes them a haven for microscopic threats. According to the NIH, approximately 14% of foodborne illnesses can be traced back to inadequately cleaned kitchen utensils. When you process vegetables, you aren't just creating noodles; you are releasing starches and moisture that can trap bacteria.
Research from the University of Georgia highlights a significant risk: a single contaminated vegetable can transfer bacteria to up to seven subsequent pieces of produce processed through the same slicer. Furthermore, pathogens like Salmonella and E. coli can survive on plastic and metal surfaces for over 24 hours at room temperature. This makes a thorough cleaning protocol essential for every home chef.
Warning: Never drop spiralizer blades into a sink full of soapy water. If you cannot see the sharp teeth through the bubbles, you risk serious cuts when reaching in.
Step-by-Step: The Best Way to Clean Your Spiralizer
To keep your tool in top shape, follow this structured cleaning process. This method ensures all food particles are removed before they have a chance to dry and harden.
Step 1: The 30-Second Immediate Rinse
The most important rule for any spiralizer owner is to rinse the device immediately after use. Vegetable starches—especially from potatoes, zucchini, and butternut squash—act like a natural "cement." If left to dry, these fibers become incredibly difficult to dislodge from the tiny julienne teeth.
Step 2: The Brush Method
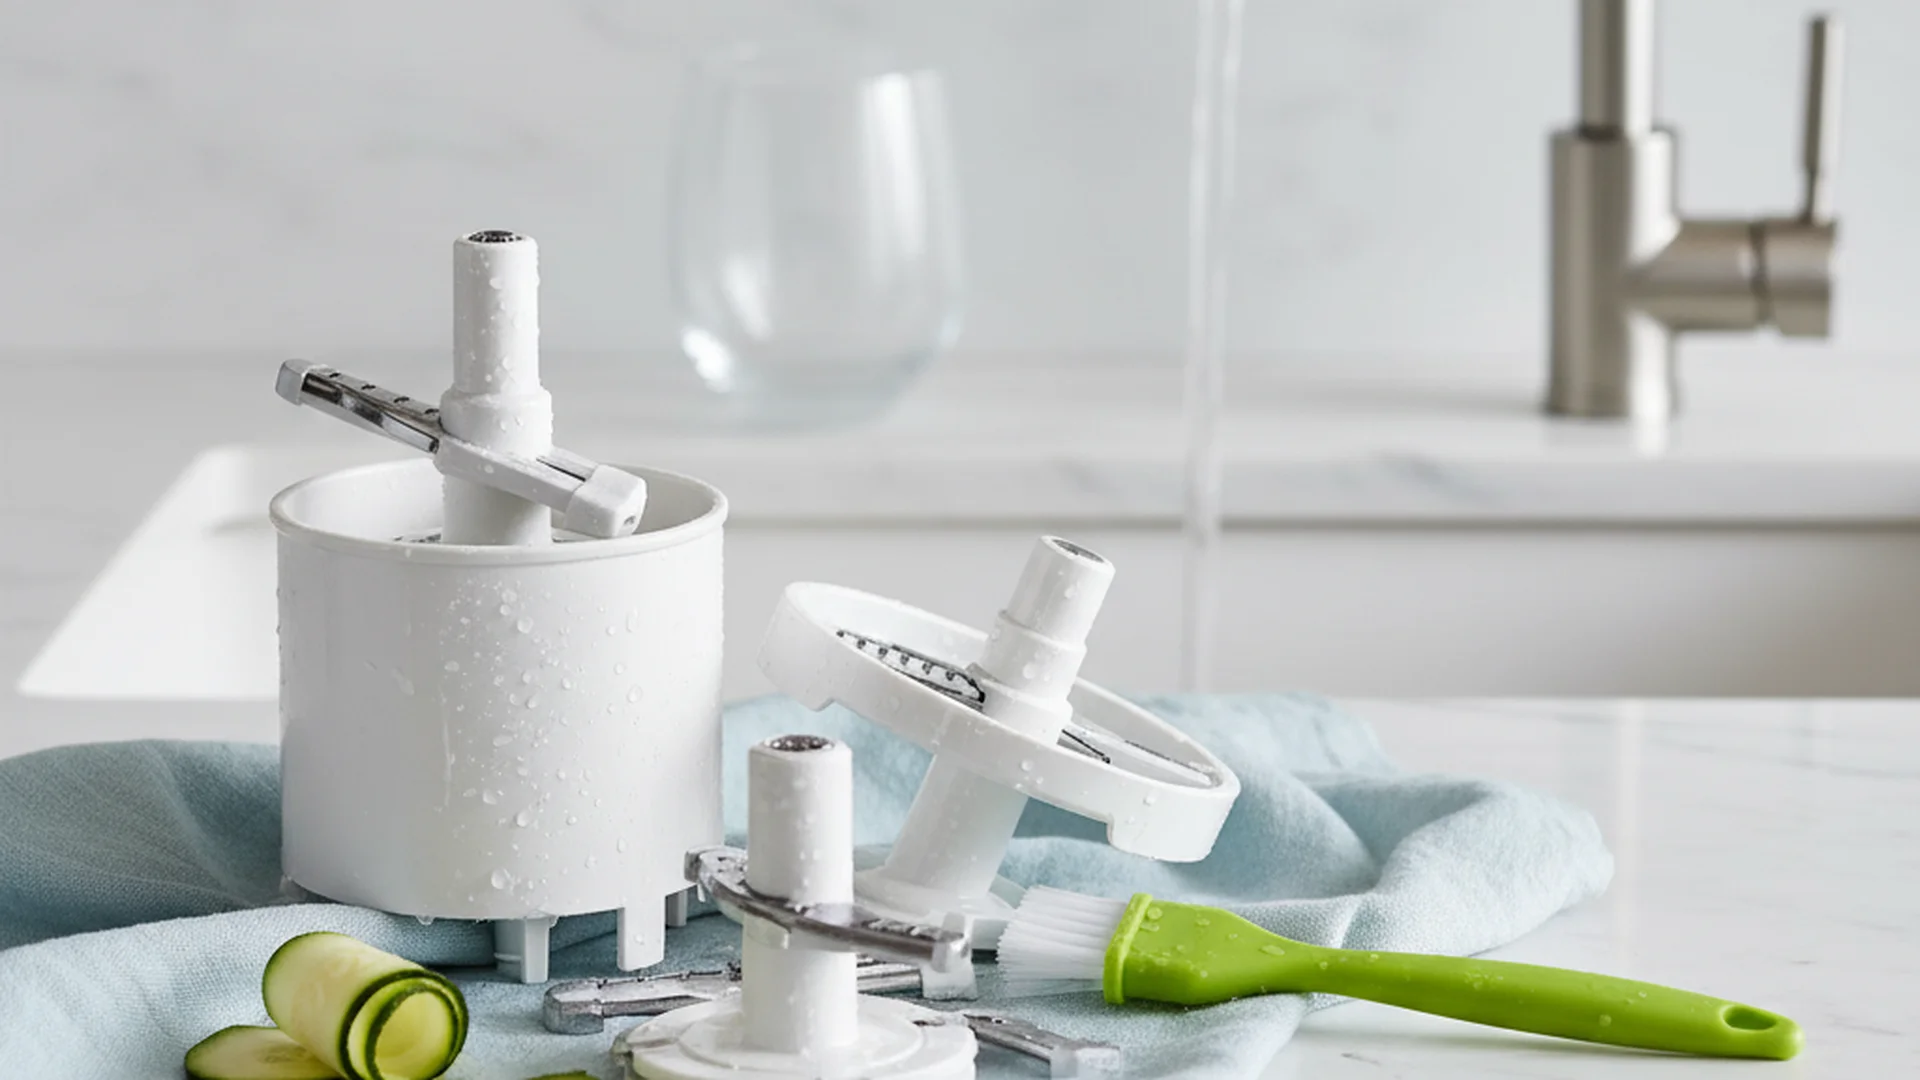
Never use a standard kitchen sponge or cloth on the blades. The sharp teeth will shred the fabric and, more importantly, put your fingers at risk. Instead, use a stiff-bristled dish brush or a dedicated cleaning brush.
- Hold the blade attachment by the plastic housing.
- Scrub in the direction of the blades to flick out trapped fibers.
- Pay close attention to the "circular" center blade, which often traps the core of the vegetable.
Tip: An old toothbrush is the perfect tool for reaching into the tiny nooks of a multi-blade spiralizer.
Step 3: Deep Cleaning and Disinfecting
If you want to clean spiralizer vinegar solutions are your best friend. This is a powerful way to clean spiralizer without chemicals while ensuring the unit is sanitized.
- The Soak: Create a mixture of 1 part white vinegar to 2 parts warm water.
- The Duration: Let the blades soak for 15 minutes. The acetic acid in the vinegar breaks down hard water deposits and kills common surface bacteria.
- The Finish: Rinse with clear water and move to the drying phase.
| Method | Best For | Benefit |
|---|---|---|
| Soap & Water | Daily cleaning | Removes surface oils |
| Vinegar Soak | Deep cleaning | Disinfects and removes lime |
| Vegetable Oil | Stain removal | Lifts organic pigments |
| UV-C Light | Sanitizing | 99.9% bacteria elimination |
Natural Hacks for Tough Stains
Have you ever spiralized carrots or beets only to find your white plastic housing turned a permanent shade of orange or pink? This is one of the most common complaints among spiralizer users.
The Oil Trick
Vegetable pigments are fat-soluble. To remove stubborn stains, apply a small amount of vegetable oil (like canola or olive oil) to a paper towel. Rub it over the stained plastic areas. You will see the orange or red pigment "lift" off the plastic and into the oil. Once the stain is gone, wash the part with warm, soapy water to remove the oily residue.
Success: This natural oil method works better than bleach on organic stains and won't degrade the plastic housing over time.
2025–2026 Trends in Kitchen Maintenance
As we move into 2025, the focus on sustainability and technology is changing how we maintain our kitchen gadgets.
- Zero-Waste Tools: Many users are ditching plastic scrubbers for bamboo brushes and compostable loofah sponges. These are not only better for the environment but are often more durable for scrubbing metal blades.
- Enzyme Cleaners: Plant-based enzyme cleaners are gaining popularity. These formulas specifically target starches and proteins, making them ideal for dissolving "zoodle" residue without scrubbing.
- Modular Designs: Newer 2025 spiralizer models are designed with "no-nook" engineering, featuring fully collapsible parts that eliminate the hidden gaps where food used to rot.
Note: If you have a high-tech kitchen, a handheld UV-C sanitizing wand can be used after drying to provide a final "flash sanitize," ensuring no microbial life remains.
Common Mistakes to Avoid
Even experienced cooks make mistakes that can ruin their equipment or cause injury. Avoid these common pitfalls:
- Using Abrasive Scrubbers: Steel wool or harsh scouring pads can create micro-scratches in the plastic. These scratches actually trap more bacteria and make the unit look dull and aged.
- Neglecting the Suction Base: Food juices often drip down the sides and collect under the suction pad. If not cleaned, this can lead to mold growth that you might not see until it’s too late.
- Storing While Wet: Storing a spiralizer while it is still damp traps moisture in the gears and blade slots. This leads to oxidation (rust) and a persistent "musty" smell.
- The Dishwasher Trap: While many brands claim to be "dishwasher safe," the high heat can eventually warp plastic parts and dull the fine edges of the blades. Hand-washing is always recommended for longevity.
Frequently Asked Questions
Is my spiralizer dishwasher safe?
How do I get orange carrot or red beet stains off the plastic?
Can I clean the blades with a sponge?
Do I really need to clean it after every use?
Conclusion
Mastering how to clean spiralizer tools is the final step in becoming a "zoodle" pro. By implementing the "30-second rinse" rule and utilizing natural cleaners like vinegar and vegetable oil, you ensure your kitchen remains a safe environment for food preparation. Remember, a clean tool is not just about aesthetics—it’s about protecting your health and making sure your favorite kitchen gadget is ready for your next healthy meal.
Success: Regular maintenance and proper drying will keep your blades sharp and your plastic housing stain-free for years of healthy cooking.
Cleaning that keeps score
Every task earns points, every streak multiplies them, and Premium adds a household leaderboard plus a monthly Dustagorgon to beat.
- Free forever
- 30 badges to earn
- Up to 6 in a household
No card needed. Set up your rooms in a couple of minutes.