Key Takeaways
- Run a self-clean cycle immediately after every use to prevent residue bonding.
- Use white vinegar or baking soda to remove mineral cloudiness safely.
- Never submerge the motor base or remove the blade assembly.
A Vitamix is more than just a kitchen appliance; for many, it is a significant investment in a healthier lifestyle. These machines are engineered to last up to 10 times longer than standard household blenders, with fewer than 2% of units ever requiring warranty repairs. However, even the most robust machinery requires proper care. Knowing how to clean Vitamix containers and motor bases correctly is the difference between a machine that looks brand new after a decade and one that becomes cloudy, smelly, and mechanically sluggish within a year.
In this guide, we will explore the professional standards for maintaining your blender, moving beyond the basic "soap and water" rinse to ensure your machine performs at peak efficiency through 2026 and beyond.
The 60-Second Self-Cleaning Foundation
The hallmark of the Vitamix experience is the self-cleaning cycle. Modern units, particularly the Ascent X Series and the Explorian E310, are designed to sanitize themselves in 60 seconds or less. The power of the motor creates a high-speed vortex that reaches the underside of the lid and the highest points of the container walls—areas where manual scrubbing often fails.
To perform a standard clean:
- Fill the container halfway with warm water.
- Add exactly one drop of liquid dish soap (avoid over-sudsing).
- Secure the lid and start the machine on its lowest speed, quickly increasing to Variable 10 (or High).
- Run for 30 to 60 seconds.
- Rinse thoroughly with warm water.
Deep Cleaning: How to Clean Vitamix Without Chemicals
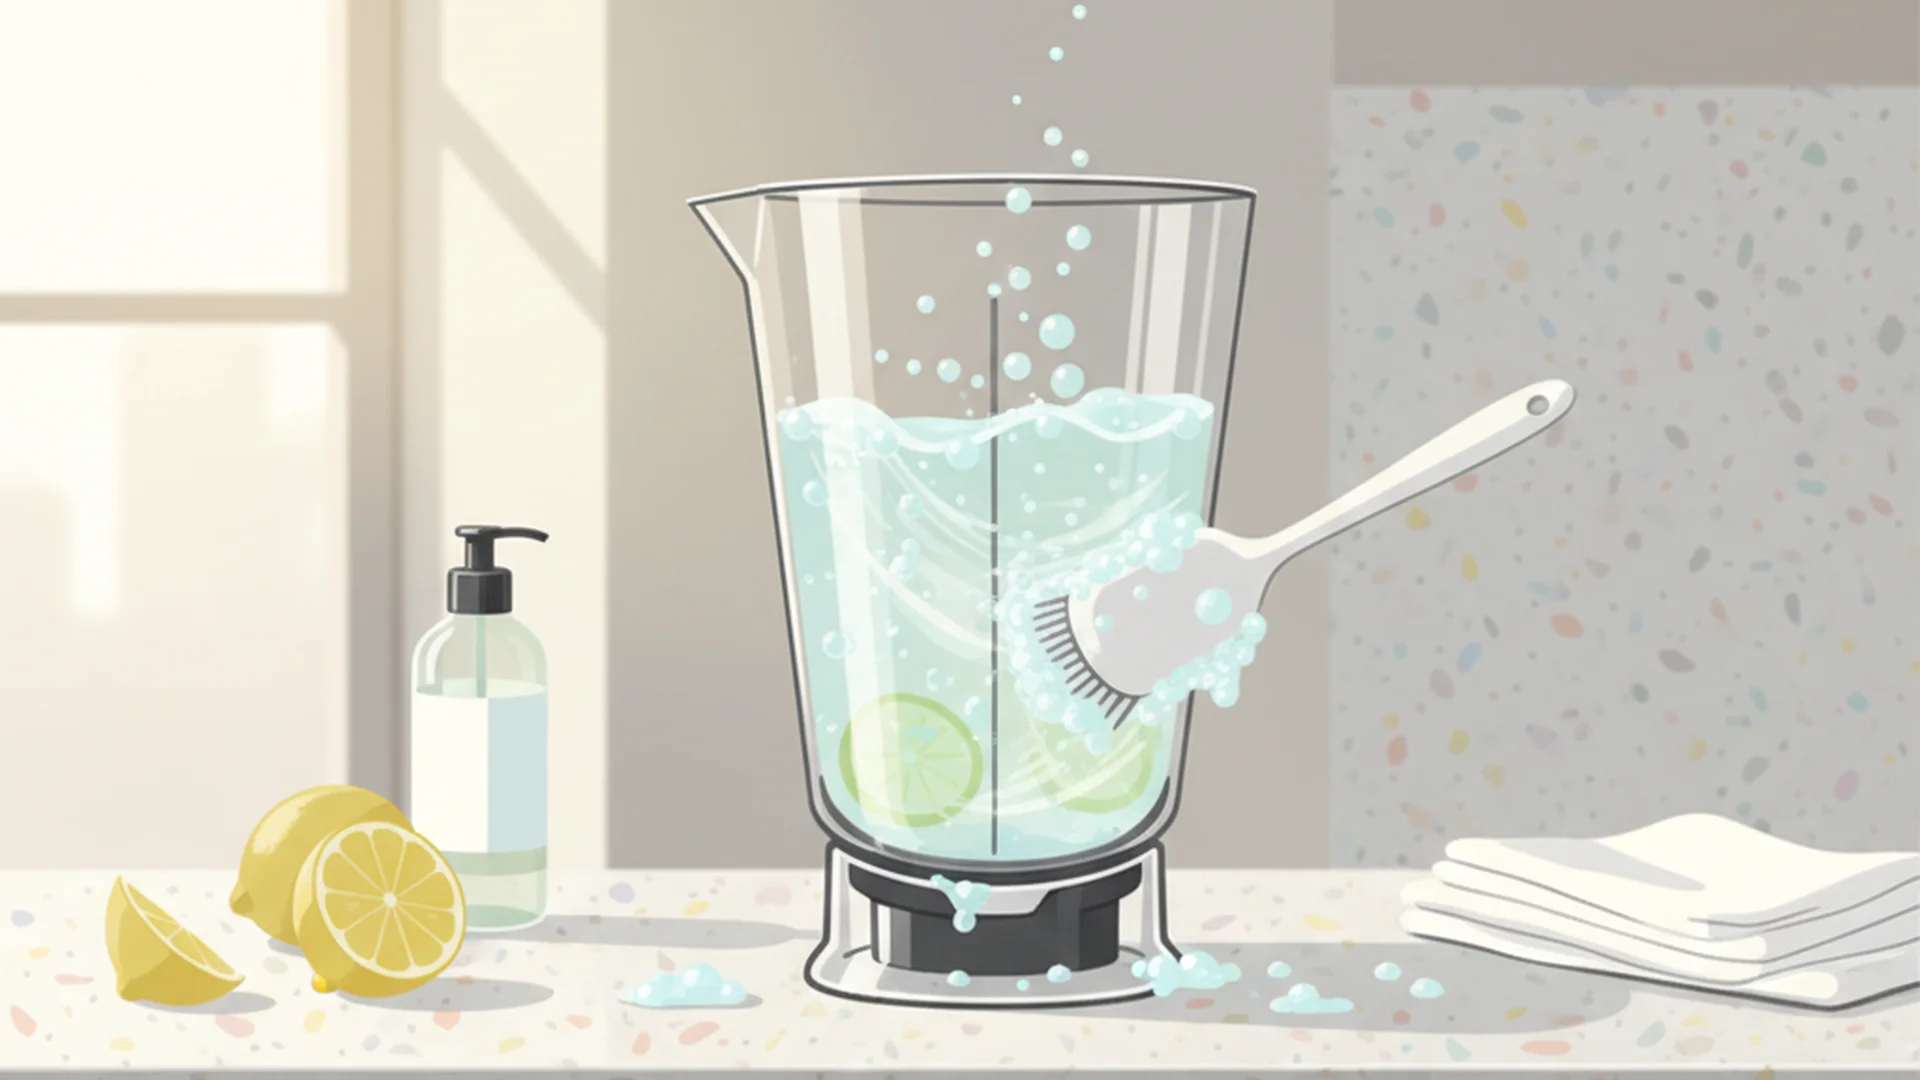
While dish soap is effective for daily use, it doesn't always address the microscopic buildup that occurs over time. Many owners prefer to clean Vitamix without chemicals to ensure no synthetic residues interfere with their organic recipes. The two most effective tools in your "green" cleaning kit are white vinegar and baking soda.
Removing Mineral Film with Vinegar
If you live in an area with hard water, you will eventually notice a "cloudy" appearance on your container. This isn't a permanent scratch; it is a mineral film. To clean Vitamix vinegar style, follow this procedure:
- Pour 4 cups of white vinegar into the container.
- Let it soak for 4 to 6 hours (or overnight).
- Pour the vinegar out and rinse.
- If the film persists, use a soft microfiber cloth to gently buff the interior.
The Baking Soda Scrub
For stubborn, greasy residues—like those left behind by homemade almond butter—a baking soda paste is ideal. Mix 3 tablespoons of baking soda with 1 tablespoon of water. Apply the paste to the interior walls with a soft sponge (never the abrasive side) and let it sit for 15 minutes before rinsing.
Hardware Maintenance: Beyond the Container
A common mistake users make is focusing solely on the pitcher while neglecting the "heart" of the machine. To keep the motor running cool and the interface responsive, you must perform monthly maintenance on the base.
Cleaning the Centering Pad
The centering pad is the rubber mat on top of the motor base where the container sits. This area is a magnet for spills.
- Unplug the machine.
- Lift the centering pad off the base.
- Wash it in warm, soapy water or place it on the top rack of the dishwasher.
- Wipe the metal surface of the motor base underneath with a damp cloth.
The Motor Base and Controls
Never "dunk" or submerge the motor base. Use a damp microfiber cloth to wipe down the exterior, including the pulse switch and speed dial. If your model has a touchscreen, use a screen-safe cloth to prevent streaking.
Real-World Examples: Solving Specific Stains and Odors
Standard cleaning doesn't always cut it for "extreme" ingredients. Here are three common scenarios and how to handle them:
- The Turmeric/Carrot Stain: You made a golden milk latte or a carrot ginger soup, and now your container is yellow. Instead of using harsh bleach, use the Sunlight Bleach Trick. Place the clean, dry container on a sunny windowsill for 2–4 hours. The UV rays naturally break down the pigments in turmeric and beta-carotene, clearing the stain without chemicals.
- The Garlic/Onion Odor: Aromatics can leave a lingering scent. To neutralize this, perform a 50/50 water and vinegar "vortex" wash, then let the container air dry without the lid on to allow the plastic to "breathe."
- The Nut Butter Glue: After making peanut butter, the oils can be incredibly stubborn. Use an enzymatic cleaner (a 2025/2026 trend in eco-friendly cleaning) or a double-cycle of the self-clean method with extra-warm water to break down the proteins at a molecular level.
Latest Trends for 2025 and 2026
As we move through 2025 and into 2026, Vitamix technology has evolved to make cleaning even more intuitive. The Ascent X Series (X2 through X5) now features sophisticated Self-Cleaning programs. Unlike older models that simply spin at one speed, these programs vary the torque and speed automatically. This creates a pulsing action that dislodges debris from the "dead zones" under the blades.
Furthermore, the Self-Detect Technology in Smart System blenders has been updated. The machine now recognizes the specific container size attached (such as a 20oz cup vs. a 64oz pitcher) and adjusts the cleaning power accordingly, ensuring the motor doesn't overheat during the cleaning cycle.
| Feature | Legacy Series (C/G) | Ascent/Venturist Series | Ascent X Series (2025+) |
|---|---|---|---|
| Dishwasher Safe | No (Hand Wash Only) | Yes (Top Rack) | Yes (All Components) |
| Cleaning Programs | Manual Speed | Preset Timer | Variable Torque Pulse |
| Self-Detect Tech | No | Yes | Yes (Enhanced 2026 SW) |
Common Mistakes to Avoid
- Using Abrasive Scrubbers: Using the green side of a sponge or a wire brush will create micro-scratches in the Tritan™ plastic. These scratches make the container look permanently cloudy and provide a porous surface where bacteria can hide.
- Air-Drying Without Wiping: To prevent water spots and mineral buildup, do not simply flip the container upside down to air dry. Use a microfiber towel to dry it immediately.
- Using Bleach: Bleach is too harsh for the high-vibration environment of a Vitamix. It can cause the plastic to become brittle and eventually crack during a high-speed blend.
- Leaving the Lid On: After cleaning, never store the container with the lid tightly sealed. This traps moisture and can lead to a musty smell.
Frequently Asked Questions
Can I put my Vitamix in the dishwasher?
Why is my Vitamix container turning cloudy?
How do I clean the rubber lid?
Is the centering pad supposed to come off?
Conclusion
Maintaining a Vitamix isn't just about aesthetics; it's about protecting the mechanical integrity of a world-class tool. By following the 60-second rule, utilizing natural cleaners like vinegar and baking soda, and staying mindful of the hardware's specific needs, you ensure your blender remains a centerpiece of your kitchen for a decade or more.
Ready to Start?
Keep your kitchen running at peak efficiency with our expert guides.
Explore Cleaning Kits