In this article
What you’ll learn
- Routine cleaning prevents fire hazards and motor strain.
- Never submerge the base or use the dishwasher for the pan.
- Oiling the spindle every six months is the "secret" to a 10-year lifespan.
There is nothing quite like the aroma of fresh, crusty sourdough or a soft honey-wheat loaf wafting through the kitchen. However, many home bakers overlook the most critical part of the process: maintenance. Knowing how to clean bread maker machines is the difference between an appliance that lasts a decade and one that dies after a single season. As we look toward 2026, bread makers are becoming smarter and more efficient, but they still require a human touch to keep them running safely and hygienically.
Neglecting your machine doesn't just result in "yeast funk" or off-tasting bread; it can lead to mechanical failure. Accumulated flour and crumbs near the heating element are a primary cause of smoke and fire hazards in small kitchen appliances. By following a structured cleaning routine, you ensure that your Zojirushi, Panasonic, or Breville remains a staple of your morning routine for years to come.
Why Regular Maintenance is Non-Negotiable
A well-maintained bread maker can last between 5 and 10 years. In contrast, units that are ignored often fail within 2 to 3 years. This failure is usually caused by motor strain from a "seized" spindle or rusted internal components. Furthermore, the non-stick coating on your bread pan—whether it is Teflon or ceramic—is incredibly vulnerable. A single use of a metal scraper can ruin the pan, leading to toxic flaking and bread that refuses to release.
In the current 2025-2026 market, "smart" bread makers are on the rise, with an expected growth of 8.5%. These new models often feature sensors that alert you to residue buildup. However, even the smartest machine cannot physically remove the caramelized sugars and baked-on starches that accumulate over time.
Step-by-Step: The Routine Cleaning Process
After every bake, you should perform a basic cleaning. This prevents the buildup of "burnt" smells and ensures your next loaf isn't contaminated by old crumbs.
The "Shake and Sweep" Method
Once the machine has completely cooled (wait at least 30 minutes), unplug it. Turn the base on its side or upside down over a sink to shake out loose crumbs. For the corners around the heating element, use a soft paintbrush or a vacuum hose with a small brush attachment. This prevents fine flour from settling on the electronic sensors.
Cleaning the Bread Pan and Paddle
The bread pan is the heart of your machine. Most manufacturers strongly advise against putting the pan in the dishwasher. The harsh detergents and intense heat can strip the non-stick coating and dry out the lubricated spindle bearing at the bottom.
Tip: If the kneading paddle is stuck, do not pry it off with a knife. Soak the pan in warm, soapy water for 15–30 minutes to loosen the baked-on starch naturally.
How to Clean Bread Maker Without Chemicals
Many modern home cooks are moving toward "microbiome-friendly" and probiotic cleaning solutions. If you prefer to clean bread maker without chemicals, you likely already have the two most powerful tools in your pantry: white vinegar and baking soda.
Using Vinegar for Grease and Minerals
If you notice a white, chalky film on the interior of your machine or the outside of your pan, these are likely mineral deposits from your water. A diluted vinegar solution (1 part vinegar to 2 parts water) is excellent for cutting through grease.
Success: Using a clean bread maker vinegar solution not only removes odors but also shines the stainless steel components without leaving a toxic residue that could leach into your next loaf.
The Baking Soda Paste for Stubborn Stains
For stubborn, brown stains on the interior walls of the baking chamber, create a thick paste of baking soda and water. Apply it to the stain, let it sit for 15 minutes, and wipe it away with a damp microfiber cloth. The mild abrasiveness of baking soda lifts the stain without scratching the metal.
Advanced Maintenance: The Spindle and Heating Element
While the interior walls and the pan are obvious targets, two areas are often neglected: the heating element and the underside spindle.
Protecting the Heating Element
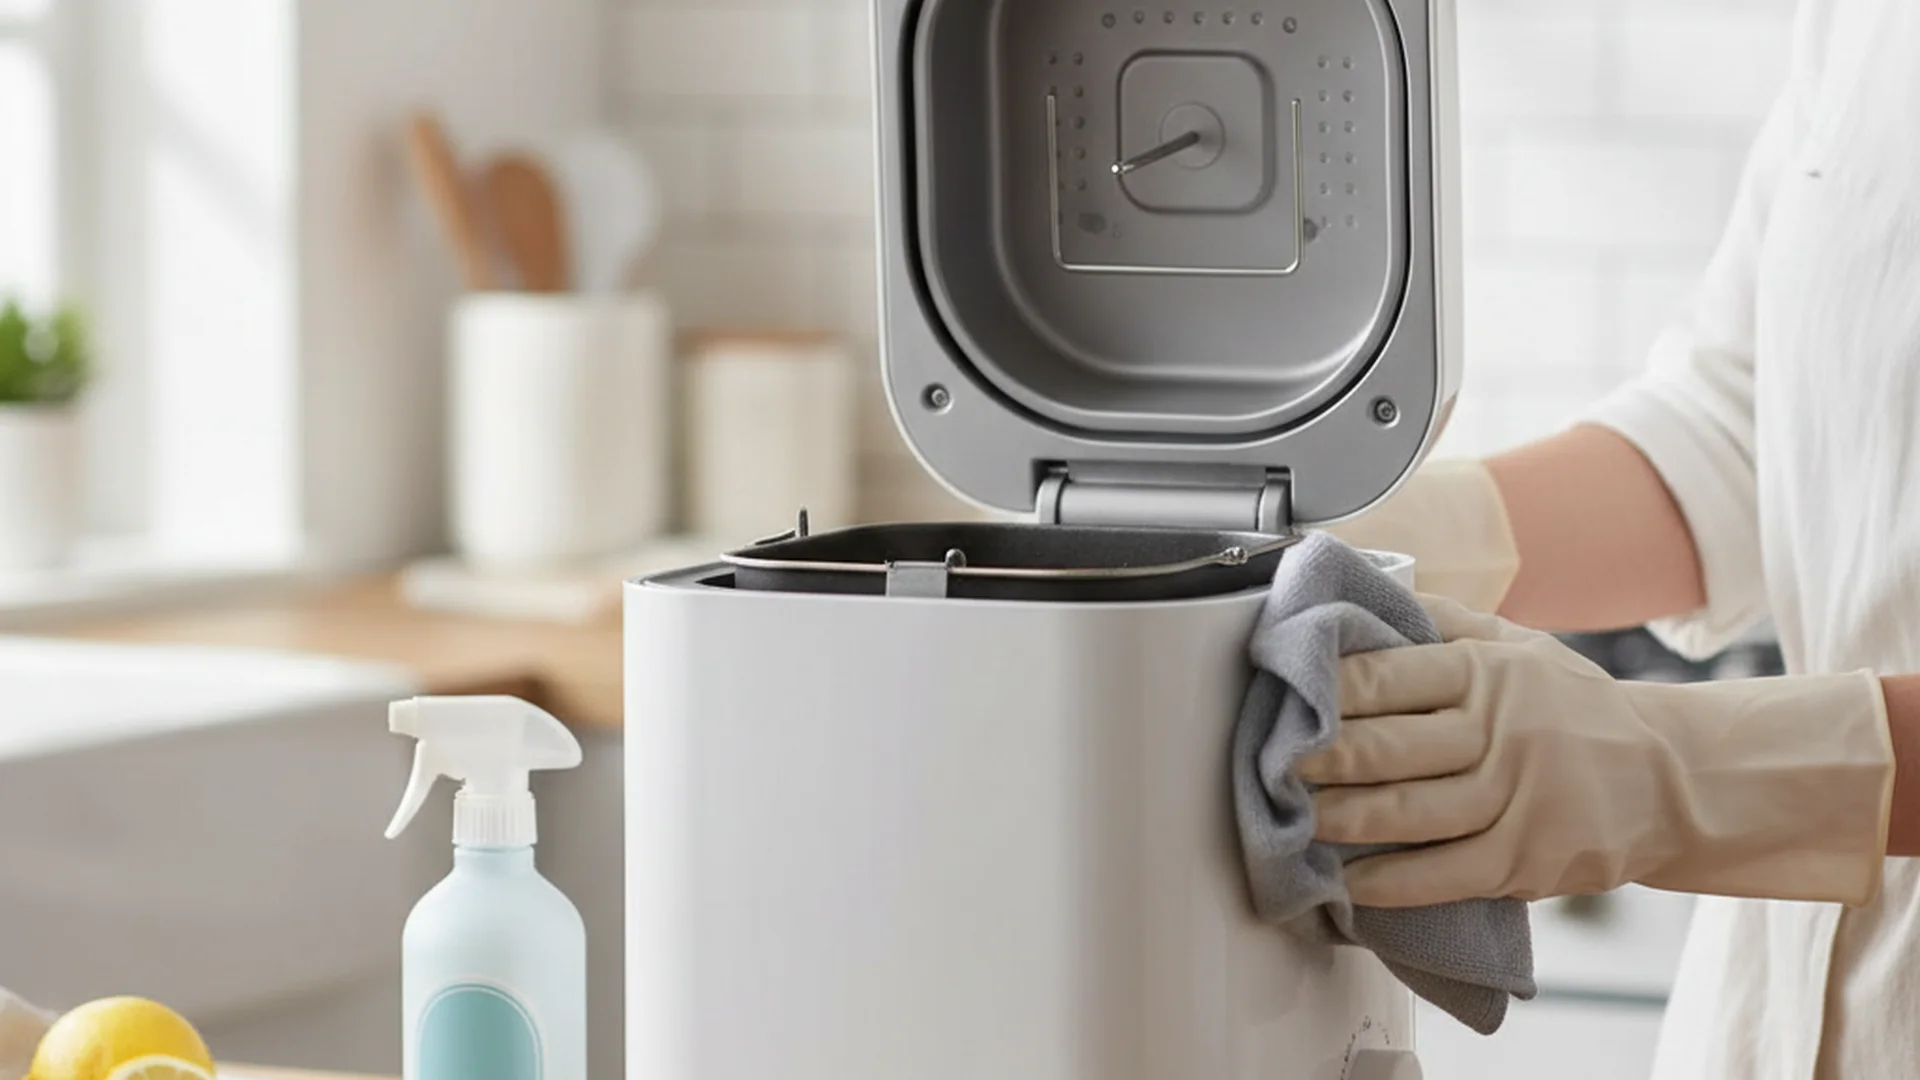
The heating elements are fragile. You should never use soap or spray any liquid directly onto them. Instead, use a slightly damp microfiber cloth to wipe them down once they are cool. If flour has burnt onto the element, gently brush it away with a soft toothbrush.
Oiling the Spindle (The 6-Month Secret)
Every six months, you should apply 1–2 drops of 3-in-1 oil or sewing machine oil to the spindle shaft on the underside (exterior) of the bread pan.
Warning: Do not use cooking oil to lubricate the spindle. Cooking oil becomes gummy over time and will eventually seize the mechanism, causing the motor to burn out.
Real-World Examples of Cleaning Scenarios
To better understand how to clean bread maker components, let’s look at three common scenarios users face:
- The "Yeast Overspill": Imagine your dough rose too high and spilled over the pan onto the heating element. The Fix: Wait for it to dry completely. Gently scrape the large chunks off with a plastic spatula, then use a vacuum to remove the dust. Finally, wipe the element with a damp cloth.
- The "Stuck Paddle" Disaster: You forgot to remove the paddle, and now it's fused to the spindle. The Fix: Fill the pan with warm water and a splash of vinegar. Let it sit for an hour. The acidity helps break down the sugars holding it in place.
- The "Cloudy Viewfinder": The steam from baking has left the lid's window cloudy. The Fix: Use a 50/50 vinegar and water mix. Modern 2025 models often have detachable lids—if yours does, take it off and rinse it under the tap for a thorough clean.
Common Mistakes to Avoid
Even well-intentioned cleaning can ruin a bread maker if done incorrectly. Avoid these common pitfalls:
- The Submersion Error: Never, under any circumstances, submerge the base of the bread maker in water. This will permanently destroy the electrical components and the motor.
- The "Volcano" Mistake: While vinegar and baking soda are great, do not mix them together to clean. They neutralize each other, creating a salt solution that lacks cleaning power. Use them sequentially: baking soda to scrub, then vinegar to rinse.
- Metal Scrapers: Using a knife or metal spoon to get a stuck loaf out will scratch the non-stick coating. Once the coating is compromised, the pan is no longer "food safe" and must be replaced.
- Neglecting the Exterior Bottom: Always wipe the bottom of the bread pan where it meets the heating element. Flour stuck here will burn, creating a persistent acrid smell.
Recent Trends: Smart Cleaning in 2026
As we move into 2026, the technology behind these appliances is evolving. We are seeing a shift toward:
- Autonomous Maintenance Alerts: New models use internal sensors to detect grease on the temperature probes. If the sensors are dirty, your bread won't rise correctly because the temperature is misread.
- Steam Cleaning Hacks: Some enthusiasts are now using small handheld dry steam cleaners to sanitize the interior. This is a great way to clean without chemicals, as the high-heat steam kills 99.9% of bacteria without the need for submerging the unit.
| Cleaning Task | Tool Needed | Frequency |
|---|---|---|
| Crumb Removal | Soft paintbrush/Vacuum | After every use |
| Non-Stick Pan | Warm soapy water (hand wash) | After every use |
| Spindle Lubrication | 3-in-1 Oil | Every 6 months |
| Mineral Removal | Diluted white vinegar | Monthly |
| Deep Stain Removal | Baking soda paste | As needed |
Frequently Asked Questions
Can I put the bread pan in the dishwasher?
How do I get a burnt smell out of my bread maker?
Is it safe to use vinegar on the non-stick coating?
What should I do if my bread maker starts making a squeaking noise?
Conclusion
Learning how to clean bread maker units is an essential skill for any home baker. By committing to the "Shake and Sweep" method and performing a deep clean with vinegar and baking soda once a month, you protect your investment and ensure every loaf is as healthy as it is delicious. Remember to avoid the dishwasher, keep metal tools away from the pan, and oil that spindle twice a year. Your bread maker—and your taste buds—will thank you.
Success: Consistent maintenance can extend the life of your bread maker by up to 7 years, saving you hundreds of dollars in replacement costs.
Cleaning that keeps score
Every task earns points, every streak multiplies them, and Premium adds a household leaderboard plus a monthly Dustagorgon to beat.
- Free forever
- 30 badges to earn
- Up to 6 in a household
No card needed. Set up your rooms in a couple of minutes.