In this article
What you’ll learn
- Use pH-neutral soap and water for 90% of cleaning needs.
- Avoid harsh chemicals like bleach and ammonia which cause permanent pitting.
- A 60-second daily dry-buff prevents nearly all mineral buildup.
Brushed nickel has cemented its place as a designer favorite in 2025, beloved for its warm, golden-silver undertones and its legendary ability to hide fingerprints better than polished chrome. However, many homeowners are surprised to find that this "low maintenance" finish requires a specific touch. Learning how to clean brushed nickel is not just about keeping it shiny; it is about preserving a delicate protective lacquer that, once compromised, can lead to permanent discoloration.
As we move into 2026, brushed nickel remains at the forefront of home design, particularly in "mixed metal" bathrooms. Because this finish is significantly more sensitive to pH levels than stainless steel, the "all-purpose" cleaners under your sink might actually be your faucet's worst enemy. In this guide, we will break down the science of maintaining that soft glow while protecting your investment from the hazards of hard water and harsh chemicals.
The Science of Brushed Nickel
Before you grab a sponge, it is important to understand what you are actually cleaning. Unlike solid stainless steel, brushed nickel is usually a plating over a brass base, topped with a thin, protective clear coat. This clear coat is what gives the metal its "brushed" luster, but it is also highly susceptible to chemical etching.
Hard water is a reality in a great many homes. When these mineral-rich droplets sit on a brushed nickel surface, they don't just leave a spot; they can eventually bond with the finish. If you use a cleaner with a pH below 4 (too acidic) or above 10 (too alkaline), you risk "pitting"—tiny, permanent holes in the finish that no amount of scrubbing can fix.
The "Never-Use" List: Protecting Your Finish
When searching for the best way clean brushed nickel, it is often more important to know what to avoid. Many common household cleaners contain ingredients that act as a slow-motion paint stripper for the nickel’s protective lacquer.
| Avoid These Cleaners | Why They Are Dangerous |
|---|---|
| Bleach & Ammonia | Cause permanent pitting and dark spots. |
| Abrasive Pads | Create "shiny spots" that ruin the brushed texture. |
| Alcohol/Disinfecting Wipes | Can dull the luster and cause chemical spotting. |
| Undiluted Vinegar | High acidity eats through the protective clear coat. |
Warning: Never use the green abrasive side of a sponge or steel wool on brushed nickel. These will create permanent scratches that destroy the uniform "brushed" look of the metal.
The Tiered Cleaning Approach
To maintain a "spa-like" bathroom, use a three-tiered approach to cleaning. This ensures you are never doing more work than necessary while keeping the hardware in peak condition.
1. The 60-Second Daily Buff (Prevention)
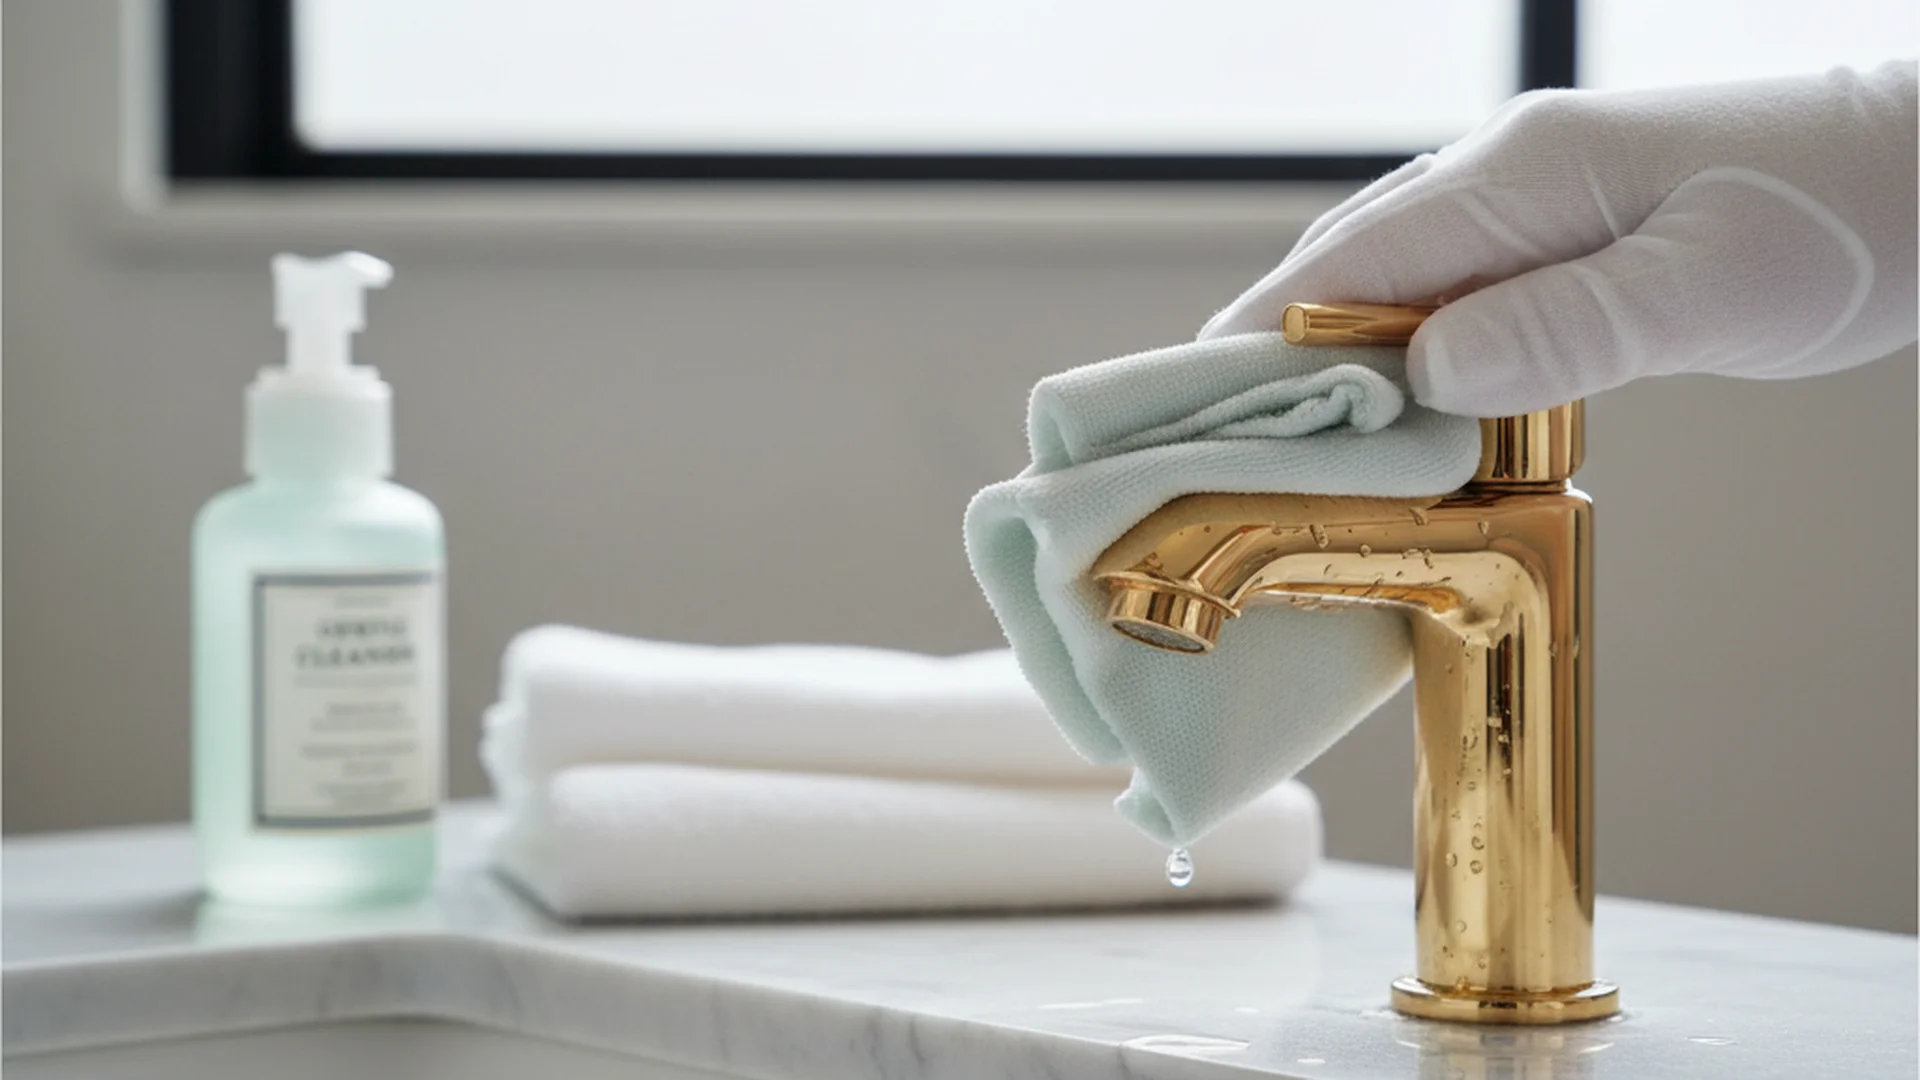
Prevention is the most effective tool in your cleaning arsenal. A simple daily dry-wipe stops the vast majority of water spots before they form and keeps your fixture looking new for far longer.
- Process: After your final use of the sink or shower for the day, take a dry microfiber cloth and wipe down the fixture.
- Why it works: By removing the water before it evaporates, you prevent the calcium and magnesium minerals from ever settling on the surface.
Success: Consistent daily buffing eliminates the need for heavy scrubbing and keeps your fixtures looking brand new for years.
2. The Weekly Clean (The Gold Standard)
For your regular cleaning routine, stick to the "Gold Standard" recommended by professional plumbers and manufacturers.
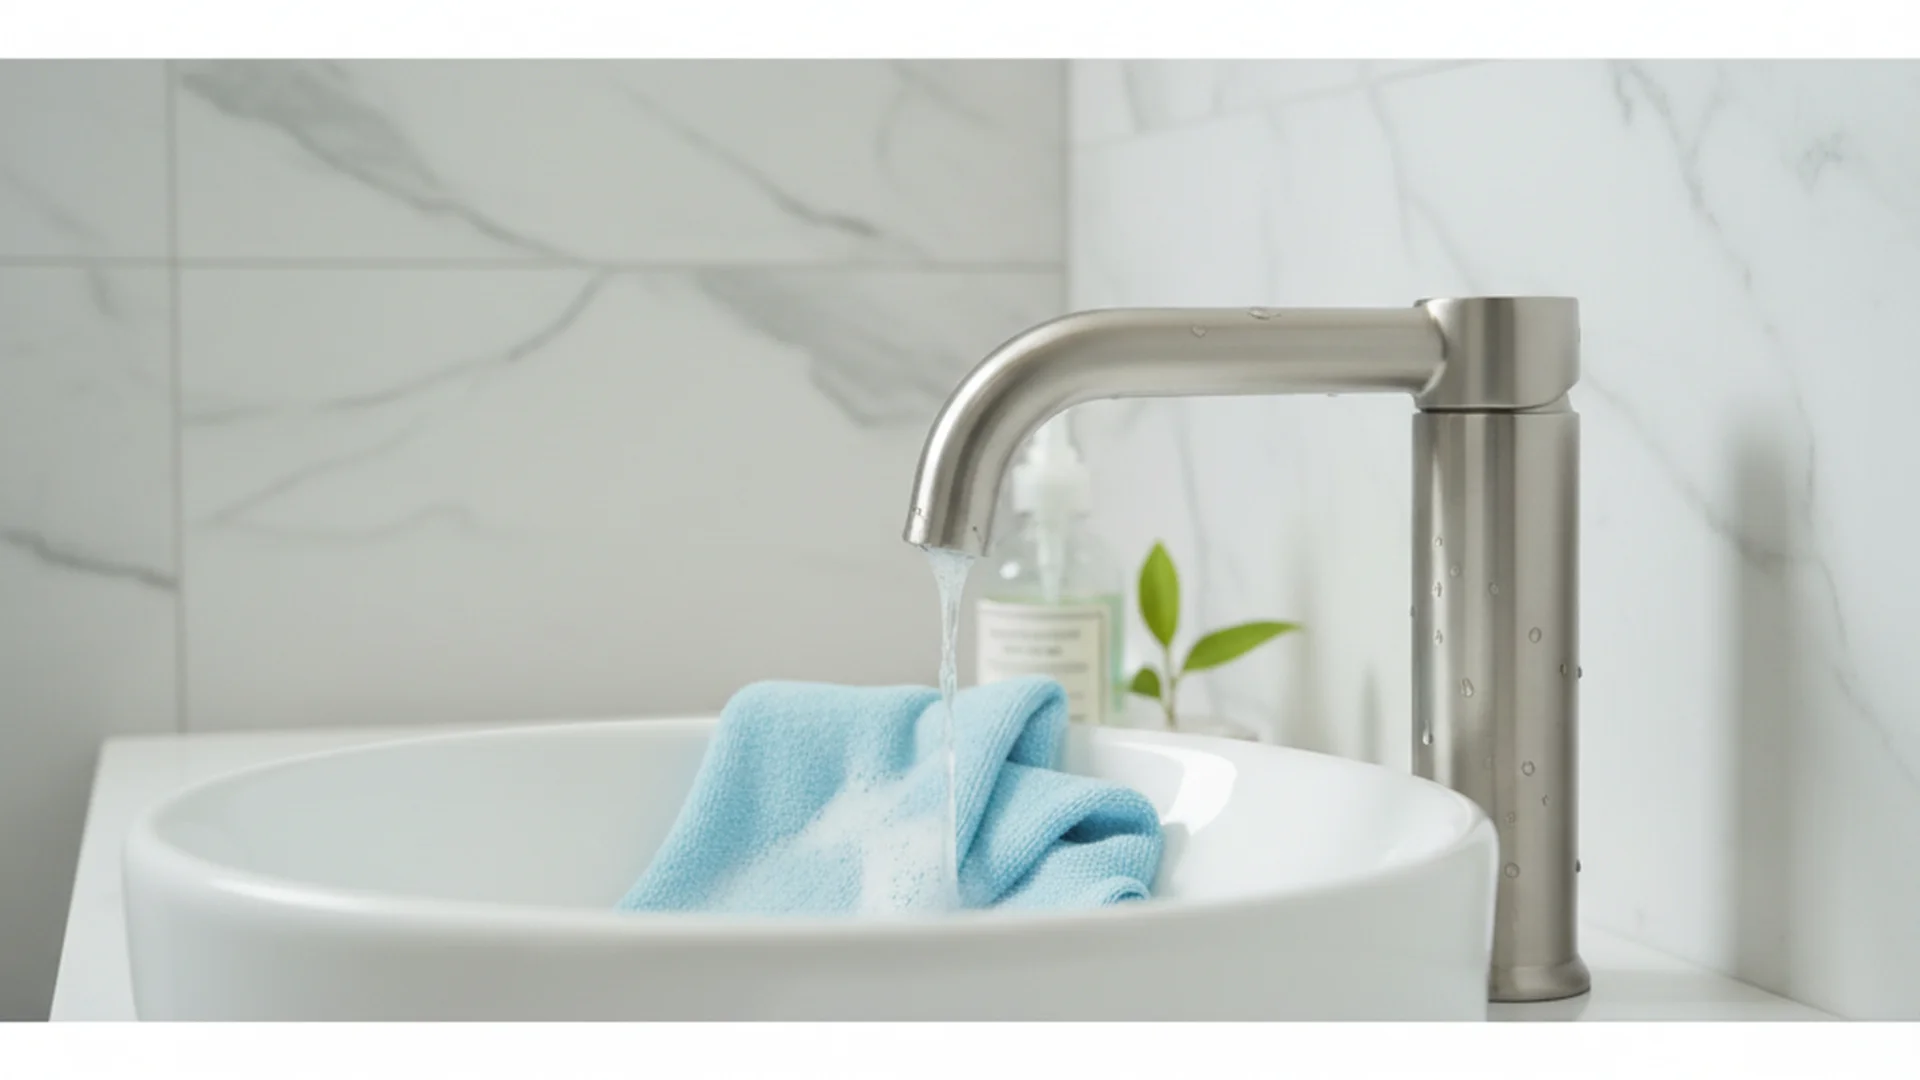
- Step 1: Mix a few drops of mild dish soap (like Dawn) with warm water.
- Step 2: Dip a microfiber cloth into the solution and gently wipe the entire fixture.
- Step 3: Use a soft-bristled toothbrush to clean the seams where the handle meets the base—these are the primary collection points for grime.
- Step 4: Rinse with clear water and buff dry immediately.
Tip: Always use a fresh microfiber cloth. Using a cloth that was previously used with a bleach-based cleaner can transfer chemical residue that damages the nickel.
3. The Monthly Deep Clean & Protect
Once a month, it is beneficial to add a hydrophobic barrier to your metal.
- Waxing: Apply a thin coat of high-quality paste wax (like Flitz or a carnauba-based car wax) to the dry fixture.
- Buffing: Allow it to dry for a minute, then buff it off with a clean cloth.
- The Result: This creates a surface where water beads off instantly, making your daily buffing even easier.
How to Safely Remove Hard Water Buildup
If you have neglected your fixtures for a few months, you might see "white crust" or calcium deposits, especially around the aerator. While many people reach for vinegar, you must be cautious.
The "Vinegar Wrap" Method
- Dilute: Create a 50/50 solution of white vinegar and water.
- Soak: Saturate a soft cloth or paper towel in the solution.
- Apply: Wrap the cloth around the affected area.
- Timer: Leave it for no more than 5–10 minutes.
- Rinse: Thoroughly rinse with plain water and dry.
Warning: Do not leave vinegar on brushed nickel for extended periods (like overnight). The acid can penetrate the clear coat and cause the underlying brass to oxidize, leading to "verdigris" (green corrosion).
Real-World Examples
Example 1: The "Green Spot" Rescue
A homeowner noticed green corrosion (verdigris) forming at the base of their brushed nickel faucet. This indicated the finish was compromised and the brass underneath was reacting to moisture. To fix this, they created a gentle paste of baking soda and water, applied it with a soft toothbrush to remove the green, rinsed it, and immediately applied a paste wax to seal the exposed metal from further oxidation.
Example 2: The Modern Mixed-Metal Bathroom
In a 2026-style bathroom featuring brushed nickel faucets and matte black mirrors, the homeowner used a pH-neutral steam cleaner. By using steam, they sanitized both finishes simultaneously without worrying about chemical cross-contamination or staining the matte black accents with oils.
Example 3: The Hard Water Aerator
A kitchen faucet had a reduced water flow of 30% due to mineral buildup. The owner unscrewed the aerator and soaked only the plastic/mesh insert in pure vinegar for 30 minutes. Meanwhile, they used the 50/50 "Vinegar Wrap" on the metal housing for just 5 minutes. After reassembling, the flow was restored without a single scratch on the nickel finish.
Common Mistakes to Avoid
- The "Natural is Safe" Myth: Lemon juice and vinegar are natural, but they are also highly acidic. On brushed nickel, they can act like a slow-motion paint stripper. Always dilute and use sparingly.
- Air Drying: This is the most common mistake. Letting water evaporate naturally is what leaves behind the minerals that cause spots. Always buff dry.
- Using the "Crevice Tool" Too Roughly: While a toothbrush is great, using a stiff-bristled brush or a toothpick can chip the protective coating in tight corners.
- Mixing Cleaners: Never use a cleaner intended for stainless steel on brushed nickel. Stainless steel cleaners often contain abrasives or oils that can streak and dull the brushed finish.
2026 Style & Maintenance Trends
Looking ahead to 2026, the "matchy-matchy" look is giving way to "Mixed Metals." It is now common to see brushed nickel paired with Aged Brass or Matte Black. This shift requires a unified cleaning strategy.
- Material Drenching: With large-format tiles becoming more popular, wall-mounted brushed nickel fixtures are on the rise. Because these are harder to replace, maintenance is even more critical.
- Sustainability: Eco-friendly "cleaning pods" are replacing bulk bottles. If you switch to these, ensure they do not contain citric acid or high concentrations of essential oils, as these can stain the metal over time.
Note: Steam cleaners are becoming a favorite for chemical-free sanitization. However, ensure the steam isn't focused on one spot for too long to avoid overheating the internal rubber washers.
Frequently Asked Questions
Is vinegar safe for brushed nickel?
Can I use Clorox wipes or Lysol on my faucets?
How do I remove green corrosion (Verdigris)?
Can I use Bar Keepers Friend on brushed nickel?
Conclusion
When it comes to the best way clean brushed nickel, the mantra is "gentle and frequent." You don't need expensive chemicals or heavy-duty scrubbing to keep your bathroom looking like a high-end spa. By implementing a 60-second daily buff and sticking to pH-neutral soaps, you can protect the delicate finish of your fixtures for decades. Remember, in the world of metal maintenance, an ounce of prevention is worth a pound of polishing.
Cleaning that keeps score
Every task earns points, every streak multiplies them, and Premium adds a household leaderboard plus a monthly Dustagorgon to beat.
- Free forever
- 30 badges to earn
- Up to 6 in a household
No card needed. Set up your rooms in a couple of minutes.