In this article
What you’ll learn
- Cleaning behind your fridge can reduce energy costs by up to 35%.
- Always unplug the appliance and use furniture sliders to protect your floors.
- Focus on the condenser coils, as dust buildup is the leading cause of compressor failure.
When was the last time you looked behind your refrigerator? For most people, the honest answer is "never" or "not since I moved in." However, learning how to clean behind fridge units is more than just a matter of tidiness—it is a critical maintenance task that can save you hundreds of dollars in utility bills and repair costs. In an era where energy efficiency is paramount, neglecting this hidden space is one of the most expensive mistakes you can make in your kitchen.
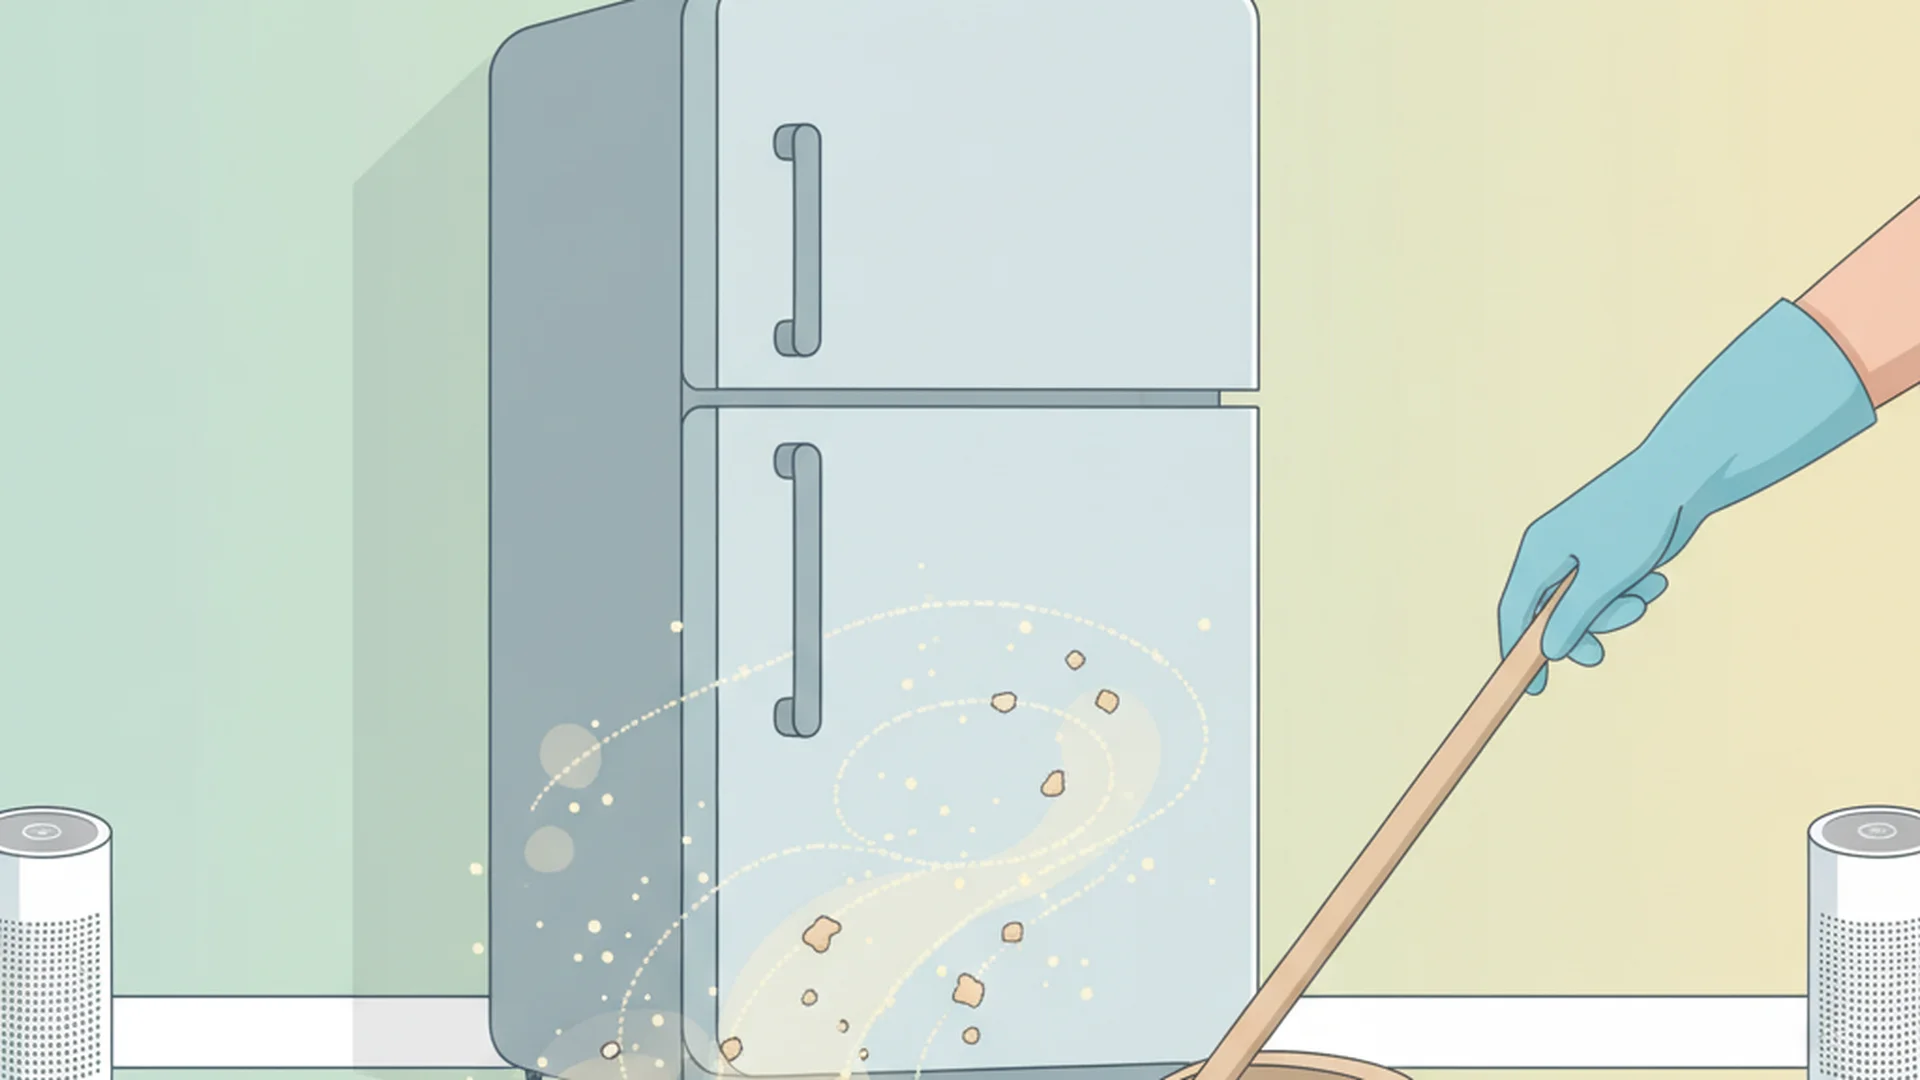
Beyond the "dust bunnies" and the occasional lost magnet, the area behind your refrigerator houses the mechanical heart of the appliance: the condenser coils. When these become coated in dust and pet hair, your fridge has to work twice as hard to keep your milk cold.
Why You Should Clean Behind Your Fridge Regularly
Understanding the impact of a dirty refrigerator environment is the first step toward better home maintenance. In 2025, with rising global energy costs, a neglected fridge is a drain on your wallet.
Energy Efficiency and Cost Savings
Dirty refrigerator coils can increase energy consumption by up to 35%. For a modern household, this efficiency drain can translate to an extra $100–$300 on annual utility bills. When the coils are insulated by dust, they cannot release heat effectively, forcing the compressor to run longer cycles.
Extending Appliance Lifespan
The average refrigerator is designed to last 10–15 years. However, an overworked compressor—the most common result of dust buildup—is the leading cause of premature appliance failure. By taking 20 minutes to clean behind fridge easily, you can prevent a $400 repair bill or the need for a $2,000 replacement.
Note: Most manufacturers’ warranties do not cover damage caused by "lack of maintenance," which includes dirty condenser coils.
Preparation: Tools and Safety
Before you start, gather the right tools. Using the best way clean behind fridge involves more than just a standard broom.
Essential Supplies
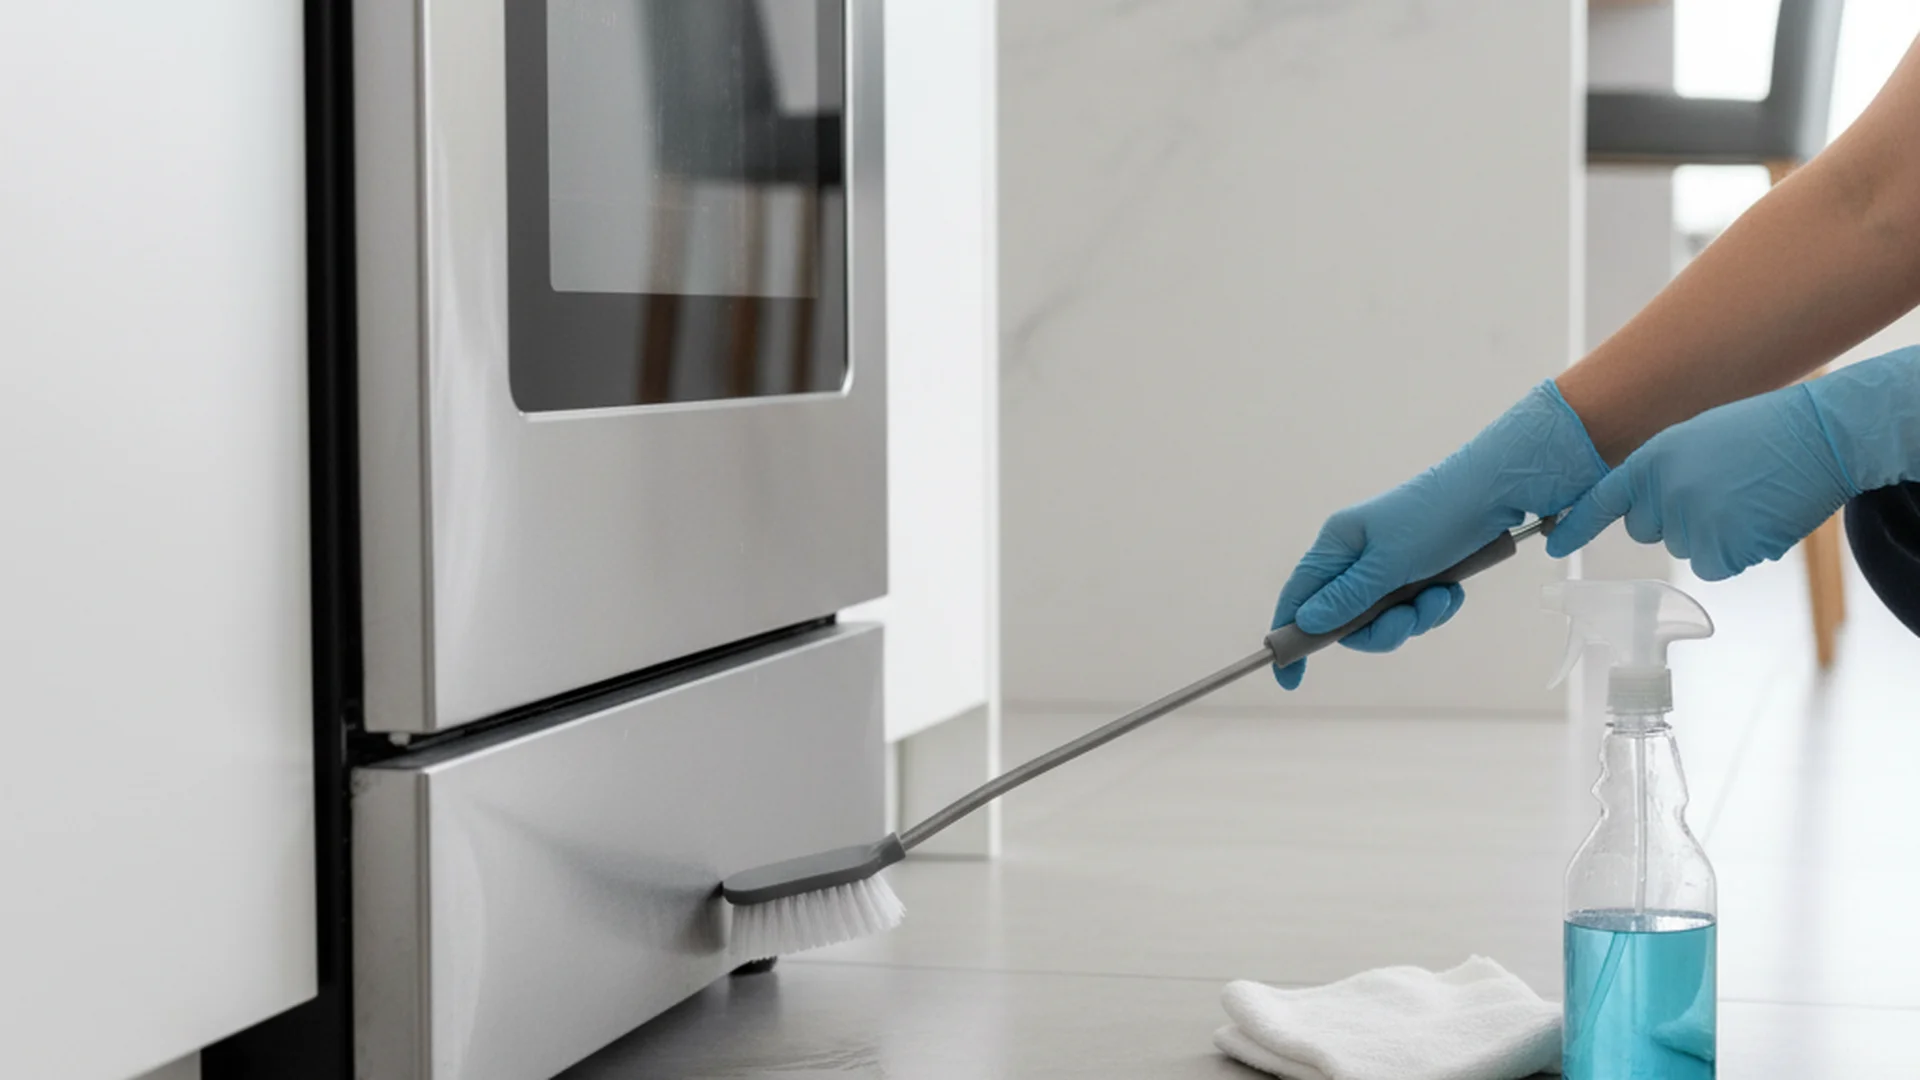
- A specialized coil brush: A long, thin, flexible brush designed to reach between tight coils.
- Vacuum cleaner: Ideally with a crevice tool and a hose attachment.
- Furniture sliders or appliance rollers: To protect your floors.
- Microfiber cloths and 1:1 vinegar/water solution: For the walls and floor.
- Painter's tape: To secure cords during the move.
Safety First
Warning: Always unplug the refrigerator before cleaning behind it. This prevents electrical shocks and ensures the condenser fan doesn't start spinning while you are working near it.
If your refrigerator has a built-in water dispenser or ice maker, you should also locate the water shut-off valve. While you don't always need to disconnect the water line, knowing where the valve is can prevent a disaster if a line kinks or leaks while you move the unit.
Step-by-Step: The Best Way to Clean Behind Fridge
Follow this professional sequence to ensure a deep clean that improves both hygiene and mechanical performance.
Step 1: The "Glide Out" Technique
The most common fear homeowners have is scratching their hardwood or vinyl floors. Never pull a refrigerator out by its door handles; this can damage the hinges or the door seal. Instead, grip the unit from the base or the sides of the main cabinet.
Tip: Use a "walking" motion—rocking the fridge slightly side-to-side—to move it forward. For the smoothest experience, place furniture sliders under the front feet.
Step 2: Dusting the Condenser Coils
Once the unit is pulled out, you will see the coils. On older models, these are large black grids on the back. On newer models, they may be located at the bottom behind a vented plate.
Use your coil brush to gently loosen the dust. Do not use force, as you don't want to bend the copper tubing. Immediately follow the brush with your vacuum hose to capture the airborne particles.
Step 3: Cleaning the Wall and Floor
The wall behind the fridge often accumulates "grease dust"—a sticky combination of cooking vapors and household dust.
- For the wall: Spray with a 1:1 vinegar and water solution and wipe down.
- For the floor: Sweep the large debris first, then mop. Ensure the floor is 100% dry before moving the fridge back to prevent trapping moisture, which can lead to mold or floor damage.
Success: A clean floor and wall allow for better airflow, which further assists the cooling process.
Step 4: The Fan and Drip Pan
If your model allows access, vacuum the condenser fan. Additionally, check for a drip pan at the bottom. Slide it out, wash it with warm soapy water, and dry it thoroughly. This is often the source of "mystery smells" in the kitchen.
Real-World Examples of Why This Matters
Example 1: The Multi-Pet Household
A homeowner in Seattle noticed their fridge was running constantly and the sides of the cabinet felt hot to the touch. Upon moving the unit, they found a "carpet" of golden retriever hair completely encasing the intake vents. After a 15-minute cleaning session, the fridge's cycle time returned to normal, saving the compressor from imminent burnout.
Example 2: The Smart Home Notification
In late 2025, a user with a new GE Profile smart refrigerator received a push notification: "Efficiency Alert: Clean Condenser Coils." Because the unit's IoT sensors detected the compressor was running 15 degrees hotter than the set baseline, the owner was able to clean the unit before any mechanical damage occurred.
Example 3: The "Mystery Odor" Solution
A family complained of a musty smell in their kitchen that deep-cleaning the counters couldn't fix. When they finally learned how to clean behind fridge areas, they discovered the drip pan was filled with stagnant water and dust. A simple wash of the pan eliminated the odor instantly.
Common Mistakes to Avoid
Even with the best intentions, you can cause damage if you aren't careful. Avoid these frequent pitfalls:
- Pushing it Too Close to the Wall: Many people want their fridge to sit flush with the cabinetry. However, you must leave 1–2 inches of "breathing room" to allow for proper heat dissipation.
- Using Abrasive Chemicals: Never use bleach or harsh degreasers on the back of the fridge. These can corrode the sensitive copper tubing or damage plastic components.
- Rolling Over the Cord: Before pushing the unit back, use painter's tape to secure the power cord and water line to the back of the fridge (about waist-high). This ensures you don't crush or cut them with the heavy wheels as you move back into place.
- Ignoring the Top: Dust from the top of the fridge eventually falls behind it. Always clean from top to bottom.
Recent Trends and Updates (2025–2026)
As we move into 2026, refrigerator technology is changing how we handle this chore.
- Smart Maintenance Alerts: High-end models from Samsung and LG now feature heat-monitoring sensors. These systems monitor airflow obstruction and alert your smartphone specifically when it’s time to clean.
- Robotic Under-Appliance Vacuums: A growing trend in 2026 is the use of ultra-slim, specialized robotic cleaners. These devices are designed to fit in 2-inch gaps, allowing for frequent floor cleaning without the need to move the heavy appliance.
- Eco-Conscious Repair Culture: There is a notable shift toward the "Circular Economy." With new appliance costs rising 20% over the last three years, more homeowners are choosing to deep-clean and maintain older units rather than replacing them.
Frequently Asked Questions
How often should I clean behind my fridge?
Do I need to unplug the fridge to clean behind it?
How do I move a heavy fridge without scratching my floors?
Is it enough to just vacuum the floor?
Conclusion
Taking the time to clean behind fridge components is one of the most effective ways to maintain a healthy, energy-efficient home. By removing the hidden dust that chokes your appliance, you aren't just cleaning—you are investing in the longevity of one of your most expensive household assets. Whether you use a high-tech smart sensor or a simple $15 coil brush, the results are the same: lower bills and a more reliable kitchen.
Success: Regular maintenance ensures your refrigerator remains at peak performance, keeping your food fresher and your energy bills lower for years to come.
Cleaning that keeps score
Every task earns points, every streak multiplies them, and Premium adds a household leaderboard plus a monthly Dustagorgon to beat.
- Free forever
- 30 badges to earn
- Up to 6 in a household
No card needed. Set up your rooms in a couple of minutes.