Key Takeaways
- Identify your tile material before using acidic cleaners like vinegar.
- Use the "Blot-First" rule to prevent grease from spreading across grout lines.
- Hydrogen peroxide and steam cleaning are the top eco-friendly trends for 2026.
The kitchen backsplash is more than just a design statement; it is your wall's first line of defense against the chaos of daily cooking. Whether you are dealing with a "full-wall" backsplash—a trend now seen in 67% of modern home renovations—or a standard under-cabinet install, knowing how to clean tile backsplash surfaces effectively is essential for maintaining both hygiene and home value.
Neglecting this area for even a single week can lead to "polymerized grease," a sticky, yellowed layer that binds to the surface and becomes significantly harder to remove. In this guide, we will explore the most efficient, professional-grade methods to ensure your kitchen remains sparkling using the latest 2025-2026 industry standards.
Identifying Your Backsplash Material
Before you reach for the nearest spray bottle, you must identify what your backsplash is made of. According to the 2026 NKBA Kitchen Trends Report, while 70% of homeowners still prefer ceramic or porcelain, there is a significant rise in engineered quartz and natural stone like quartzite and marble.
Using the wrong cleaner on the wrong surface is the fastest way to ruin an expensive installation.
| Material | Recommended Cleaner | Avoid |
|---|---|---|
| Ceramic & Porcelain | All-purpose cleaner, vinegar/water | Heavy abrasives |
| Natural Stone (Marble/Travertine) | pH-neutral stone cleaner | Vinegar, Lemon, Bleach |
| Glass Tile | Non-abrasive glass cleaner | Scouring pads, steel wool |
| Recycled Glass | Mild dish soap | High-acid solutions |
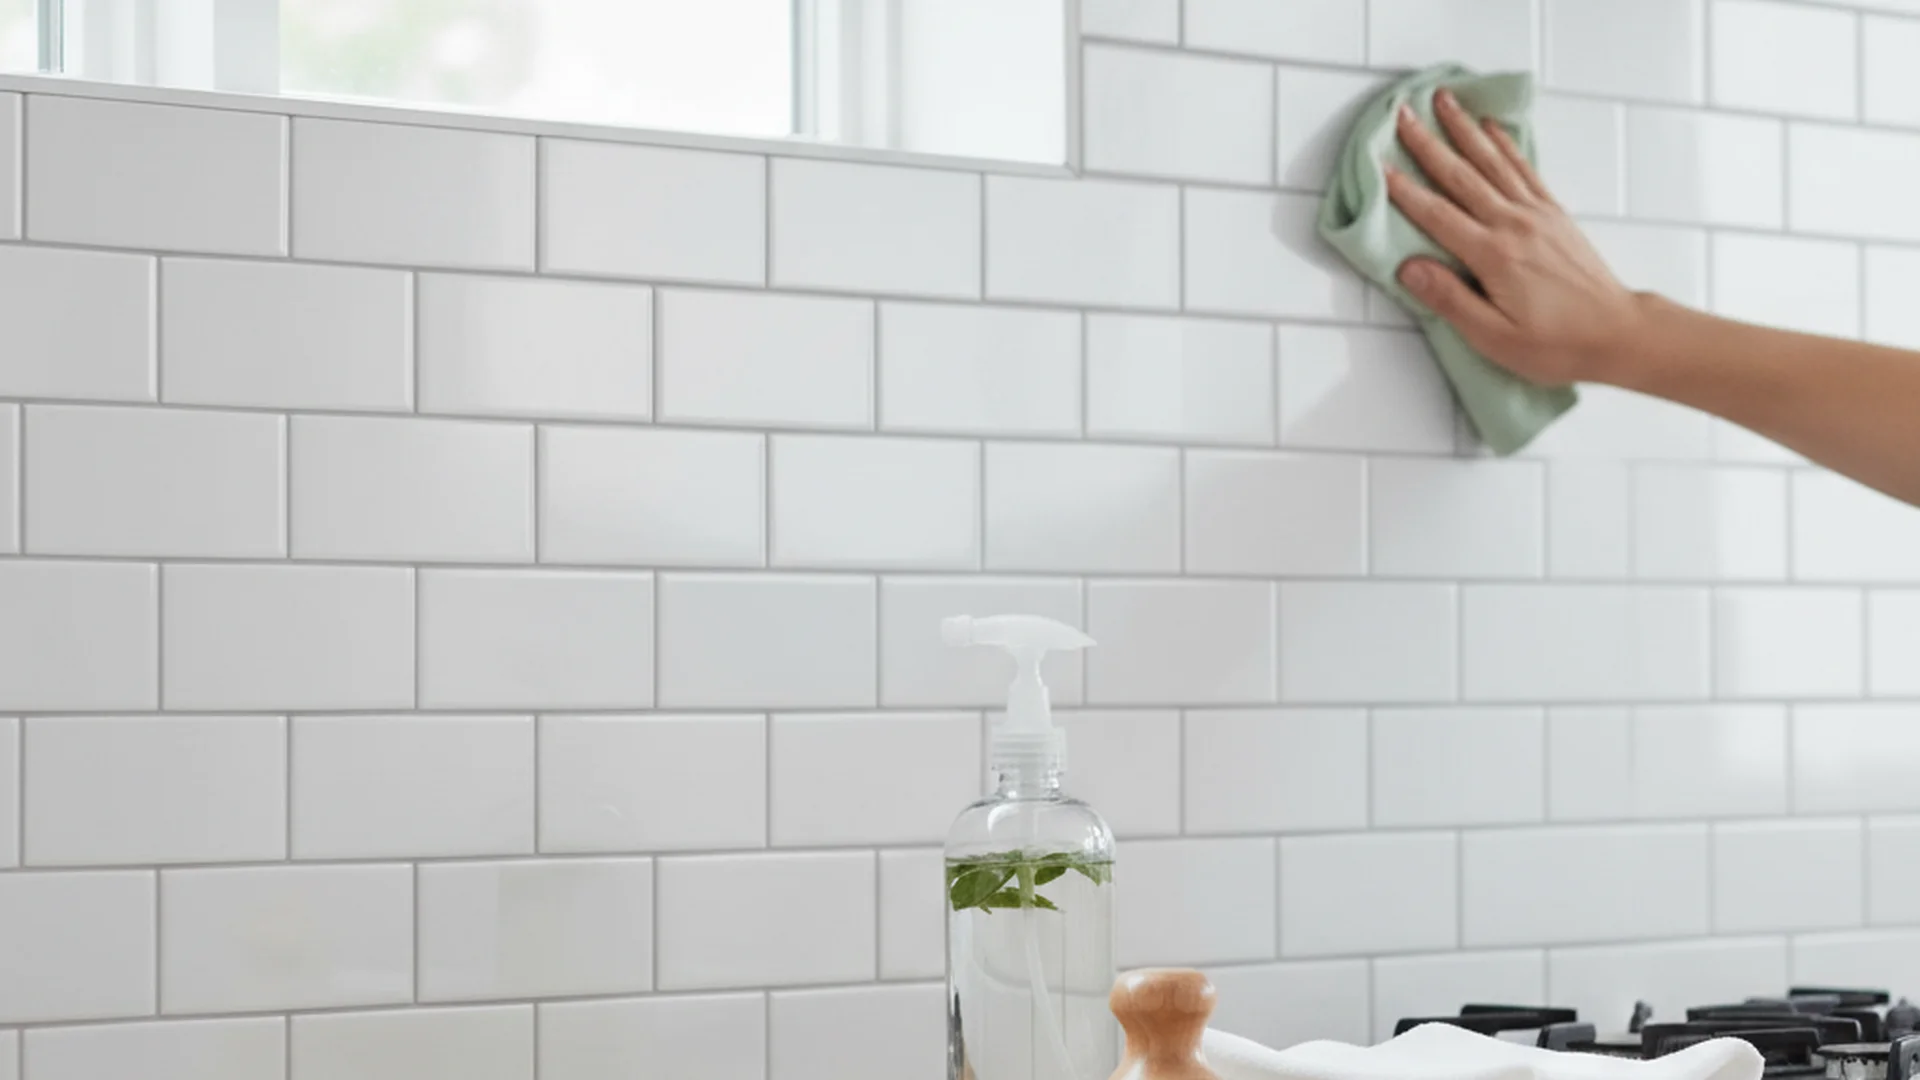
The Best Way Clean Tile Backsplash Easily: A Step-by-Step Guide
To clean tile backsplash easily, you need a systematic approach that focuses on breaking down organic oils without damaging the grout or the tile's finish.
Step 1: The "Blot-First" Rule
Before applying any liquid cleaner, use a dry paper towel or microfiber cloth to blot any fresh grease splatters. Adding water or a cleaning spray directly to fresh oil can emulsify the grease, causing it to spread into a larger film across the tile and deep into the porous grout lines.
Step 2: Prepare Your Solution
For 2025, the industry has seen a massive shift toward "Green Cleaning," which now accounts for 30% of the market. A simple, effective eco-friendly solution for ceramic or porcelain is a mixture of:
- 2 cups of warm water
- 1 tablespoon of degreasing dish soap (such as Dawn)
- (Optional for ceramic only) 1/2 cup of white vinegar
Step 3: Application and Dwell Time
Spray the solution onto the backsplash and let it sit for 2–3 minutes. This "dwell time" allows the surfactants in the soap to break the molecular bonds of the grease.
Step 4: The Wipe and Buff
Wipe the surface with a clean, damp microfiber cloth. For high-gloss finishes—which are making a major comeback in 2025—follow up immediately with a dry cloth to buff away any remaining moisture. This prevents the "cloudy" look often caused by hard water minerals.
Tackling Stubborn Grease and Grout
Sometimes, a simple wipe-down isn't enough, especially around the range hood where heat and oil combine.
Removing Polymerized Grease
If the grease has turned into a sticky, hardened layer, a baking soda paste is the professional's secret weapon. Mix three parts baking soda with one part water. Apply the paste to the area and let it sit for 10 minutes. The baking soda acts as a mild abrasive that lifts the oils without scratching the tile.
The 2026 Grout "Pro-Tip"
For years, bleach was the go-to for grout. However, we now know that bleach can weaken the structural integrity of grout over time. In 2026, the recommended professional method is using hydrogen peroxide.
Apply 3% hydrogen peroxide to the grout lines, let it bubble for a few minutes, and scrub with a soft toothbrush. It disinfects and whitens without the harsh fumes or the risk of discoloring colored grout.
Recent Trends: Steam Cleaning and Countersplashes
As we move into 2026, two major trends are changing how we maintain our kitchens.
- Dry Steam Cleaners: Home-grade steam cleaners are becoming the preferred "eco-tech" choice. These devices use high-heat vapor (above 200°F) to melt grease and kill 99.9% of bacteria instantly. This is particularly effective for "full-wall" backsplashes that extend to the ceiling, where manual scrubbing is difficult.
- The Rise of "Countersplashes": Many modern kitchens now use a single slab of quartz or marble that extends from the counter up the wall. This eliminates grout lines entirely. For these surfaces, maintenance is incredibly simple: a pH-neutral stone spray and a soft cloth are all you need.
Common Mistakes to Avoid
- Over-Wetting Grout: Grout is porous. Using a dripping wet mop or sponge can cause water to seep behind the tile, leading to mold growth within the wall. Always use a "damp, not dripping" technique.
- Neglecting the Caulk Line: The silicone bead where the backsplash meets the countertop is a magnet for moisture. If you see black spots, it is likely mold. Use a gentle antimicrobial cleaner here rather than scrubbing hard, which can peel the caulk away.
- Forgetting to Reseal: If water no longer beads up on your grout lines, the sealer has worn off. Most professionals recommend resealing grout every 1–2 years to prevent permanent staining.
Frequently Asked Questions
How do I remove stubborn grease from a backsplash?
Can I use vinegar on all types of tile?
How often should I seal my grout?
What is the best way to clean glass tile without streaks?
Conclusion
Learning the best way clean tile backsplash surfaces doesn't just keep your kitchen looking beautiful—it protects your investment. By identifying your materials, following the "Blot-First" rule, and embracing modern tools like steam cleaners or hydrogen peroxide, you can maintain a hygienic and stunning cooking space with minimal effort. Remember, consistency is your best friend; a quick daily wipe-down is the ultimate secret to a kitchen that always looks brand new.
Ready to Start?
Get your kitchen sparkling with our professional-grade cleaning kits.
Shop Cleaning Supplies