Key Takeaways
- Deep cleaning every 3-4 months can reduce energy bills by up to 35%.
- Avoid bleach; use baking soda or modern enzyme-based cleaners for safety.
- Never put cold glass shelves in hot water to avoid thermal shock.
When was the last time you truly looked at the back of your vegetable crisper or checked the dust buildup on your refrigerator coils? Most of us wipe down a spill here and there, but to maintain a truly hygienic kitchen, you must deep clean fridge components thoroughly and regularly. According to NSF International, your refrigerator’s vegetable and meat compartments are actually the germiest places in your entire kitchen, often harboring Salmonella, Listeria, and E. coli.
Why a Deep Clean is Non-Negotiable
While a quick weekly wipe-down keeps things looking tidy, it doesn't address the microscopic biofilm that accumulates over time. The CDC reports that roughly 20% of all foodborne illness outbreaks originate from food consumed within the home. A neglected refrigerator is often the silent culprit.
Beyond health, there is a significant financial incentive. Cleaning the condenser coils—those dusty "fins" usually located at the back or bottom of the unit—can reduce your refrigerator’s energy consumption by up to 35%. In an era where energy efficiency is paramount, a clean fridge is a cheaper fridge to operate. Furthermore, an overworked compressor due to dust-clogged coils can fail up to five years earlier than a well-maintained one.
Preparation: Setting the Stage for Success
Before you dive in, you need a plan. You cannot deep clean fridge easily if you are constantly moving items from shelf to shelf.
1. Unplug the Unit
2. Prepare a Temporary Cooler
Since a deep clean can take up to two hours, your perishables need a home. Use a high-quality cooler with ice packs for meats and dairy. This is also the perfect time to practice "First In, First Out" (FIFO). Check expiration dates and discard anything that is past its prime.
3. Acclimate Your Shelves
The Step-by-Step Deep Cleaning Process
To ensure you don’t miss a spot, follow the "Top-Down" method. This ensures that any drips or crumbs fall onto surfaces you haven't cleaned yet, preventing double work.
Step 1: Clear and Sort
Empty the fridge completely. As you remove items, wipe down the bottoms of condiment jars. There is no point in putting a sticky jar of jam back onto a pristine shelf.
Step 2: Wash Removable Parts
Once the shelves and bins have reached room temperature, wash them in a sink of warm, soapy water. For stubborn, dried-on spills, let them soak for ten minutes rather than scrubbing aggressively.
Step 3: Tackle the Interior Walls
Avoid harsh chemicals like bleach. Most manufacturers recommend a solution of 2 tablespoons of baking soda to 1 quart of warm water. This solution is abrasive enough to lift stains but gentle enough not to damage the plastic liners.
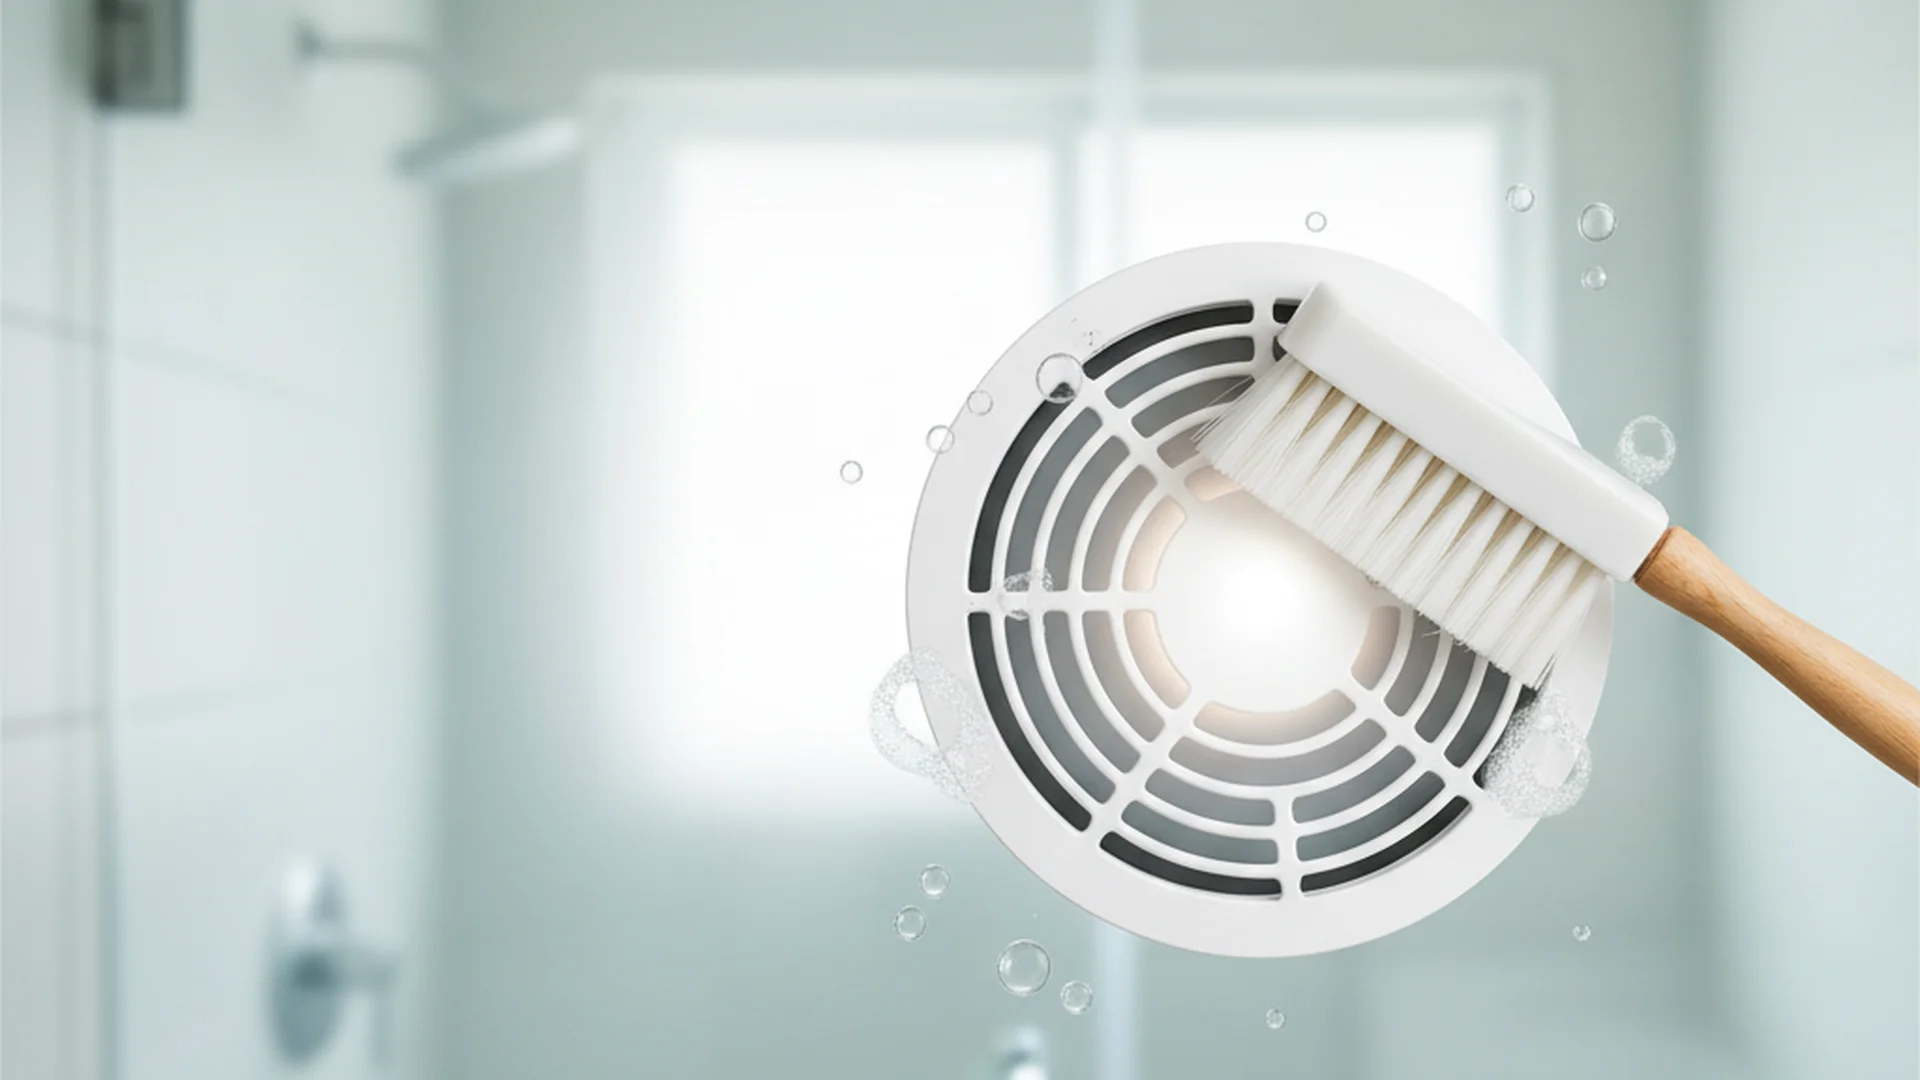
Step 4: The Gaskets and Drainage Hole
The door seal (gasket) is a magnet for crumbs and mold. Use an old toothbrush and a baking soda paste to scrub inside the folds. If the gasket is dirty, it won't form a tight seal, leading to energy loss.
While you are there, look for the small drainage hole at the back of the fridge. Example 1: Imagine finding a small "lake" at the bottom of your fridge. This is usually caused by a clogged drainage hole. Use a pipe cleaner or a small brush with warm water to clear it out.
Step 5: The Condenser Coils
Pull the fridge away from the wall. Use a vacuum with a brush attachment to remove the "dust bunnies" from the coils. This is the single best way deep clean fridge units for longevity.
Natural vs. High-Tech: 2025 Cleaning Trends
In 2025 and 2026, we are seeing a shift in how we maintain our appliances. While the classic baking soda method remains a staple, new technologies are making the job easier.
- Enzyme-Based Cleaners: Homeowners are moving away from vinegar, which can leave a pungent smell. Modern enzyme cleaners specifically break down organic food proteins and fats without harsh odors.
- AI-Driven Maintenance: If you own a modern "Smart" refrigerator, pay attention to the AI energy modes. These systems now alert users when cooling efficiency drops—a primary indicator that it’s time to clean the coils or check the seals.
- UV-C Sanitization: Some high-end 2025 models include integrated UV-C light technology in crisper drawers to kill bacteria automatically. However, manual cleaning is still required to remove the physical biofilm that bacteria leave behind.
Common Mistakes to Avoid
Even seasoned cleaners can make mistakes that lead to cross-contamination or appliance damage.
The "One-Cloth" Error
Example 2: Using the same cloth to wipe the meat drawer and then immediately using it on the produce shelf. This is the fastest way to spread Salmonella. Always use separate cloths for different zones or sanitize your cloth in between.
Neglecting the Exterior
Don't forget the top of the fridge. It is a massive dust trap that can eventually find its way into your food when the door opens. Also, pay special attention to the door handles; they are high-touch surfaces that harbor more germs than you might realize.
Using Abrasive Scrubbers
Example 3: Using the green side of a heavy-duty sponge or steel wool on plastic bins. This creates microscopic scratches. These scratches become "hiding spots" for bacteria that are nearly impossible to reach during your next clean.
Overloading After Cleaning
A common misconception is that a packed fridge is more efficient. In reality, blocking the air vents with too many items causes uneven cooling and "hot spots" where food spoils prematurely.
| Component | Cleaning Method | Frequency |
|---|---|---|
| Interior Shelves | Warm soapy water | Every 3 months |
| Door Gaskets | Baking soda paste & toothbrush | Every 3 months |
| Condenser Coils | Vacuum/Brush | Every 6 months |
| Exterior Handles | Disinfectant wipe | Daily/Weekly |
Frequently Asked Questions
Do I need to unplug my fridge to deep clean it?
Can I use bleach to clean the inside?
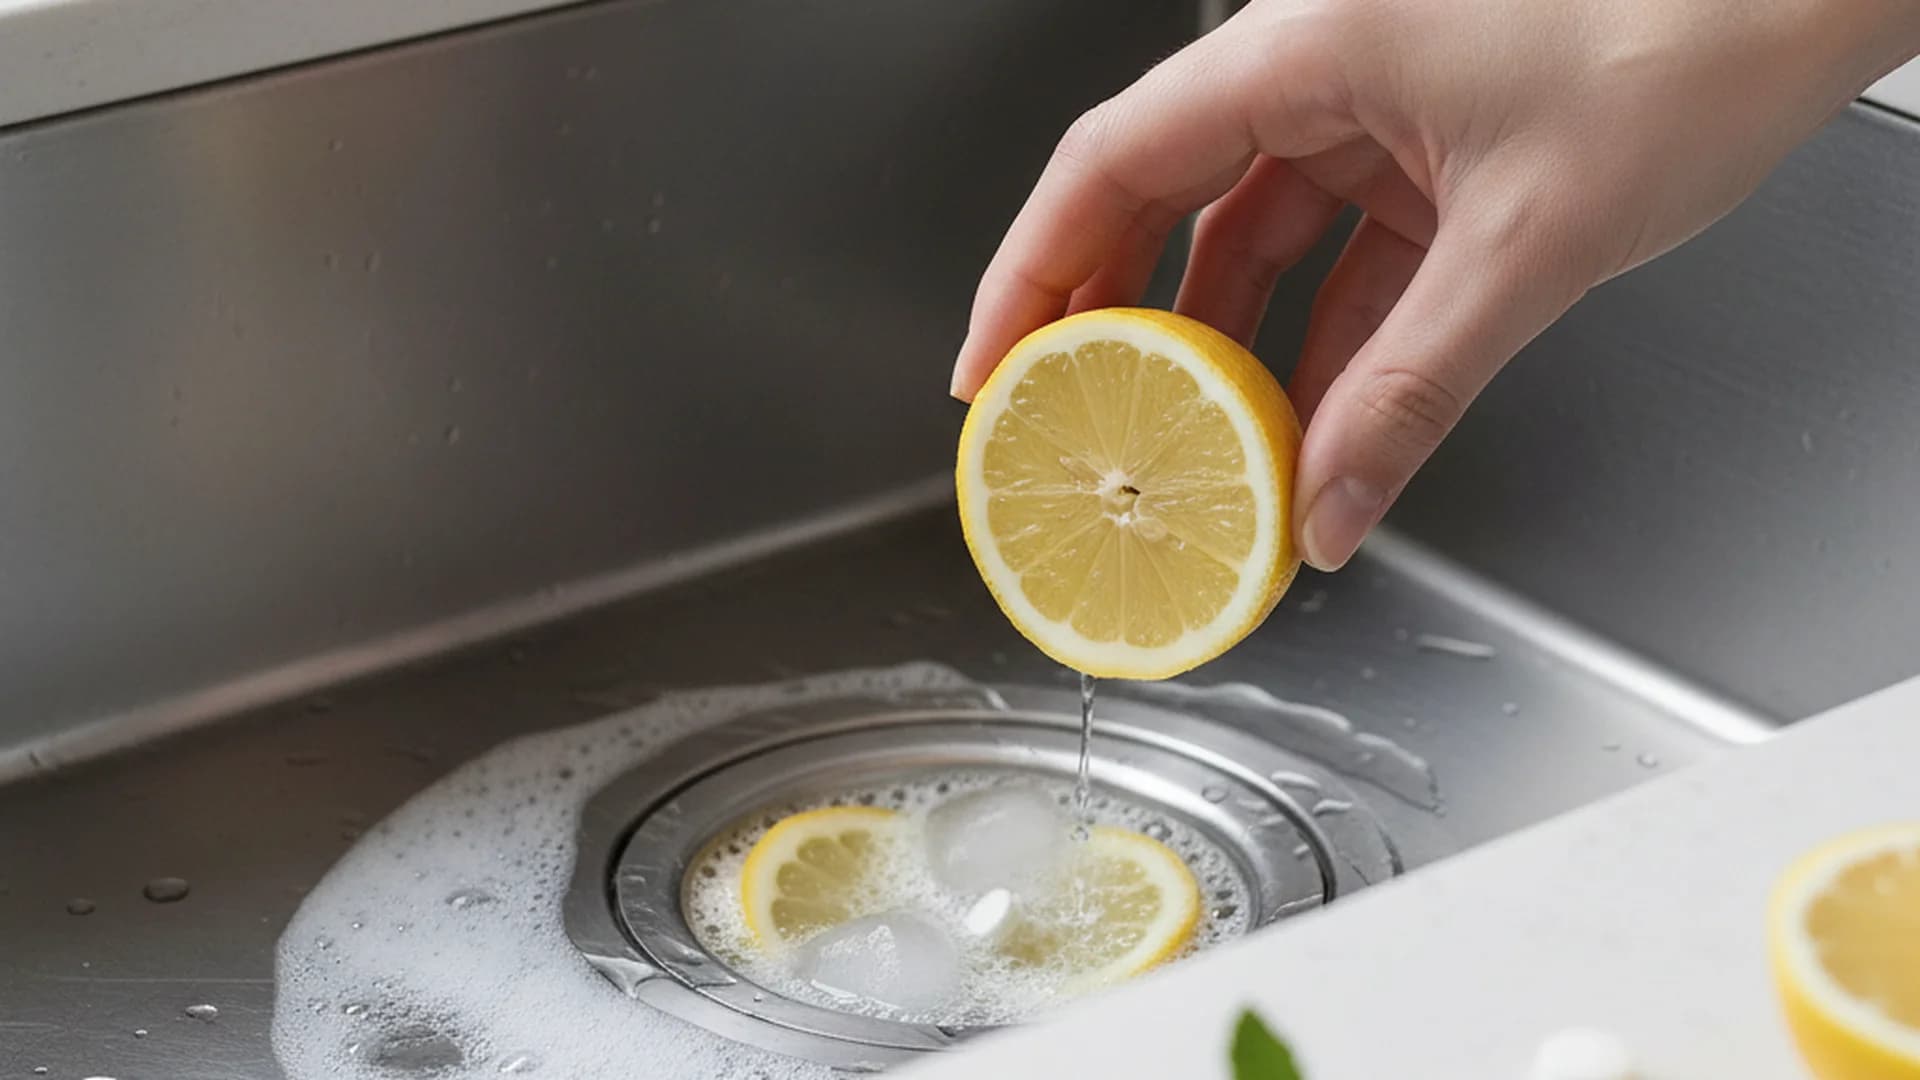
How do I get rid of persistent fridge smells?
Is it safe to wash cold glass shelves in hot water?
Conclusion
Deep cleaning your refrigerator is about more than just aesthetics; it is a vital step in food safety and home maintenance. By following the top-down method, tending to your gaskets, and vacuuming those condenser coils, you ensure your appliance runs efficiently for years to come. Remember the "3-Month Rule": a full deep clean every quarter keeps the bacteria at bay and your energy bills low.
Ready to Start?
Keep your kitchen healthy and efficient with our expert guides.
Get My Cleaning Checklist