Key Takeaways
- Cleaning your toilet tank bi-annually prevents component failure and water waste.
- Distilled white vinegar is the safest and most effective cleaner for dissolving minerals.
- Never use bleach or chemical "blue tablets," as they damage rubber seals and void warranties.
When we think about bathroom hygiene, our minds immediately go to the toilet bowl. We scrub, we disinfect, and we shine the porcelain until it sparkles. However, many homeowners overlook the "engine room" of the bathroom: the tank. If you don't clean toilet tank components regularly, you are ignoring a primary source of bacteria and mineral buildup. A dirty tank can lead to unsightly stains in the bowl, foul odors, and even expensive plumbing repairs.
Understanding how to maintain this internal system is the secret to a truly clean home. In this guide, we will break down the best way clean toilet tank interiors using professional techniques and eco-friendly solutions.
Why You Must Clean Your Toilet Tank
The toilet tank might hold "clean" water from your tap, but it is far from a sterile environment. Because the tank is a dark, humid, and stagnant space, it is a perfect breeding ground for various microorganisms.
Research indicates that toilet tanks can harbor significant colonies of Serratia marcescens—the "pink slime" you often see in showers—and even Legionella. A study by the Journal of Occupational and Environmental Hygiene notes that every time you flush, bio-aerosols can spread these bacteria from the water source into the air. If the tank is contaminated, you are essentially misting your bathroom with bacteria every time you use the toilet.
Beyond health concerns, there is the issue of hard water. According to the U.S. Geological Survey (USGS), approximately 85% of American homes deal with hard water. Over time, calcium and magnesium create "scaling" on the internal components. This mineral grit can erode the flush valve and flapper within just 2 to 3 years. By learning how to clean toilet tank easily, you can extend the lifespan of these parts by up to 30%.
The Step-by-Step Guide: The Vinegar Soak Method
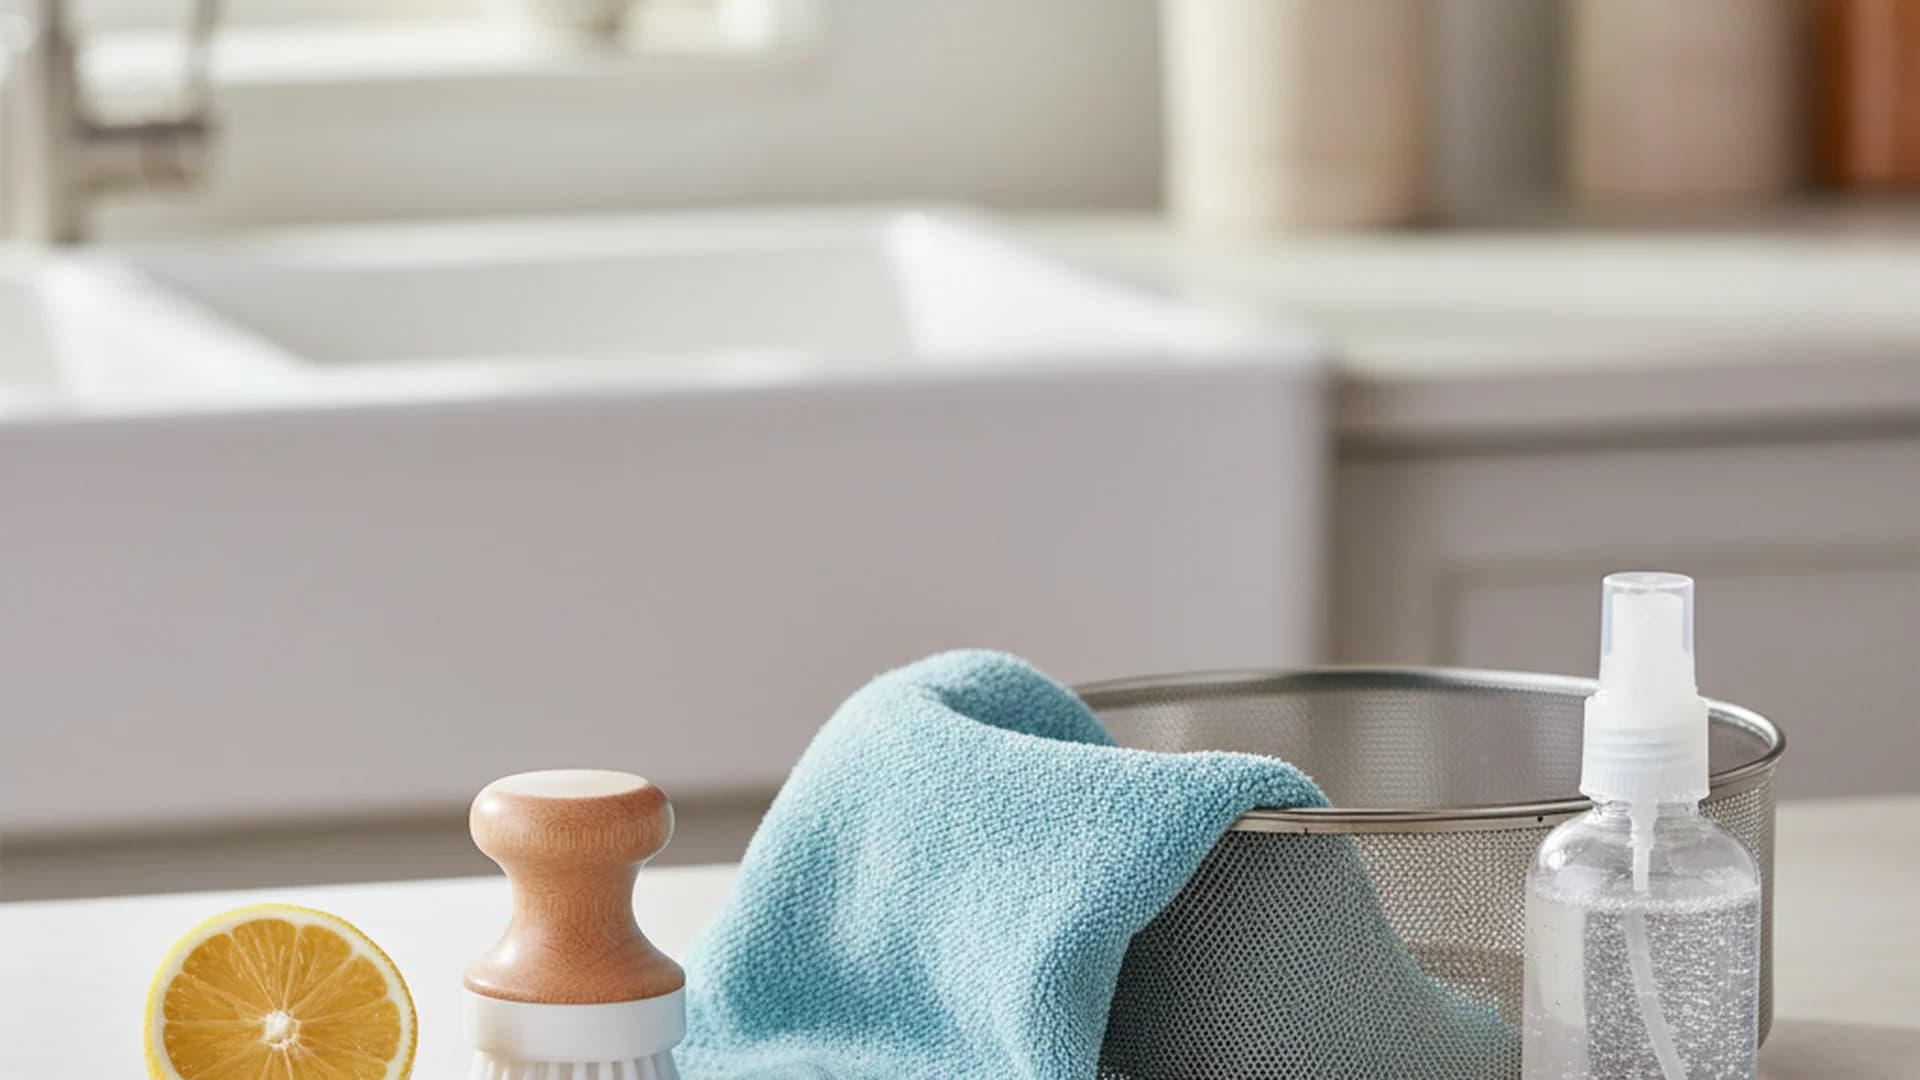
The plumbing industry generally recommends a "Natural First" approach. Harsh chemicals like bleach can destroy the rubber seals that keep your toilet from leaking. The following method is widely considered the best way clean toilet tank interiors without risking damage to your plumbing.
Step 1: Drain the Tank
To get a deep clean, you need to work on the porcelain surfaces directly.
- Locate the water shut-off valve (usually behind the toilet) and turn it clockwise until it stops.
- Flush the toilet and hold the handle down until the tank is as empty as possible.
- Use a sponge to soak up any remaining water at the bottom.
Step 2: The Vinegar Soak
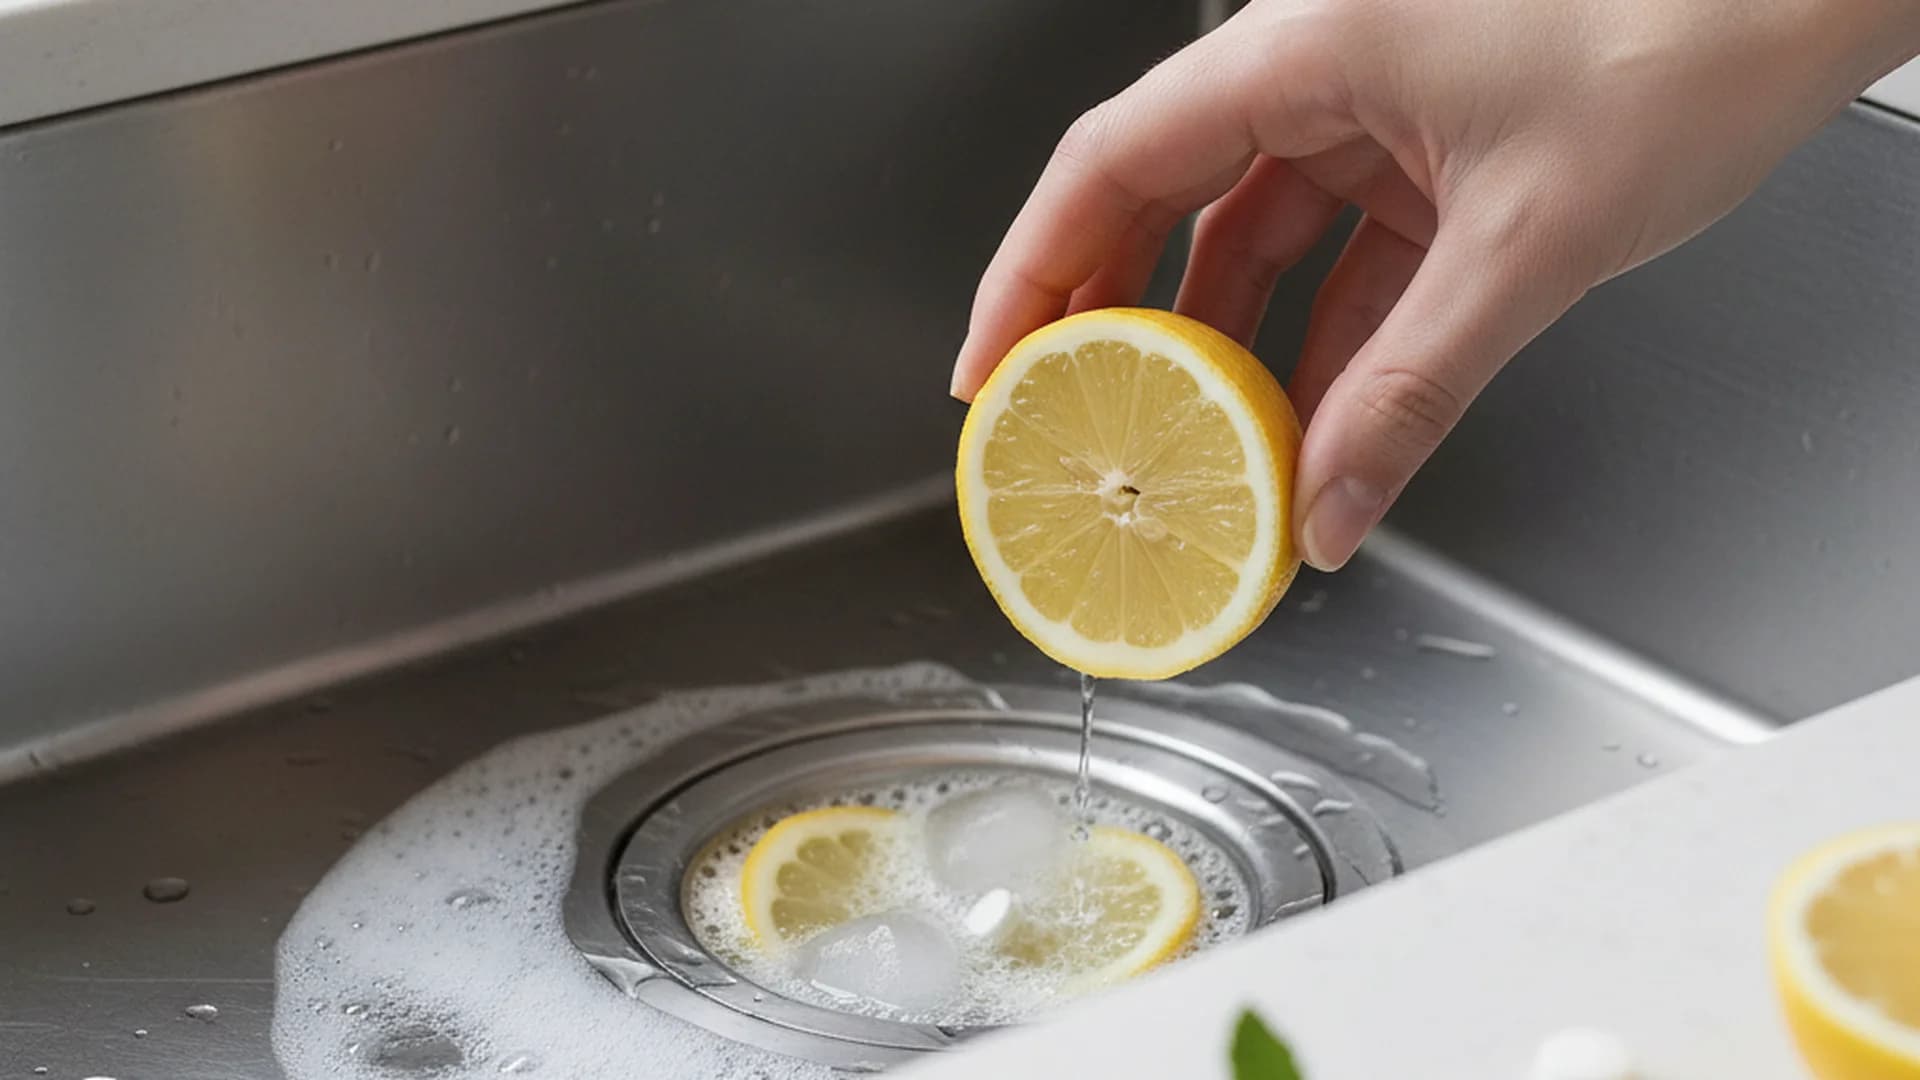
Vinegar is a mild acid that works wonders on mineral deposits and biofilm.
- Pour 1 to 2 gallons of white distilled vinegar into the empty tank.
- If the vinegar doesn't reach the "fill line," add a bit of water until the internal components are submerged.
- Let the solution sit for 12 hours (overnight is best).
Step 3: Scrub and Rinse
After the soak, the minerals should be softened.
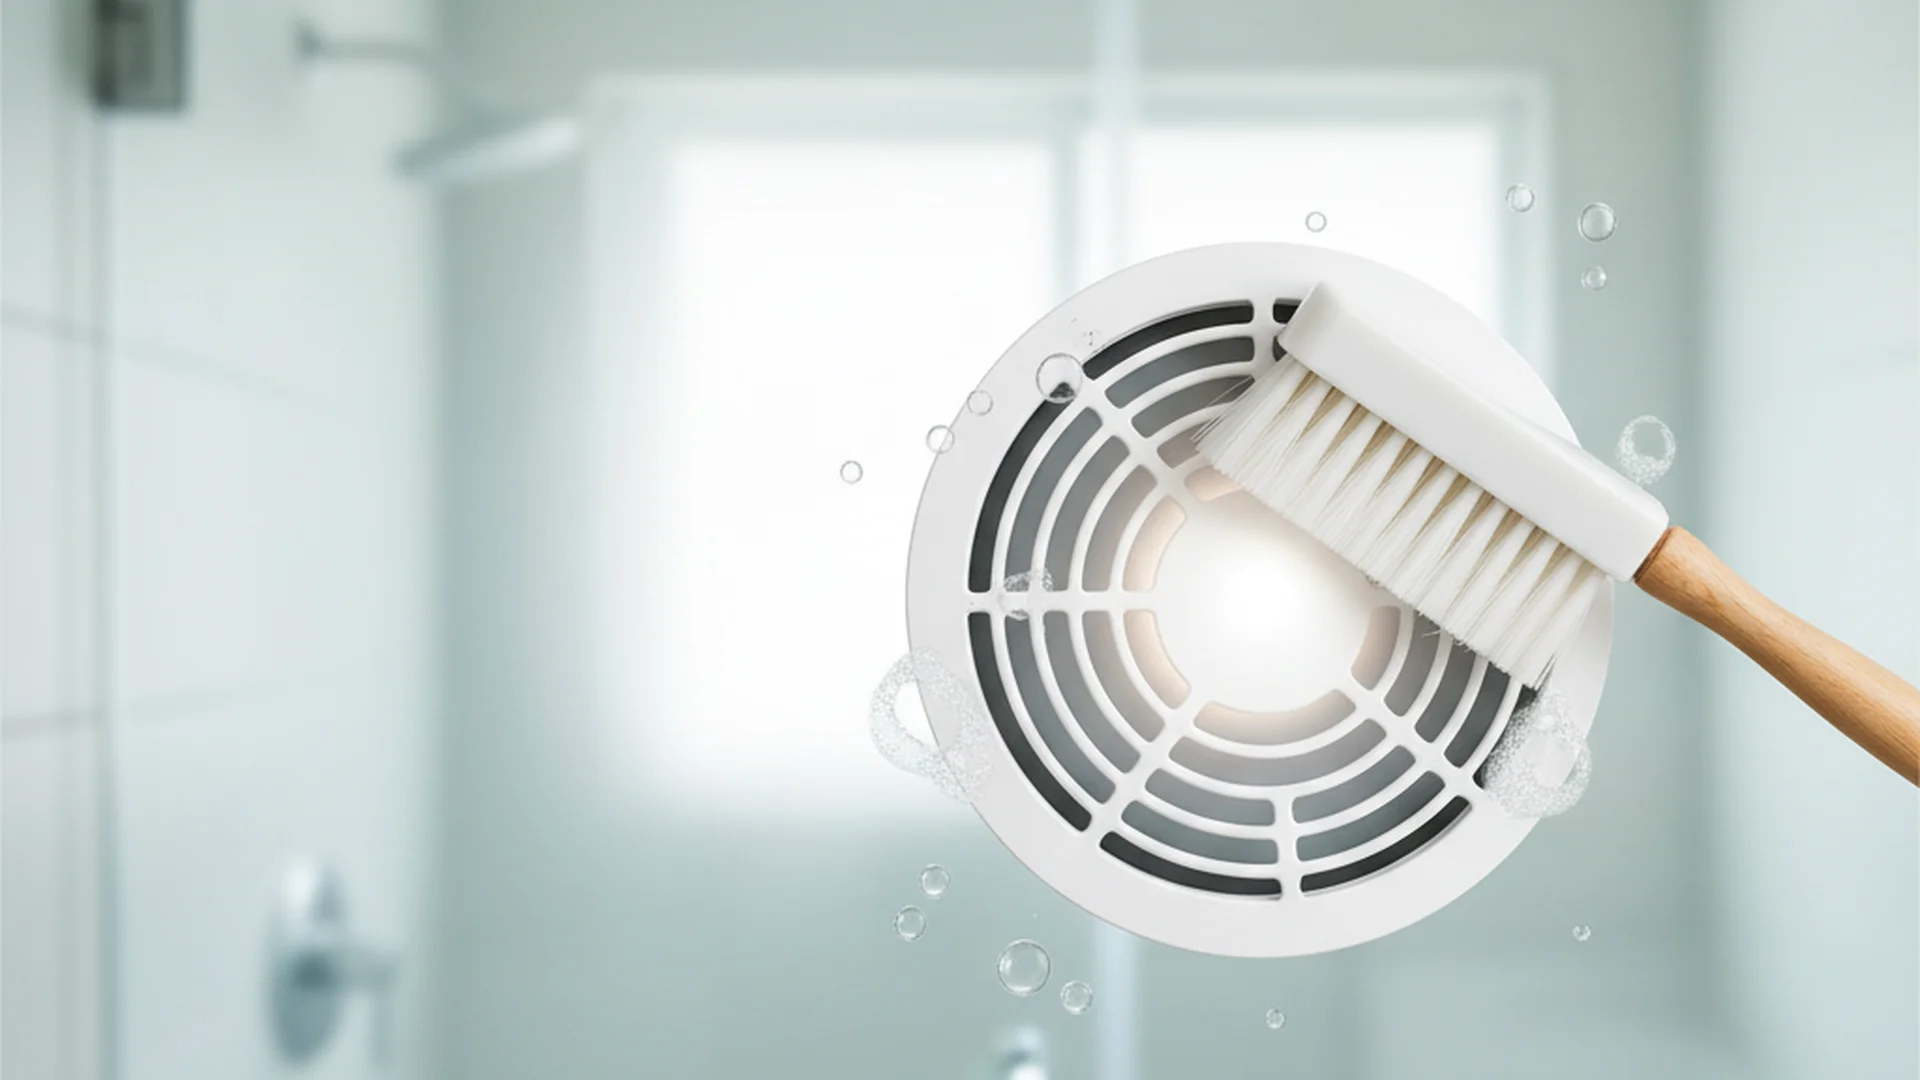
- Use a long-handled plastic scrub brush to clean the walls of the tank.
- For tight corners or around the fill valve, an old toothbrush works perfectly.
- Turn the water supply back on and flush the toilet 2-3 times to rinse away the debris.
Real-World Examples of Tank Maintenance
To understand the impact of a clean toilet tank, let's look at three common scenarios homeowners face:
- The "Pink Slime" Mystery: A homeowner in Florida noticed a persistent pink ring in their toilet bowl despite daily cleaning. After checking the tank, they found a thick layer of pink biofilm on the walls. By performing a vinegar soak and disinfecting the tank, the bowl stayed clean for months without additional scrubbing.
- The Silent Leak: An EPA WaterSense report highlights that a dirty, sediment-caked flapper can cause a "silent leak," wasting up to 200 gallons of water per day. A simple cleaning of the flapper seal saved one family over $50 per month on their water bill.
- The Apartment Move-In: A tenant moved into an older building and noticed a "musty" smell in the bathroom. The culprit was a decade of algae growth inside the toilet tank. A single deep clean eliminated the odor permanently.
Maintenance and Component Care
While you are inside the tank, it is the perfect time to perform a "health check" on your hardware. The International Association of Certified Home Inspectors (InterNACHI) states that internal components like the flapper and fill valve usually fail every 5–7 years.
| Component | Signs of Trouble | Action Needed |
|---|---|---|
| Flapper | Black residue on fingers when touched | Replace Immediately |
| Fill Valve | Constant humming or slow filling | Clean or Replace |
| Float Cup | Stuck in the "up" or "down" position | Scrub away mineral buildup |
2025-2026 Trends in Toilet Hygiene
The world of home maintenance is evolving. In 2025, we have seen a significant shift toward automated and eco-conscious solutions.
UV-C Sterilization
One of the biggest trends this year is the rise of battery-operated UV-C light inserts. These small devices clip onto the inside of the tank lid and periodically blast the water with ultraviolet light. This kills 99.9% of bacteria and mold without the need for any chemicals.
Probiotic Cleaning Tablets
Moving into 2026, many homeowners are ditching chemical tablets for "probiotic" alternatives. These tablets release beneficial bacteria into the water that actually "eat" organic waste and pink slime, keeping the tank clean naturally.
Smart Water Monitors
High-end smart homes are now integrating sensors like the Moen Flo. these devices can detect the microscopic "hiccups" in water pressure caused by a dirty or faulty tank flapper, alerting your smartphone before you waste a drop of water.
Common Mistakes to Avoid
Even with the best intentions, it is easy to make mistakes that could lead to a flooded bathroom or a voided warranty.
- Using "The Blue Tablet": Most major manufacturers (Kohler, TOTO, American Standard) have officially updated their 2025 warranty terms to state that the use of "in-tank" chlorine cleaning tablets voids the warranty. These high-concentration chemicals warp rubber seals and corrode plastic.
- Scrubbing the Fill Valve: The fill valve is a delicate instrument. If you scrub it too vigorously, you can break the float arm or clog the intake, leading to a tank that won't stop running.
- Mixing Chemicals: This is a critical safety rule. Never mix vinegar and bleach. Doing so creates toxic chlorine gas, which can be fatal in the enclosed space of a bathroom.
Frequently Asked Questions
Can I put bleach in my toilet tank?
Why is the inside of my toilet tank black or green?
How often should I clean the tank vs. the bowl?
Do I have to turn off the water to clean the tank?
Conclusion
Taking the time to clean toilet tank components is a small chore that yields massive benefits. By following the vinegar soak method, you ensure that your bathroom remains hygienic, your plumbing stays intact, and your water bills stay low. Remember to avoid harsh chemical pucks and stick to the "Natural First" philosophy to protect your home's infrastructure.
A five-minute check-up every six months is all it takes to keep the "engine" of your bathroom running smoothly for years to come.