In this article
What you’ll learn
- Always use cold to harden wax before applying heat to lift oils.
- Wax removal is a two-step process: physical lifting and dye treatment.
- Modern soy and coconut waxes require lower heat settings than paraffin.
The soft glow of a candle can transform any room, but the mood shifts instantly the moment a flickering flame leads to a splash of hot wax on your favorite rug or silk blouse. If you are currently staring at a hardened glob of paraffin, don’t panic. Knowing how to remove candle wax is a fundamental skill for any homeowner, especially as the luxury candle market continues to expand. In fact, with over one billion pounds of wax used annually in the U.S. alone, wax spills have become one of the most common household cleaning challenges we face today.
As a professional cleaning consultant, I have seen many well-intentioned DIY attempts end in permanent damage. The secret lies in understanding the chemistry of the wax and the nature of the surface beneath it. Whether you are dealing with traditional paraffin or the increasingly popular sustainable soy and coconut waxes of 2025 and 2026, this guide will provide you with a foolproof roadmap for restoration.
Understanding Your Wax: Why Temperature Matters
Before you grab your cleaning supplies, you must identify what you are dealing with. As we move through 2025 and into 2026, the cleaning landscape has shifted due to the rise of sustainable, plant-based waxes. These materials behave differently than the petroleum-based paraffin used in previous decades.
Paraffin wax, the traditional industry standard, has a relatively high melting point, usually between 120°F and 150°F. Conversely, the soy and coconut waxes found in modern luxury candles melt at much lower temperatures—often as low as 115°F. This is actually good news for your cleaning efforts, as it means you can use lower, safer heat settings to lift the residue.
| Wax Type | Melting Point | Common Use | Cleaning Complexity |
|---|---|---|---|
| Paraffin | 120°F - 150°F | Standard pillars | Medium - High heat needed |
| Soy | 115°F - 125°F | Container candles | Low - Easy to melt |
| Beeswax | 145°F - 147°F | Natural tapers | High - Very sticky |
Note: Because soy and coconut waxes are oilier than paraffin, they may leave a more significant "grease" ring even after the solid wax is removed.
How to Remove Candle Wax from Carpet
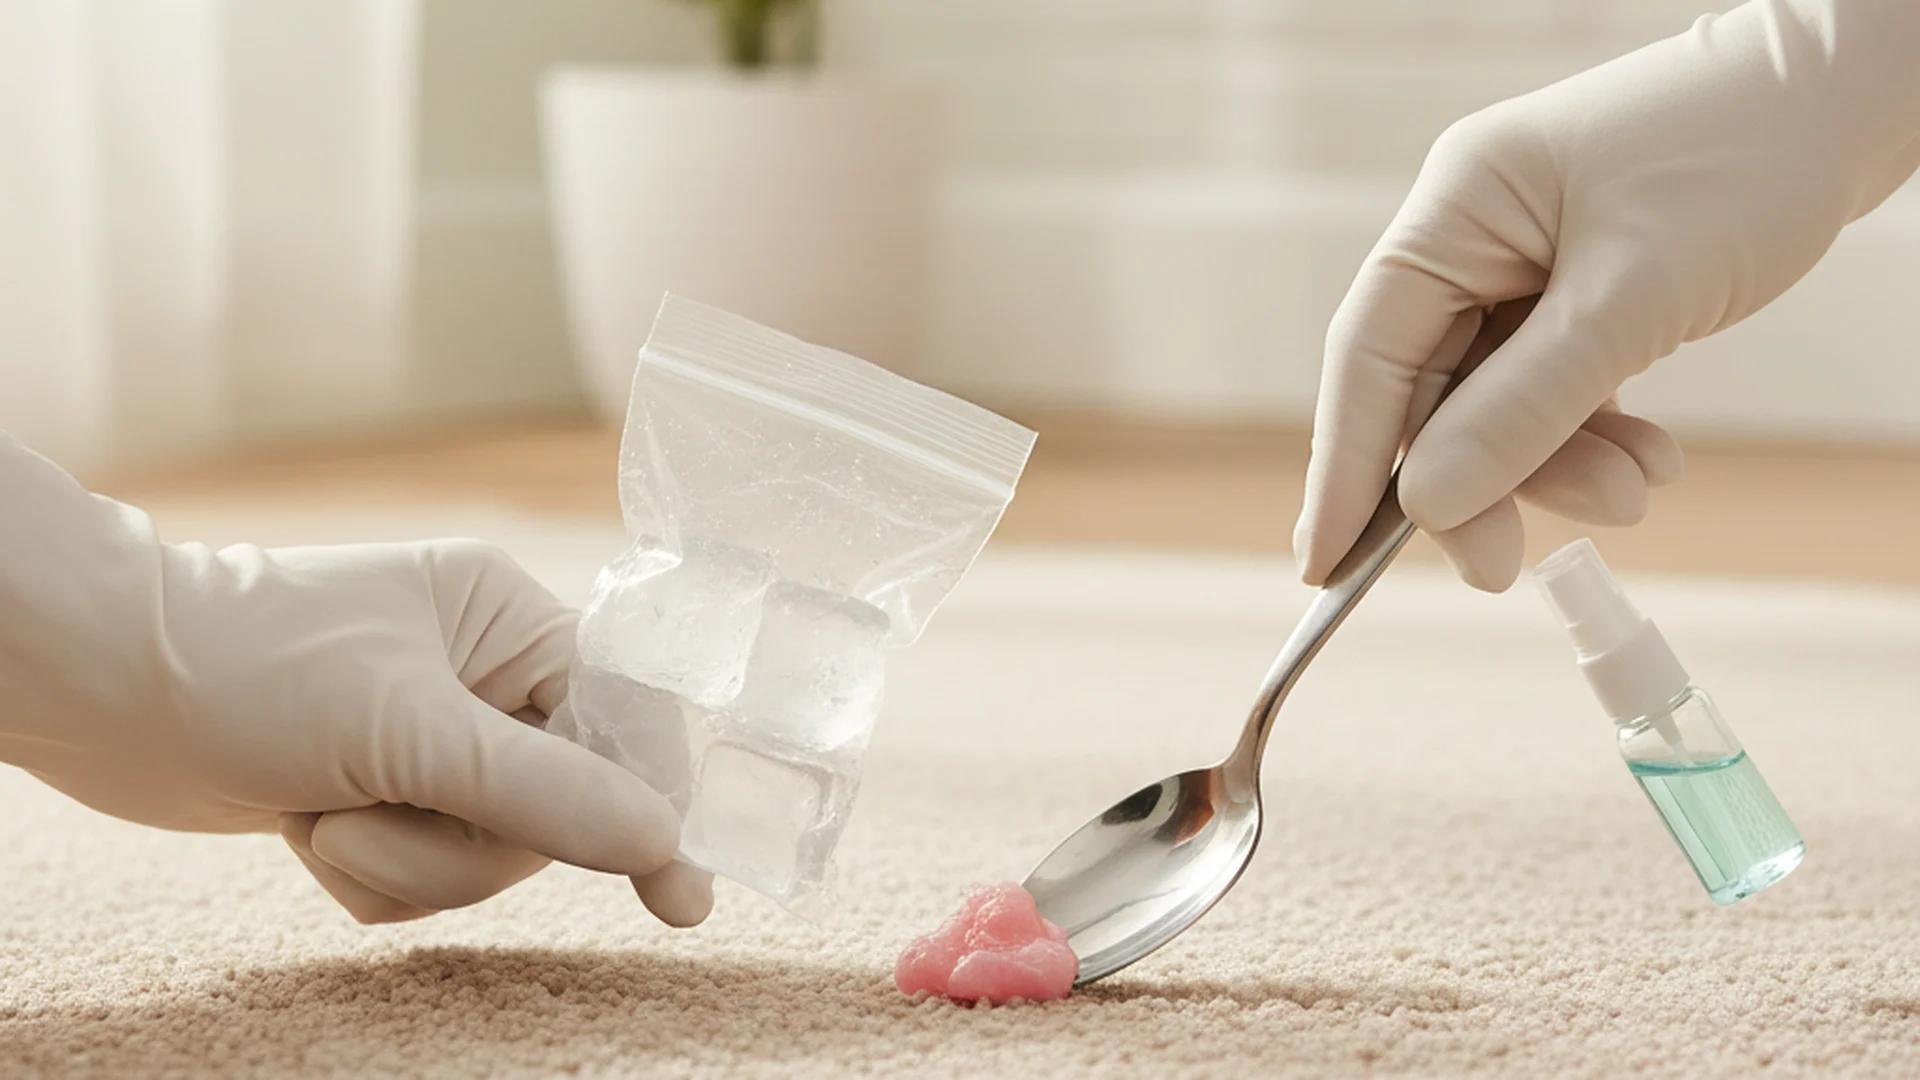
When it comes to floor coverings, the "Freeze-Scrape-Heat" method remains the gold standard. To successfully remove candle wax from carpet, you must resist the urge to rub the spill while it is still warm. Rubbing pushes the liquified wax deep into the "V" of the carpet fibers, where it can wrap around the base of the pile.
The Freeze-Scrape-Heat Process
- Harden the Wax: Place a plastic bag filled with ice cubes directly onto the wax spill. Leave it for 10 minutes until the wax is brittle and hard to the touch.
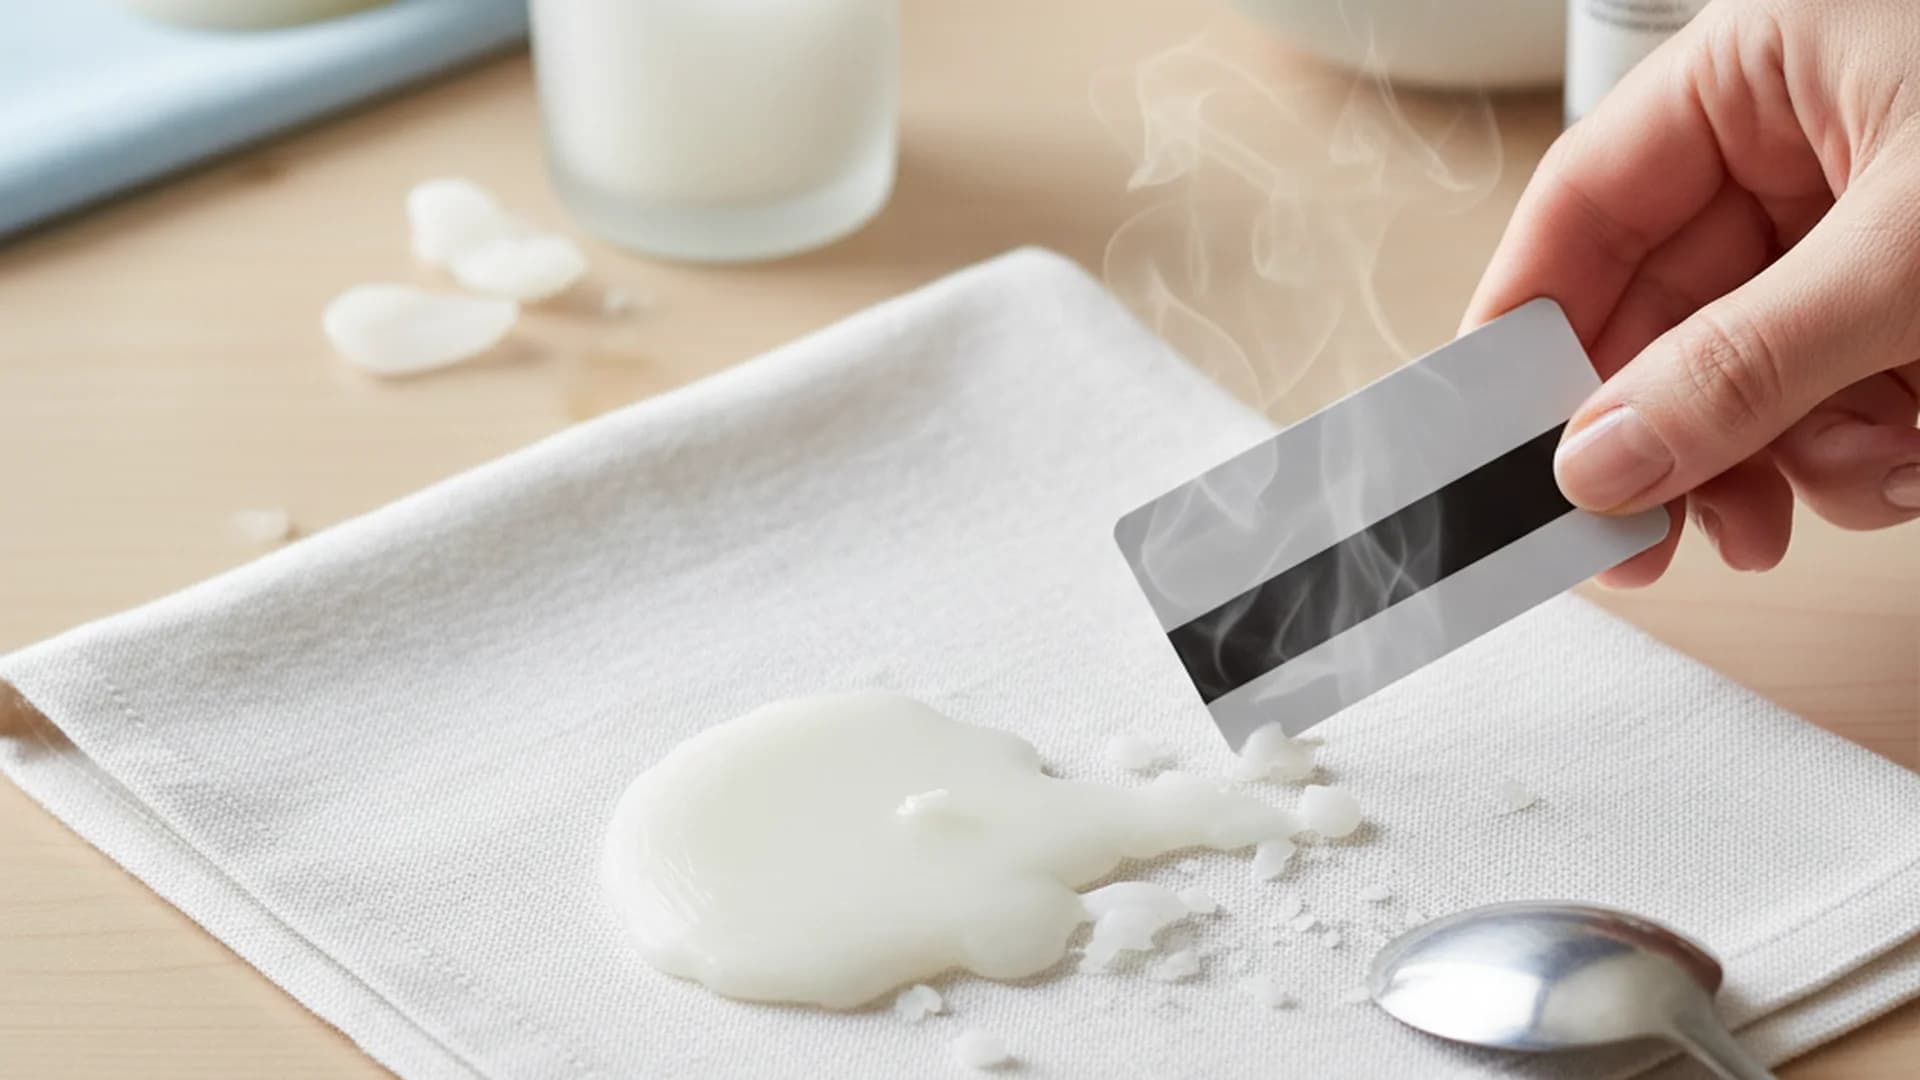
- Mechanical Removal: Using a dull tool like a butter knife or a plastic credit card, gently break the frozen wax into small pieces. Vacuum up these chunks immediately before they have a chance to soften.
- The Heat Transfer: This is where the magic happens. Place a plain brown paper bag or a white cotton towel over the remaining residue. Set your iron to a "Silk" or "Low" setting (ensure the steam is turned off). Gently run the iron over the paper. The wax will liquify and be absorbed by the paper.
- Dye Treatment: If the candle was colored, a dye stain will likely remain. Blot the area with a cloth dampened with 70% isopropyl alcohol.
Warning: Most modern carpets are made of synthetic fibers like nylon or polyester. If your iron is too hot, you risk melting the carpet fibers themselves, creating a permanent "singe" mark that cannot be cleaned.
How to Remove Candle Wax from Fabric
If you need to remove candle wax from fabric, such as a tablecloth or a piece of clothing, the approach is slightly different. Fabrics are more pliable than carpets, allowing for a more thorough "freeze" technique.
The Freezer Method
For smaller garments, the most effective tool is your kitchen freezer. Place the entire item in a bag and freeze it for at least an hour. Once frozen, take the garment out and "snap" the fabric. The wax should crack and flake off the surface with minimal effort.
Dealing with Oily Residue
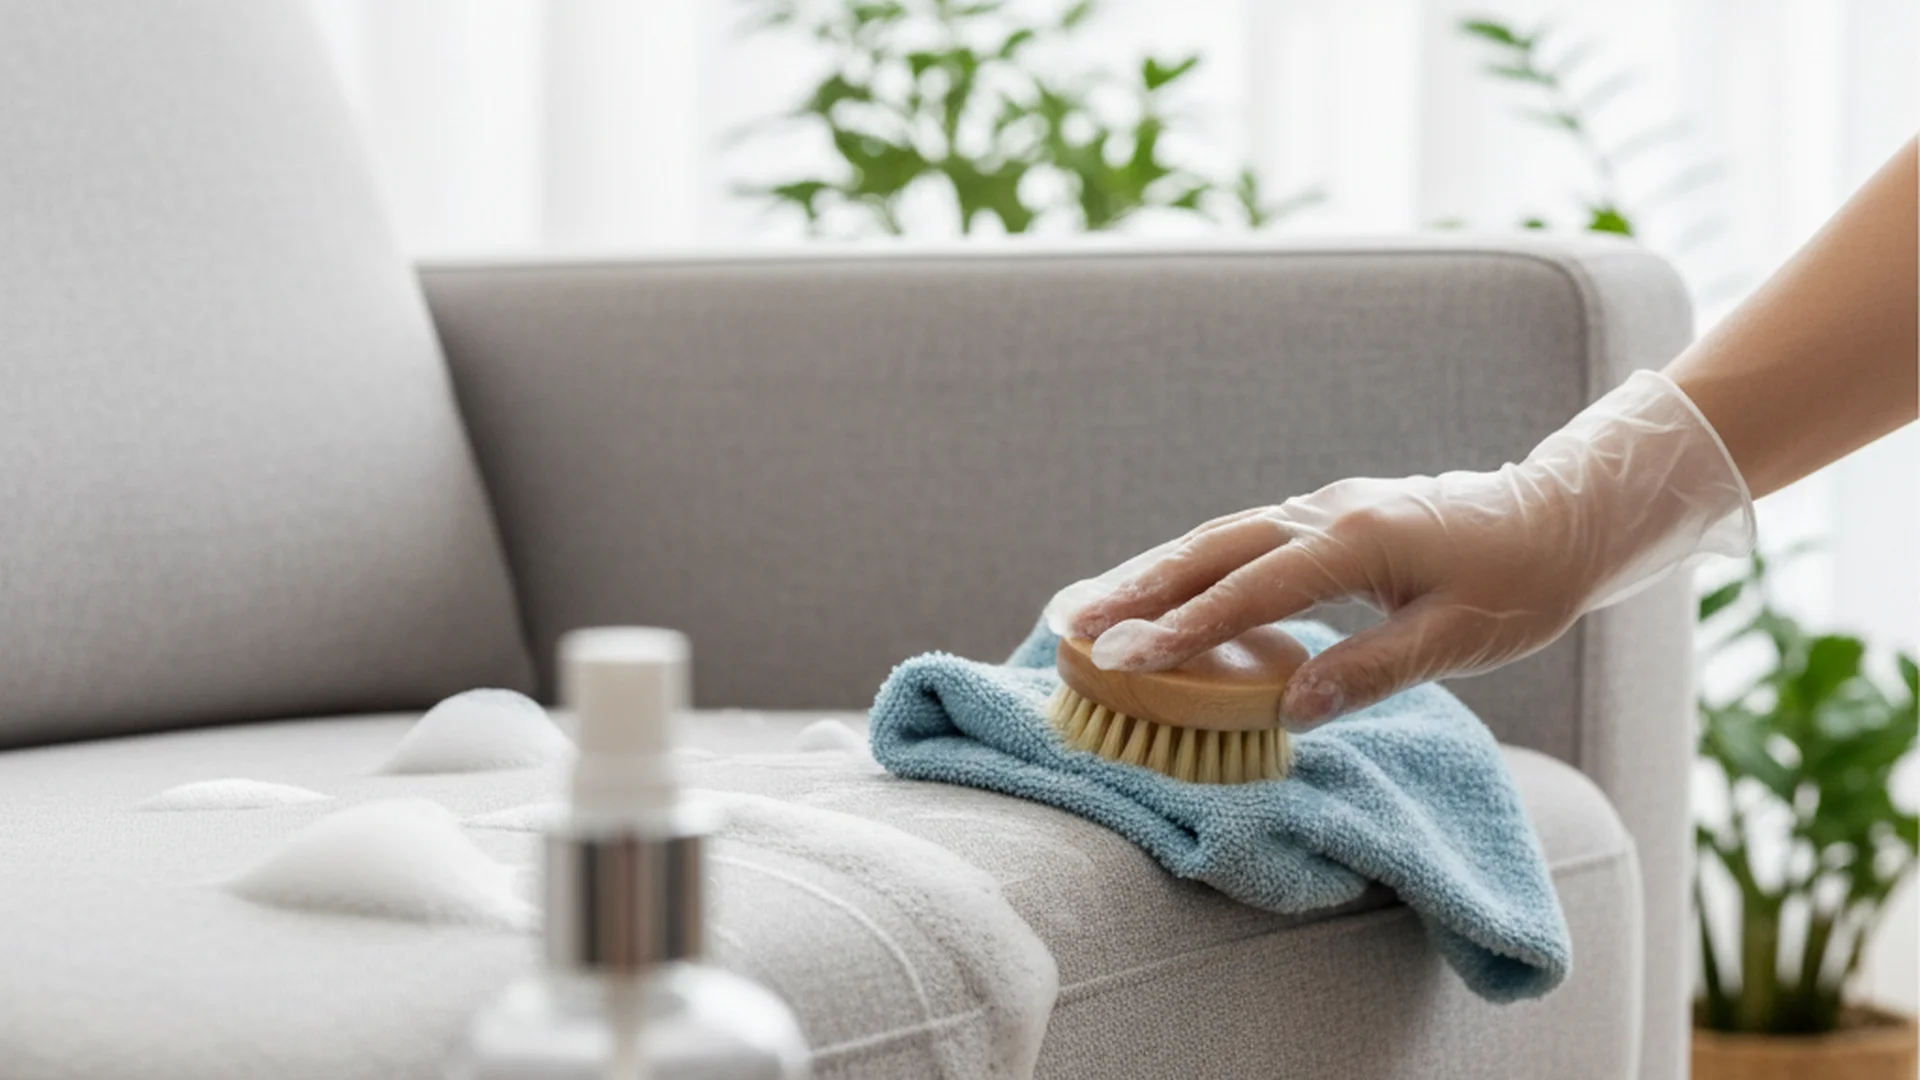
Once the solid mass is gone, you are often left with an oily ring. This is particularly common with the plant-based waxes popular in 2026. To treat this, apply a small amount of liquid dish soap directly to the spot and rub it in gently with your thumb. Let it sit for 15 minutes before laundering the item in the hottest water recommended on the care label.
Tip: Never put a garment in the dryer until you are 100% sure the wax and dye are gone. The high heat of a dryer will permanently set the oil and pigment into the fibers.
Protecting Hard Surfaces and Wood
Wood furniture requires the most delicate touch. Using a metal scraper or excessive heat can ruin the finish, leading to a much more expensive repair bill.
The Hairdryer Method for Wood
Instead of an iron, use a hairdryer on a low-to-medium setting. Hold it about 6 inches away from the wax. As the wax begins to soften and reach the consistency of peanut butter, use a soft microfiber cloth to wipe it away.
Success: For any lingering "foggy" residue on wood, a mixture of equal parts vinegar and water can help restore the shine without damaging the wax finish of the furniture itself.
Modern Trends in Wax Removal (2025-2026)
The cleaning industry has evolved significantly in the last year. If traditional methods aren't working, professional cleaners are now turning to these advanced technologies:
- Bio-Based Enzyme Cleaners: New 2026 formulations are designed specifically to break down the lipid chains in soy and coconut waxes. These are much safer for the environment than traditional petroleum-based solvents.
- Dry Steam Technology: Handheld dry steam cleaners use high-temperature, low-moisture steam to instantly melt wax. Because the steam is "dry," it doesn't over-saturate upholstery or carpet padding, preventing mold issues.
- Ultrasonic Cleaning: For delicate items like jewelry or ornate candle holders, small at-home ultrasonic cleaners use high-frequency sound waves to vibrate wax off the surface in seconds.
Common Mistakes to Avoid
Even with the right tools, a few simple errors can turn a minor spill into a permanent disaster. Avoid these common pitfalls:
- Using Printed Paper Towels: When using the ironing method, always use plain white towels or brown bags. The heat can transfer the decorative ink from a patterned paper towel directly onto your carpet or clothes.
- Rubbing Hot Wax: As mentioned, rubbing liquid wax only serves to embed it deeper into the grain or fiber. Always wait for it to cool or use ice to speed up the process.
- Applying Steam to Finished Wood: While steam is great for fabric, it can cause "blushing" on wood—a white, cloudy film that occurs when moisture gets trapped under the finish.
- Over-Reliance on Vinegar: While vinegar is a great surface cleaner, it will not dissolve solid wax. It should only be used as a final polishing step.
Frequently Asked Questions
Should I use heat or cold first?
Will an iron ruin my carpet?
How do I get the "color" out after the wax is gone?
Can I use a hairdryer instead of an iron?
Conclusion
Spilling wax doesn't have to mean the end of your carpet or your favorite outfit. By understanding the melting points of modern waxes and utilizing the "Freeze-Scrape-Heat" method, you can handle almost any spill with confidence. Remember to work from the outside in, stay patient with the cooling process, and always test a small, inconspicuous area before applying solvents or heat.
Success: With these professional techniques, your surfaces will be back to their original state in no time, leaving only the pleasant scent of your candles behind.
Cleaning that keeps score
Every task earns points, every streak multiplies them, and Premium adds a household leaderboard plus a monthly Dustagorgon to beat.
- Free forever
- 30 badges to earn
- Up to 6 in a household
No card needed. Set up your rooms in a couple of minutes.