In this article
What you’ll learn
- Understanding the "Passive Layer" is essential for long-term sink health.
- Baking soda and vinegar are the gold standards for safe, effective cleaning.
- Never use bleach or steel wool on stainless steel surfaces.
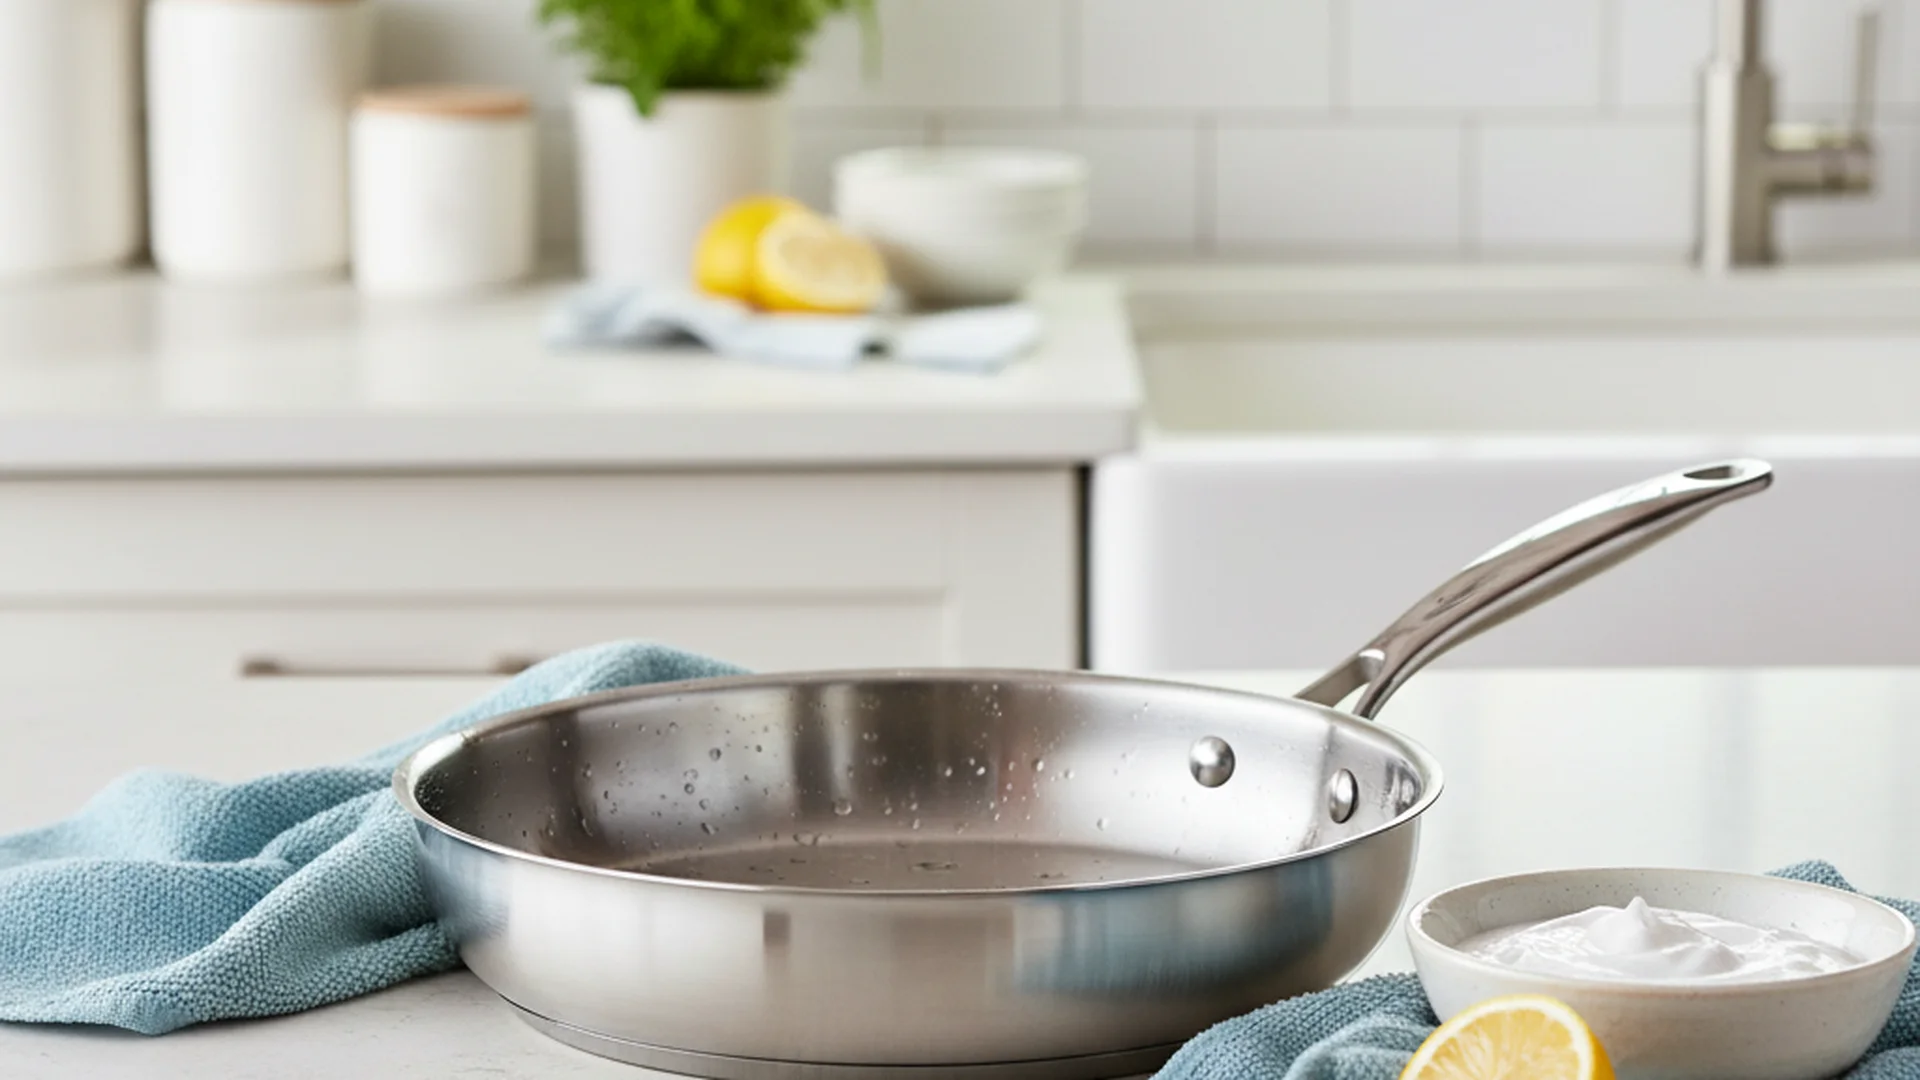
The kitchen sink is often called the "workhorse" of the home. From rinsing fresh produce to scrubbing heavy cast-iron skillets, it endures a relentless cycle of moisture, food debris, and chemical exposure. If you want your kitchen to remain hygienic and visually appealing, learning how to clean stainless sink surfaces properly is one of the most valuable skills you can acquire. While stainless steel is celebrated for its durability and sleek appearance, it is not invincible. Without the right care, that modern shine can quickly turn into a dull, spotted, or even "rusted" mess.
As a Domestic Efficiency Specialist, I have seen thousands of homeowners inadvertently damage their fixtures by using the wrong tools. However, a high-quality 304-grade sink that should last 30 years can have its lifespan cut in half by improper maintenance.
The Science of Stainless Steel: Why Cleaning Matters
To understand the best way clean stainless sink basins, you first need to understand the material itself. Stainless steel isn't just a solid block of rust-proof metal; it relies on a microscopic "Passive Layer" of chromium oxide. This film is what makes the steel "stainless." It is a self-healing barrier that protects the iron underneath from oxidizing.
However, this layer requires oxygen to remain healthy. When food particles, wet sponges, or mineral deposits are left sitting on the surface, they "suffocate" the steel. This leads to pitting and corrosion. Regular cleaning isn't just about aesthetics; it’s about allowing that chromium oxide layer to breathe and regenerate.
Note: Stainless steel is non-porous, meaning it is significantly more hygienic than mineral resin or plastic. It does not harbor bacteria like Staphylococcus aureus nearly as easily, provided the surface remains smooth and scratch-free.
Step-by-Step: The Best Way to Clean Stainless Sink Surfaces
For a standard weekly deep clean, you don't need harsh industrial chemicals. In fact, some of the most effective cleaners are already in your pantry.
Step 1: The Initial Rinse and Prep
Clear the sink of all dishes and food debris. Give the entire basin a thorough rinse with warm water to remove loose particles.
Step 2: The Baking Soda Scrub
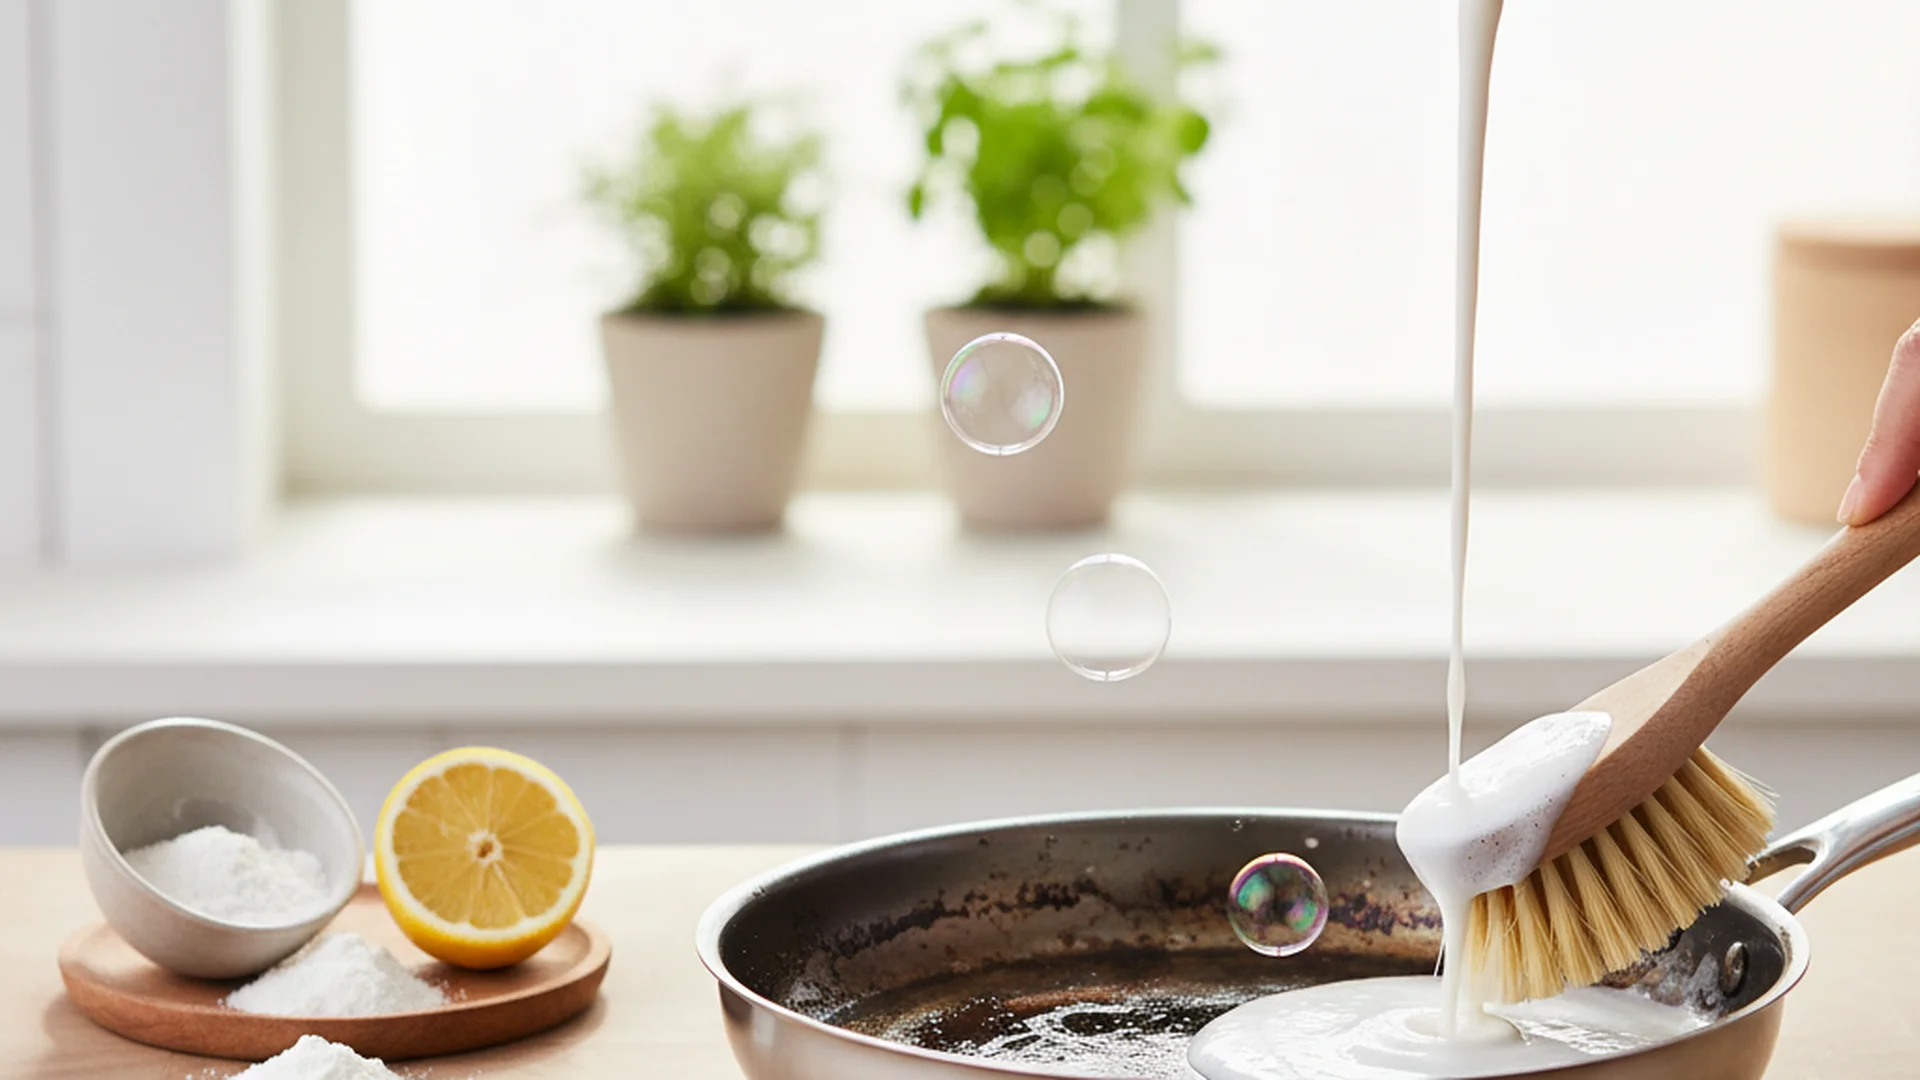
Dampen the surface of the sink and sprinkle a generous layer of baking soda over the bottom and sides. Baking soda is a mild abrasive that is tough enough to lift "cooked-on" grease but soft enough that it won't damage the finish.
Tip: Always scrub "with the grain." Just like wood, stainless steel has fine lines from the manufacturing process. Scrubbing in the direction of these lines ensures you don't create micro-scratches that trap bacteria.
Step 3: The Vinegar Rinse
Once you’ve scrubbed the sink, spray a 1:1 solution of white vinegar and water over the baking soda. The resulting "fizz" helps break down stubborn limescale and hard water spots. After a minute or two, rinse the entire sink thoroughly with clean water.
Step 4: Dry and Buff
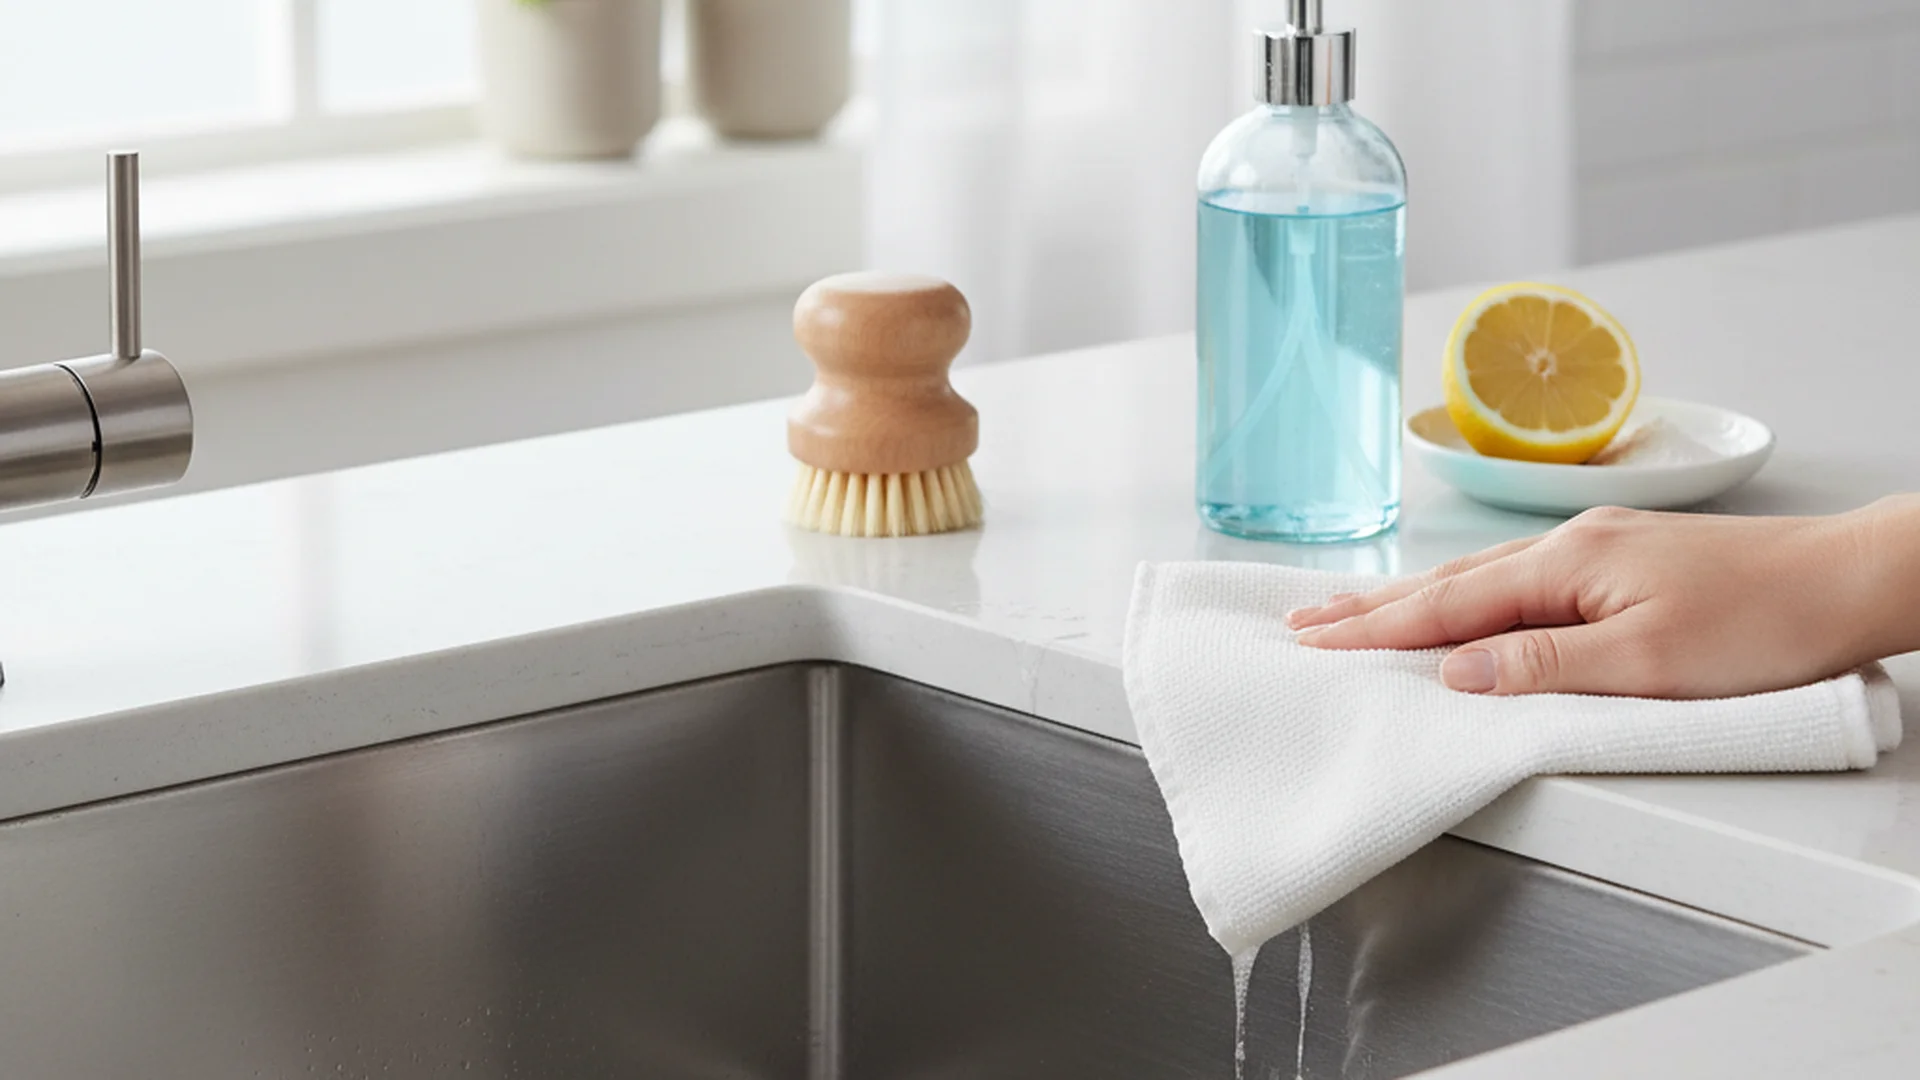
This is the step most people skip, but it is the most important. Use a clean microfiber cloth to dry the sink completely. Allowing tap water to air dry is the leading cause of white "cloudy" spots, as the minerals (calcium and magnesium) remain behind after the water evaporates.
Success: For a showroom-quality finish, apply two drops of olive oil or mineral oil to a dry cloth and buff the surface in the direction of the grain. This creates a hydrophobic barrier that repels water and prevents future spotting.
Real-World Examples of Sink Restoration
To illustrate why these methods matter, let’s look at three common scenarios encountered in modern kitchens:
- The "Old Apartment" Sink Restoration: A tenant moves into a rental where the sink has a thick, brown, "tea-stained" appearance. Many assume this is rust. In reality, it is often years of built-up tannin stains and grease. A 20-minute baking soda paste treatment usually restores these sinks to 90% of their original luster.
- The Hard Water Battle: In regions with high mineral content in the water, sinks often develop white, chalky rings around the drain. A homeowner who switched from daily air-drying to a "wipe-dry" routine with a microfiber cloth found that they only needed to deep clean once a month instead of every three days.
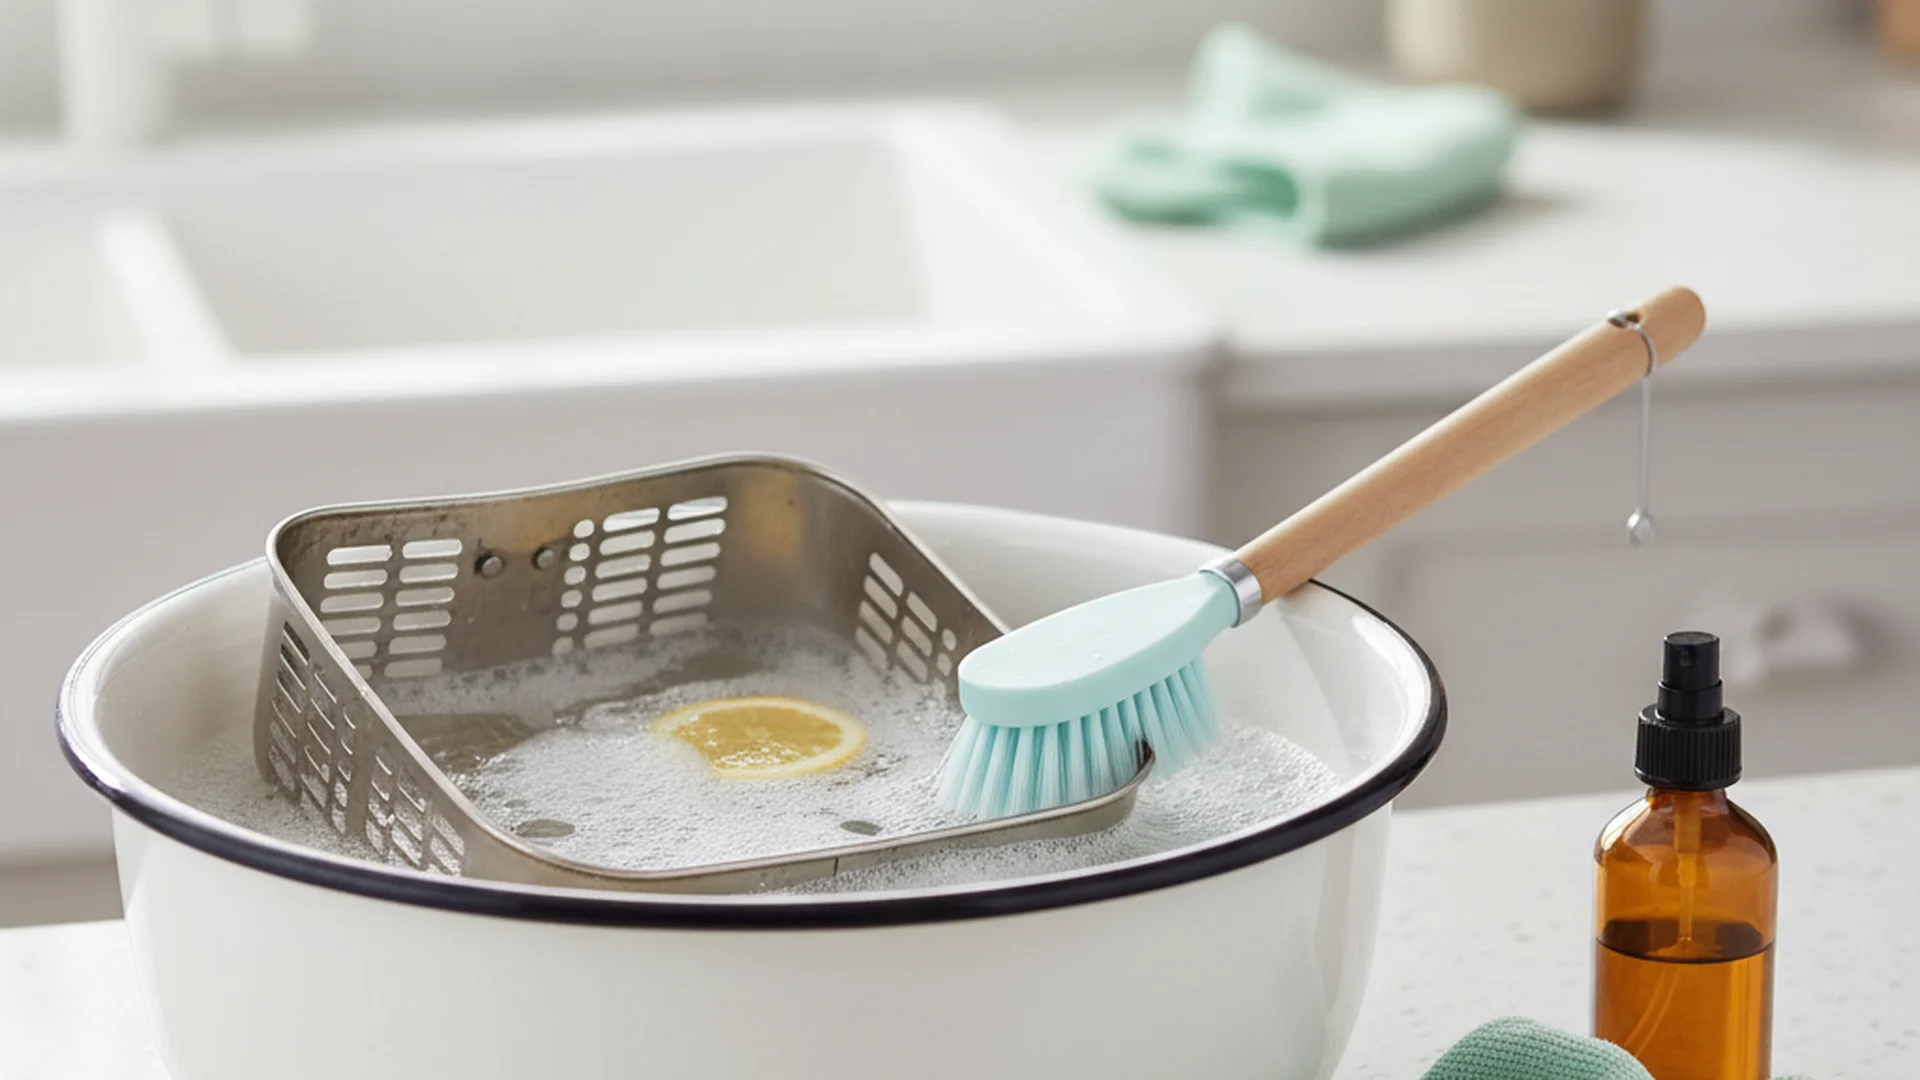
- The Post-Party Recovery: After a holiday dinner involving heavy pots and greasy pans, a sink can look battered. Using a stainless steel bottom grid (a professional recommendation) prevents the "metal-on-metal" contact that causes deep scratches during these high-use periods.
Emerging Trends: 2025–2026 and Beyond
As we move into 2025 and 2026, the technology behind kitchen fixtures is evolving. If you are renovating or upgrading, keep these trends in mind:
Nano-Coatings and Hydrophobic Technology
New "self-cleaning" sinks are hitting the market using Physical Vapor Deposition (PVD) and nano-coatings. These treatments cause water to bead up and roll off instantly, taking dirt with it. While these are highly efficient, they require specific care.
| Sink Type | Recommended Cleaner | Tools to Avoid |
|---|---|---|
| Standard 304 Steel | Baking Soda / Vinegar | Steel Wool, Bleach |
| PVD Colored Steel | Mild Dish Soap Only | Any Abrasive Paste |
| Nano-Coated Steel | Enzyme Cleaners | Scrub Brushes |
Eco-Friendly Enzyme Cleaners
The 2025 trend is shifting away from traditional surfactants toward enzyme-based cleaners. These use natural proteins to "eat" through grease and organic matter without disturbing the sink's protective patina or harming the environment.
Common Mistakes to Avoid
Even the most well-intentioned cleaning routine can go wrong if you use the wrong materials. Here are the "deadly sins" of stainless steel maintenance:
- The Bleach Blunder: Chlorine is the "kryptonite" of stainless steel. It aggressively attacks the chromium oxide layer and causes permanent pitting. Never use bleach to "sanitize" a stainless sink.
- Steel Wool Usage: Never use Brillo pads or steel wool. These leave behind tiny iron fibers that embed themselves in the sink and rust. This creates the illusion that your sink is rotting when it is actually just contaminated by the cleaning tool.
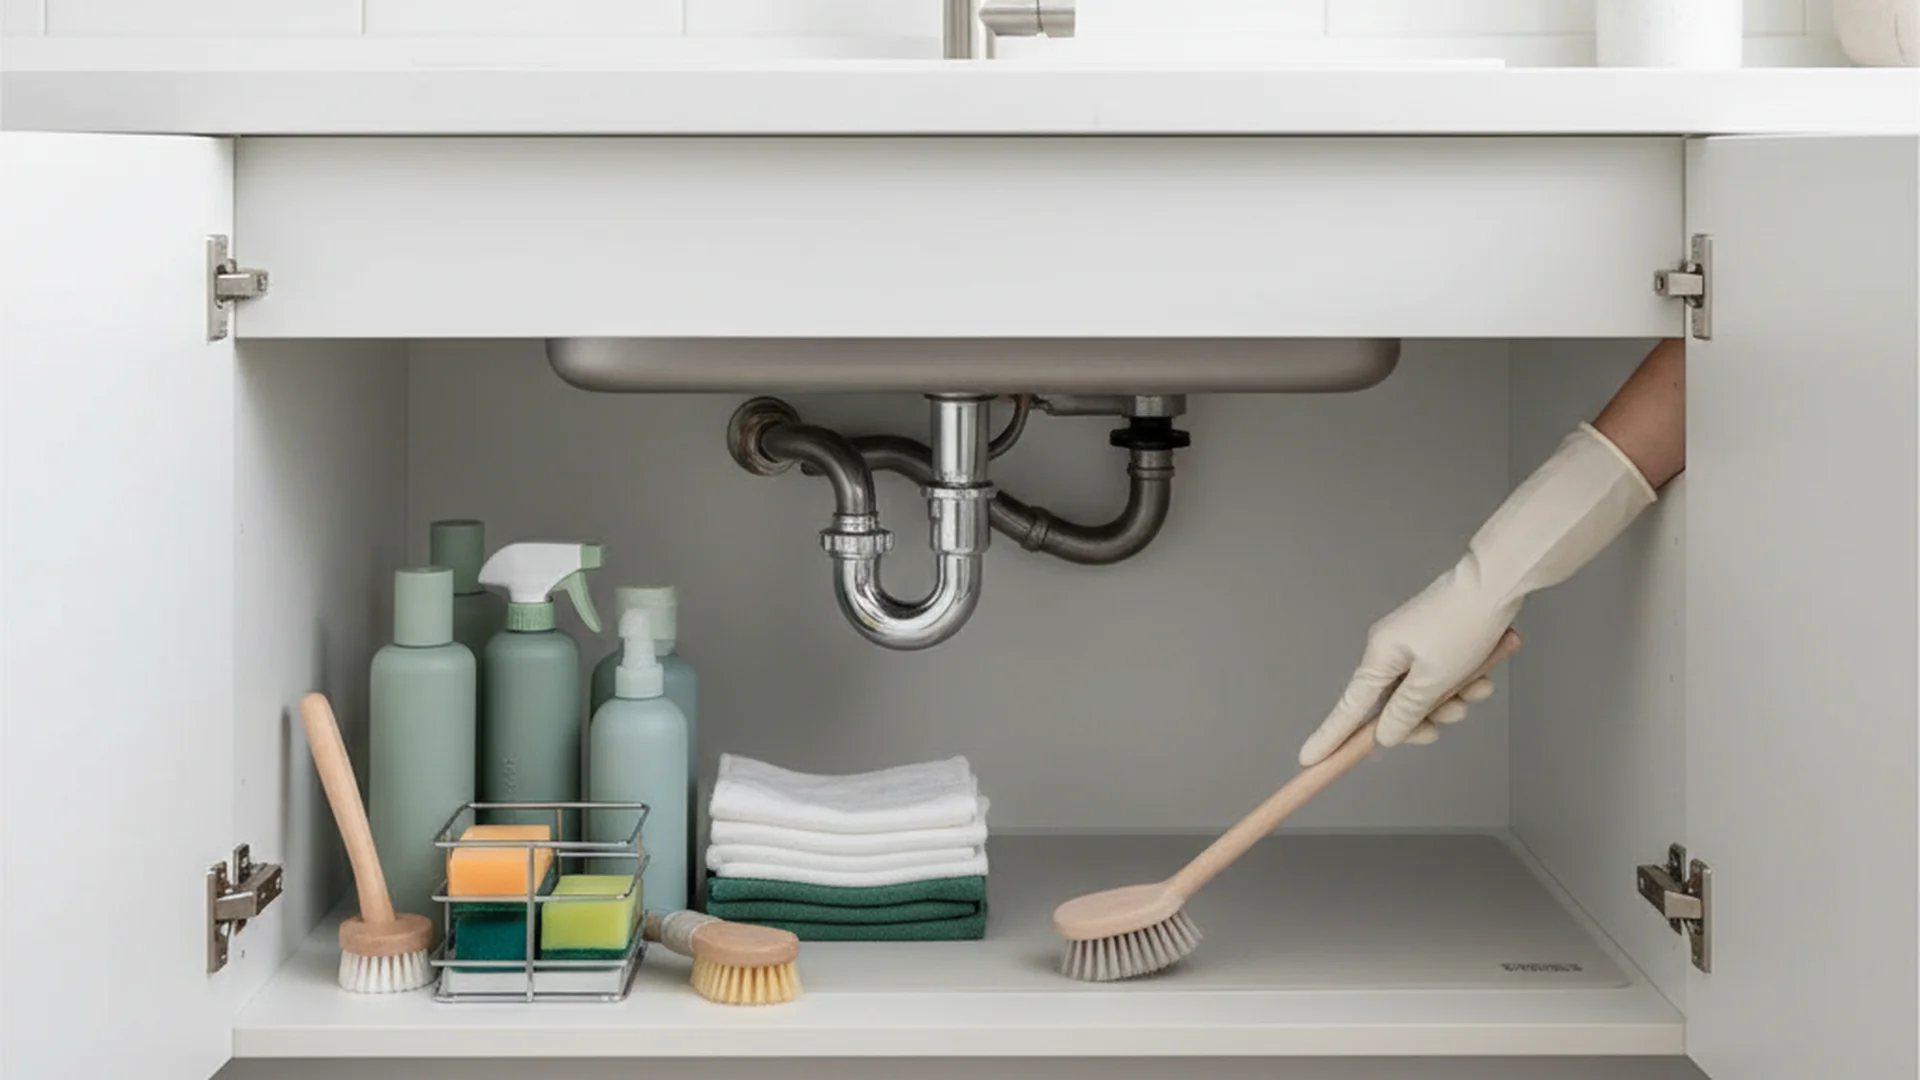
- Leaving Wet Sponges: A damp sponge or rubber mat trapped in the basin creates a moist environment that encourages bacterial growth and can lead to discoloration.
- Ignoring the Drain: The area around the drain flange is a hotspot for "brown tinges." Use an old toothbrush and baking soda to keep this tight seal clean.
Warning: Never mix vinegar and bleach. If you have recently used a bleach-based spray in your kitchen, ensure the area is thoroughly rinsed and ventilated before using vinegar.
Frequently Asked Questions
Can stainless steel sinks rust?
Is vinegar safe for stainless steel?
How often should I deep clean?
Why does my sink have a "cloudy" appearance?
Conclusion
Mastering how to clean stainless sink fixtures is about more than just a shiny surface; it is about protecting a significant investment in your home. By understanding the "passive layer," scrubbing with the grain, and avoiding the "bleach blunder," you can ensure your sink remains a hygienic and beautiful centerpiece of your kitchen for decades.
Success: Consistent drying after use is 90% of the battle. If you keep the surface dry, minerals can't build up, and the steel can protect itself.
Cleaning that keeps score
Every task earns points, every streak multiplies them, and Premium adds a household leaderboard plus a monthly Dustagorgon to beat.
- Free forever
- 30 badges to earn
- Up to 6 in a household
No card needed. Set up your rooms in a couple of minutes.