In this article
What you’ll learn
- Use a tiered cleaning approach from soapy water to oxalic acid cleaners.
- Never use bleach or steel wool, as they damage the protective chromium oxide layer.
- Avoid thermal shock and salting cold water to prevent warping and pitting.
Stainless steel is the undisputed workhorse of the modern kitchen. However, for many home cooks, the biggest hurdle is learning how to clean stainless steel pans effectively without damaging their "lifetime investment." Unlike non-stick pans that lose their coating within a few years, a well-maintained stainless steel pan can last for over two decades, provided you know the right techniques to keep it pristine.
Understanding Your Cookware
Before we dive into the scrubbing, it is essential to understand what makes your pans special. High-quality stainless steel, such as that produced by brands like All-Clad or Heritage Steel, is typically labeled as 18/10. This signifies a composition of 18% chromium and 10% nickel.
The chromium is the secret ingredient; it reacts with oxygen to form an invisible, self-healing layer of chromium oxide. This is the "protective shield" that prevents rust and corrosion. However, this layer is not invincible. Harsh chemicals and abrasive tools can strip it away, leaving your pan vulnerable.
Note: The "10" in 18/10 steel (nickel) is what provides that mirror-like luster and helps the pan resist stains and corrosion over years of heavy use.
The Daily Cleaning Routine
The best way clean stainless steel pans on a day-to-day basis is to keep it simple. If you haven’t scorched the surface, a gentle touch is all you need to maintain the factory shine.
Step 1: The Cool Down
Never transition a pan directly from a hot burner to a cold sink. This results in thermal shock, which can cause the metal to warp. A warped pan will not sit flat on glass-top or induction stoves, leading to uneven cooking.
Step 2: Warm Soapy Water
Use a mild dish soap and a non-abrasive sponge. While many manufacturers claim their pans are "dishwasher safe," professional cleaning consultants recommend hand-washing. Modern dishwasher detergents are often highly abrasive and can dull the finish or lead to "pitting" over time.
Step 3: Immediate Drying
This is the most overlooked step. To prevent water spots caused by minerals in your tap water, dry the pan immediately with a microfiber cloth.
Tip: If you already have white, cloudy spots on your pan, these are calcium deposits. A quick wipe with a cloth dipped in white vinegar will dissolve them instantly.
How to Remove Burnt-On Food: The Tiered Approach
Sometimes, a simple sponge isn't enough. Whether you’ve seared a steak or reduced a balsamic glaze a little too far, burnt-on carbonized food requires a more strategic approach.
The "Boil-Out" Method
This is the safest way to tackle heavy residue without using harsh chemicals.
- Fill the pan with enough water to cover the burnt area.
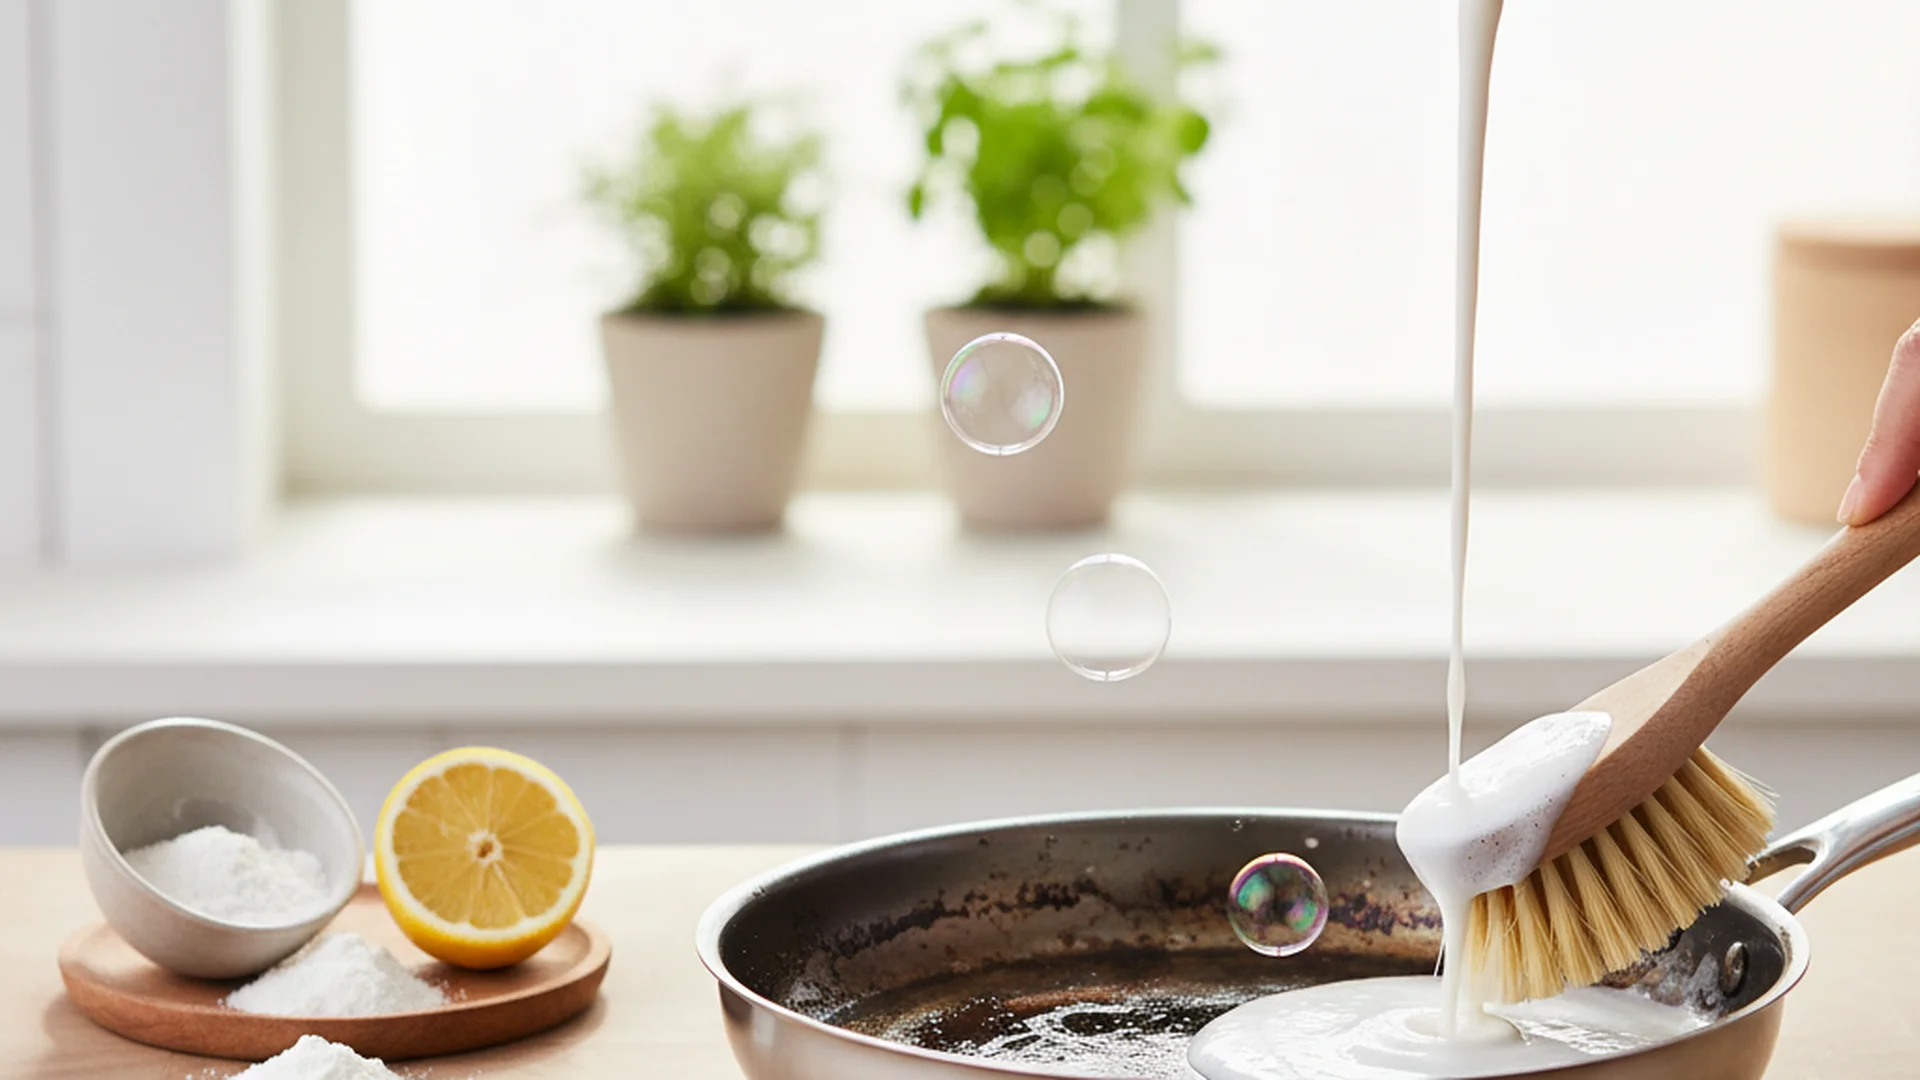
- Add 2 tablespoons of baking soda.
- Bring the water to a boil and let it simmer for 15 minutes.
- Use a wooden spoon to gently scrape the loosened food bits.
The Professional Gold Standard: Bar Keepers Friend
If the boil-out method fails, it’s time to use Bar Keepers Friend. This cleaner is a staple in professional kitchens because it contains oxalic acid. Unlike bleach, which attacks the metal, oxalic acid works at a molecular level to break the bonds of burnt-on grease and mineral deposits.
Success: Applying Bar Keepers Friend as a paste for just 60 seconds can restore a pan that looks "ruined" to its original showroom condition.
| Method | Best For | Effort Level |
|---|---|---|
| Soapy Water | Daily grease | Low |
| Baking Soda Boil | Burnt-on proteins | Medium |
| Vinegar Soak | Rainbow stains/Heat tint | Low |
| Bar Keepers Friend | Heavy carbonization/Scuffs | High |
Common Mistakes to Avoid
Even seasoned home cooks often fall into traps that can permanently damage their cookware. As a professional cleaning consultant, I see these four mistakes most frequently:
- Using Bleach: Chlorine is the natural enemy of stainless steel. It causes chemical pitting that eats through the chromium oxide layer.
- Steel Wool: It’s tempting to grab a Brillo pad, but steel wool creates micro-scratches. These scratches trap food particles and bacteria, making the pan more likely to stick in the future.
- Salting Cold Water: If you add salt to a pot of cold water before it boils, the undissolved salt crystals sit on the bottom and cause "pitting"—small, permanent white dots. Always wait for a rolling boil before salting.
- The Thermal Shock Trap: As mentioned, plunging a hot pan into cold water is the fastest way to ruin a high-end 5-ply pan.
Warning: Chemical pitting caused by bleach or salt is permanent and cannot be polished out.
2025 Trends: The Future of Stainless Care
As we move into 2026, the way we maintain our kitchens is shifting toward "Clean Cleaning" and high-tech solutions.
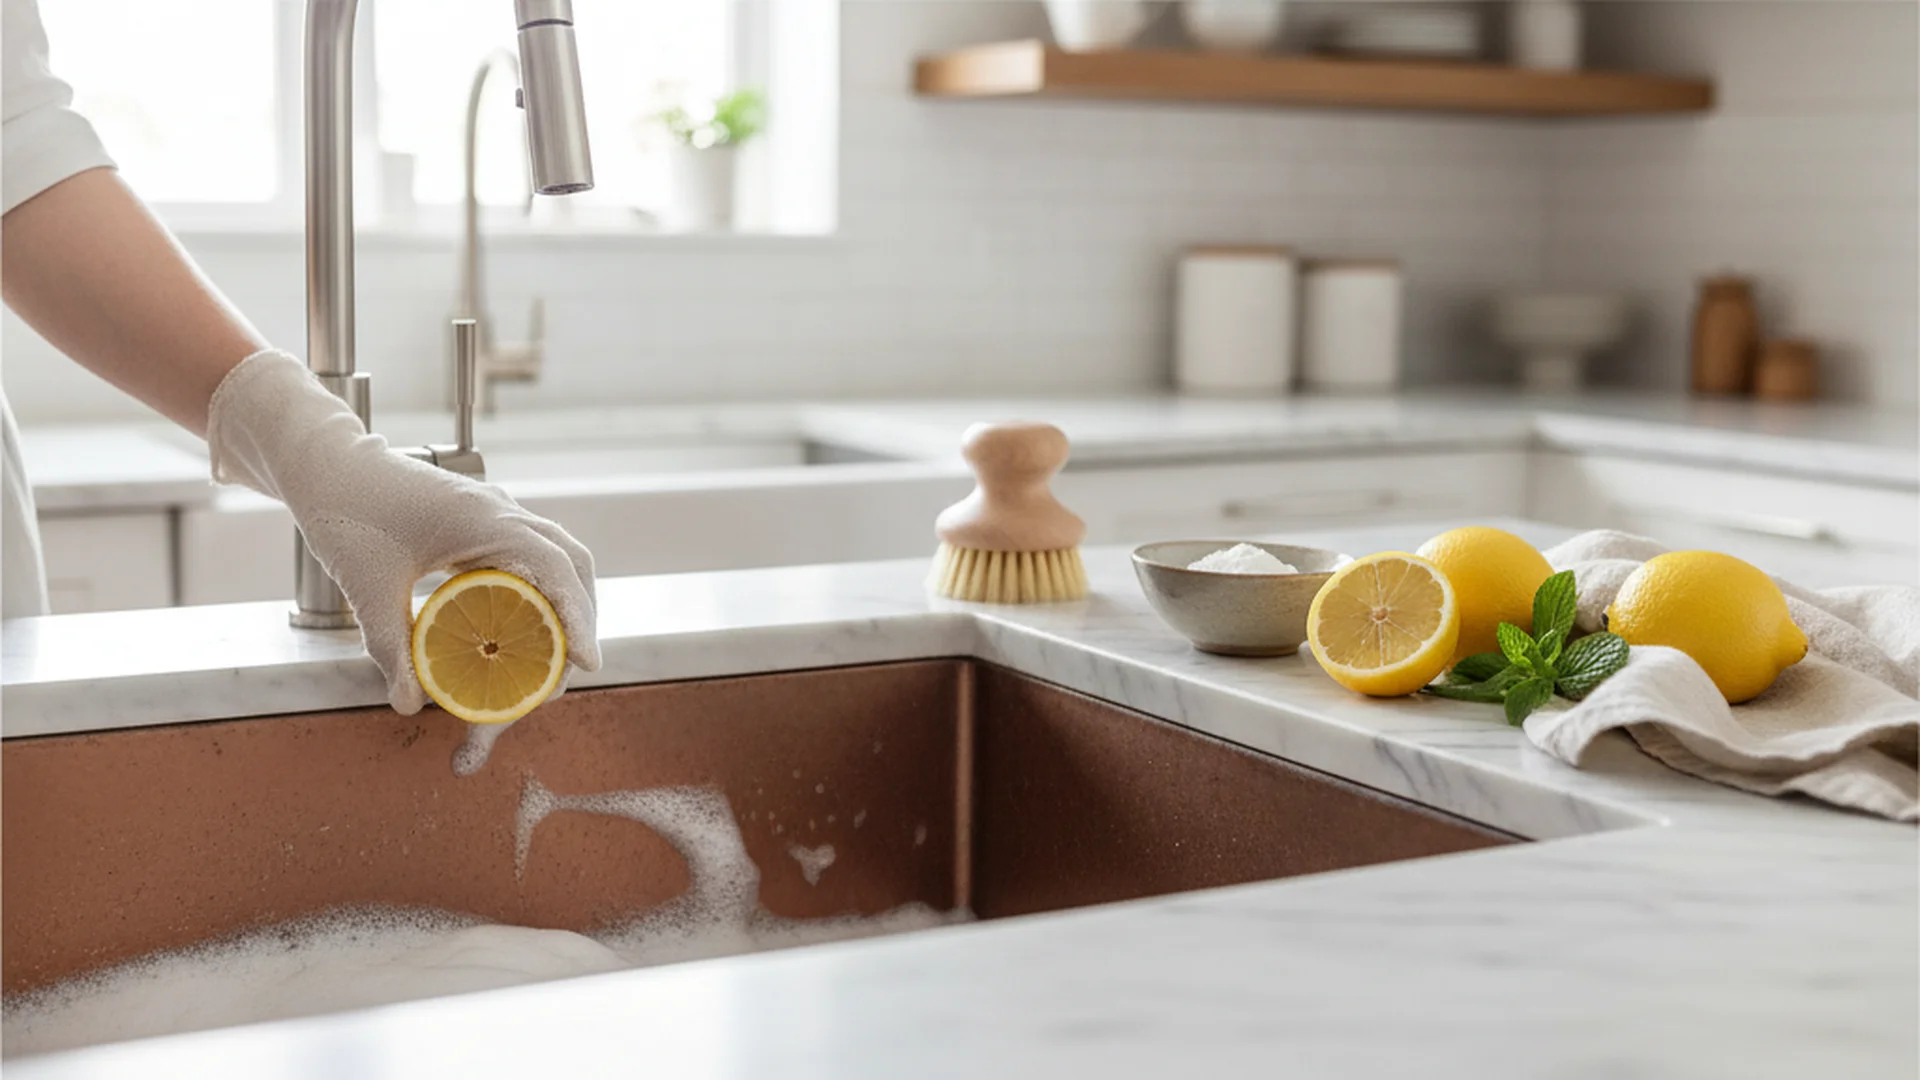
- TikTok "Hacks" and Non-Toxic Cleaning: There is a massive trend toward avoiding specialized chemicals. A mixture of lemons and coarse salt has become a popular natural abrasive for Gen Z cooks looking to maintain their pans without store-bought cleaners.
- Ultrasonic Home Cleaners: In 2026, we are seeing the rise of consumer-grade ultrasonic tanks. These devices use high-frequency sound waves in a water bath to "shake" carbonized grease off heirloom cookware, restoring it without any physical scrubbing.
- Induction Compatibility: With the global shift toward induction cooking, maintaining a perfectly flat pan base is more critical than ever. This has led to a renewed emphasis on avoiding high heat and thermal shock.
Real-World Examples
Example 1: The "Heirloom" Restoration
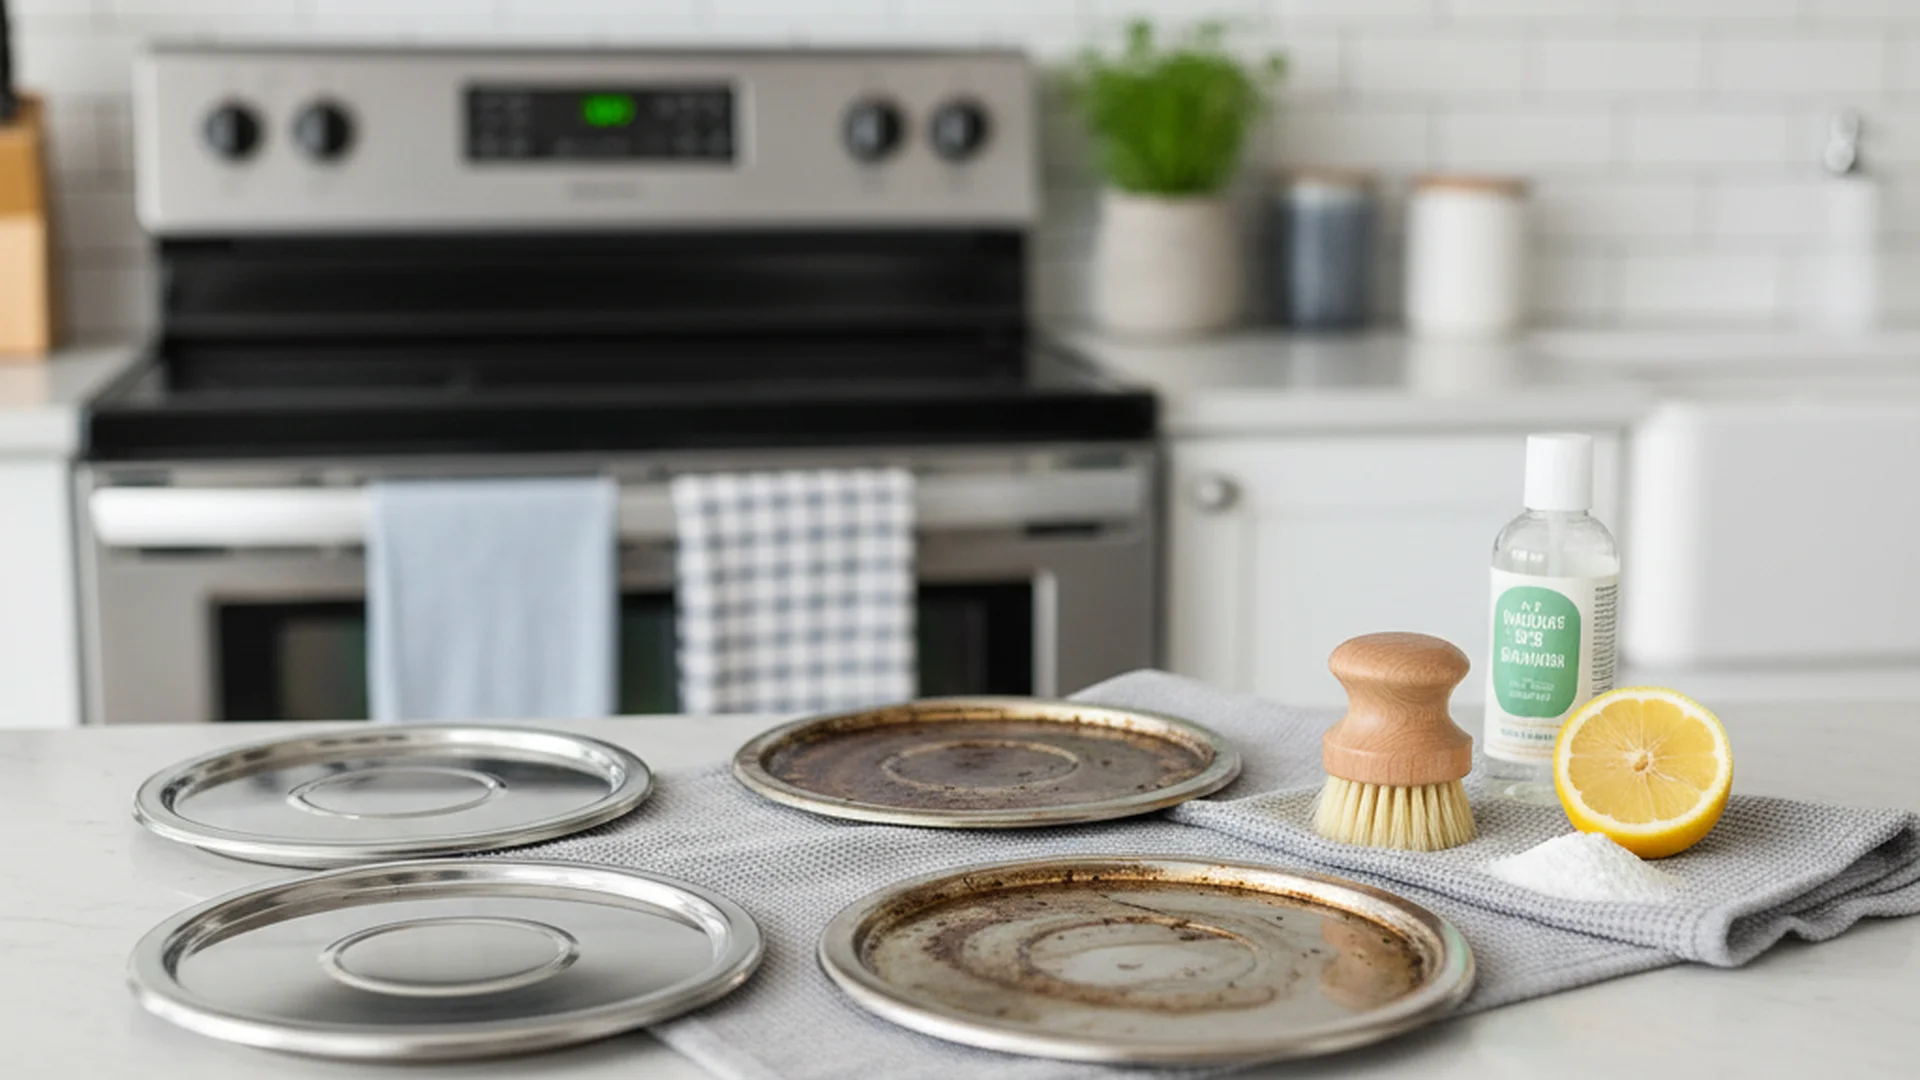
I recently consulted for a client who had inherited a set of 1990s-era stainless pans that were black with 30 years of carbonized grease. By using the Bar Keepers Friend paste method combined with a non-scratch scrub pad, we were able to reveal the original 18/10 luster. They look and perform exactly like a brand-new $800 set.
Example 2: The Rainbow Tint Mystery
A common complaint from new stainless users is a "rainbow" oil-slick look on the bottom of the pan. One client thought the metal was melting. In reality, this is just heat tint. A 30-second wipe with a splash of vinegar removed the tint immediately, proving that the pan wasn't damaged, just "reacting" to the heat.
Frequently Asked Questions
Why does food stick to my stainless steel pan?
Can I use a dishwasher for my pans?
How do I get rid of the white cloudy spots?
Is it okay to use a green scrubby pad?
Conclusion
Mastering how to clean stainless steel pans is the key to unlocking the full potential of your kitchen. By avoiding the "thermal shock trap," shunning bleach, and keeping a canister of Bar Keepers Friend on hand, you ensure that your cookware remains a high-performing asset for decades to come. Whether you are using traditional 3-ply pans or the latest ceramic-reinforced hybrids of 2026, the principles of gentle care and scientific cleaning remain the same.
Success: Regular maintenance prevents the build-up of the "invisible film" of oils that causes food to stick, making your cooking experience smoother and more professional.
Cleaning that keeps score
Every task earns points, every streak multiplies them, and Premium adds a household leaderboard plus a monthly Dustagorgon to beat.
- Free forever
- 30 badges to earn
- Up to 6 in a household
No card needed. Set up your rooms in a couple of minutes.