Key Takeaways
- Clean and inspect for leaks every 3 to 6 months to avoid high repair costs.
- Never store food or small appliances in the high-moisture under-sink environment.
- Transition to sustainable materials like bamboo and glass for a low-tox home.
In many homes, the dark cavern beneath the basin is a "out of sight, out of mind" zone. However, learning how to clean under kitchen sink properly has become a vital part of modern home maintenance in 2025. This area is one of the most neglected yet high-risk zones in a household, subject to constant vibrations from daily use—roughly 10 to 12 times a day—and the ever-present threat of moisture.
Beyond just tidying up, the best way clean under kitchen sink involves a shift toward "preventative maintenance." With water damage restoration costs now averaging between $2,000 and $6,000, a proactive cleaning routine is your best defense against expensive cabinet rot and mold.
Why Under-Sink Hygiene Matters in 2025
While we often focus on the surfaces where we prepare food, the area beneath the sink is a biological hotspot. Research indicates that a kitchen sponge, often stored in this damp environment, can be 200,000 times dirtier than a toilet seat if not allowed to dry properly. Furthermore, mold can begin to colonize damp cabinet surfaces within a mere 24 to 48 hours of a leak or high-moisture event.
The modern kitchen is also more complex than it used to be. With the rise of smart sink integrations, including touchless faucets and UV-sanitizing systems, the under-sink area now houses delicate electronics and battery packs that require a clean, dry environment to function safely.
The Step-by-Step Cleaning Workflow
To achieve a professional-level clean, follow this structured workflow. It is designed to minimize mess and maximize the lifespan of your plumbing and cabinetry.
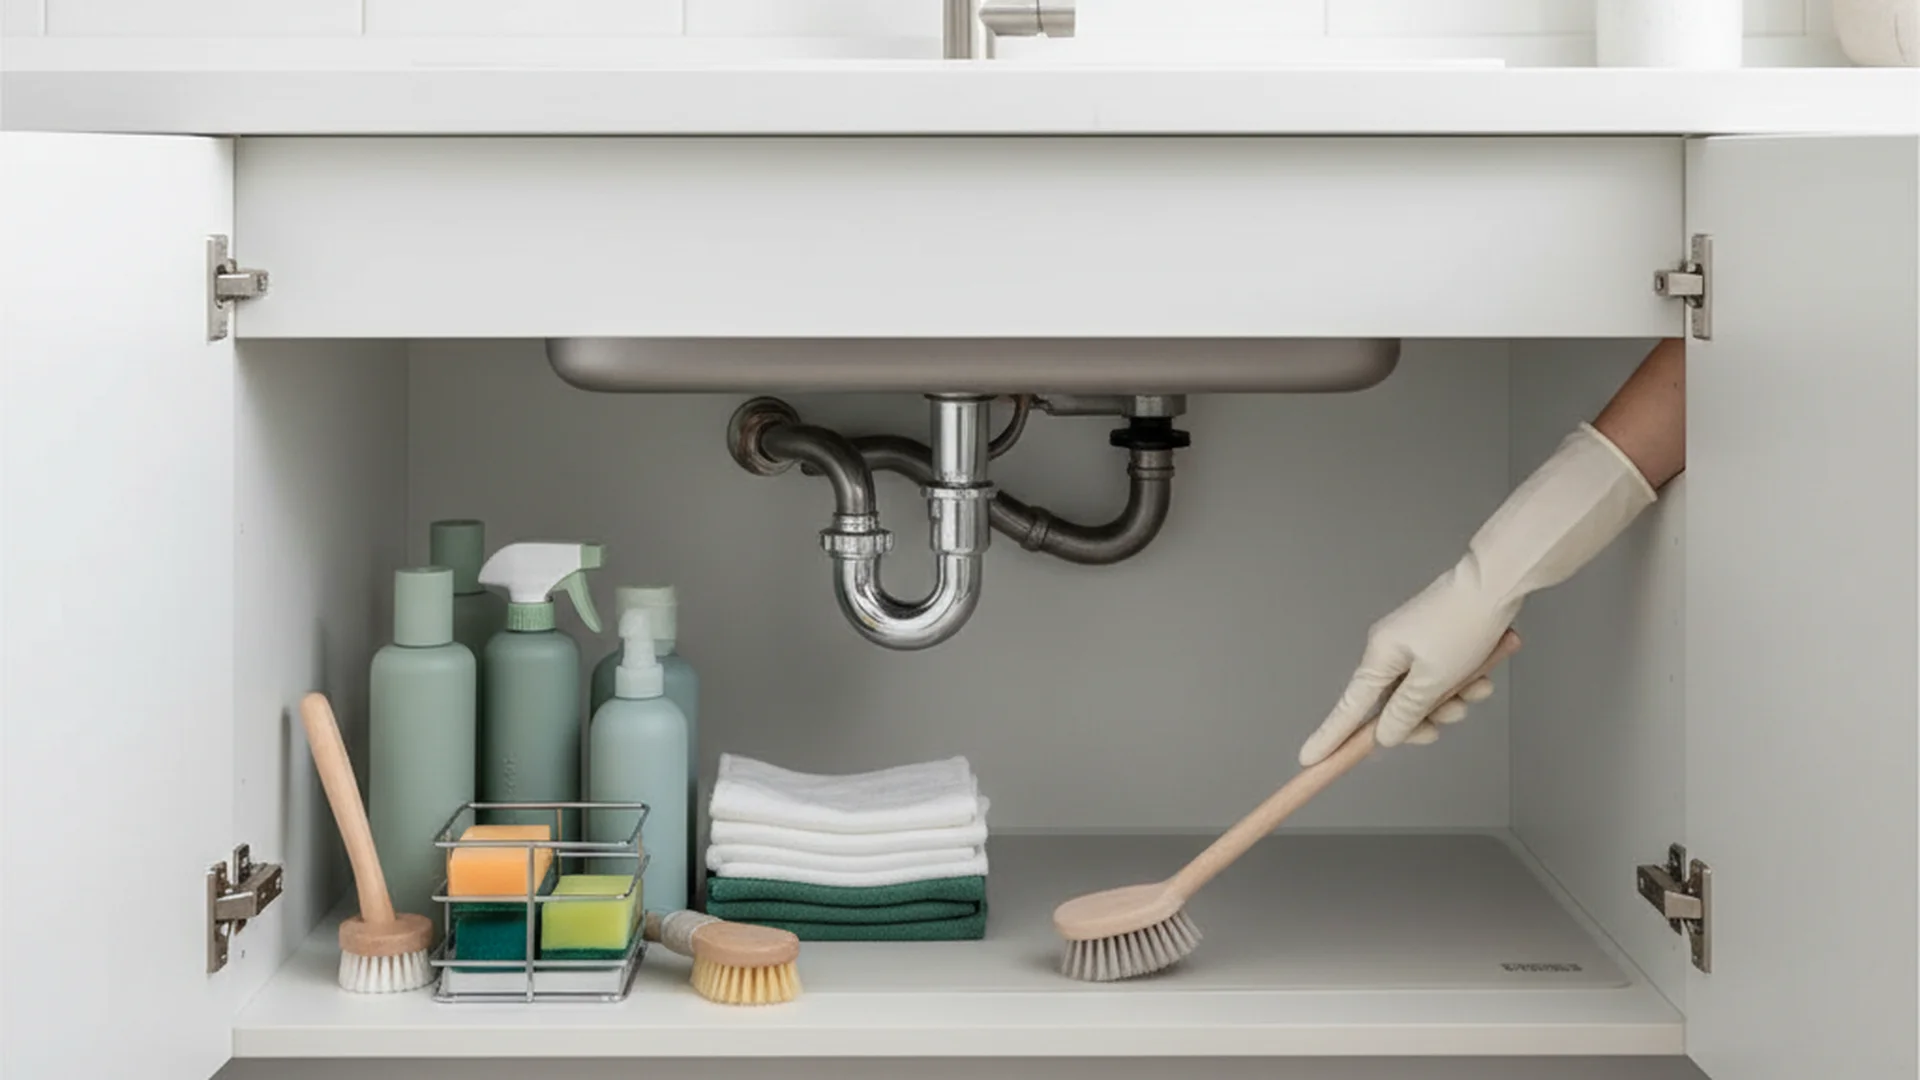
Step 1: The Total Empty and Declutter
Start by removing every single item. You cannot effectively clean or inspect the area if you are simply moving bottles from one side to the other. This is the time to check expiration dates on cleaning products and consolidate half-empty bottles.
Step 2: The "Dry Dust" First Rule
Before you reach for a wet rag, use a vacuum with a wand attachment. This removes crumbs, pet hair, dust, and spider webs. If you apply a wet cleaner directly to a dusty surface, you create a "wet sludge" that is much harder to scrub and can push grime into the corners of the cabinet joints.
Step 3: Deep Inspection and Leak Check
With the cabinet empty, inspect the P-trap, shut-off valves, and supply lines. Look for "sweating" (condensation) or actual drips.
Real-World Example: Sarah, a homeowner in Seattle, noticed a slight discoloration on her cabinet floor during her quarterly clean. By catching a slow "weeping" valve early, she spent $150 on a plumber instead of $3,500 on a full cabinet floor replacement later that year.
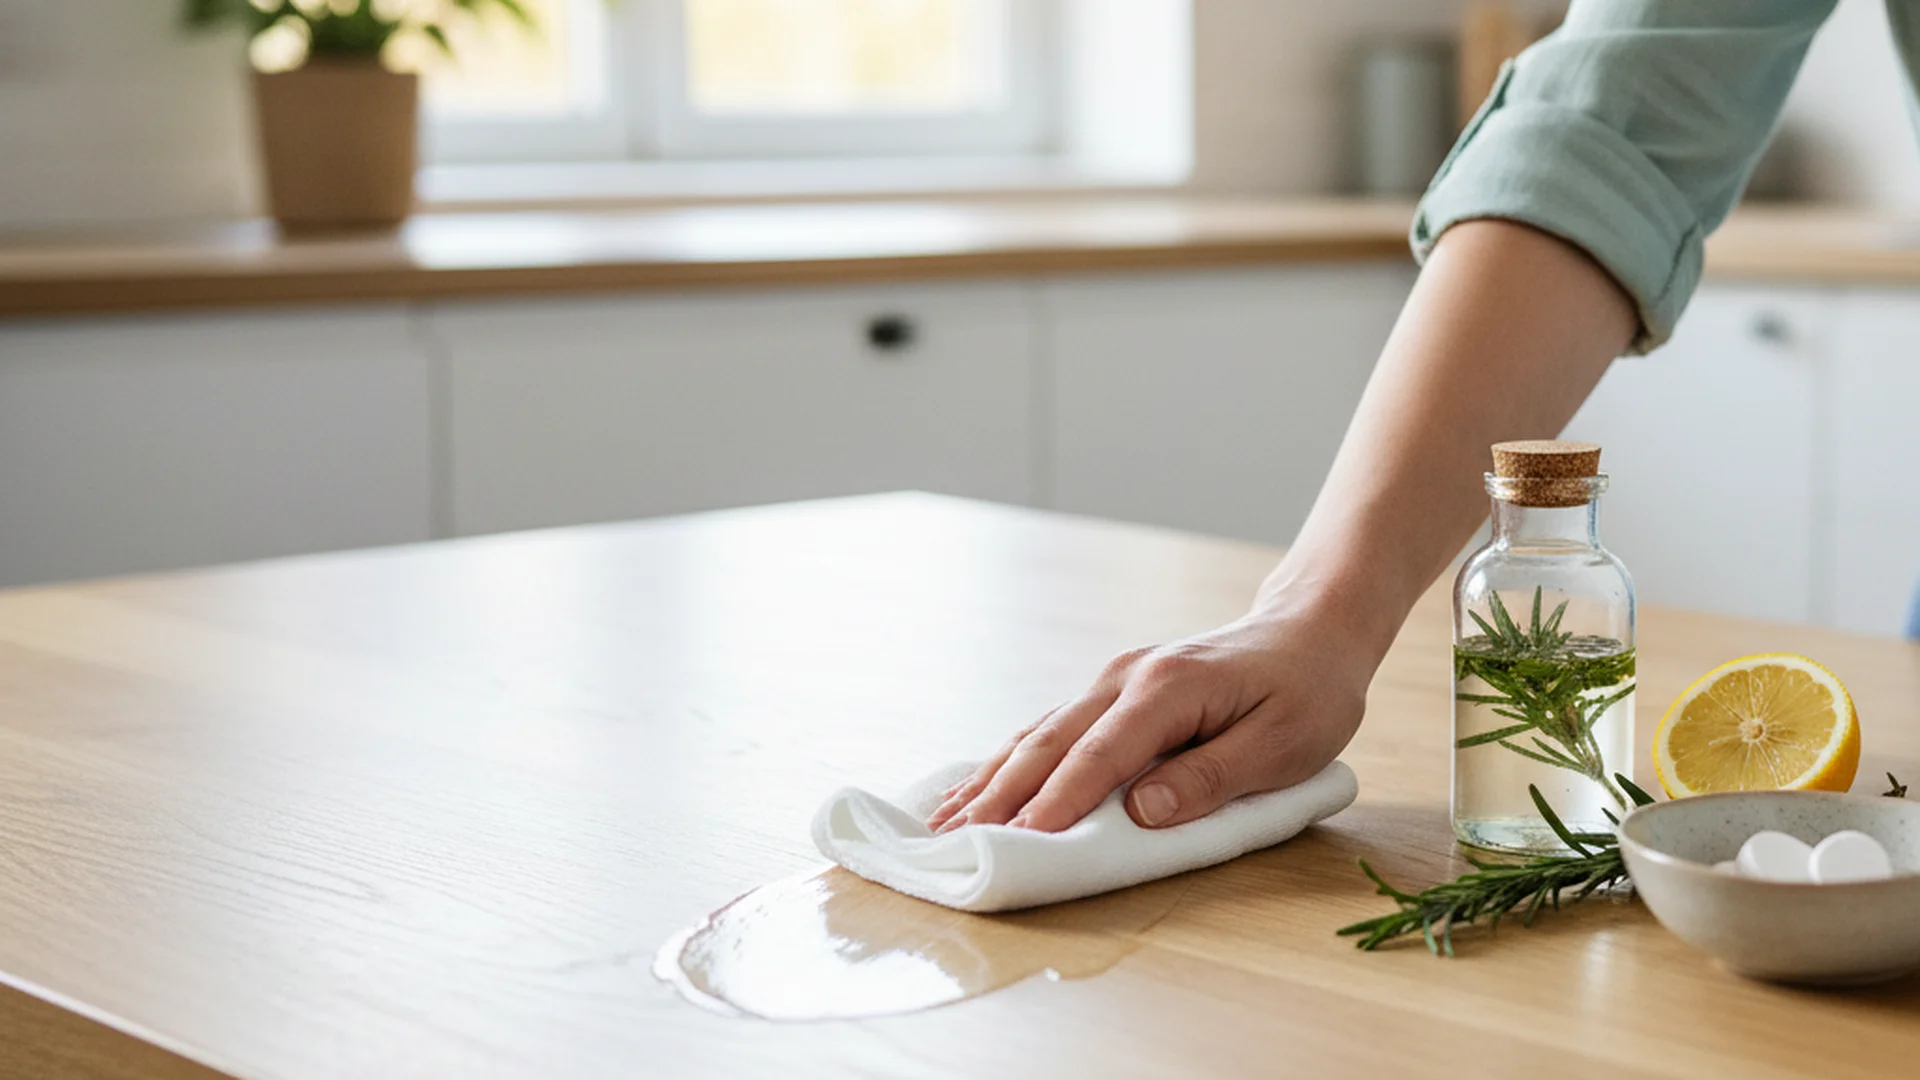
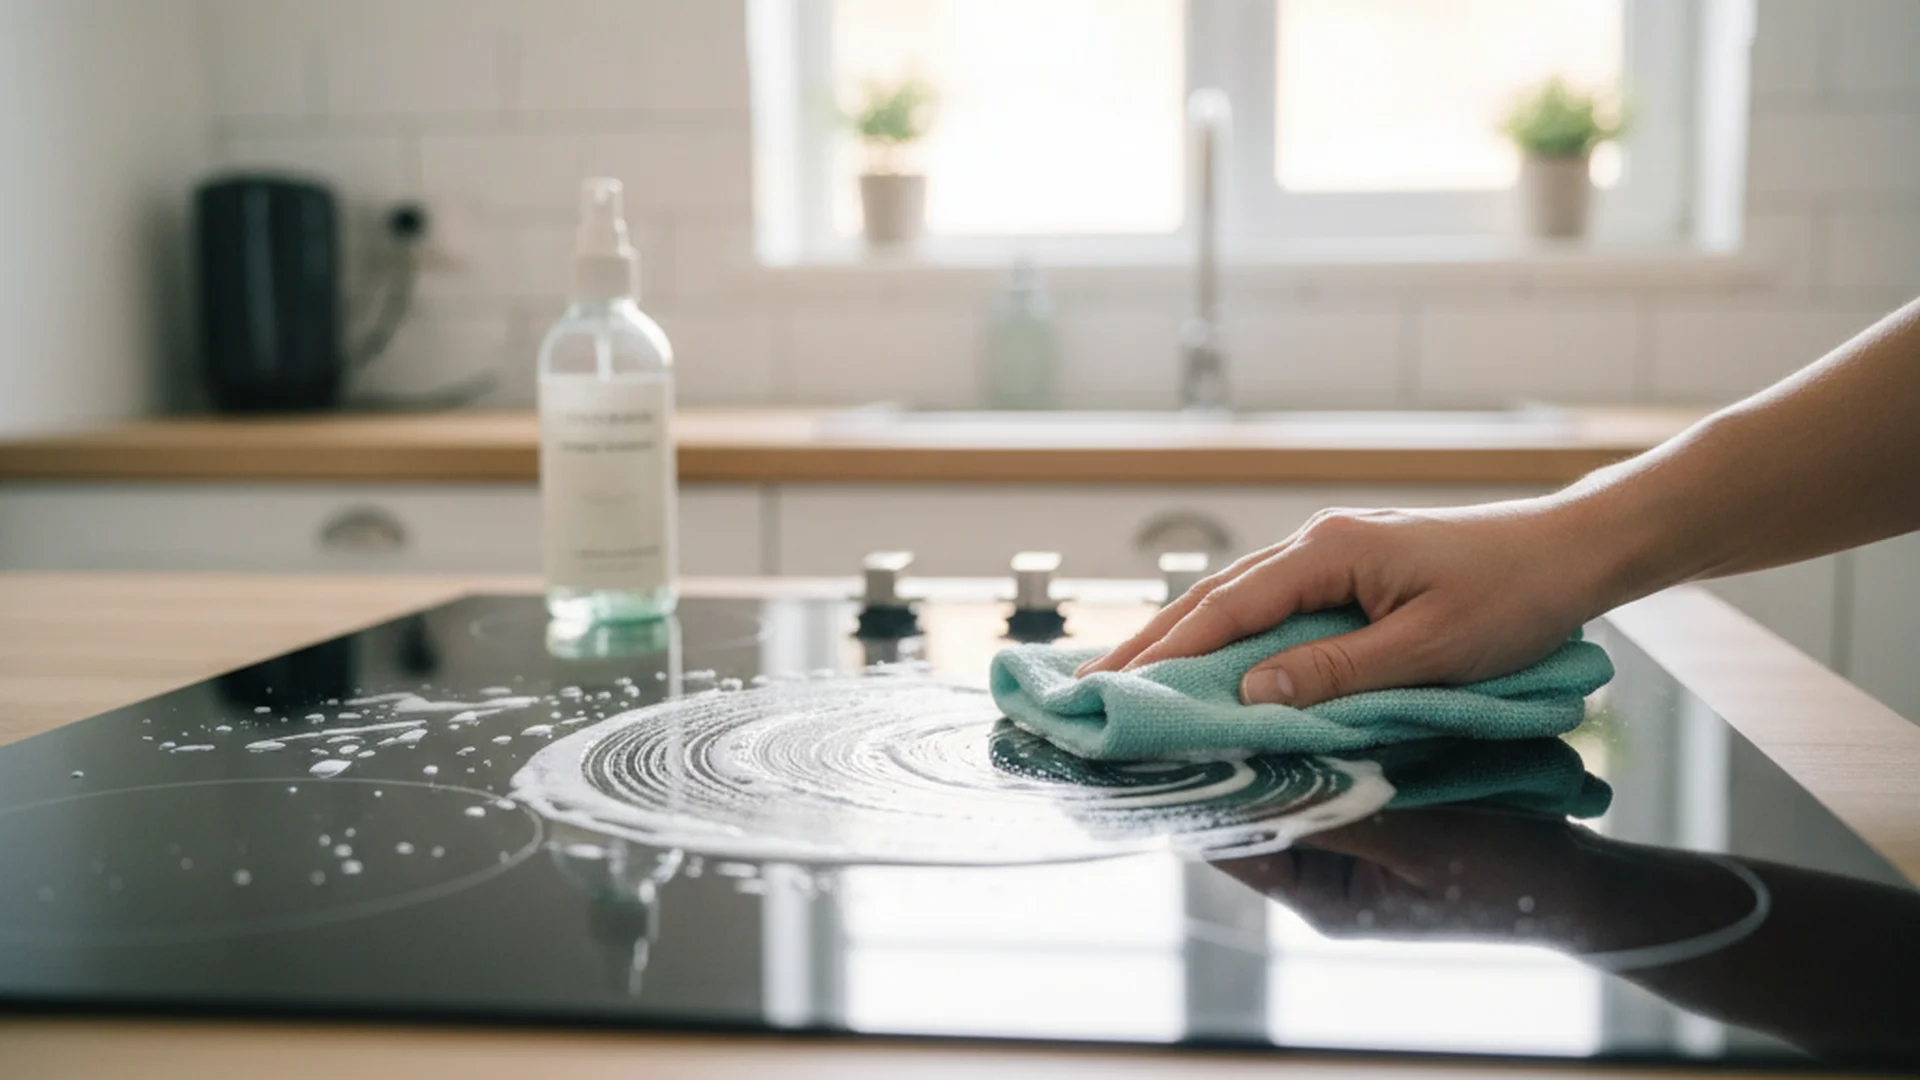
Step 4: Disinfect and Scrub
Use a non-abrasive, pH-neutral cleaner. For most cabinets, a 50/50 solution of white vinegar and water or a mild Castile soap works best.
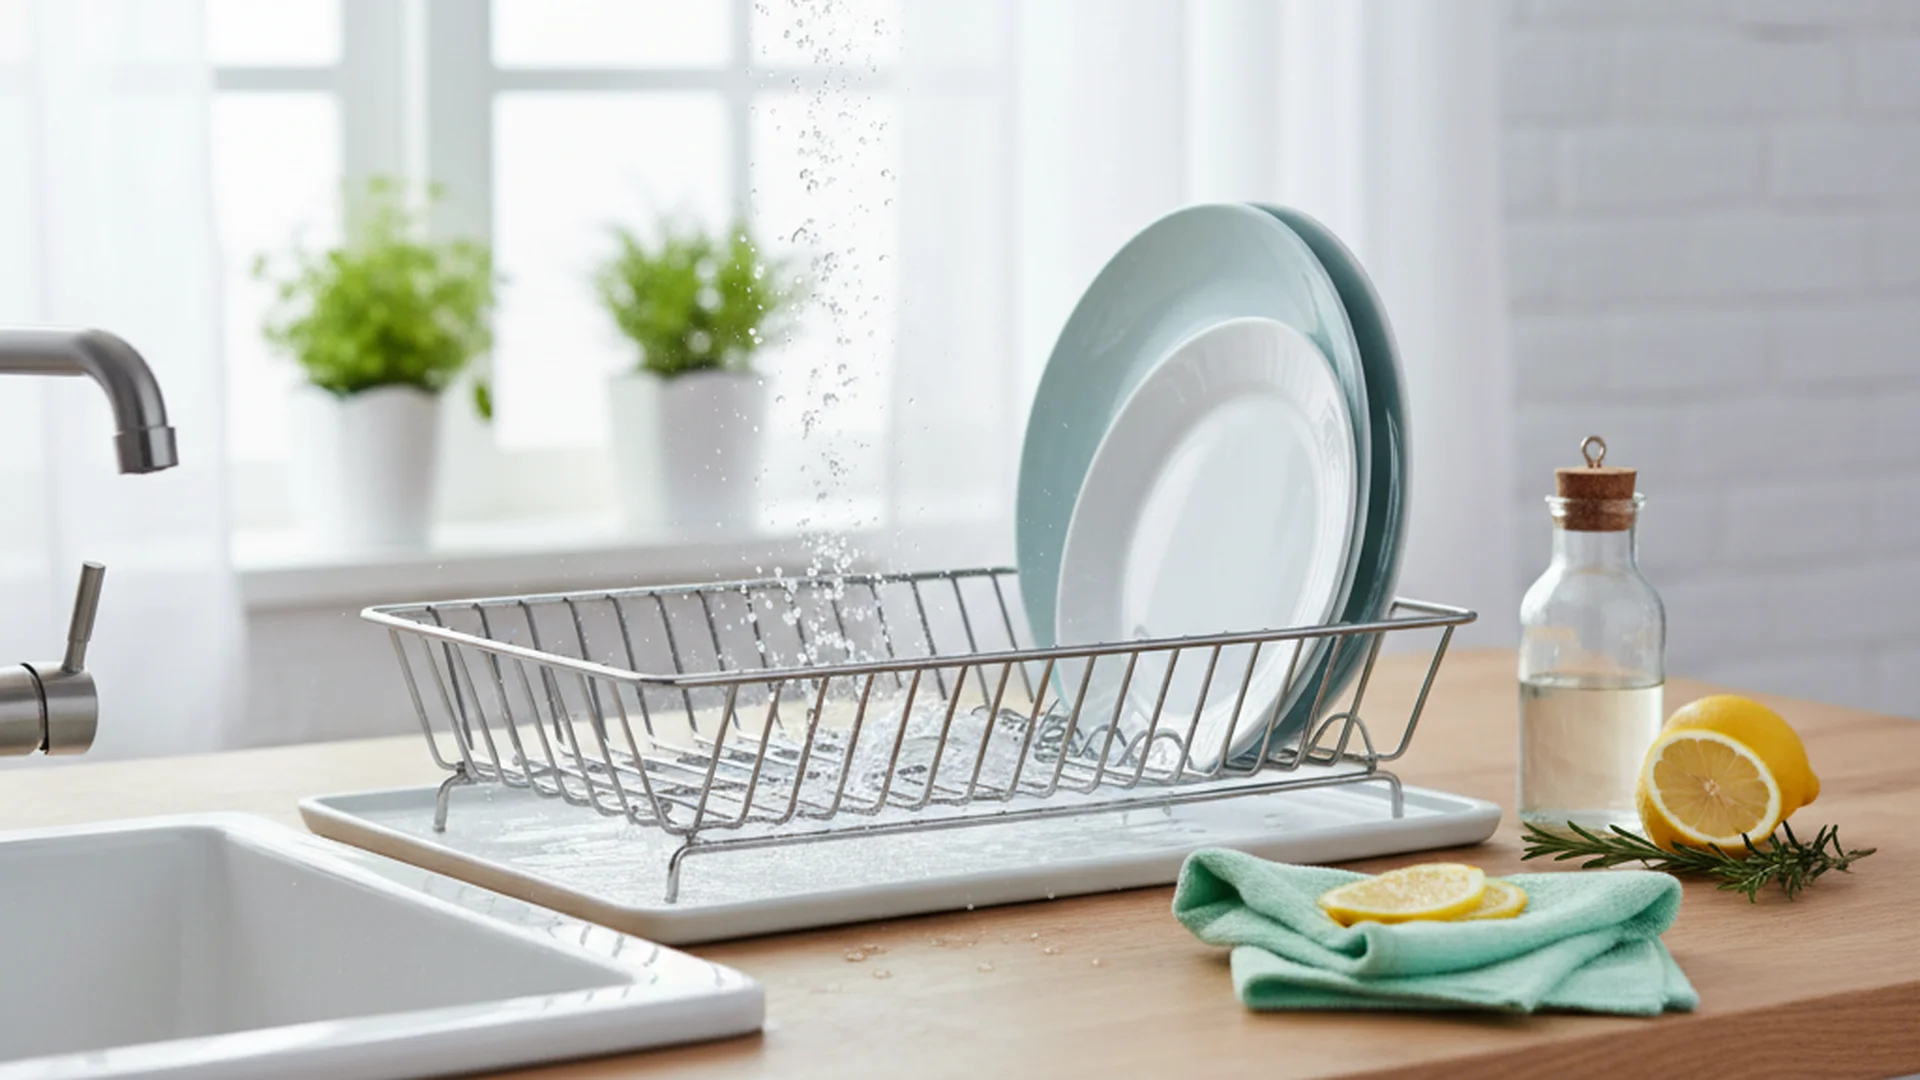
Step 5: The Essential Drying Phase
Moisture is the enemy. Before you put a single item back, ensure the cabinet is 100% dry. Use a microfiber cloth to buff the surfaces and leave the cabinet doors open for at least 30 minutes to allow for full air circulation.
2025-2026 Trends in Under-Sink Maintenance
The way we organize and maintain this space has evolved. We are moving away from "clutter-hiding" toward functional aesthetics and sustainability.
Sustainable Material Shifts
Plastic bins are rapidly being replaced by bamboo and tempered glass organizers. This trend is driven by a desire to reduce microplastics and avoid chemical off-gassing in enclosed spaces. Bamboo is naturally antimicrobial, making it an excellent choice for a high-moisture environment.
Low-Tox Refill Stations
Homeowners are increasingly using "forever" aluminum or glass bottles paired with cleaning concentrates (like Blueland or Grove). This reduces the "black hole" of plastic bottles under the sink and makes it easier to see exactly what supplies you have left.
Smart Integration and Alarms
A major trend for 2026 is the installation of small, battery-operated water alarms. These devices sit at the back of the cabinet and emit a loud siren the moment they detect moisture, providing peace of mind even when you aren't actively cleaning.
| Material | Pros | Cons |
|---|---|---|
| Silicone Liners | Waterproof, easy to wash, catches spills | Can be expensive |
| Bamboo Bins | Sustainable, aesthetic, antimicrobial | Requires sealing to prevent rot |
| Acrylic Bins | High visibility, easy to wipe | Made of plastic, can crack |
Common Mistakes to Avoid
Even with the best intentions, certain habits can damage your home or create health hazards.
- Overloading the Space: Piling heavy gallon-sized jugs against the PVC pipes can put pressure on the joints. Over time, this constant weight and vibration from the sink's use can loosen seals, leading to slow leaks.
- Storing Small Appliances: Items like blenders or toasters should never live under the sink. The humidity can corrode internal electronics, and a single leak could ruin the motor instantly.
- The "Chemical Drain Cleaner" Trap: Many people use harsh liquid drain cleaners as a maintenance step. These chemicals are highly corrosive and can damage the seals on newer PVC systems or corrode older metal pipes.
- Storing Wet Sponges: Placing a damp sponge in a dark, closed cabinet is an invitation for bacteria and mold. Always let sponges air-dry in a ventilated area above the sink.
Frequently Asked Questions
How often should I clean under the sink?
Can I store food under the kitchen sink?
How do I get rid of a musty smell?
What is the best way to protect the cabinet floor?
Organizing for Efficiency
The best way clean under kitchen sink is to finish with a system that prevents future mess. Use "Micro-organization" techniques:
- Vertical Space: Use a tension rod across the top of the cabinet to hang spray bottles by their triggers.
- Tiered Drawers: Install pull-out mesh or acrylic drawers to ensure you can reach items in the back without crawling into the cabinet.
- Labeling: Use clear, waterproof labels for "Dish Care," "Counter Cleaning," and "Floor Maintenance" bins.
Real-World Example: In a 2025 study of home efficiency, households that used labeled acrylic bins reduced their spending on duplicate cleaning supplies by 30% because they could easily see their inventory.
Conclusion
Cleaning under your kitchen sink is a cornerstone of domestic efficiency. By treating this space as a mechanical room rather than a junk drawer, you protect your home's value and your family's health. The shift toward sustainable materials and preventative maintenance—like installing water alarms and silicone liners—is an investment that pays for itself the moment a leak is prevented.
Want More Home Tips?
Join our newsletter for seasonal maintenance checklists and efficiency hacks.
Subscribe Now