In this article
What you’ll learn
- Construction dust (silica) is hazardous and requires HEPA filtration.
- Follow a three-phase cleaning approach for the best results.
- Wait at least 24 hours after construction ends before deep cleaning.
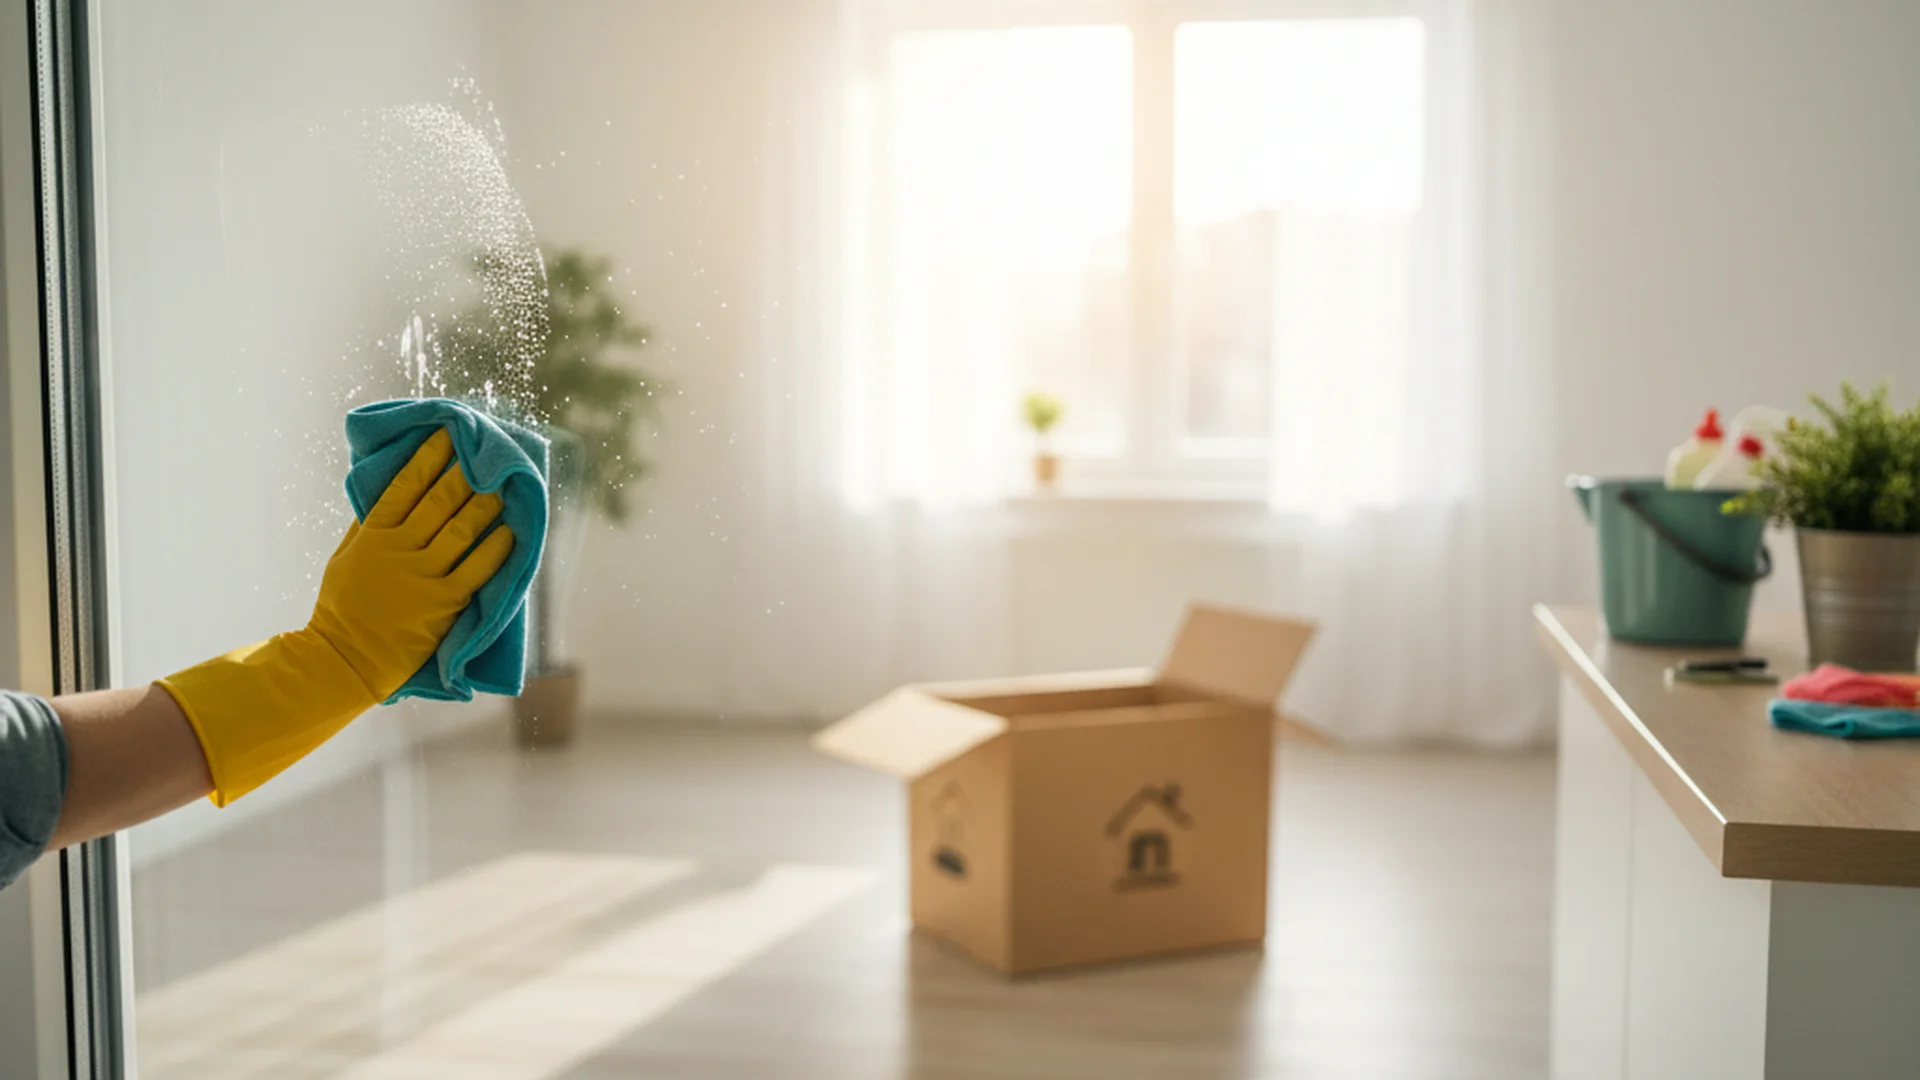
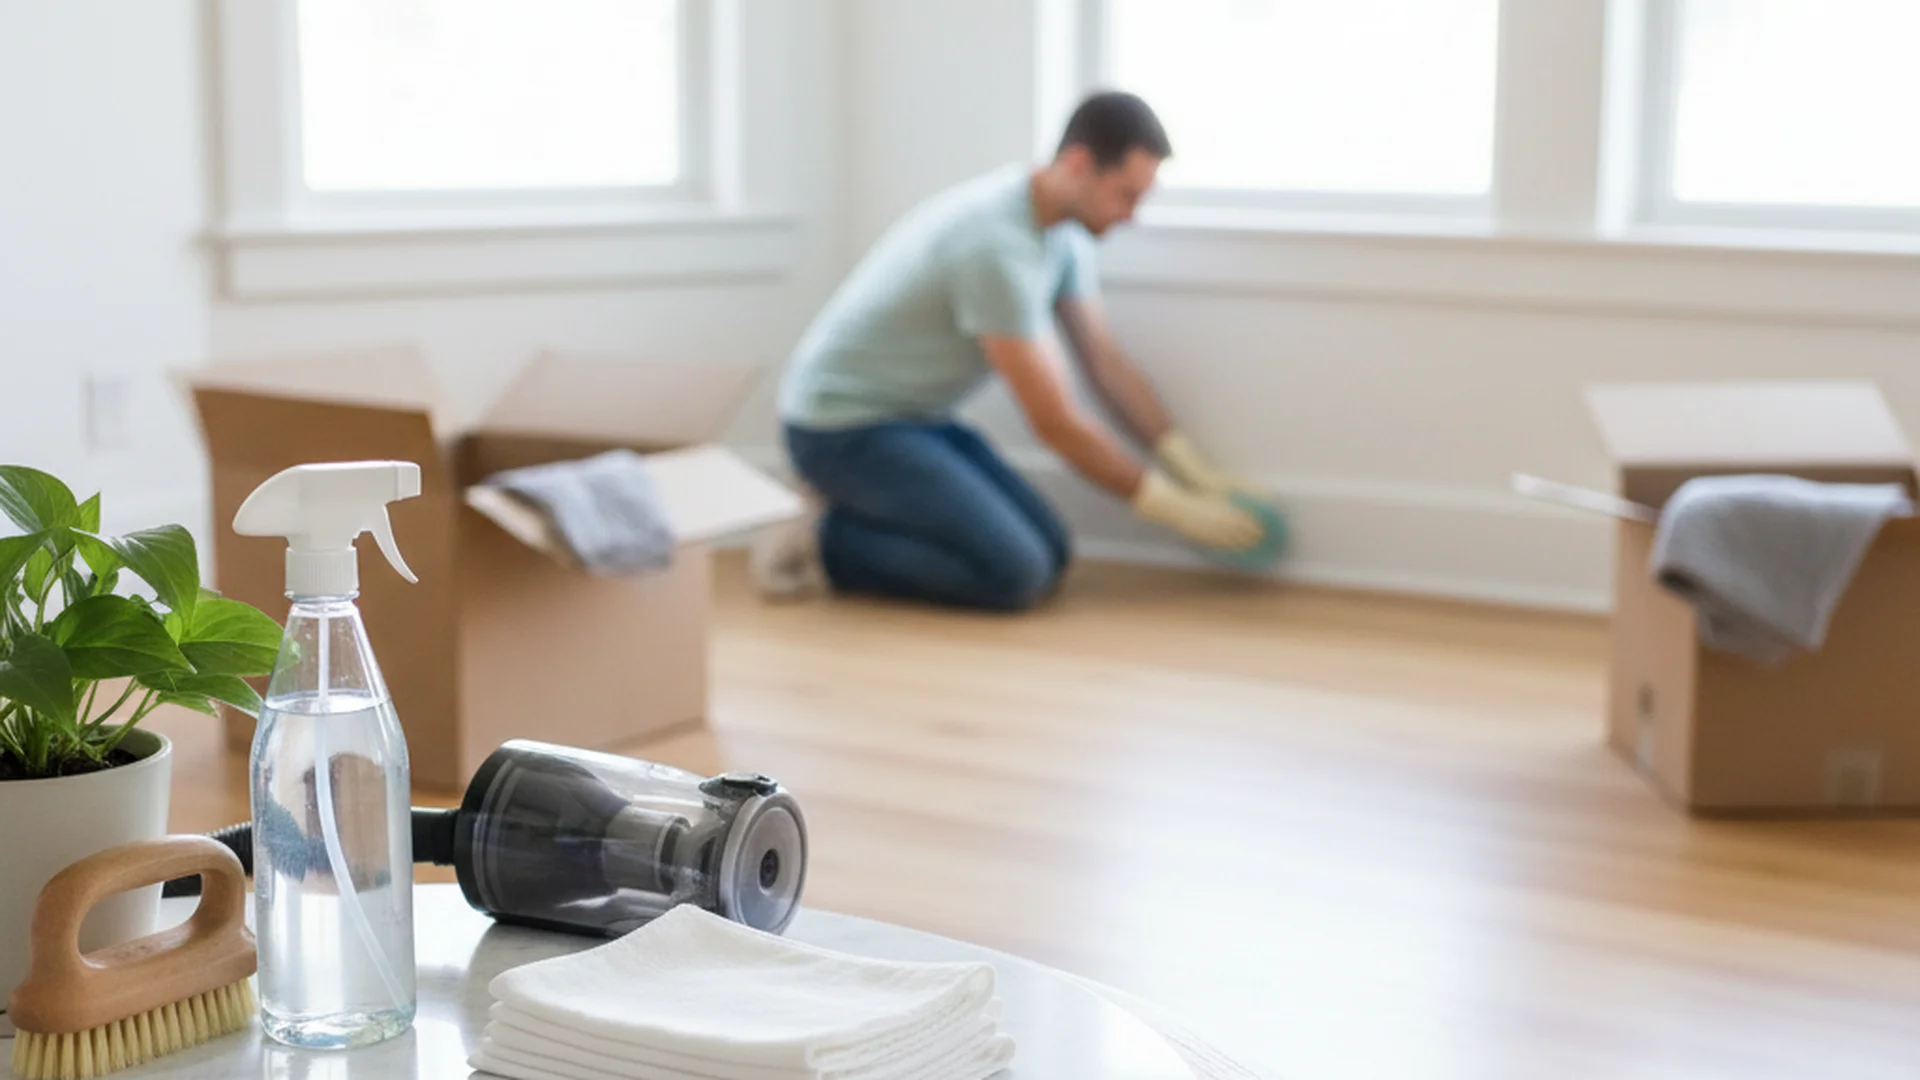
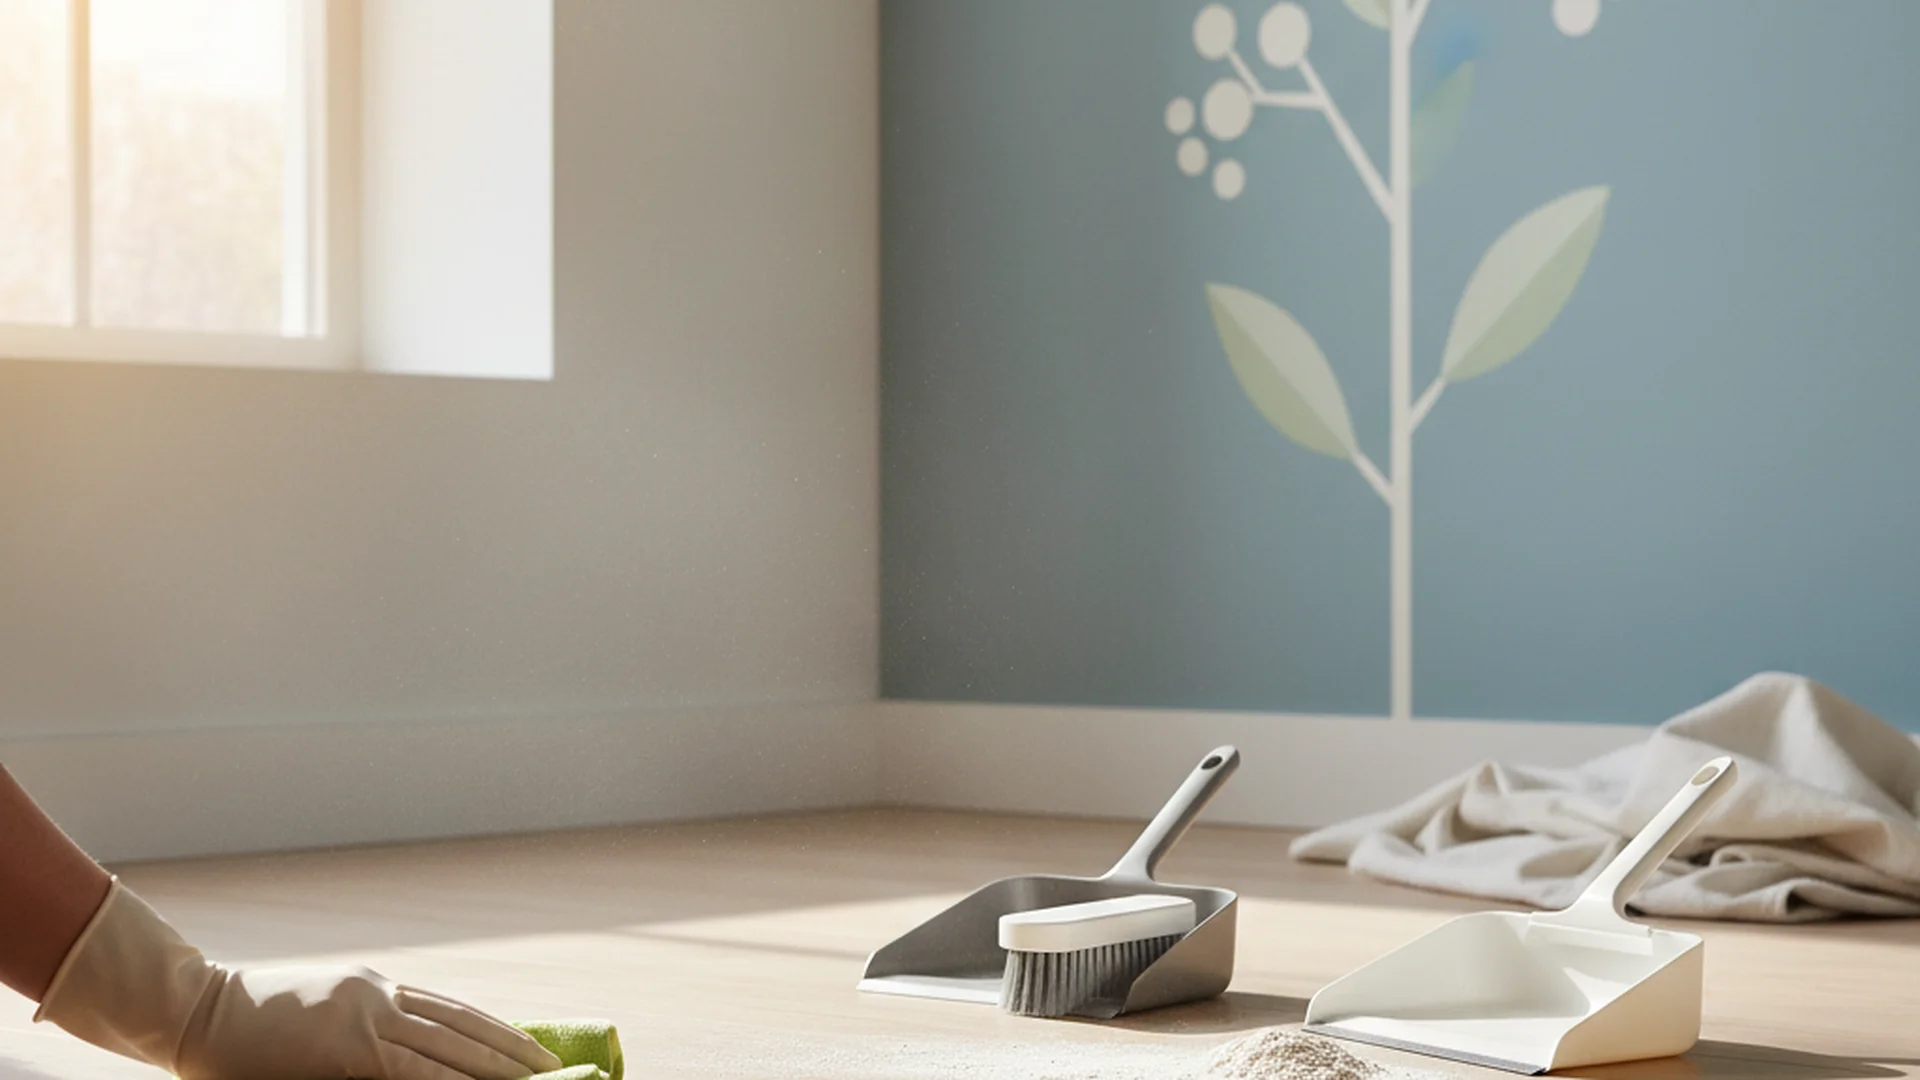
The dust has finally settled—literally. You’ve spent months planning, thousands of dollars on materials, and weeks living in a construction zone. But as the contractors pack up their tools, you realize the "dream home" you envisioned is currently buried under a thick layer of fine, white powder. Post renovation cleaning is the final, essential hurdle between a completed project and a livable home. Unlike a standard Saturday morning tidy-up, cleaning after a remodel involves managing hazardous particulates, protecting new finishes, and ensuring your home’s air quality is restored to safe levels.
Why Post-Renovation Cleaning is Different
Standard household dust is mostly composed of skin cells and fabric fibers. In contrast, construction dust is a complex cocktail of drywall particulates, sawdust, metal filings, and, most dangerously, crystalline silica. Silica is found in materials like concrete, mortar, and granite. When these are cut or sanded, they release microscopic particles that can hang in the air for days.
The EPA and CDC emphasize that inhaling this fine dust can lead to long-term respiratory issues. This is why a standard vacuum cleaner won't cut it. To truly clean a home after a renovation, you need specialized equipment and a methodical, top-to-bottom strategy that addresses both visible debris and invisible air quality concerns.
Warning: Never use a standard household vacuum for construction dust. The fine particles will bypass the filter, damage the motor, and be exhausted back into your breathing air.
The Three Phases of Post-Renovation Cleaning
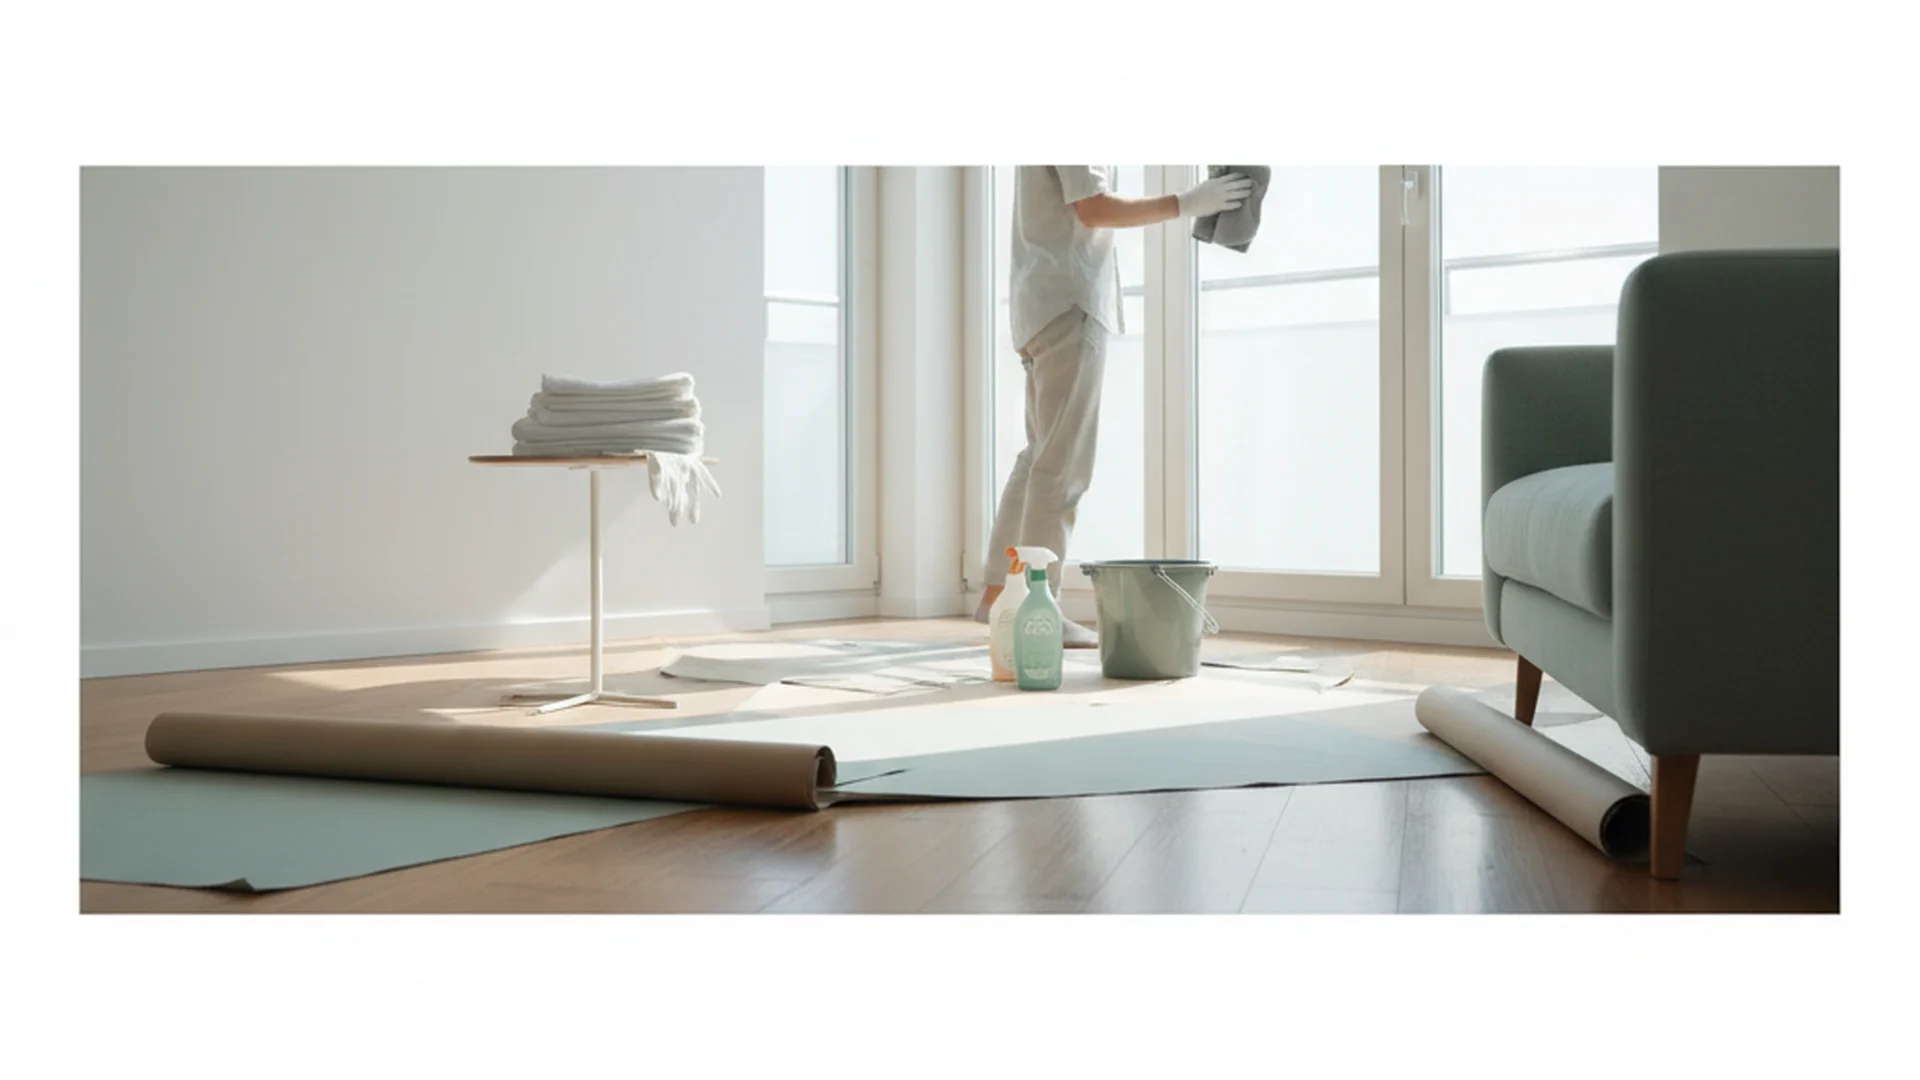
Professional cleaners don't try to do everything at once. We use a "phased" approach to ensure that as dust settles, it is systematically removed rather than just moved around.
Phase 1: The Rough Clean
The goal here is to remove the "bulk" of the mess. This usually happens as soon as the contractors finish their work.
- Large Debris Removal: Pick up any remaining scrap wood, drywall offcuts, or packaging.
- Sticker Removal: Contractors often leave stickers on new windows, toilets, and appliances. Remove these now using a gentle adhesive remover to prevent them from "baking" onto the surface.
- The Initial Sweep: Use a heavy-duty broom or a Shop-Vac with a HEPA bag to clear large piles of dust from the floors.
Phase 2: The Light Clean (The Deep Scrub)
This is the most labor-intensive part of the process. It should begin at least 24 hours after the last contractor leaves to allow airborne particles to settle.
- Top-to-Bottom Dusting: Start at the ceiling and work your way down. Gravity is your friend here; if you clean the floors first, you’ll just cover them in dust again when you wipe the ceiling fans.
- The "Damp" Rule: Every surface—walls, baseboards, cabinets—should be wiped with a damp microfiber cloth. Microfiber is engineered to "grab" dust rather than push it.
Phase 3: The Final Touch-up
A few days after the deep scrub, you will notice a fine film has reappeared. This is normal. This phase involves a quick once-over of mirrors, glass, and floors to ensure a "white glove" finish.
Tip: Use a "black glove test" to check for cleanliness. Run a dark cloth over a "clean" white surface; if it comes away white, you still have drywall dust residue.
Using a Post Renovation Cleaning Template
To stay organized, professionals use a post renovation cleaning template to track progress. This ensures that hidden spots, like the tops of door frames or inside light fixtures, aren't forgotten.
The Master Checklist
| Area | Task | Recommended Tool |
|---|---|---|
| HVAC | Replace all filters and vacuum vents | HEPA Vacuum / New MERV 11+ Filter |
| Walls | Wipe top-to-bottom with damp cloth | Microfiber Mop |
| Kitchen | Clean inside/under all cabinets | All-purpose cleaner |
| Windows | Scrape paint drops; clean tracks | Plastic scraper / Glass cleaner |
| Floors | Multi-pass vacuuming and damp mop | pH-neutral cleaner |
Note: If you are managing a large-scale project, having a post renovation cleaning printable on your clipboard can prevent the mental fatigue that comes with a multi-day cleaning process.
Real-World Example: The "Kitchen Island Dust Mystery"
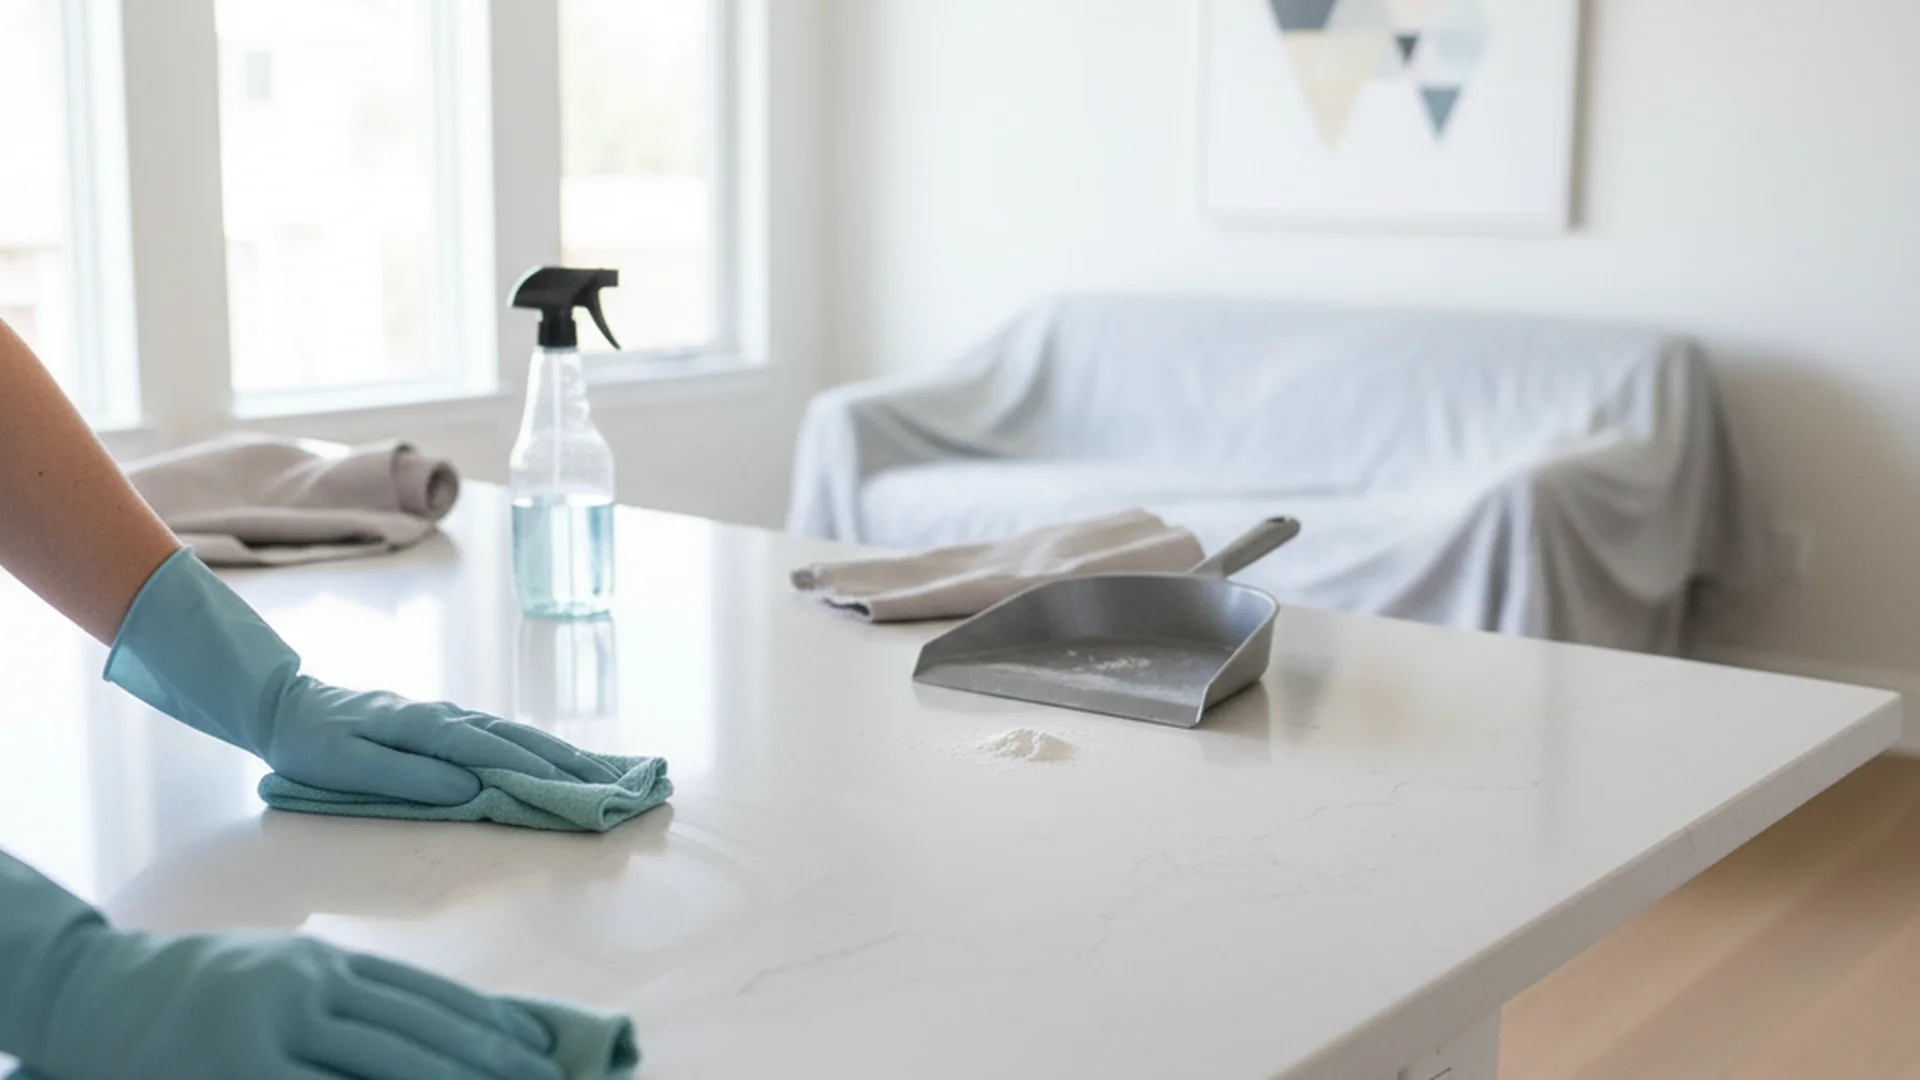
I recently consulted for a homeowner who had a beautiful new marble kitchen island installed. Despite cleaning it three times, they complained it always felt "gritty." Upon inspection, we found the issue wasn't the island—it was the unsealed underside of the cabinets above. Every time a cabinet door closed, the vibration shook microscopic drywall dust from the unfinished cabinet tops onto the island.
The Lesson: Cleaning isn't just about what you see at eye level. You must vacuum the tops of cabinets, the undersides of tables, and even the "hidden" lips of drawer slides.
Advanced 2026 Trends in Post-Construction Care
As we move into 2026, the cleaning industry has shifted from "looking clean" to "scientifically clean."
VOC Removal and Air Scrubbing
New cabinets, flooring, and paint release Volatile Organic Compounds (VOCs) for weeks. Modern post-renovation services now utilize industrial air scrubbers with activated carbon filters. These machines can cycle the air in a room 5-6 times per hour, physically trapping chemical gasses that cause that "new house smell"—which is actually the smell of off-gassing chemicals.
AI and Robotics
2025 saw a surge in commercial-grade robotic vacuums that utilize LiDAR to map a renovation site. While they aren't ready to wipe down your walls yet, they are incredible for "Phase 3" floor maintenance, running overnight to catch the last of the settling dust.
Sustainable "Green" Disinfection
The trend for 2026 is moving away from harsh bleach and ammonia. Many professionals are now using electrolyzed water (hypochlorous acid). It is a non-toxic, biodegradable disinfectant made from salt and electricity. It's safe for new stone surfaces and far better for the environment.
Success: Using an air scrubber for 48 hours after a renovation can reduce airborne particulates by up to 95%, significantly improving the "feel" of the home.
Common Mistakes to Avoid
- Cleaning Too Soon: If the painter is still doing touch-ups in the bathroom, don't start cleaning the bedroom. The airflow in the house will distribute that dust everywhere. Wait for a complete "tools down" status.
- Forgetting the HVAC System: This is the most common mistake. Dust enters the return vents during construction and lives in your ductwork. If you don't clean the ducts and change the filters, your furnace will "pepper" your clean house with dust the moment it turns on.
- Using Harsh Chemicals on New Finishes: I’ve seen homeowners ruin brand-new matte black faucets by using acidic cleaners. Always use a pH-neutral cleaner for the first 30 days on any new surface.
- Dry Dusting: Using a feather duster or a dry rag on construction dust is essentially just "re-arranging" the dust in the air. Always use damp methods.
Real-World Example: The "HVAC Filter Failure"
In 2024, a client finished a $200k basement remodel. They performed a meticulous DIY clean but forgot to change the furnace filter. Within two hours of the AC kicking on, a fine layer of gray dust covered their new velvet sofa and high-end electronics. They had to start the entire cleaning process over because the dust was recycled through the vents.
The Lesson: Change your HVAC filters the hour the contractors leave, and change them again 30 days later.
Frequently Asked Questions
Is the contractor responsible for the final clean?
How long should I wait before cleaning?
Can I clean construction dust with a mop?
Do I need to clean the walls?
What is the average cost of professional post-renovation cleaning?
Real-World Example: The "Marble Etching Mishap"
A homeowner tried to remove grout haze from their new marble shower using a common "tub and tile" cleaner. Because the cleaner was acidic, it instantly "etched" (burnt) the surface of the marble, leaving dull white spots.
The Lesson: For new renovations, stick to warm water and a drop of dish soap or a dedicated stone-safe cleaner. Modern finishes are often delicate until they have fully cured.
Conclusion
Completing a home renovation is a massive achievement, but the process isn't truly over until the last grain of silica dust is gone. By following a phased approach, utilizing HEPA filtration, and working top-to-bottom, you can ensure your new space is not only beautiful but also healthy and safe for your family. Whether you choose to DIY using our post renovation cleaning template or hire a professional crew, remember that patience and the "damp rule" are your best tools for success.
Success: A thorough post-renovation clean doesn't just make the home look better—it protects your investment by preventing dust from scratching new finishes and keeps your indoor air quality at peak levels.
Cleaning that keeps score
Every task earns points, every streak multiplies them, and Premium adds a household leaderboard plus a monthly Dustagorgon to beat.
- Free forever
- 30 badges to earn
- Up to 6 in a household
No card needed. Set up your rooms in a couple of minutes.