Key Takeaways
- Professional post-construction cleaning requires a three-phase approach for safety and quality.
- HEPA filtration is non-negotiable for capturing hazardous silica and drywall dust.
- Always clean top-to-bottom and use pH-neutral chemicals to protect new finishes.
Completing a renovation or a new build is an exhilarating milestone, but the reality of the "aftermath" can be overwhelming. Post construction cleaning is not your average Sunday morning tidy-up; it is a specialized, labor-intensive process designed to transform a hazardous construction site into a pristine, livable environment. Whether you are a homeowner moving back into a remodeled kitchen or a project manager preparing a commercial high-rise for handover, understanding the nuances of this process is critical for health, safety, and the longevity of your new investments.
Why Professional Post Construction Cleaning Matters
The dust left behind by saws, sanders, and drywall installation isn't just an eyesore—it is a microscopic invader. Construction dust, particularly silica dust from concrete, stone, and tile, can trigger severe respiratory issues if not properly remediated. Standard household vacuums are ill-equipped for this task, as they often lack the filtration necessary to trap fine particles, instead venting them back into the air you breathe.
Furthermore, a professional clean protects your financial investment. According to a National Builders Survey, 72% of post-delivery complaints in construction are related to dirty or damaged finishes. Residual adhesive on a window can bake into the glass in the sun, and grout haze left on tile can become a permanent blemish if not addressed within the first 48 hours.
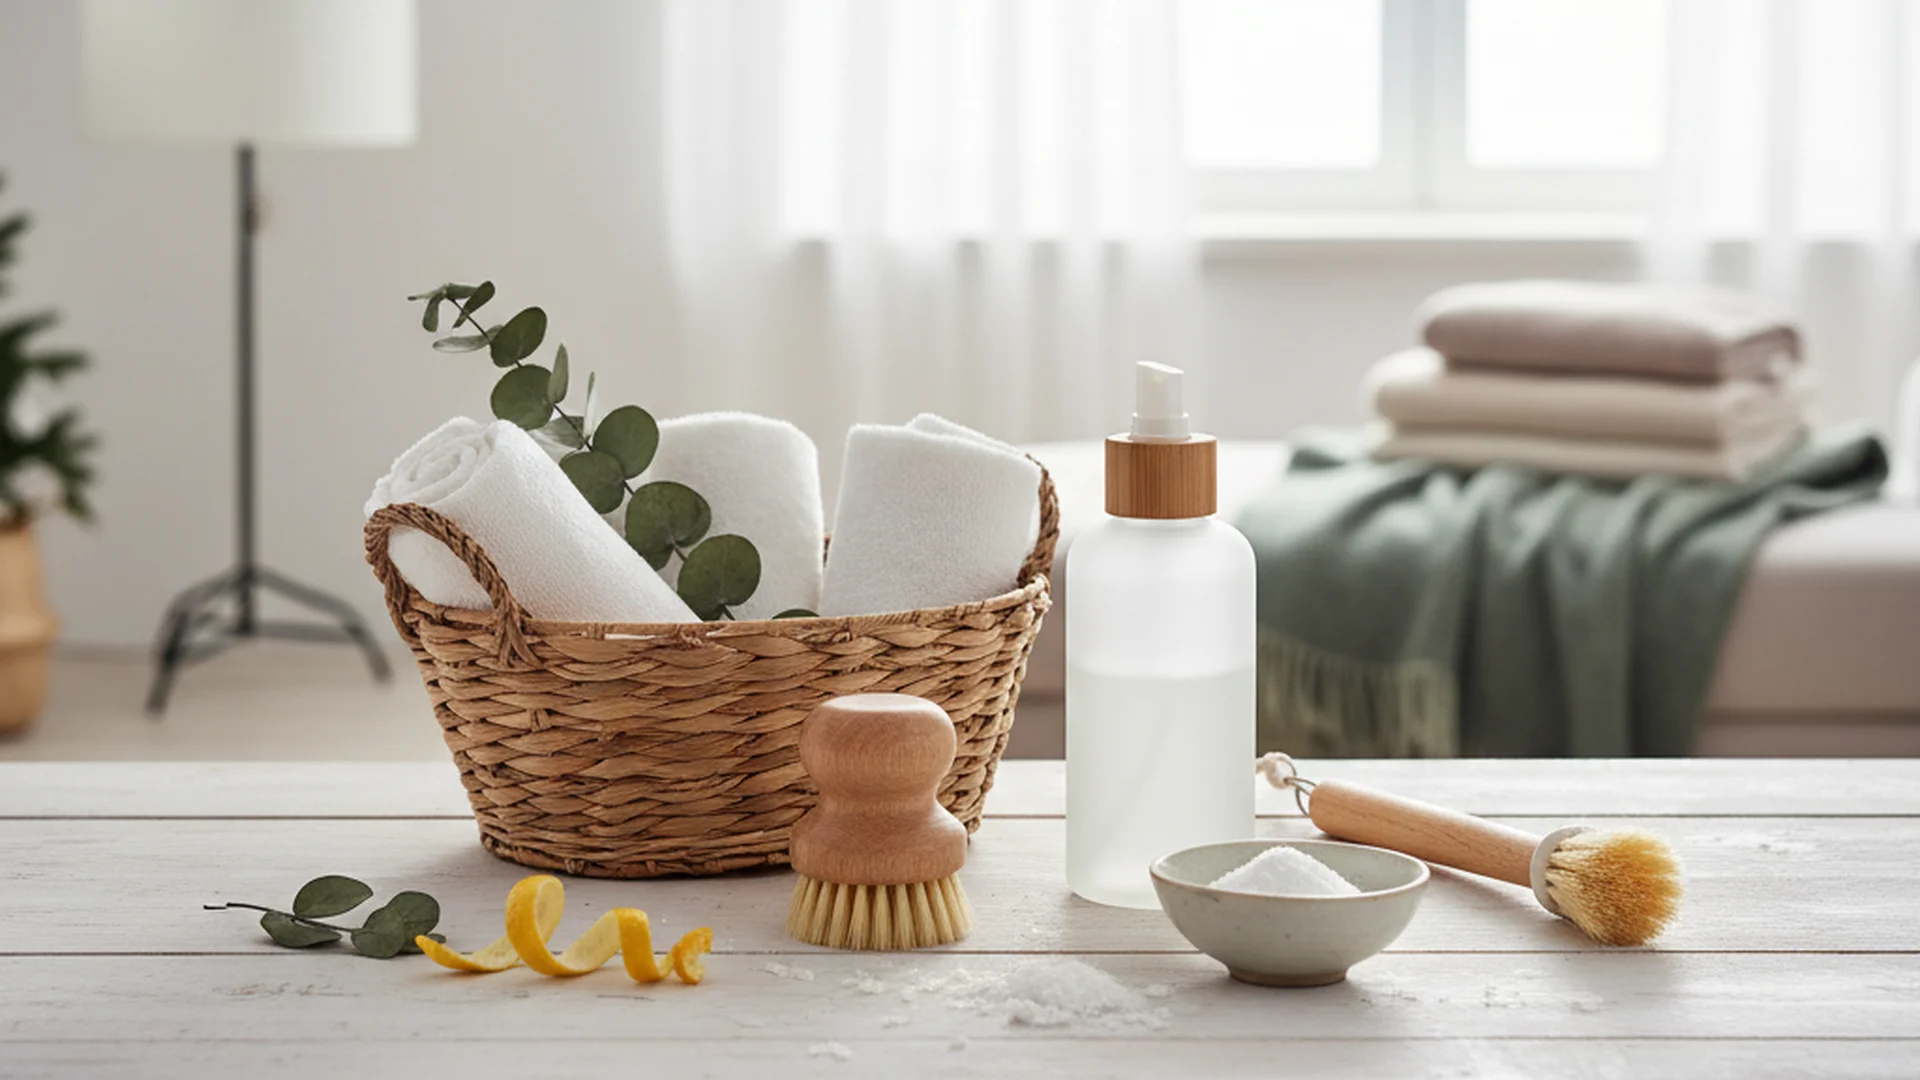
The Three-Phase Approach to Cleaning
To achieve a "white-glove" standard, industry experts like myself recommend a structured, three-phase cleaning methodology. Attempting to do everything at once often leads to "dust resettlement," where airborne particles land on surfaces you have already scrubbed.
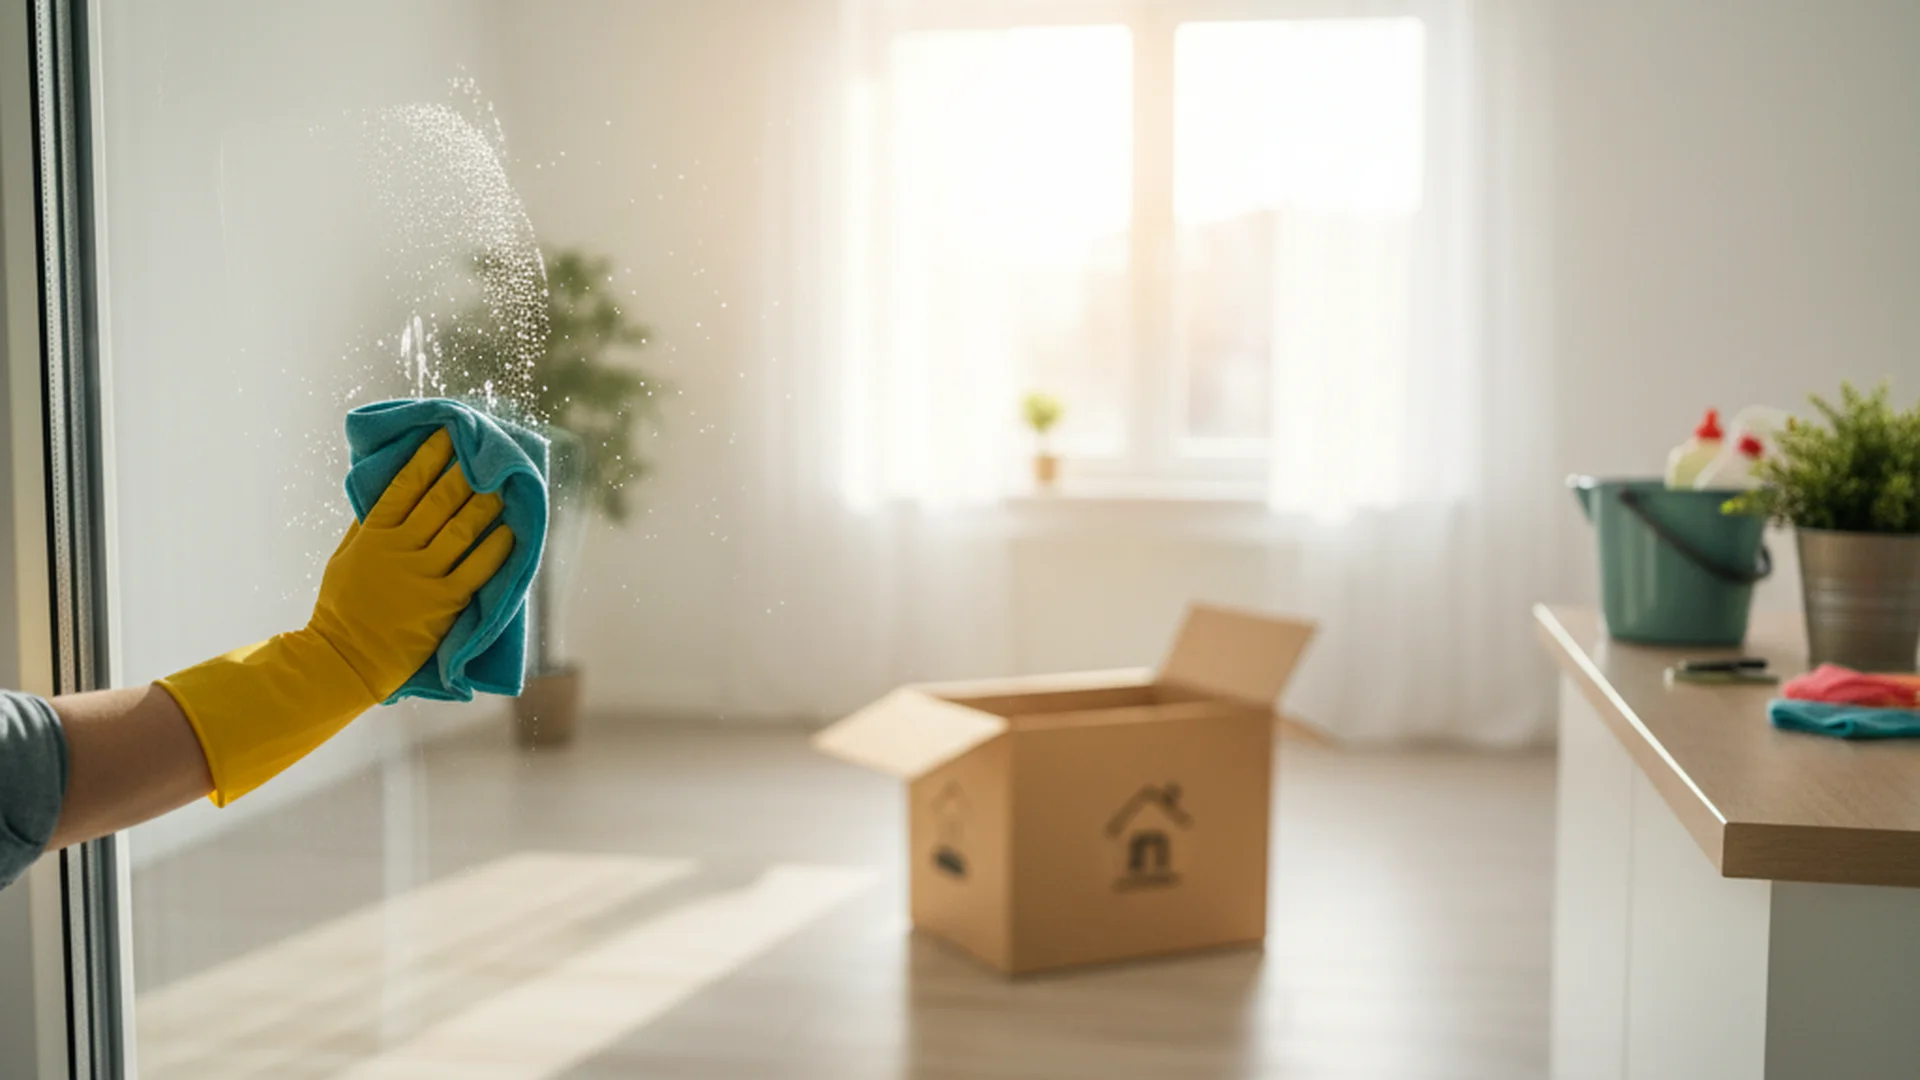
Phase 1: The Rough Clean
The rough clean occurs immediately after the heavy construction ends and the subcontractors have cleared their tools. The goal here is "bulk removal."
- Debris Removal: Clearing out lumber scraps, drywall off-cuts, and leftover packaging.
- Sticker & Film Removal: Removing protective plastic films from new appliances, windows, and mirrors.
- Initial Sweep: A heavy-duty sweep or shop-vac session to remove the majority of the "heavy" dust.
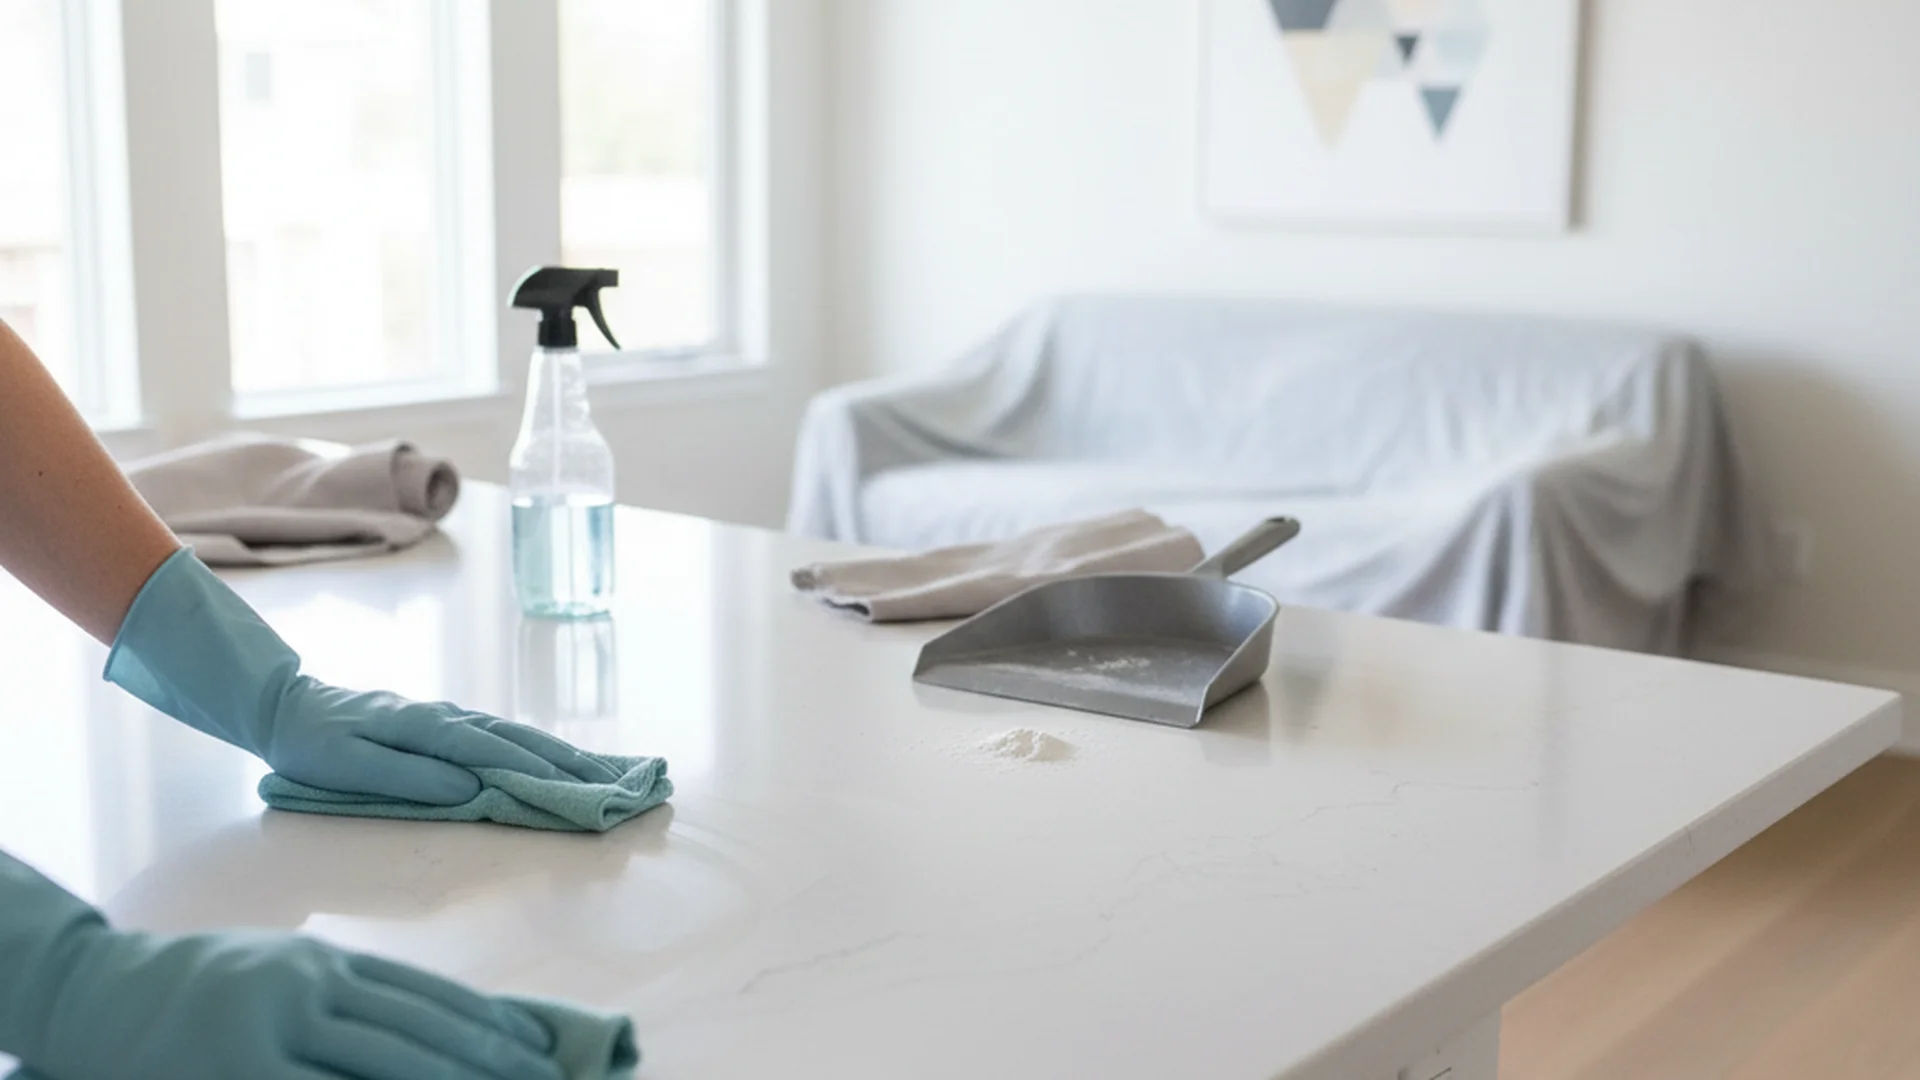
Phase 2: The Deep/Detail Clean
This is the most labor-intensive stage. It requires specialized equipment and attention to the smallest details. During this phase, every inch of the property is addressed.
- Walls and Ceilings: Dusting walls from top to bottom. In many cases, a damp microfiber mop is needed to "tack" the dust off the vertical surfaces.
- Cabinetry: Cleaning the inside and outside of every drawer and cupboard. Construction dust has a way of finding its way into closed spaces.
- Vents and Grates: Removing HVAC covers to vacuum the interior of the ductwork and the registers.
Phase 3: The Final/Touch-Up Clean
Conducted 1–2 days after Phase 2, this phase accounts for the dust that has finally settled out of the air. It is the stage that makes the home "move-in ready."
- Polishing: Wiping down fixtures, chrome, and stainless steel to remove fingerprints and water spots.
- Glass Finishing: A final streak-free wipe of all mirrors and windows.
- Final Floor Buff: A last mop or vacuum to ensure the floors are flawless for the client walk-through.
The 2025 Pricing Benchmarks
Understanding the costs involved in post construction cleaning helps in budgeting for your project. As of 2025, pricing is influenced by the rising cost of specialized green chemicals and high-end HEPA equipment.
| Service Type | Estimated Cost | Basis |
|---|---|---|
| Residential Home (Avg) | $500 – $800 | Per Project |
| Commercial Space | $0.15 – $0.60 | Per Sq. Ft. |
| Specialized Labor | $30 – $50 | Per Hour/Worker |
| Window Detailing | $5 – $15 | Per Pane |
Professional Pro-Tips and Real-World Examples
As a professional cleaning consultant, I’ve seen how small mistakes can lead to big repair bills. Here are three real-world examples of how to handle delicate post-construction scenarios.
Example 1: The Marble Countertop Trap
A client recently installed $20,000 worth of Carrara marble in their kitchen. The cleaning crew used a standard acidic bathroom cleaner to remove some grout residue. The result? Permanent etching across the entire island.
- The Lesson: Always use pH-neutral cleaners on natural stone. If you aren't sure of the surface material, stick to distilled water and a high-quality microfiber cloth until you can verify the manufacturer's cleaning code.
Example 2: The Scratched Window Scenario
During a commercial office build, a worker used a scouring pad to remove spray paint from a window. The glass was ruined, requiring a full replacement of the window pane.
- The Lesson: For stubborn residues like paint or adhesive, use a chemical solvent designed for that specific material (like Goo Gone or acetone) and a soft plastic scraper. Never use abrasives on glass.
Example 3: The HVAC Overlook
A family moved into their newly renovated basement and immediately began suffering from "allergy-like" symptoms. Upon inspection, the HVAC filters were black with drywall dust, and the return air vents were filled with sawdust.
- The Lesson: Cleaning the surfaces is only half the battle. You must clean the air by replacing filters and vacuuming out the ductwork.
2025-2026 Trends in Post-Construction Cleaning
The industry is evolving rapidly with new technology and a heightened focus on health.
- Indoor Air Quality (IAQ) Monitoring: Modern crews now use handheld IAQ sensors. We don't just say it's clean; we provide a digital readout showing that the particulate matter (PM2.5) is within safe limits.
- Robotic Augmentation: In large commercial projects, autonomous floor scrubbers are now standard. They provide a consistent level of clean that human crews use to "finish" the edges.
- Green Cleaning and Low-VOCs: In 2025, over 72% of procurement managers demand green-certified products. This ensures that the "new house smell" isn't actually a cocktail of toxic chemicals.
- Tech-Verified Cleaning: Many high-end services now use QR codes placed in each room. Technicians scan the code, complete a digital checklist, and upload photos to a client portal for real-time accountability.
Common Mistakes to Avoid
- Cleaning Too Early: The most common mistake is starting the deep clean while "punch-list" items are still being finished. If a carpenter is still sanding a door frame, your cleaning efforts are wasted. Wait 24 hours after the last "dust-producing" activity.
- Using the Wrong Vacuum: Never use a standard shop-vac without a HEPA filter for drywall dust. It will simply blow the finest (and most dangerous) particles out the exhaust and back into the room.
- Neglecting the "Hidden" Spots: People often forget the tops of door frames, the inside of light fixtures, and the tracks of sliding glass doors.
- Mistaking Grout Haze for Dust: Grout haze requires a specific "grout haze remover" (usually a mild acid for ceramic, or a specialized alkaline for stone). Simply mopping it with water will not remove the film.
Post Construction Cleaning Template (Checklist)
Use this post construction cleaning template to ensure no detail is missed. This serves as a comprehensive post construction cleaning printable guide for your next project.
Interior Living Areas
- Vacuum ceilings and walls to remove dust.
- Clean all light fixtures and bulbs (ensure they are cool).
- Wipe down baseboards, window sills, and door frames.
- Sanitize all doorknobs, light switches, and outlet covers.
- HEPA-vacuum all carpets, including edges and corners.
Kitchen & Bathrooms
- Clean inside all cabinets and drawers (vacuum first, then wipe).
- Scrub sinks and polish faucets with a soft cloth.
- Remove all labels and adhesive from toilets, tubs, and sinks.
- Wipe down the interior and exterior of all appliances.
- Buff all mirrors and glass shower doors.
HVAC & Mechanics
- Replace all furnace and AC filters.
- Remove vent covers, vacuum interiors, and wash covers.
- Wipe down the water heater and any exposed piping in utility rooms.
Frequently Asked Questions
Why can't I just use a regular vacuum?
When should I schedule the cleaning?
How long does it take?
What is the difference between a rough clean and a final clean?
Conclusion
Post construction cleaning is the final, vital bridge between a construction site and a home. By following a structured three-phase approach, using the right tools like HEPA vacuums, and respecting the delicacy of new finishes with pH-neutral products, you ensure a safe and beautiful environment. Don't let the "dust settle" on your investment—approach your post-construction phase with the same precision the builders used to create the structure.
Ready to Start?
Download our complete Post-Construction Checklist and get your project move-in ready today.
Download Template