Key Takeaways
- Curcumin (turmeric) is oil-soluble and UV-sensitive, requiring a two-stage removal process.
- Never use hot water, as heat permanently sets the turmeric dye into fibers.
- Modern 2025 techniques like UV-C light treatment can erase stains that chemicals can't.
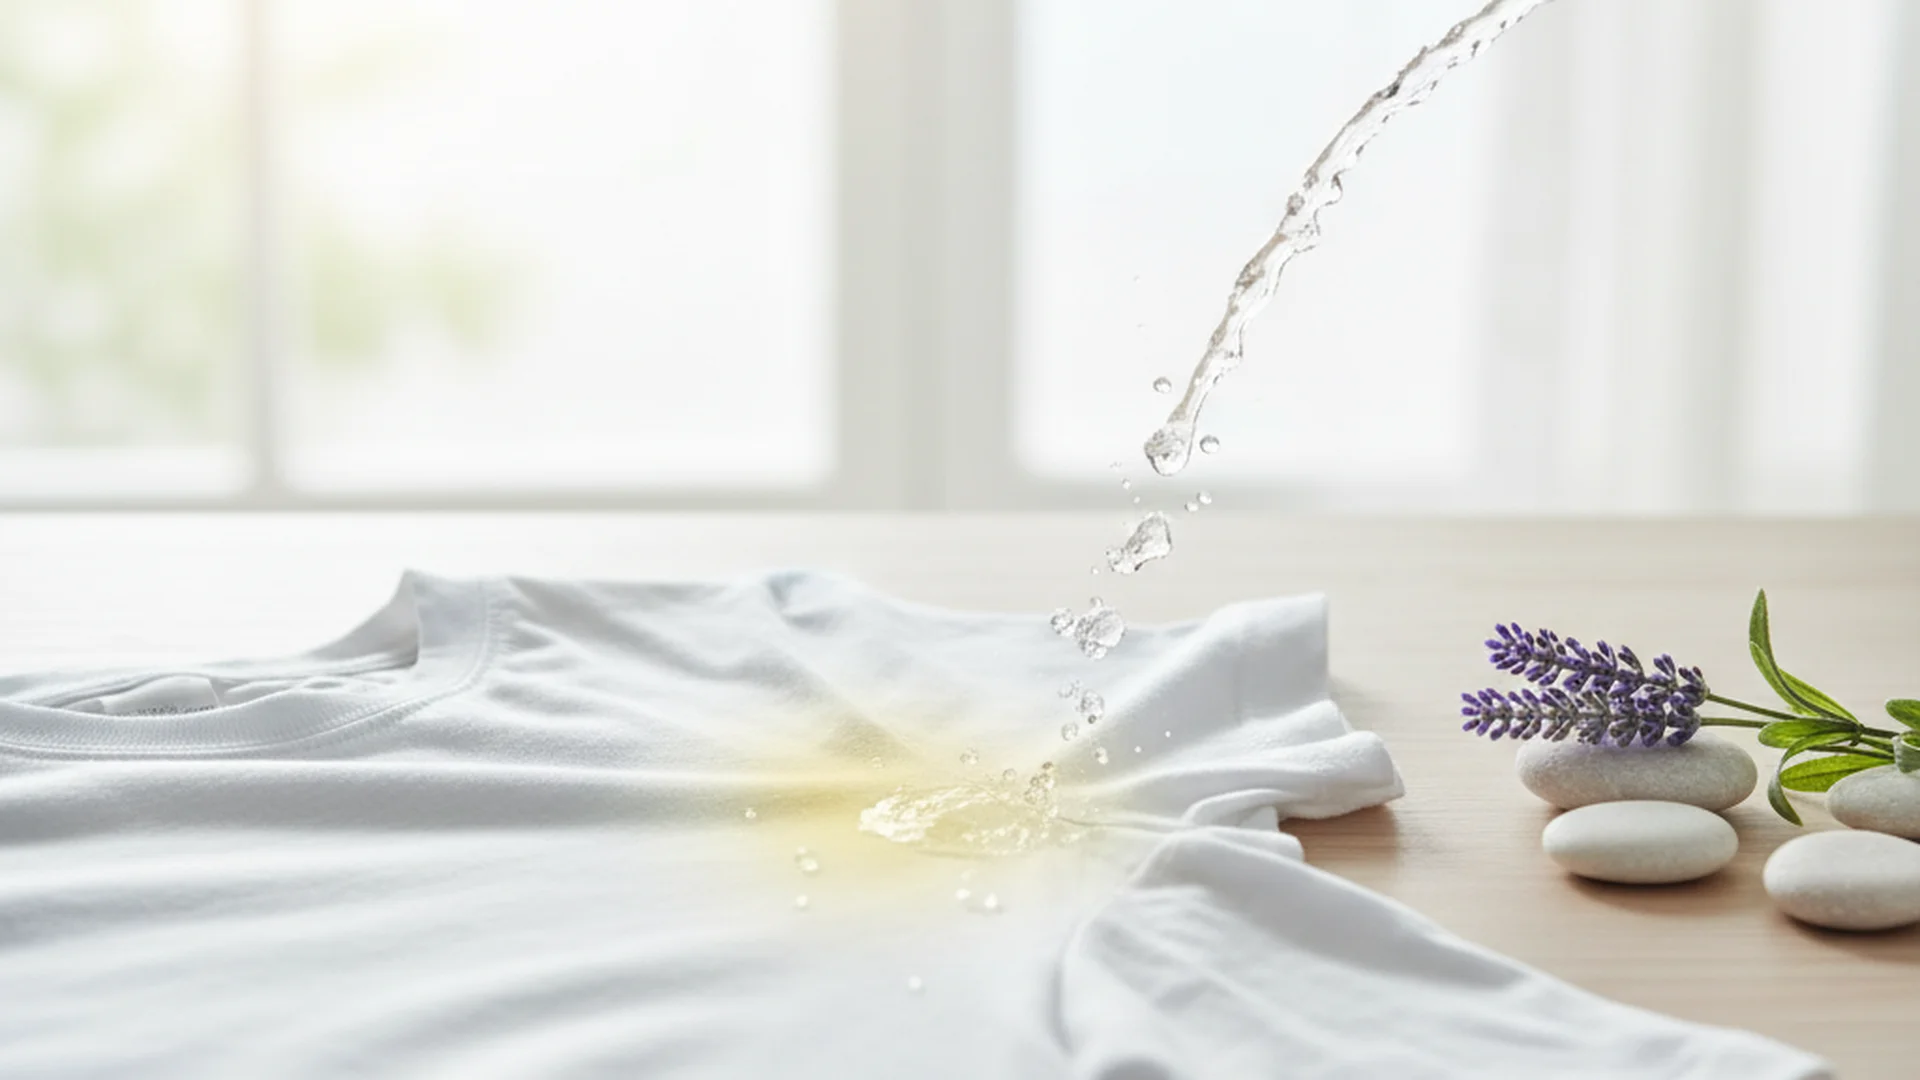
Few sights are as disheartening to a home cook or a diner as a bright neon-yellow splatter on a white shirt or a plush rug. If you have ever wondered how to remove curry stains, you already know that a simple wipe with a damp cloth rarely does the trick. In fact, it often makes things worse. The vibrant yellow color in curry comes from turmeric, which contains a potent pigment called curcumin. Historically used as a permanent textile dye, curcumin is notoriously difficult to budge because it is lipophilic—meaning it loves oil but hates water.
In this guide, we will explore the most effective, chemistry-backed methods for 2025 and 2026 to ensure your fabrics and carpets return to their original state. Whether you are dealing with a fresh spill or a dried-in disaster, the secret lies in a "Layered Removal" strategy that addresses both the oil and the pigment.
Understanding the Chemistry of the Stain
Before you grab the first cleaning spray in your cupboard, it is vital to understand what you are fighting. Curry is a complex mixture of fats (ghee, oil, or coconut milk) and intense pigments (turmeric, cumin, and chili).
Curcumin, the primary pigment in turmeric, is a natural pH indicator. This is why many people experience a "panic moment" when they apply soap and the stain turns from yellow to a deep, blood-red. This isn't a sign that you've ruined the garment; rather, it's a chemical reaction to an alkaline substance. Understanding this sensitivity allows us to use modern tools, such as specific enzymatic cleaners and even UV light, to break the molecular bonds of the dye.
How to Remove Curry Stains from Fabric
When you need to remove curry stains from fabric, speed is your best friend, but technique is your savior. Whether it's a cotton t-shirt or a synthetic blend, the following four-step process is the gold standard for modern domestic efficiency.
Step 1: Mechanical Removal and Emulsification
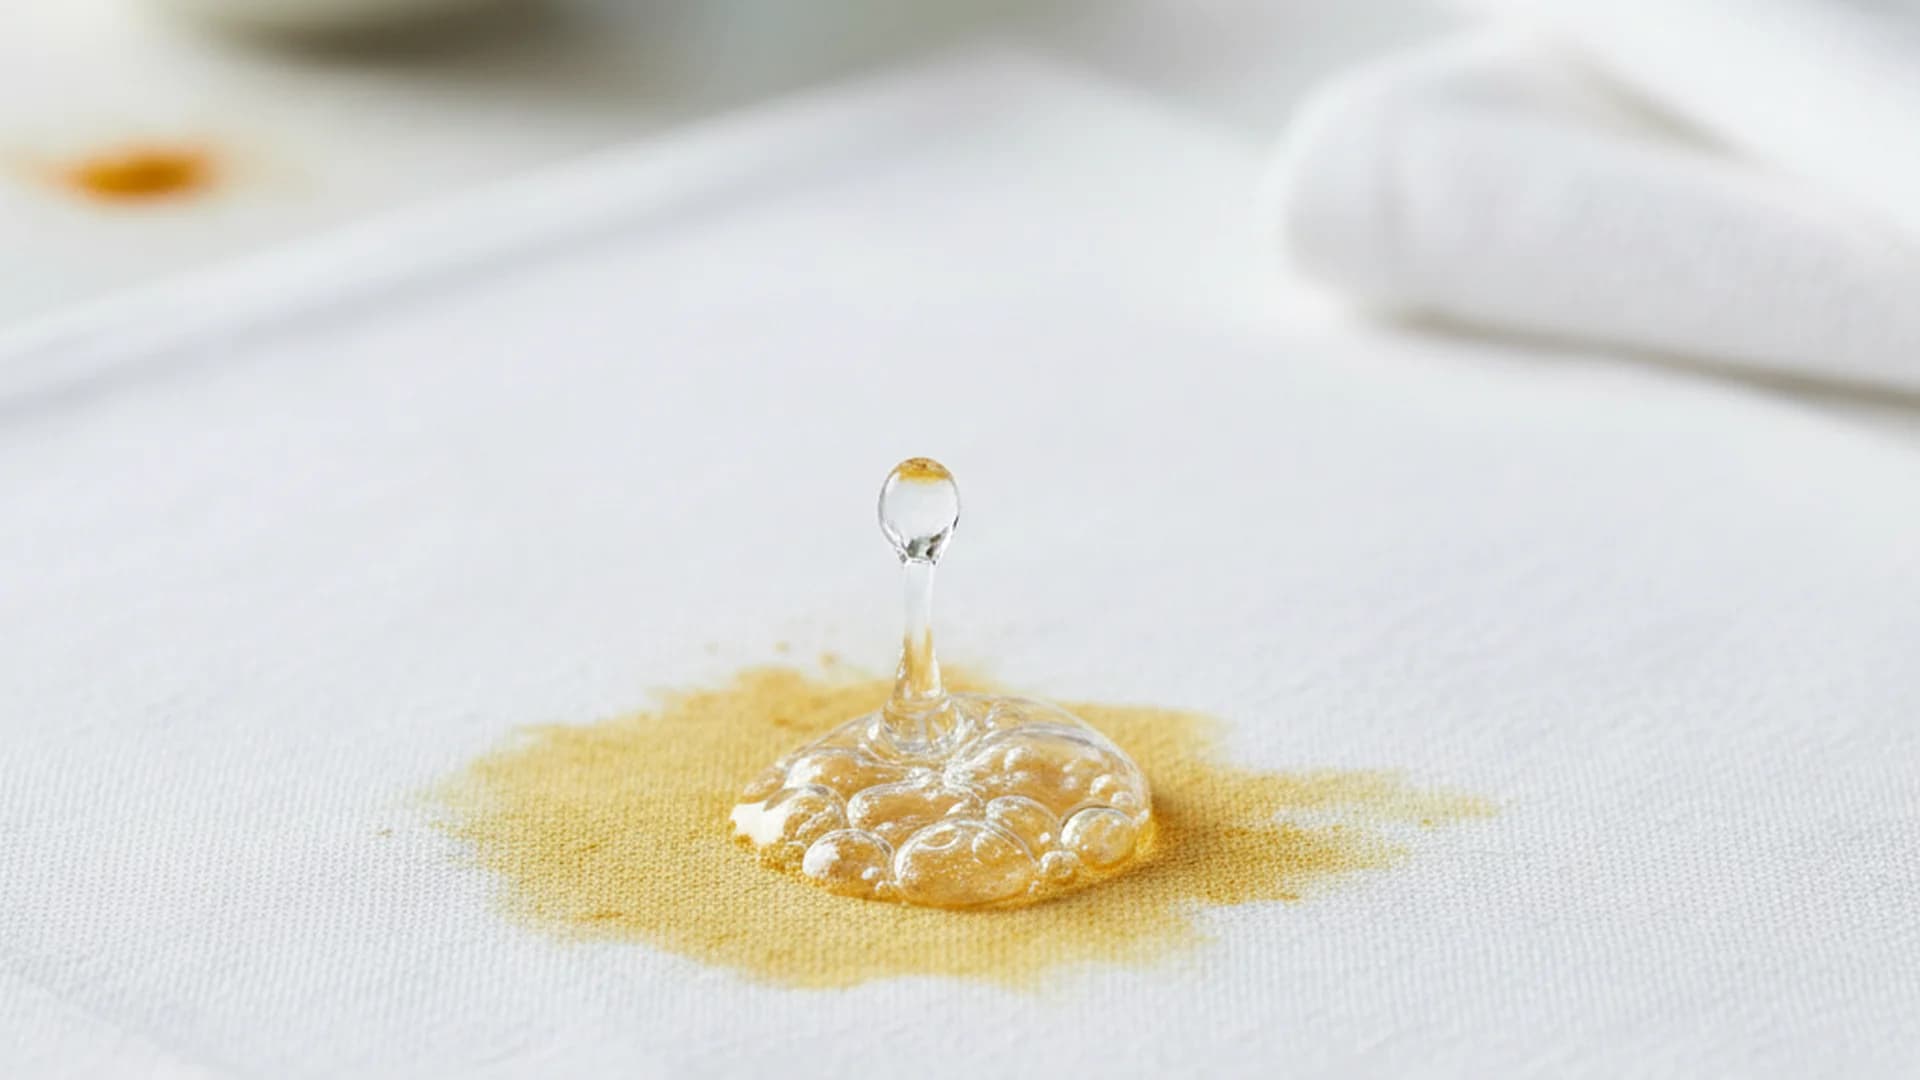
Start by taking a dull knife or a spoon and gently lifting any solids away from the fabric. Do not use a cloth yet, as you don't want to push the oils deeper into the weave. Once the solids are gone, apply a high-quality dish soap (like Dawn) directly to the area. Dish soap is a powerful surfactant designed to break down the lipophilic bonds of the cooking oils that carry the turmeric pigment.
Step 2: The Cold Water Flush
Turn the garment inside out and flush the stain from the back with cold water. This pushes the particles out of the fibers rather than through them.
Step 3: Oxidization and Targeted Enzymes
For white fabrics, apply a 3% hydrogen peroxide solution. For colored items, use a color-safe oxygen-based bleach. Modern 2025 enzymatic cleaners are now formulated with specific "plant-protein" enzymes that help dismantle the complex spice structure of the curry.
Step 4: The Long Soak
One of the most common mistakes is rushing to the washing machine. Instead, submerge the garment in a concentrated solution of oxygen bleach and cool water for 6 to 12 hours. This extended contact time is necessary for the oxygen to break down the curcumin molecules.
| Fabric Type | Recommended Agent | Max Soak Time |
|---|---|---|
| White Cotton | Hydrogen Peroxide | 12 Hours |
| Polyester | Oxygen Bleach | 6 Hours |
| Silk/Wool | Professional Care | Avoid Soaking |
How to Remove Curry Stains from Carpet
Carpets present a unique challenge because you cannot "flush" them or toss them in a washing machine. When you need to remove curry stains from carpet, you must rely on targeted blotting and chemical extraction.
The Blotting Technique
Never rub a carpet. Rubbing damages the "nap" (the fibers' natural direction) and spreads the oil. Instead, use a clean white microfiber cloth to blot from the outside of the stain toward the center. This prevents the "halo effect" where the stain expands outward.
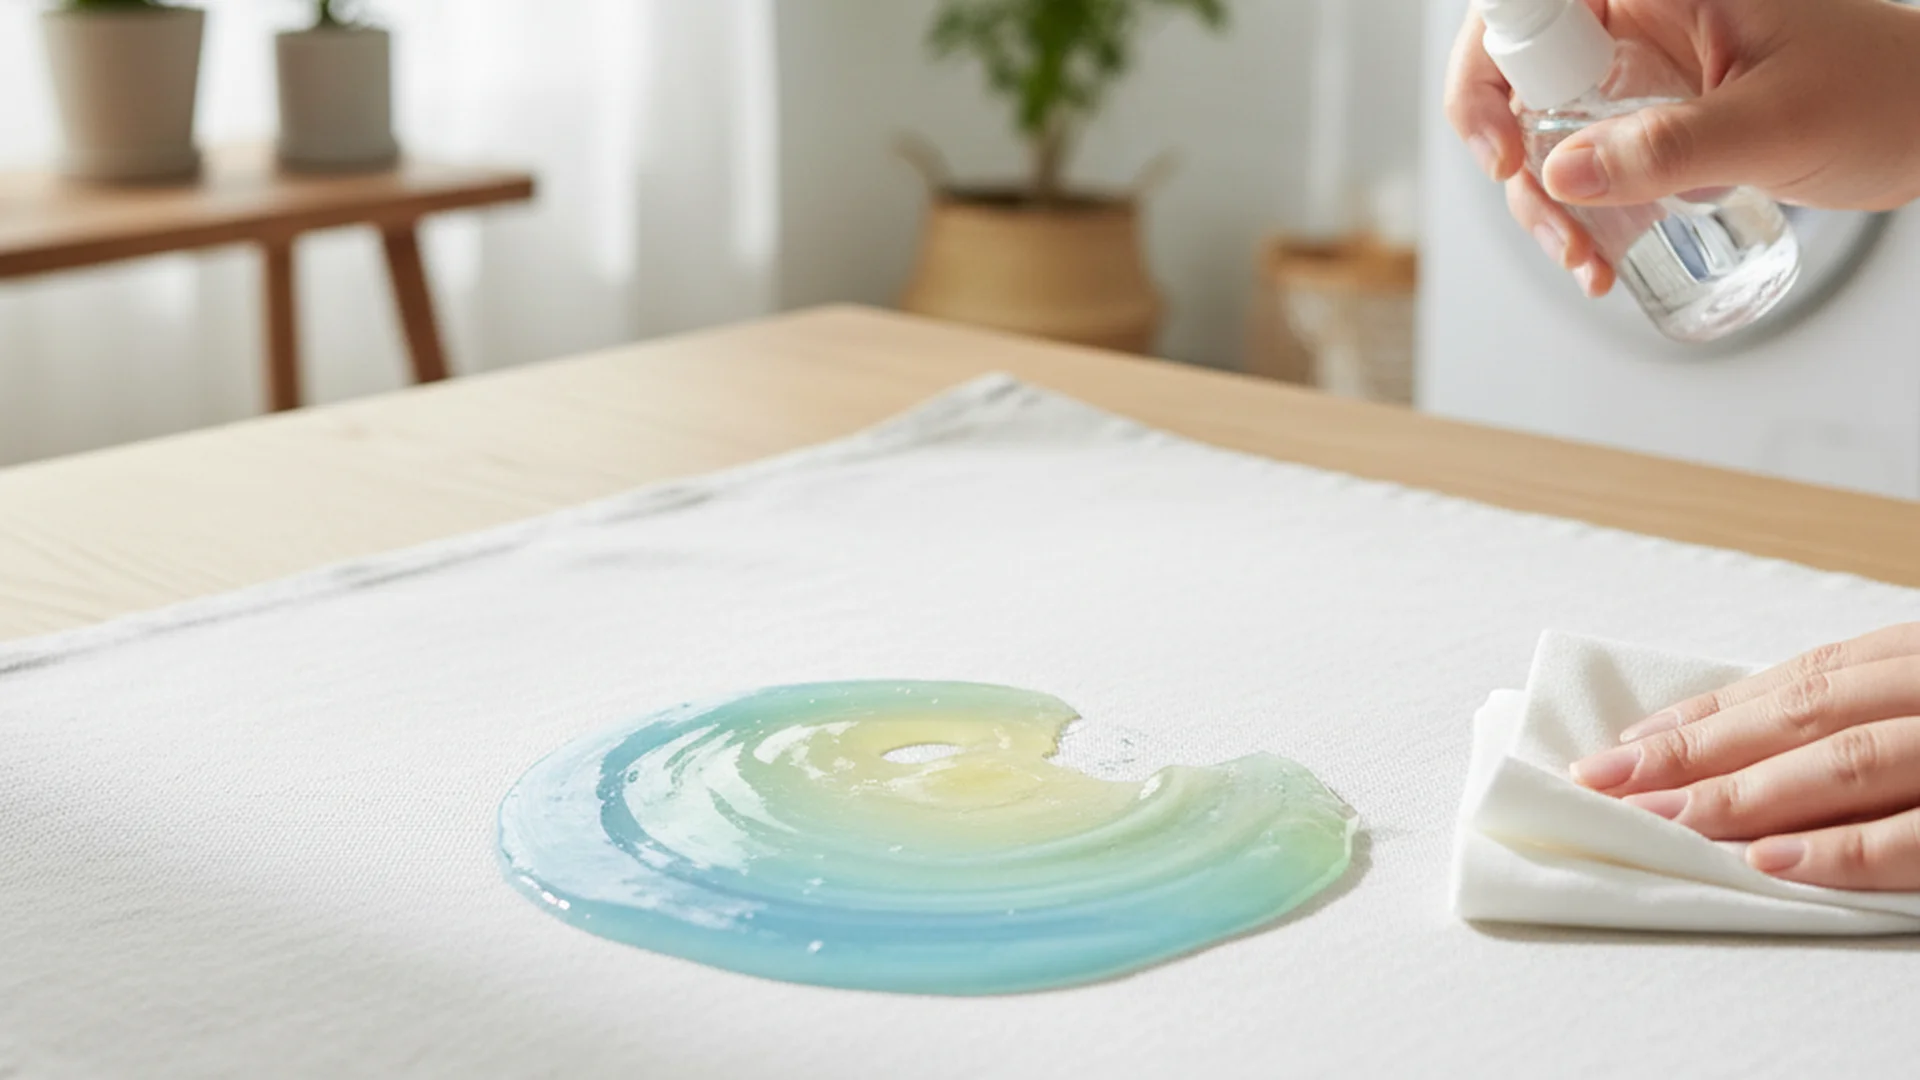
The DIY Vinegar and Soap Solution
Mix one tablespoon of liquid dish soap with one tablespoon of white distilled vinegar and two cups of cool water. The vinegar provides a mild acidity that helps neutralize the curcumin and break down the fats.
- Sponge the solution onto the stain.
- Let it sit for 5 minutes.
- Blot with a dry cloth.
- Repeat until no more yellow pigment transfers to the cloth.
Real-World Examples: Success Stories
Example 1: The White Linen Disaster
A client spilled lamb madras on a vintage white linen tablecloth. By skipping the laundry detergent and going straight to a 12-hour oxygen bleach soak followed by four hours of direct afternoon sunlight, the "permanent" stain was completely eradicated.
Example 2: The Office Rug Incident
A dropped container of chicken tikka masala on a grey office carpet was treated with a 2025-style "dry" encapsulation spray. This prevented the oil from spreading until a professional extractor could be used the following morning, resulting in zero residual staining.
Example 3: The Polyester "Red Shift"
A homeowner panicked when their yellow stain turned red after applying hand soap. By realizing this was just a pH shift, they applied a mild acidic rinse (lemon juice), which returned the stain to yellow, allowing them to then treat it effectively with a targeted enzymatic cleaner.
2025–2026 Cleaning Trends
The world of stain removal is evolving. Here are the latest trends specialists are using this year:
- Handheld UV-C Lamps: Using a 10W–30W UV-C light on a damp, treated stain for 1–2 hours can molecularly "erase" the yellow pigment without using harsh chemicals.
- Waterless Dry Sprays: Eco-friendly "encapsulation" sprays are becoming the norm. They turn the oils into a dry powder that can be vacuumed up, preventing the "wicking" effect where stains reappear days later.
- Hydrophobic Fabric Barriers: Many homeowners are now applying pre-emptive fabric protectors to their dining room chairs, creating a "lotus effect" where curry oils bead up on the surface rather than soaking in.
Common Mistakes to Avoid
- Using Chlorine Bleach on Synthetics: While it works on cotton, chlorine bleach can cause a chemical reaction with polyester that turns the fabric permanently yellow, actually mimicking the curry stain.
- Immediate Scrubbing: Aggressive scrubbing breaks the fabric fibers and "locks" the pigment into the core of the thread.
- The Dryer Trap: Never put a garment in the tumble dryer if you can still see a hint of yellow. The high heat of the dryer will act as a permanent setting agent for the dye.
- Relying on "Old Wives' Tales": Using salt or white wine is largely ineffective for oil-based spice stains and can actually create a secondary mess to clean up.
Frequently Asked Questions
Are curry stains permanent?
Why did my curry stain turn red when I cleaned it?
Does sunlight really remove curry stains?
Can I use vinegar on a curry stain?
Conclusion
Removing curry stains doesn't have to be a death sentence for your favorite clothes or your home's carpeting. By understanding the chemistry of curcumin and employing a layered approach—targeting oils first and pigments second—you can handle even the most vibrant spills. Remember to stay away from heat, embrace the "long soak," and don't be afraid to let the sun (or a UV-C lamp) do the heavy lifting.
Ready to Level Up Your Home Care?
Discover more professional cleaning secrets in our 2026 Efficiency Guide.
Read the Guide