Key Takeaways
- Decluttering must precede buying any new storage containers.
- Vertical storage for fabric prevents "searching fatigue" and wrinkles.
- Utilize the "Sewing Triangle" layout to maximize workflow efficiency.
For many enthusiasts, the hardest part of a project isn't the stitching—it’s the searching. Learning how to organize sewing supplies effectively is about more than just aesthetics; it is about creating a "creative sanctuary" that minimizes downtime and maximizes inspiration. As the global sewing supplies market nears an estimated $5.50 billion in 2025, more crafters are realizing that their workspace environment directly impacts their productivity. Whether you are a professional quilter or a weekend hobbyist, a streamlined system can cut your project time in half by eliminating the frustration of misplaced notions and tangled threads.
The Psychology of the Creative Sanctuary
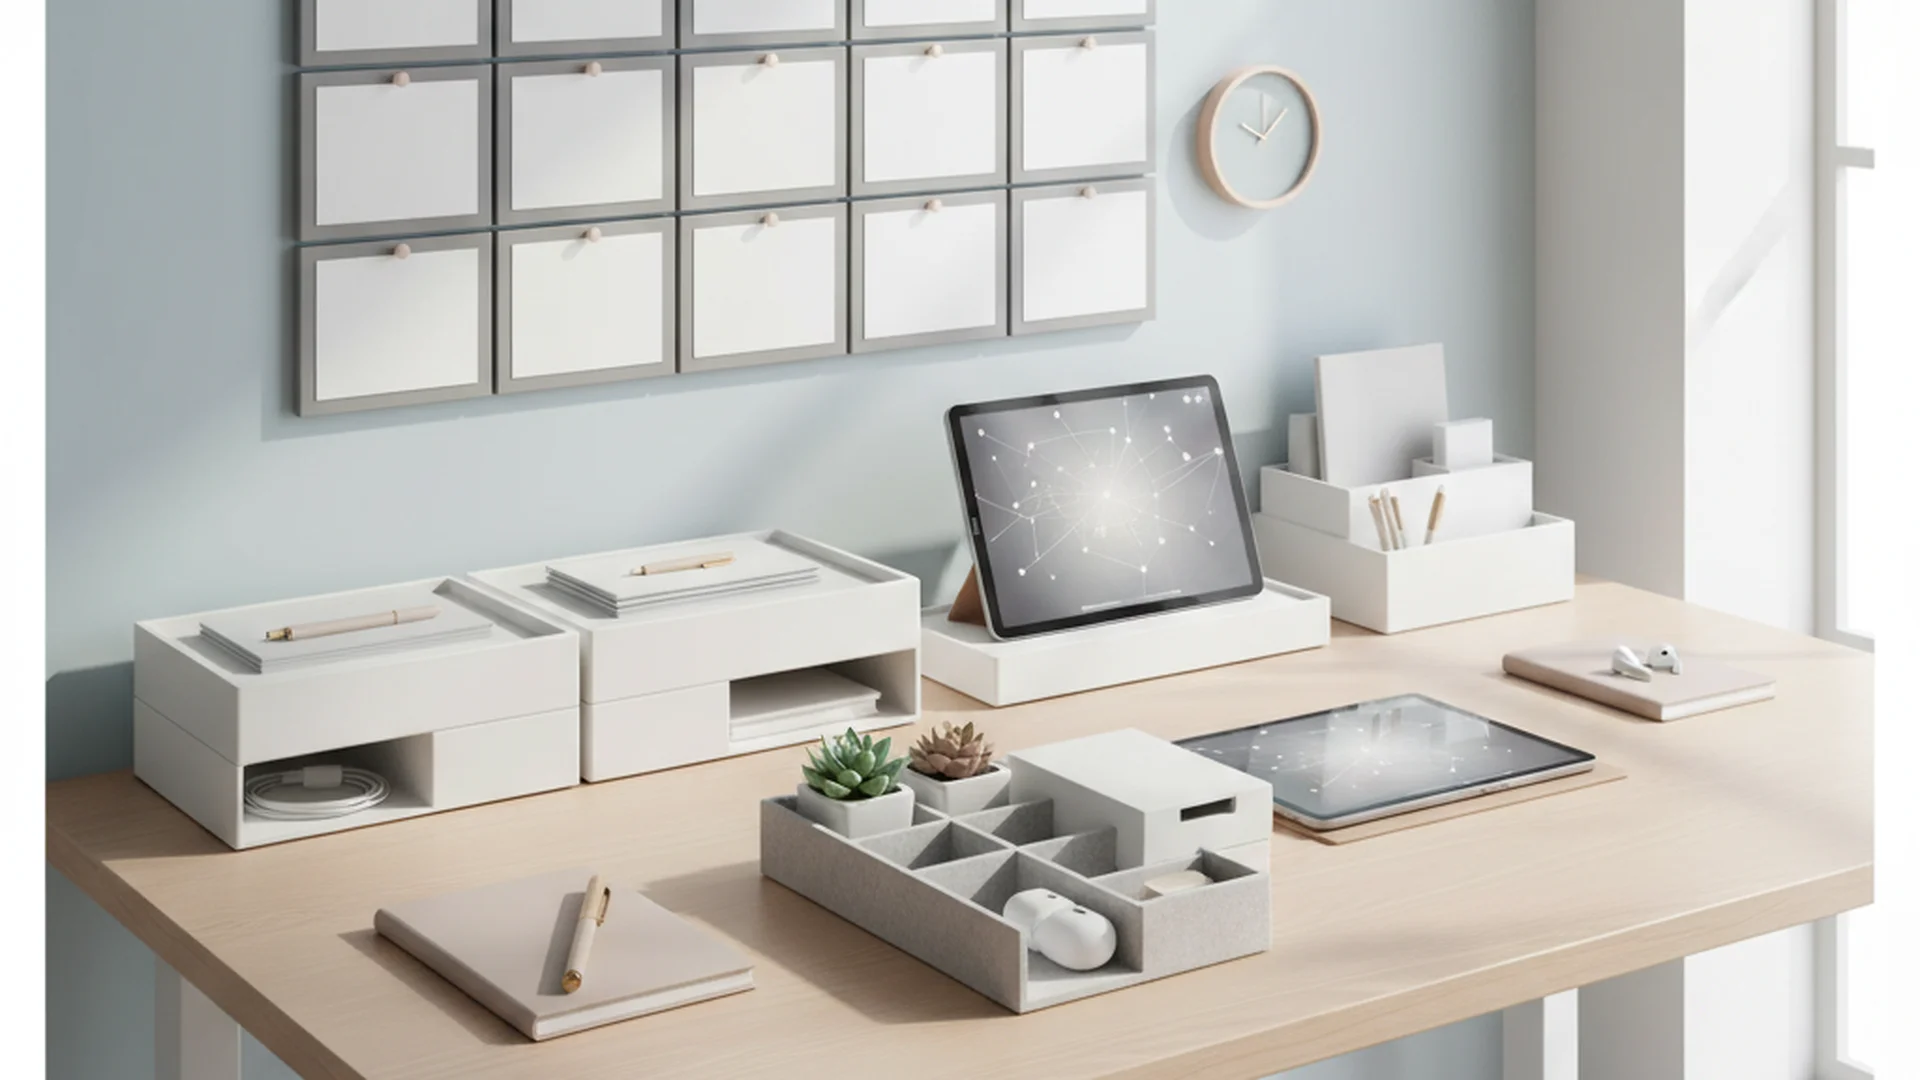
The shift in home organization for 2025–2026 has moved away from "Pinterest-perfect" minimalism toward functional wellness. For a sewist, this means creating a space that makes you feel "lighter and in control." A cluttered workspace doesn't just slow you down; it creates a mental barrier to starting new projects. By implementing the best way to organize sewing supplies, you transform a chaotic room into a high-performance studio where every tool has a home.
Recent data shows that homeowner spending on DIY organization has grown by 44%. This isn't just a trend; it's a response to the need for personalized spaces that support mental clarity. When your tools are within arm’s reach, "searching fatigue" vanishes, allowing your brain to focus entirely on the craft at hand.
Phase 1: The Essential Declutter
Before you browse for bins or Pinterest-worthy shelves, you must tackle the "purge." The most common mistake people make when learning how to organize sewing supplies is the "Container First" trap—buying beautiful bins before deciding what actually needs to stay.
Categorize and Conquer
Take every single item out of your current storage. Group them into three distinct piles:
- Keep: Tools and materials you use regularly or have a specific project for.
- Donate/Sell: Fabric scraps you’ll never use, duplicate rulers, or patterns that no longer fit your style.
- Toss: Dried-out marking pens, bent pins, and rusted needles.
Phase 2: Mastering Fabric Storage
Fabric is often the largest part of a sewing stash and the most difficult to manage. Stacking fabric in deep bins is rarely the best way to organize sewing supplies because the piece you need is always at the bottom.
The Vertical Revolution
Instead of stacking, use the "File Folding" method or "Comic Book Board" wrapping. By wrapping your fabric around acid-free boards and standing them vertically on a shelf, you can see every print and color at a glance.
- By Weight: Group all knits together, all denims together, and all quilting cottons together.
- By Project: If you have a specific pattern paired with a fabric, store them together in a clear "project envelope."
Phase 3: Threads, Bobbins, and Small Notions
Nothing derails a sewing session faster than a bird's nest of tangled thread. To keep your workstation efficient, you need a system that prevents dust buildup and tangles.
Thread Management
Thread should ideally be stored in closed containers to prevent lint and household dust from settling on the fibers. When dust-covered thread runs through your sewing machine, it carries that debris into the tension discs, leading to expensive repairs.
| Supply Type | Recommended Storage | Why It Works |
|---|---|---|
| Thread Spools | Tiered drawer inserts | Prevents dust and shows colors clearly |
| Bobbins | Bobbin clips or foam separators | Keeps matching bobbin/spool pairs together |
| Buttons | Clear glass spice jars | Easy to see color and size instantly |
| Needles | Magnetic pin cushions | Keeps sharp items safe and accessible |
The "Sewing Triangle" Layout
Professional cleaning consultants and organizers often refer to the "Sewing Triangle." Similar to a kitchen layout, your space should be arranged so your three most-used areas are in a functional flow:
- The Sewing Machine: The heart of the room.
- The Cutting Table: A clear, waist-high surface.
- The Ironing Station: For pressing seams as you go.
By minimizing the steps between these three points, you reduce physical fatigue and keep the "creative flow" alive. If you are working in a small space, consider Verticality. Use pegboards to keep high-frequency tools like scissors, rulers, and rotary cutters at eye level, clearing your desk for actual sewing.
Real-World Organization Examples
To better understand these organize sewing supplies ideas, let's look at how they apply in real-life scenarios:
- The Mobile Quilter: Sarah, a hobbyist with limited space, uses a Mobile Modular Station (like a rolling IKEA Raskog cart). She keeps her current project’s fabrics on the top shelf, her thread and bobbins on the middle, and her iron/pressing mat on the bottom. This allows her to move her entire "studio" from the closet to the dining table in one trip.
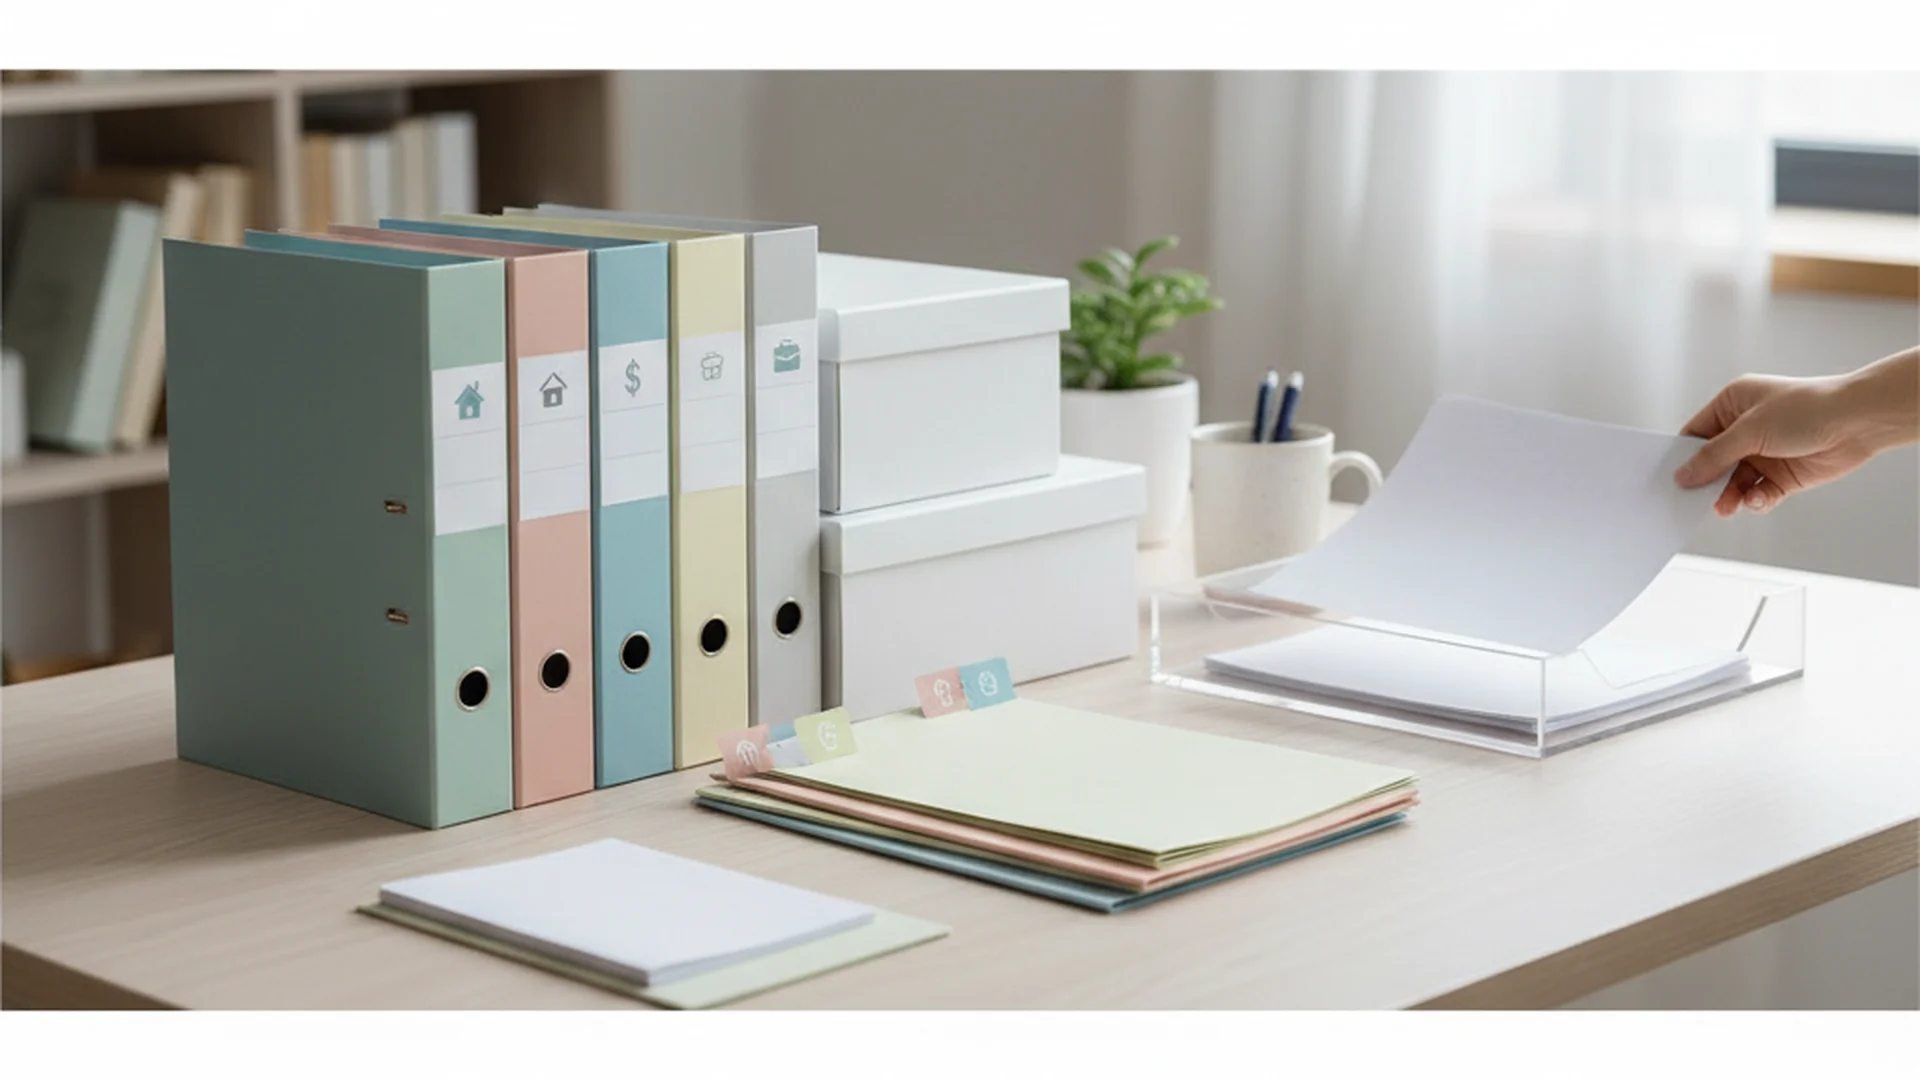
- The Inventory Pro: Mark, a professional dressmaker, uses a Digital Swatch Book. He keeps small 2x2 inch clips of every fabric in his stash in a binder, labeled with yardage and fiber content. This prevents him from over-buying duplicates at the fabric store.
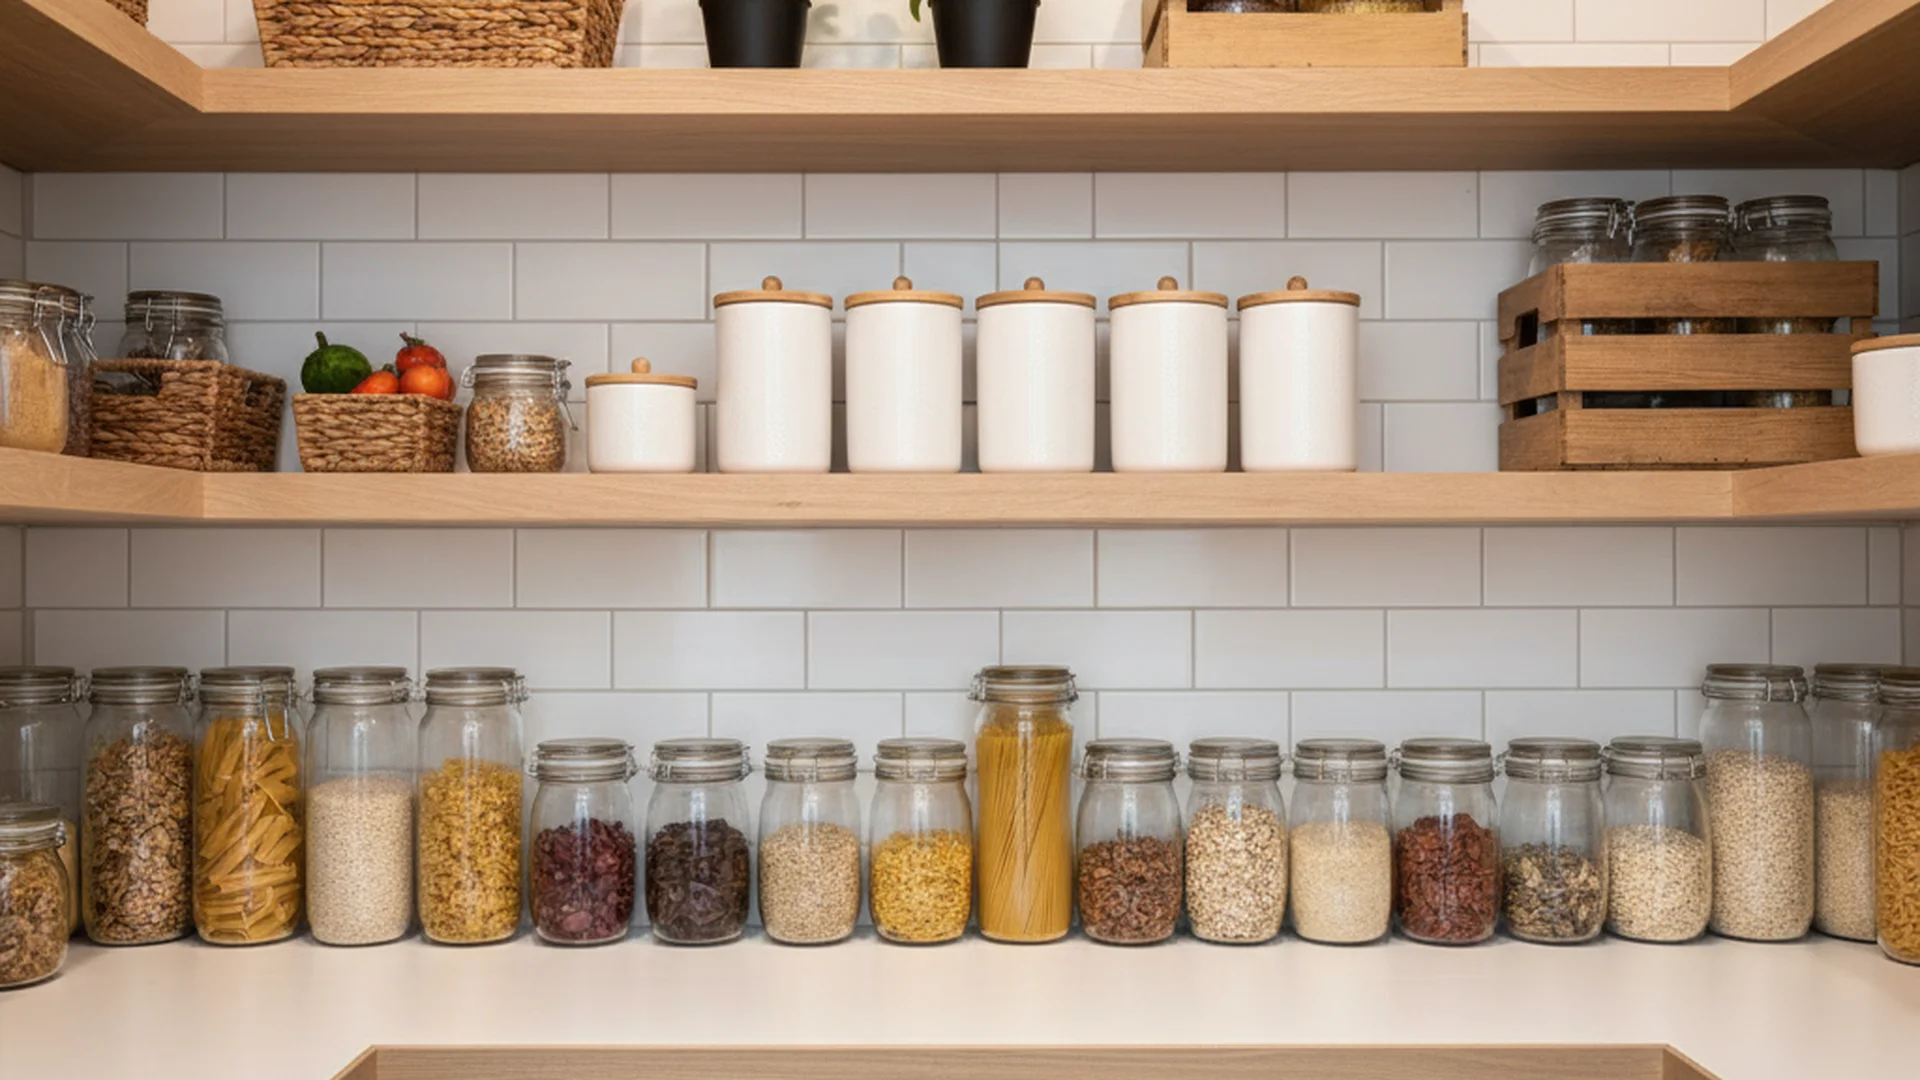
- The Repurposed Luxury Studio: Elena transformed an old vintage spice rack into a button and sequin station. By using glass jars instead of plastic, she embraced the 2025 trend of Eco-Friendly Solutions, reducing her plastic footprint while creating a beautiful visual display.
Common Mistakes to Avoid
- Storing by Color Only: While a rainbow-colored shelf looks great for photos, it is impractical. It is much more efficient to categorize by fabric weight or fiber content first.
- Neglecting Lighting: Many people focus on bins but forget that poor task lighting leads to eye strain. In 2025, the trend is high-CRI (Color Rendering Index) LED lamps, which ensure the colors you see under the light are the same colors you see in daylight.
- The "One Day" Hoard: Keeping scraps smaller than 5 inches "just in case" usually leads to clutter. If you don't make crumb quilts or stuffing, donate these scraps to local schools or textile recycling centers.
Frequently Asked Questions
How do I start organizing if I’m overwhelmed?
What is the best way to store a large fabric stash?
How do I prevent thread from tangling?
Can I organize a sewing space on a budget?
Conclusion: Maintaining the System
The secret to long-term organization isn't just the initial setup; it's the "Five-Minute Tidy" habit. At the end of every sewing session, spend five minutes returning tools to their designated homes and clearing the cutting table. This ensures that the next time you feel a spark of inspiration, your "creative sanctuary" is ready and waiting for you.
By choosing sustainable materials like bamboo or glass and utilizing modular, mobile storage, you are setting yourself up for a productive 2025 and beyond. Remember, the goal is a space that works for you, not one that just looks good for a camera.
Ready to Start?
Transform your sewing space into a professional-grade studio today.
Get Your Organization Checklist