In this article
What you’ll learn
- Avoid steam mops and beater bars to prevent permanent plank damage.
- Use pH-neutral cleaners to maintain the integrity of the wear layer.
- Prioritize dry-cleaning with microfiber to stop abrasive scratches.
Is your cleaning routine actually killing your floors? In 2026, the rules for vinyl have changed. As Luxury Vinyl Plank (LVP) and Luxury Vinyl Tile (LVT) have surged to represent over 65% of the flooring market, homeowners are discovering that traditional methods—like steam cleaning or heavy scrubbing—can lead to expensive failures. Knowing how to clean vinyl floors properly is no longer just about aesthetics; it is about protecting a significant investment in your home's infrastructure.
The Evolution of Vinyl Flooring in 2025-2026
Vinyl flooring has come a long way from the thin, yellowing sheets of the 1970s. However, this reputation often leads to a false sense of security.
Modern LVP features a sophisticated stack of layers: a rigid core, a print layer, and a Polyurethane Reinforcement (PUR) coating. While these floors are marketed as "waterproof," moisture-related failures like warping or bubbling still account for nearly 20% of warranty claims. Usually, these issues are caused by improper cleaning tools that force water or heat into the seams.
Note: Many 2026 vinyl products now include nanotechnology-enhanced wear layers. These offer superior scratch resistance and antimicrobial properties, often requiring nothing more than water and a high-quality microfiber cloth for daily maintenance.
Step 1: The "Dry-First" Rule of Preparation
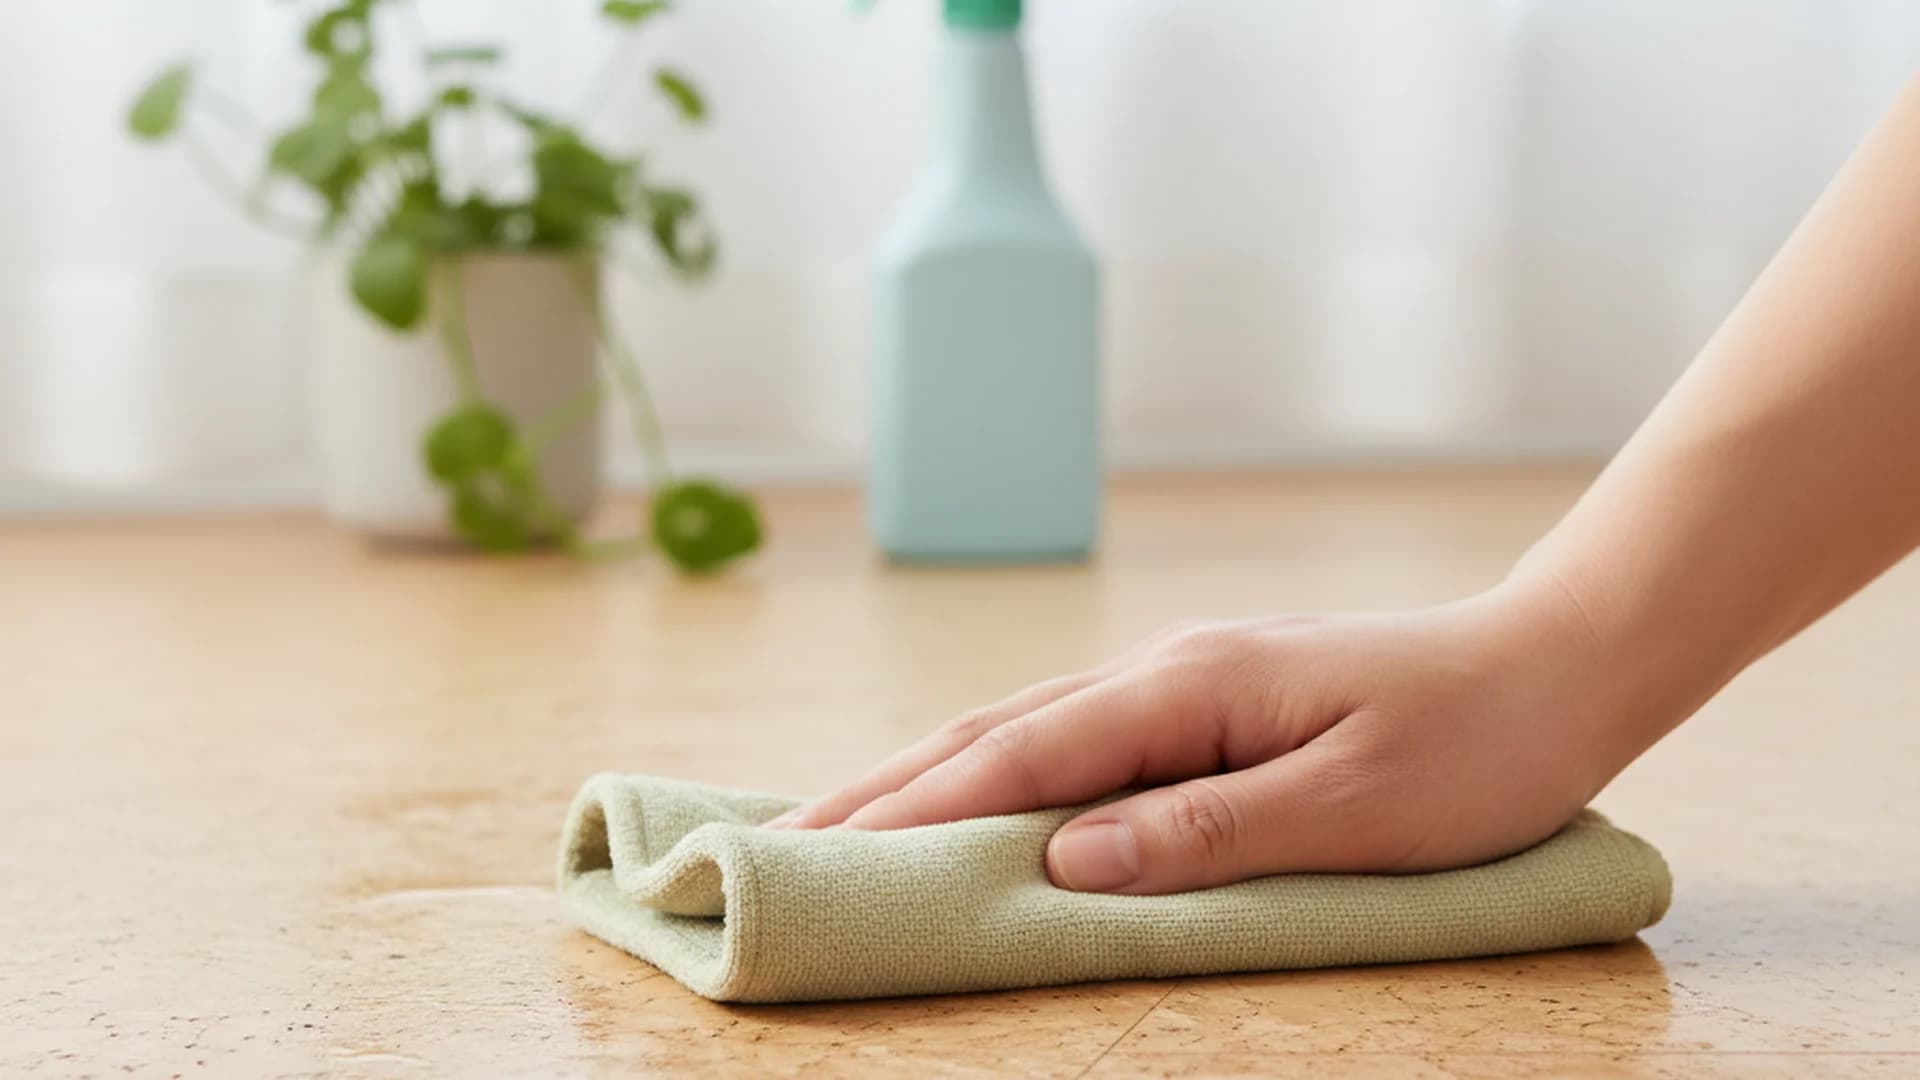
The most important of all vinyl floor cleaning tips is to never introduce moisture until you have removed loose debris. Dust, hair, and grit act like sandpaper under the weight of a mop.
Choosing the Right Vacuum
Not all vacuums are safe for vinyl. In 2026, the industry has seen a massive "Beater Bar Blunder" trend where homeowners use carpet-setting vacuums on hard floors.
- Turn off the brush roll: The rotating bristles on a beater bar can create microscopic scratches that dull the PUR coating over time.
- Use hard-floor attachments: Look for felt-lined or soft-bristled heads.
- Robotic Integration: If you use an AI-driven robot vacuum, ensure it has a "Vinyl Mode" sensor. Modern models can now automatically detect the floor type and disable aggressive scrubbing features to protect your planks.
The Power of Microfiber
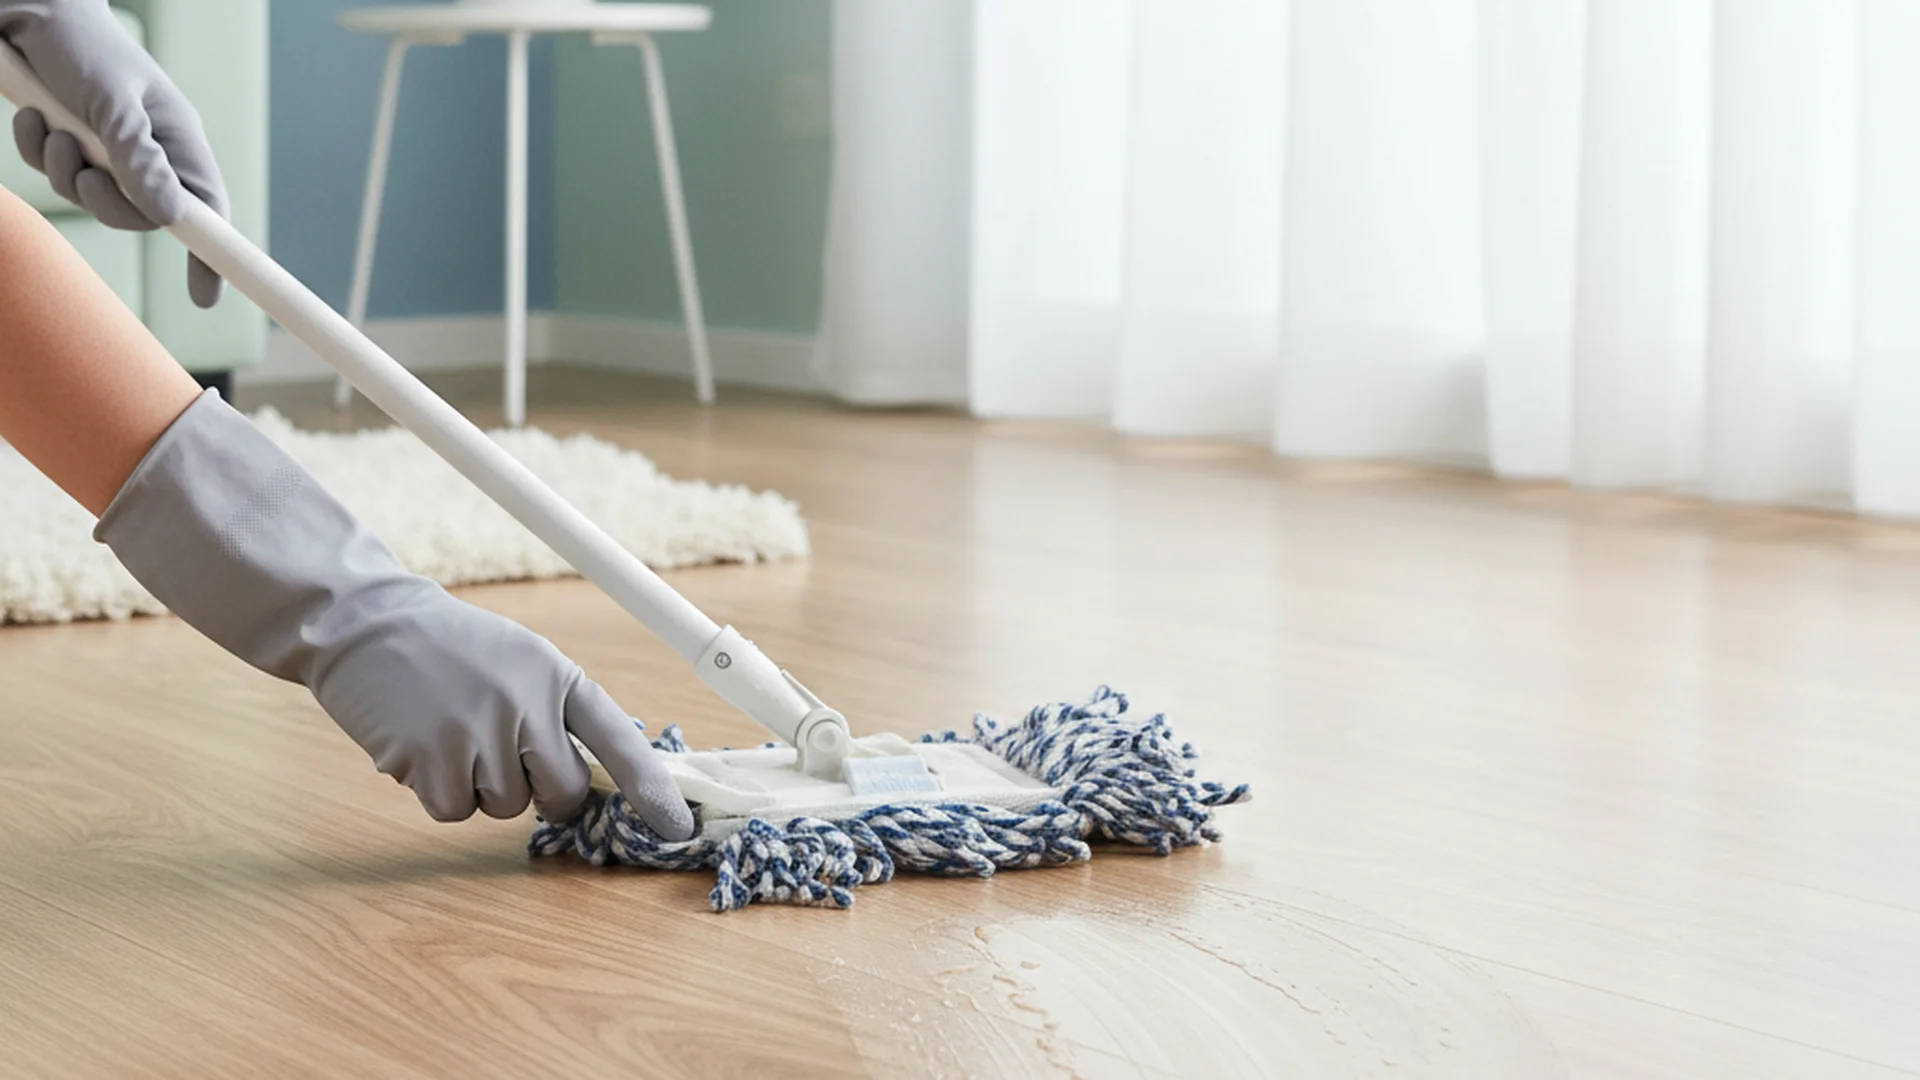
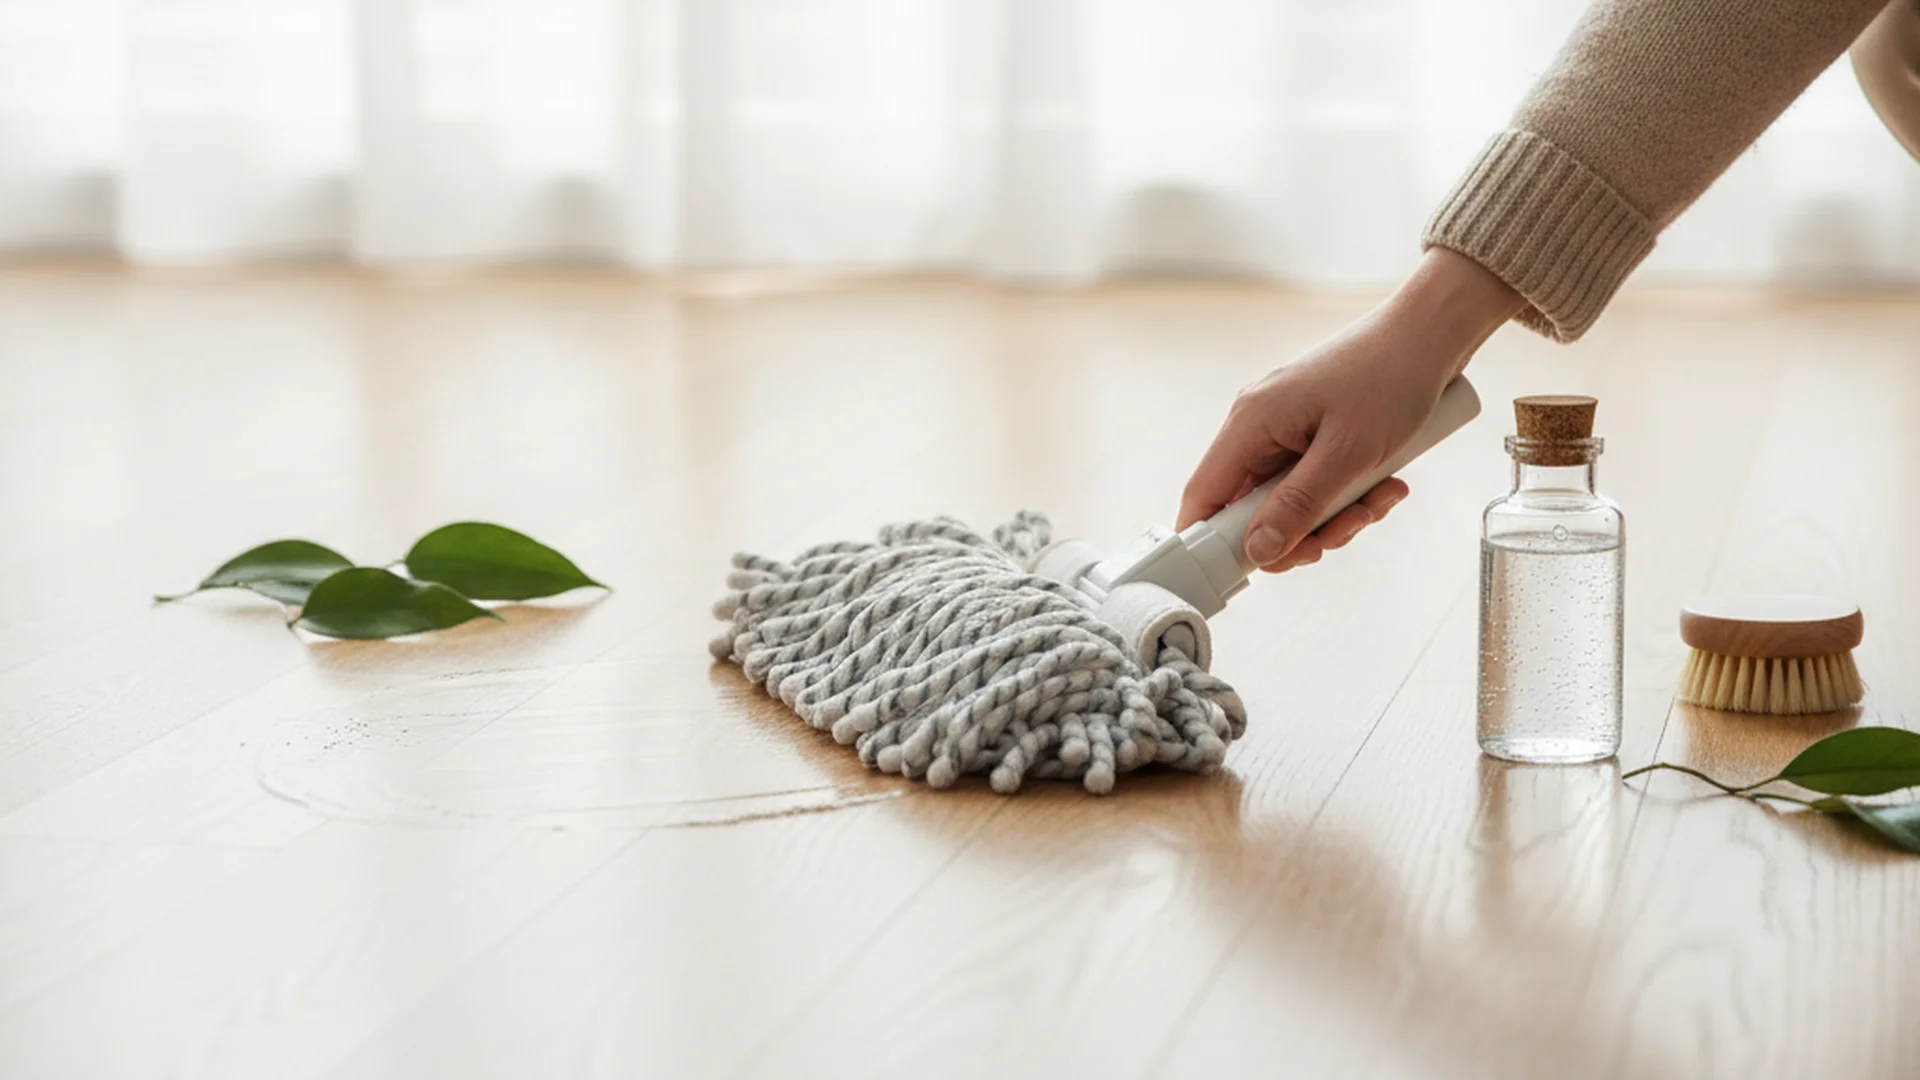
Experts now emphasize using microfiber flat mops over traditional string mops. Microfiber carries a natural static charge that traps 99% of small particles, whereas string mops often just push dirt into the seams of "click-lock" flooring.
Tip: Sweep or vacuum high-traffic areas daily. Statistics show that 80% of the dirt in a home is tracked in from outside; stopping it before it spreads reduces deep cleaning frequency by half.
Step 2: Selecting the Best Cleaner
When searching for the best way to clean vinyl floors, the consensus has shifted significantly. In previous years, vinegar was the "green" darling of DIY cleaning. However, 2026 manufacturer guidelines have updated their stance.
The pH-Neutral Gold Standard
Because modern vinyl uses synthetic wear layers, acidic cleaners (like vinegar) or alkaline cleaners (like bleach or ammonia) can erode the finish. This erosion makes the floor look "cloudy" or "milky."
| Cleaner Type | Recommendation | Impact on Vinyl |
|---|---|---|
| pH-Neutral (e.g., Bona) | Highly Recommended | Preserves wear layer and shine |
| Diluted Vinegar | Use Sparingly | Can dull finish over long-term use |
| Steam Mops | Avoid | Warps planks and voids warranties |
| Wax/Polishes | Avoid | Creates a sticky film that attracts dirt |
Warning: Never use wax on modern LVP/LVT. These floors are designed to be "no-wax." Applying a polish creates a residue that traps grime, making the floor look dirtier over time.
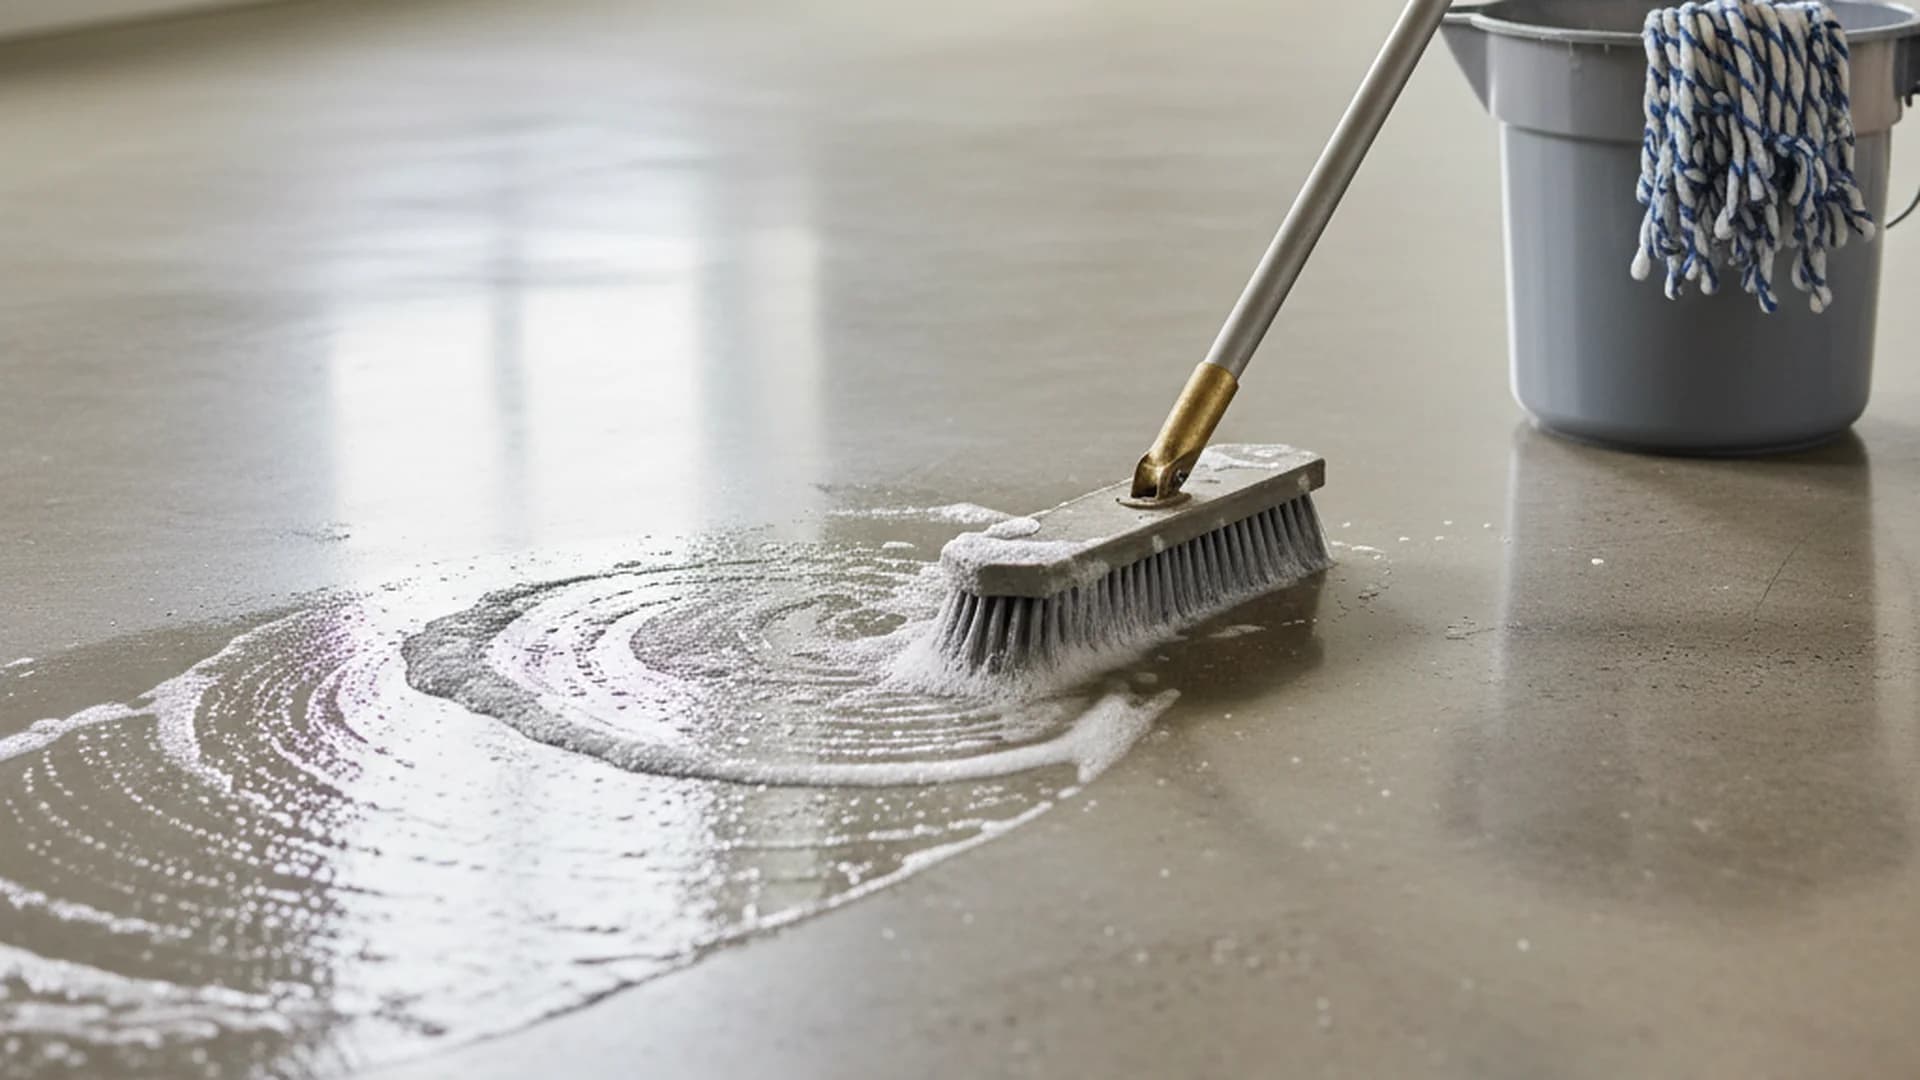
Step 3: The "Damp, Not Drenched" Mopping Technique
When you are ready to wet-mop, the goal is moisture control. Even "waterproof" vinyl has seams. If liquid sits on these seams for more than a few hours, it can seep into the subfloor, leading to mold or adhesive failure.
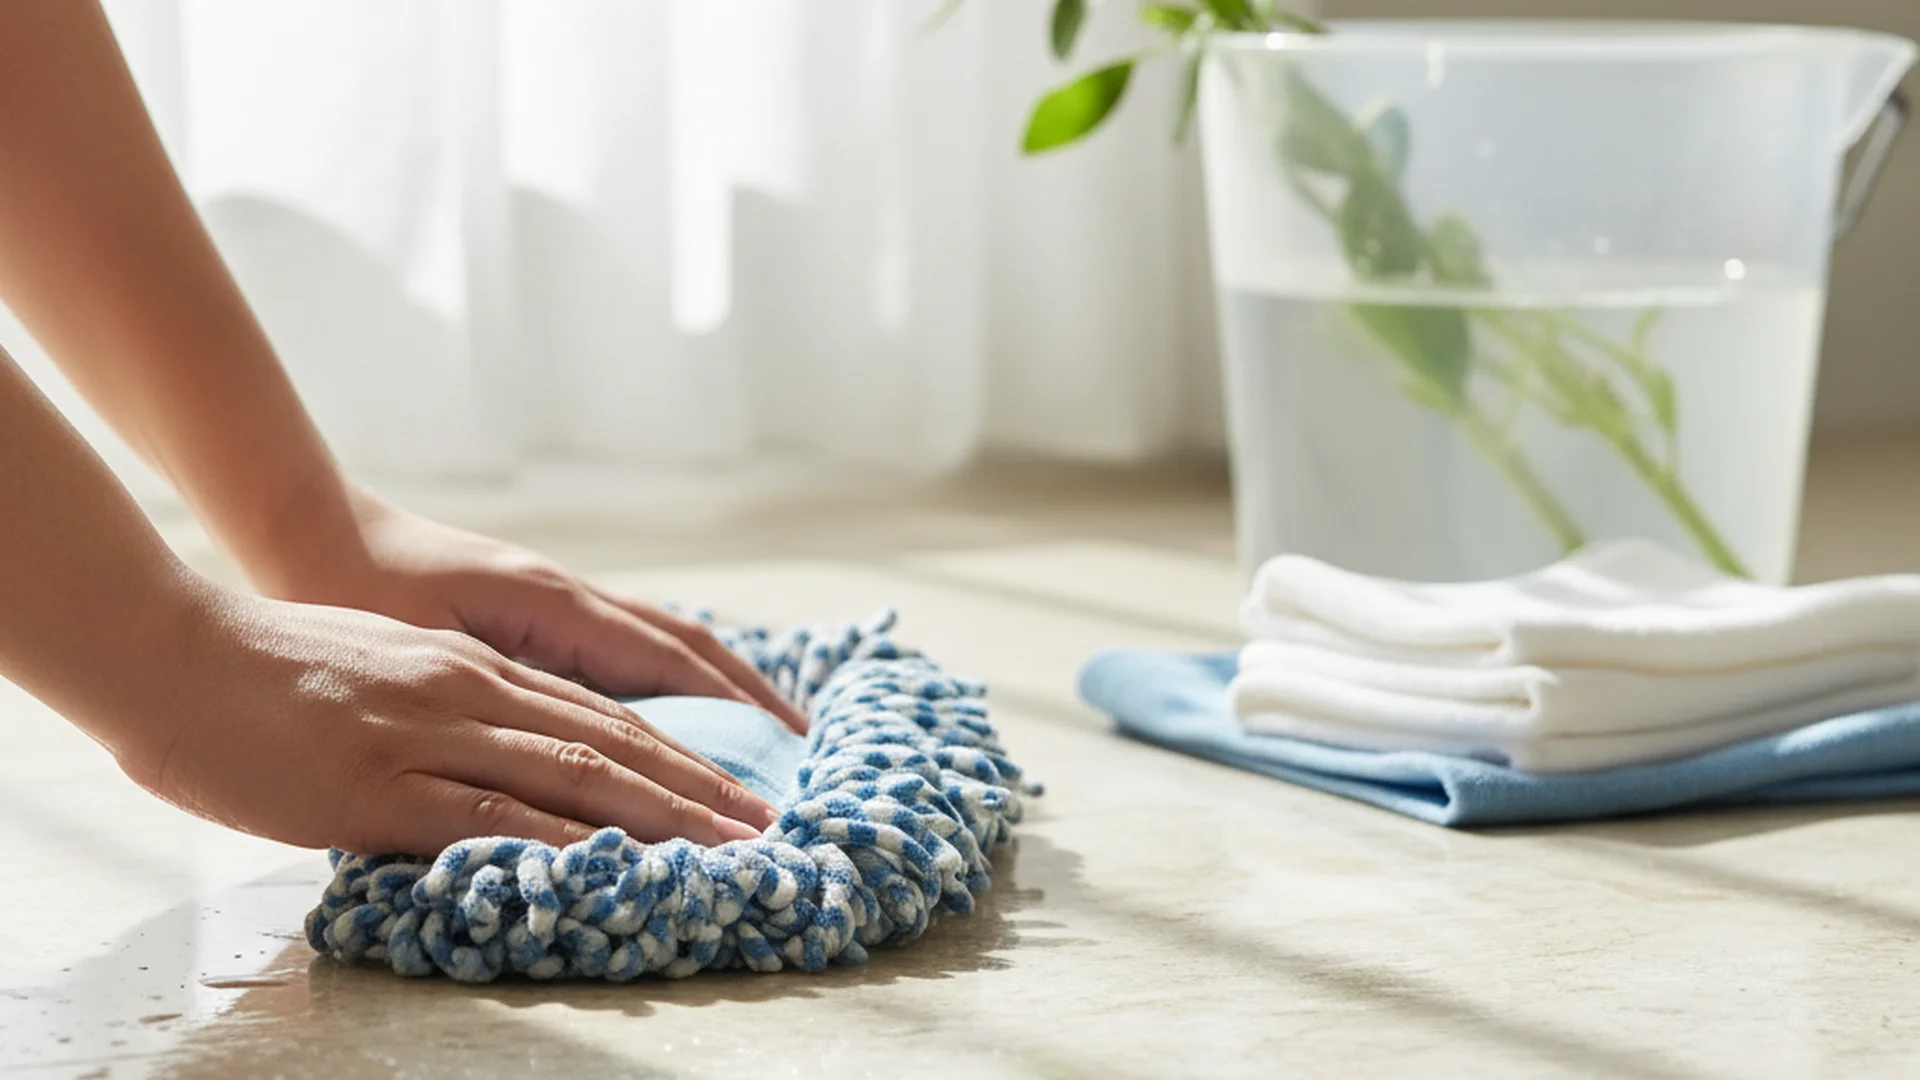
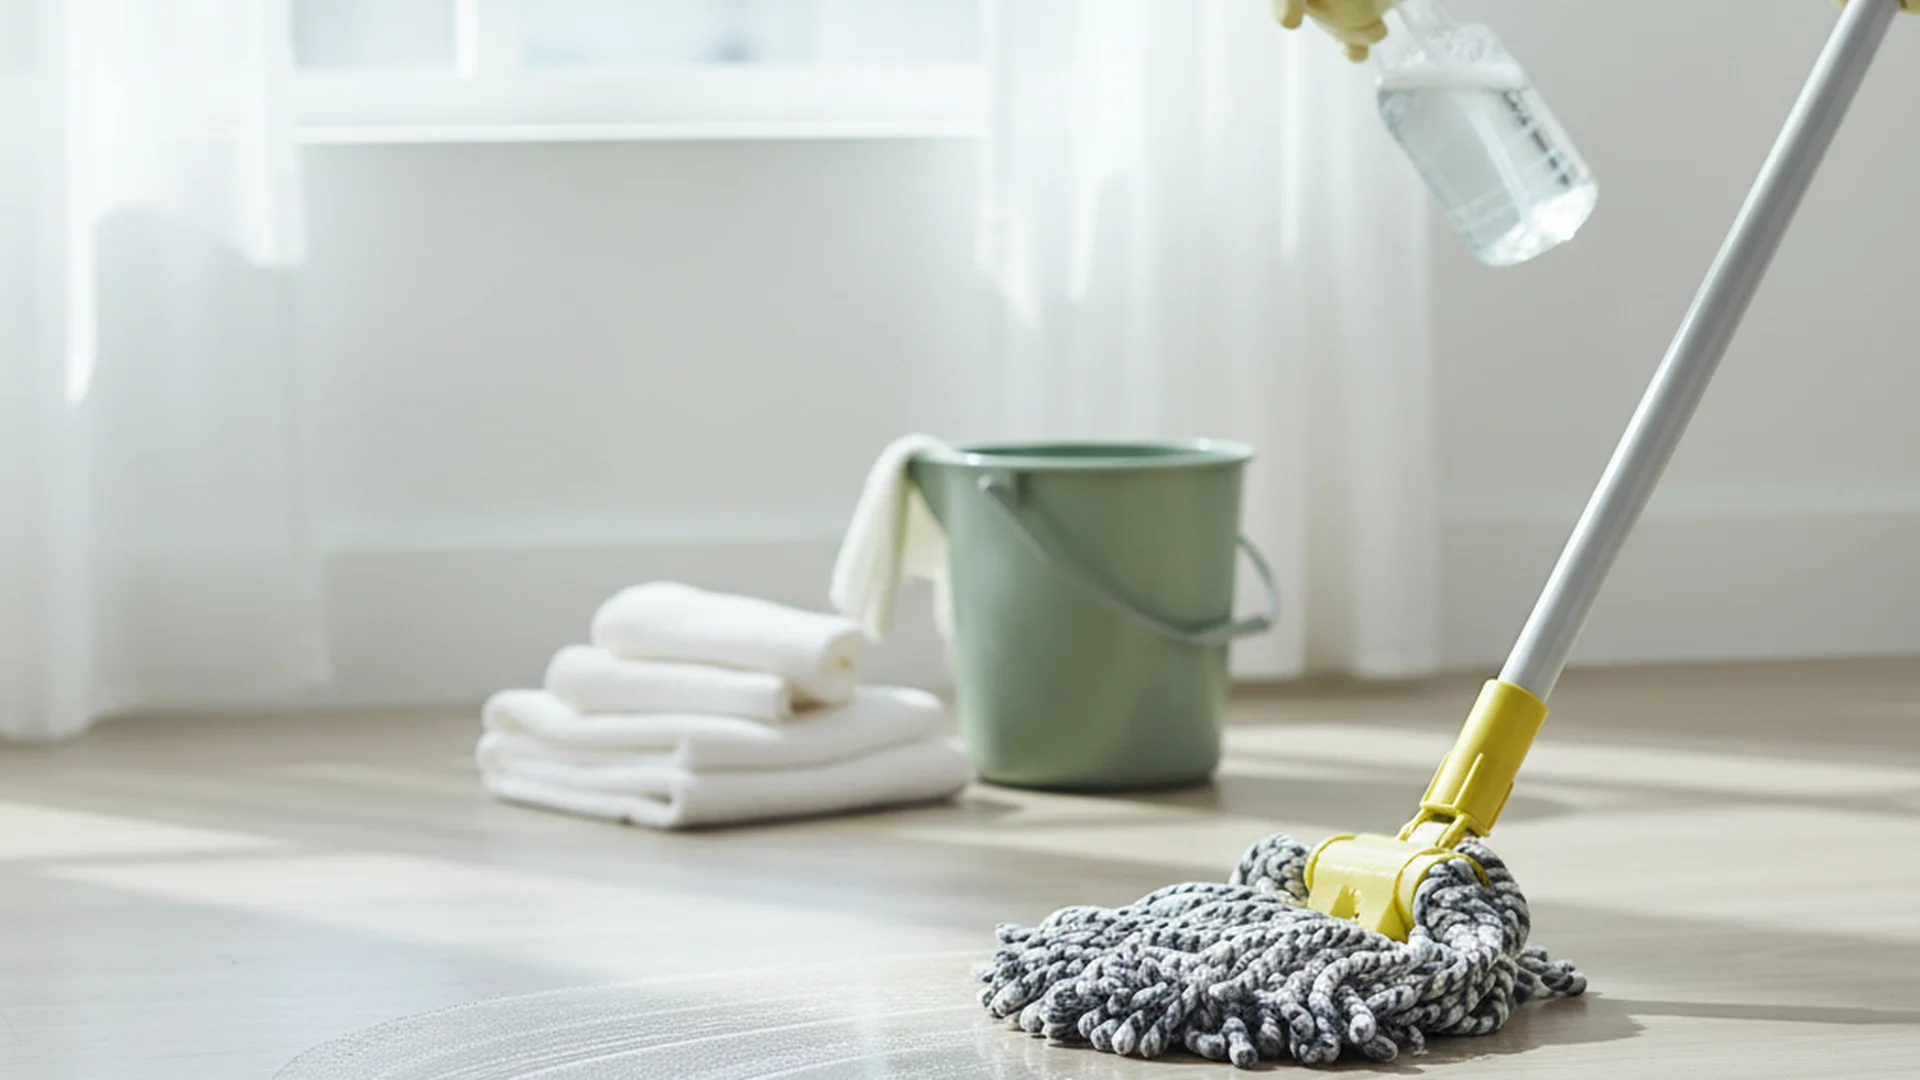
- The Two-Bucket Method: Use one bucket for your cleaning solution and one for rinsing your mop. This ensures you aren't just spreading dirty water back onto the floor.
- The Damp Test: Your mop should be damp to the touch, not dripping. If you see standing water behind you as you mop, you are using too much liquid.
- Work in Sections: Clean small areas at a time and dry them immediately with a clean microfiber cloth if the moisture doesn't evaporate within 60 seconds.
Success: Using the "Damp, Not Drenched" method prevents the #1 cause of vinyl floor failure: water infiltration at the seams.
Step 4: Removing Scuffs and Tough Stains
Even with perfect maintenance, life happens. Here is how to handle common 2026 household mishaps without damaging the floor.
Scuff Marks
Rubber-soled shoes often leave dark streaks. To remove them:
- The Tennis Ball Trick: This is a classic "pro tip." Rub a clean tennis ball over the scuff mark. The texture of the ball lifts the rubber without scratching the vinyl.
- Melamine Sponges: Use a Magic Eraser very gently. Do not scrub hard, as it is a micro-abrasive and can create a dull spot if overused.
Stubborn Spills
For dried-on food or juice:
- Isopropyl Alcohol: Use a tiny amount on a soft cloth for ink or permanent markers.
- Baking Soda Paste: For tough food stains, mix baking soda and water into a thick paste. Rub gently until the stain lifts, then rinse with a pH-neutral cleaner.
Common Mistakes to Avoid
In my role as a Domestic Efficiency Specialist, I see the same four errors repeatedly. Avoiding these will double the lifespan of your floors.
- The Steam Mop Trap: Steam mops are the primary cause of warranty denials. The high heat can melt the adhesive and cause the core of the plank to expand and warp.
- Rubber-Backed Rugs: Many homeowners don't realize that rubber or latex-backed mats cause a permanent chemical reaction (antioxidant migration) that turns vinyl yellow. Always use rug pads labeled "safe for vinyl."
- Excessive Detergent: "More soap" does not mean "more clean." Too much product leaves a dull, sticky film. If your floor feels tacky, you need to perform a "strip rinse" with plain water.
- Ignoring Entryway Defense: Not using walk-off mats at entryways allows grit to enter, which acts like sandpaper on your floor's finish.
Tip: Use "breathable" rugs made of natural fibers like jute or woven cotton to ensure no chemical reactions occur with the vinyl surface.
Frequently Asked Questions
Can I use a steam mop on vinyl floors?
Is vinegar safe for cleaning vinyl?
How do I get my vinyl floors to shine again?
Do I need to worry about water spills on "waterproof" vinyl?
Conclusion
Mastering how to clean vinyl floors in 2026 is a balance between high-tech tools and old-school prevention. By ditching the steam mop, choosing pH-neutral cleaners, and prioritizing dry-cleaning, you can maintain that "just-installed" look for decades. As we move toward more eco-friendly and nanotechnology-driven home care, remember that less is often more when it comes to vinyl.
Success: Following these professional guidelines ensures your LVP or LVT stays durable, hygienic, and beautiful, protecting your home's value and your family's wellness.
Cleaning that keeps score
Every task earns points, every streak multiplies them, and Premium adds a household leaderboard plus a monthly Dustagorgon to beat.
- Free forever
- 30 badges to earn
- Up to 6 in a household
No card needed. Set up your rooms in a couple of minutes.