Key Takeaways
- Always remove dry soil before applying liquid cleaners to avoid creating mud.
- Use the two-bucket method to prevent redistributing dirty water across your floors.
- Choose pH-neutral cleaners for natural stone to avoid permanent etching.
Tile is the undisputed king of durability in the modern home. From sleek porcelain in the kitchen to elegant marble in the entryway, it is the go-to choice for homeowners seeking longevity and style. However, even the most resilient surfaces can lose their luster without proper care. If you have ever wondered how to clean tile floors effectively without leaving behind a sticky residue or cloudy finish, you are not alone. As the global ceramic tile market moves toward a staggering $385 billion valuation by 2027, more households than ever are looking for sustainable, efficient ways to maintain their investment.
Understanding Your Tile Material
Before you grab a mop and bucket, you must identify what kind of tile you are standing on. Not all tiles are created equal, and the best way to clean tile floors in a bathroom might be disastrous for a natural stone hallway.
Ceramic and Porcelain
These are the workhorses of the flooring world. Porcelain, in particular, has a water absorption rate of less than 0.5%, making it incredibly resistant to stains. These materials can handle mild detergents and even slightly acidic solutions like diluted vinegar.
Natural Stone (Marble, Slate, Travertine)
Natural stone is beautiful but temperamental. Unlike ceramic, these stones are porous and chemically sensitive.
The Grout Factor
Regardless of the tile type, the grout is often the weakest link. The Tile Council of North America notes that grout can absorb up to 10% of its weight in liquid. This makes it a primary site for bacteria and mold growth if not cleaned and sealed correctly.
The Professional 4-Step Cleaning Process
To achieve a professional-grade clean, experts from the Institute of Inspection Cleaning and Restoration Certification (IICRC) recommend a "Zone Cleaning" approach. This ensures you aren't just moving dirt around but actually removing it.
Step 1: Dry Soil Removal
The most common mistake people make is wetting the floor too early. If you apply a wet mop to a dusty floor, you aren't cleaning; you are creating "micro-mud." This mud settles deep into the porous grout lines and becomes much harder to remove.
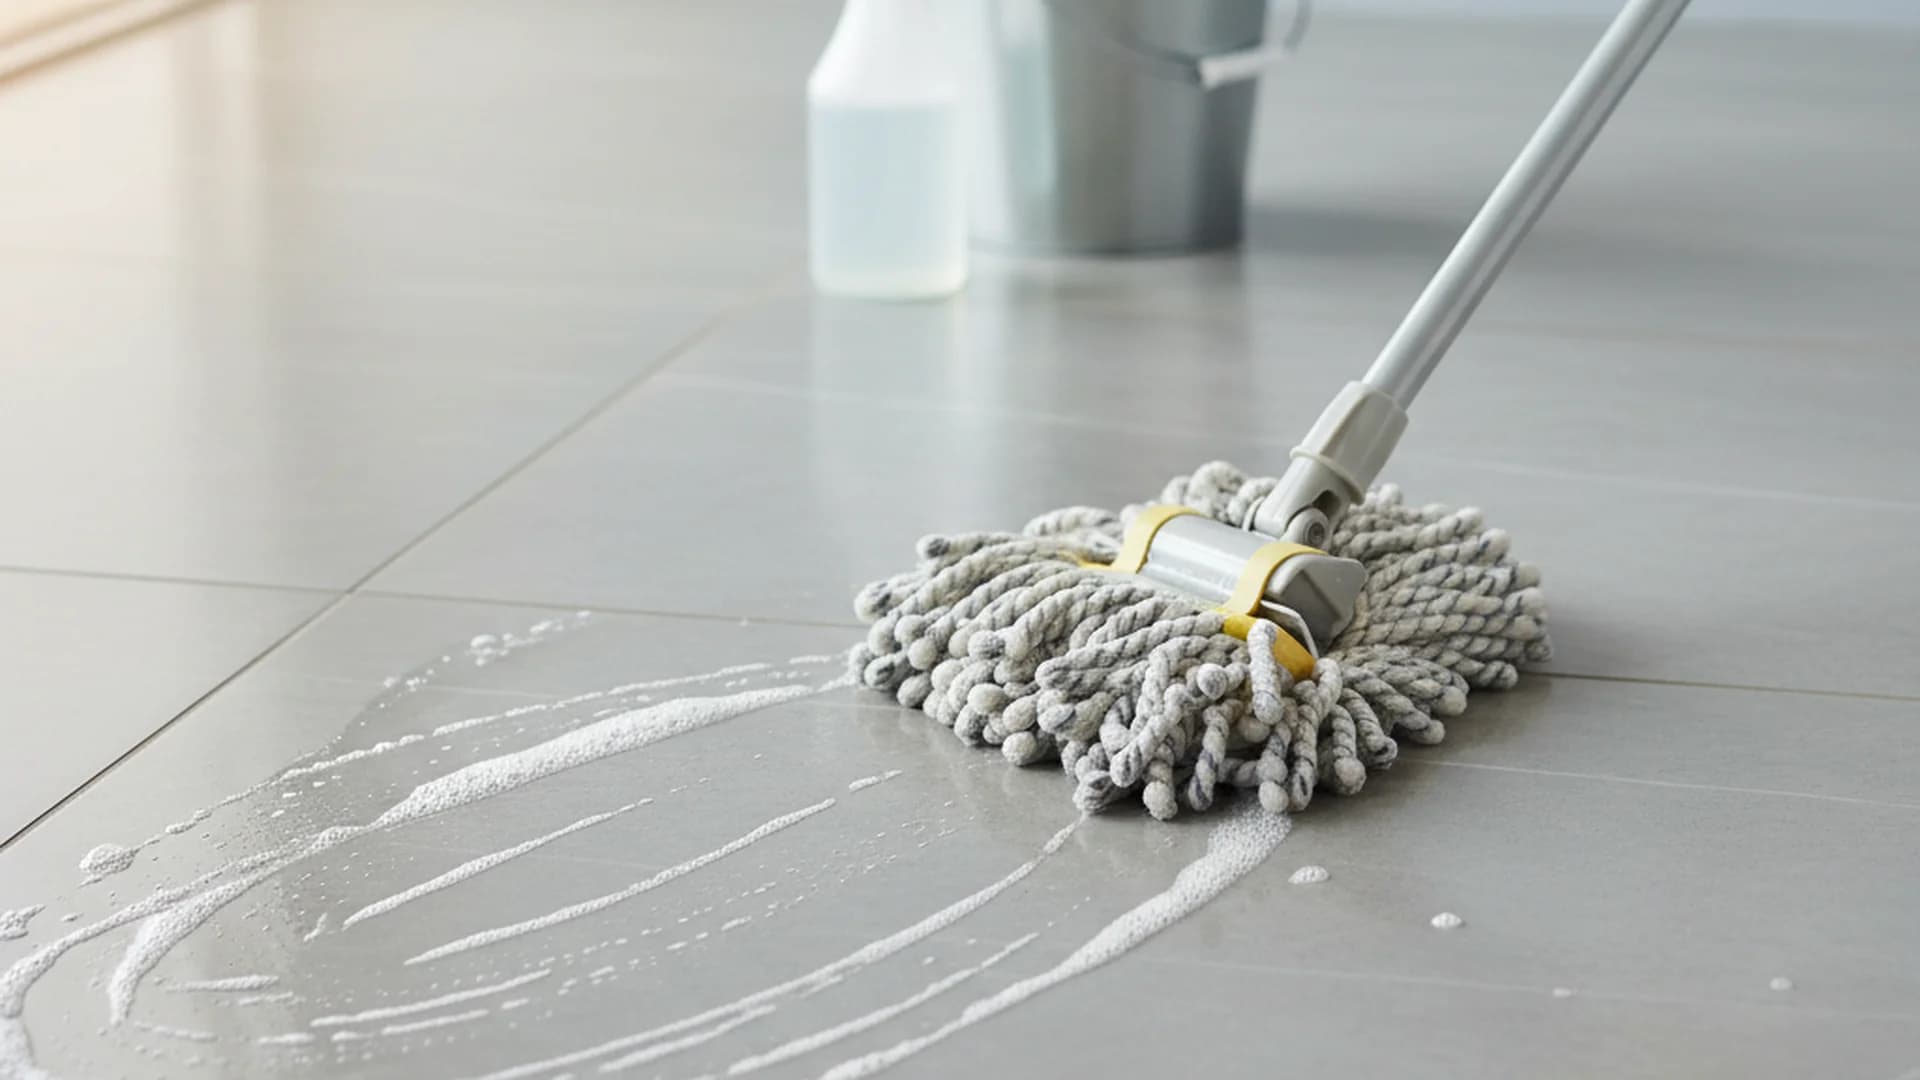
Step 2: The Two-Bucket Method
To keep your floors truly sanitary, ditch the single bucket. Use one bucket for your cleaning solution and a second bucket with plain, clean water.
- Dip your mop into the cleaning solution.
- Mop a section of the floor.
- Rinse the dirty mop in the plain water bucket.
- Wring it out before dipping it back into the cleaning solution.
This prevents the "gray water" effect, where you simply spread diluted dirt across the room.
Step 3: Material-Specific Cleaning
Choose your "weapon" based on your tile type. For ceramic and porcelain, a few drops of mild dish soap in warm water is often the most effective and safest solution. For natural stone, stick strictly to pH-neutral stone soaps.
| Tile Type | Recommended Cleaner | Avoid At All Costs |
|---|---|---|
| Ceramic | Mild Detergent / Diluted Vinegar | Steel Wool |
| Porcelain | Dish Soap / Alkaline Cleaners | Abrasive Scouring Pads |
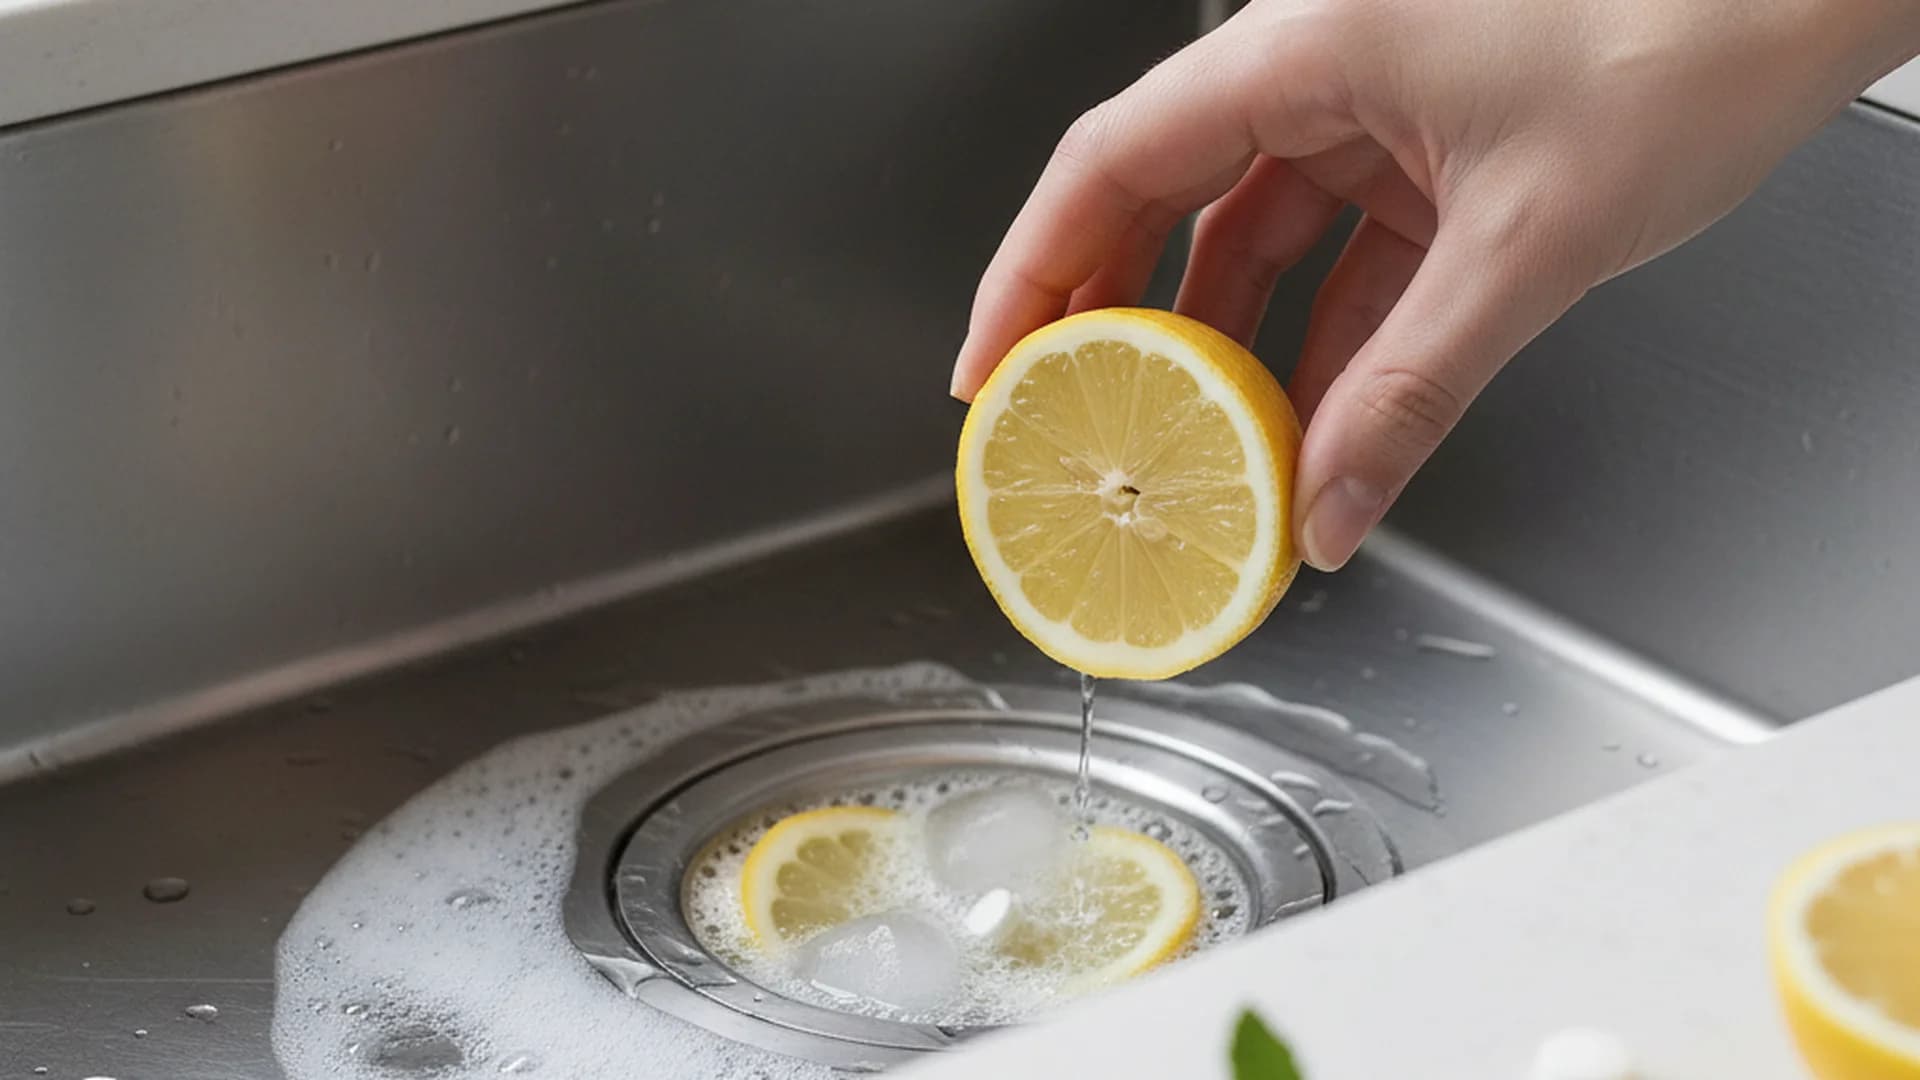
| Marble | pH-Neutral Stone Soap | Vinegar, Lemon, Bleach |
| Slate | Warm Water / Stone Soap | Acidic Cleaners |
Step 4: The "Buff Dry"
Leftover moisture is the enemy of a shiny floor. When water evaporates on its own, it leaves behind mineral deposits and soap residue that look like cloudy streaks.
Deep Cleaning Your Grout
Even if your tiles are sparkling, dirty grout can make the whole room look dingy. Because grout is lower than the tile surface, it acts as a collection trough for dirty mop water.
The Baking Soda Method
For a safe, deep clean, create a paste using baking soda and water. Apply it to the grout lines and let it sit for 15 minutes. Scrub gently with a soft-bristled brush (an old toothbrush works wonders) and rinse with clean water.
Common Mistakes to Avoid
In my experience as a Home Organization Expert, I see the same errors repeated frequently. Avoiding these will extend the life of your floors significantly.
- Using Too Much Detergent: It is tempting to think "more soap equals more clean." In reality, excess soap leaves a sticky film. For example, if your floor feels tacky under your shoes after cleaning, you've used too much product. This film acts as a magnet for dust.
- Using Abrasive Tools: Never use steel wool or metal scrapers. Even "heavy-duty" green scouring pads can create microscopic scratches on the glaze of ceramic tiles, leading to a permanent "cloudy" appearance that no amount of cleaning can fix.
- Neglecting the Sealant: Many homeowners assume tile is a "set and forget" feature. Grout should be re-sealed every 12 to 24 months to maintain its hydrophobic properties and prevent permanent staining.
- The Bleach Misconception: While bleach whiten grout, it doesn't actually cut through grease. Furthermore, frequent use can damage the waterproof membrane underneath the tile, leading to structural issues over time.
2025-2026 Trends in Tile Care
The world of floor care is evolving rapidly with new technology and a focus on sustainability. Here is what is trending for 2025 and 2026:
AI-Integrated Robotic Mops
The latest robotic cleaners from brands like Roborock and iRobot now use AI to detect grout lines. These machines apply extra downward pressure and increased water flow specifically to the grout, mimicking the manual scrubbing action that robots previously lacked.
Probiotic and Enzyme Cleaners
"Living" cleaners are the newest frontier. These solutions contain beneficial bacteria that stay in the grout lines long after you've finished mopping. They continue to "eat" organic matter, such as grease and food particles, for up to 48 hours, providing a continuous deep clean.
Nano-Sealing Technology
New DIY-friendly nano-sealers are replacing traditional wax-based sealants. These create a hydrophobic barrier at a molecular level, making the tile and grout virtually "self-cleaning" as liquids bead up and roll off.
Frequently Asked Questions
Is vinegar safe for all tile floors?
How often should I mop my tile?
Can I use a steam mop on tile?
What is the best way to clean dirty grout without chemicals?
Conclusion: Your Weekly Tile Maintenance Checklist
Maintaining beautiful floors doesn't have to be a grueling chore. By following these tile floor cleaning tips, you can keep your home looking pristine with minimal effort. Remember that consistency is more important than intensity; five minutes of daily sweeping can save you hours of deep scrubbing later.
The Weekly Checklist:
- Clear the area of rugs and clutter.
- Vacuum or dust-mop to remove all loose grit.
- Prepare two buckets (one with a pH-neutral cleaner, one with rinse water).
- Mop in small sections, rinsing the mop frequently.
- Buff dry with a microfiber cloth to prevent water spots.
- Check grout for any new stains and spot-treat as needed.