Key Takeaways
- Clean cabinet faces weekly to prevent grease polymerization.
- Use the Three-Towel System for a streak-free, professional finish.
- Opt for pH-neutral cleaners for modern matte and painted finishes.
The kitchen is often described as the heart of the home, but it is also the hardest-working room in the house. While we are quick to wipe down countertops and scrub the sink, many homeowners overlook one of the most visible surfaces: the cabinetry. Learning how to clean kitchen cabinets effectively is the secret to maintaining a high-end, designer look without the cost of a full renovation. Whether you are dealing with sticky grease near the stove or dust on upper shelves, a consistent cleaning routine can extend the life of your woodwork by over a decade.
According to the American Cleaning Institute (ACI), nearly 78% of Americans engage in an annual spring cleaning ritual, with the kitchen consistently ranking as a top priority. However, cabinet care shouldn't be a once-a-year event. Because these surfaces are constantly exposed to steam, splattered oils, and high-touch handling, they require a specialized approach to keep them looking brand new.
The Science of Kitchen Grime: Why Cabinets Get Sticky
Before grabbing your sponge, it is important to understand what you are actually cleaning. Kitchen grime isn't just dust; it is a complex mixture of food particles, skin oils, and airborne grease.
A 2016 study (frequently cited in 2024-2025 hygiene reports) highlighted that human skin is the primary source of bacteria on kitchen surfaces. Upper cabinet handles and microwave panels are notorious hotspots for Campylobacter, a bacteria often transferred from hands after prepping raw poultry.
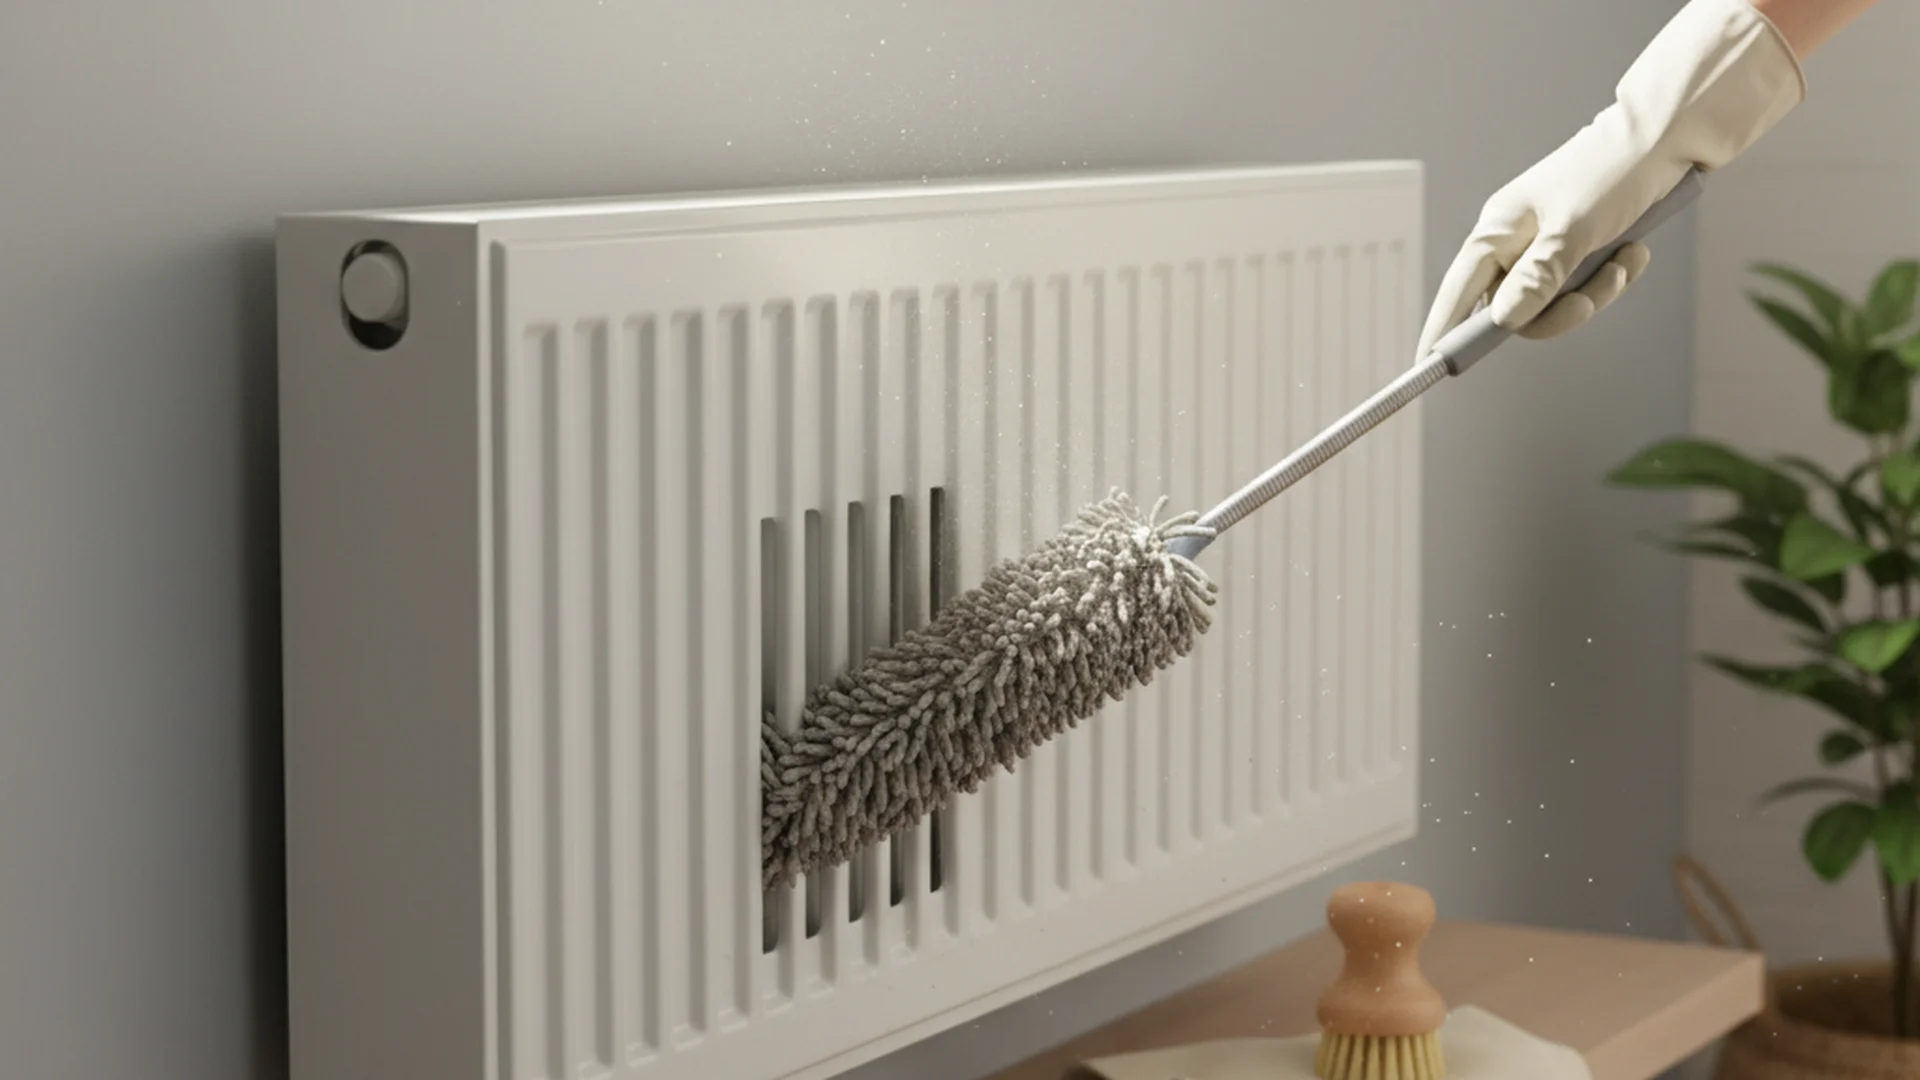
Furthermore, cooking grease undergoes a process called polymerization. Within just 72 hours of contact with a surface, liquid oils begin to harden, eventually turning into a plastic-like substance that is incredibly difficult to remove. This is why a quick weekly wipe-down is significantly more efficient than a monthly deep scrub.
Material-Specific Guides: Cleaning Every Finish
Different cabinet materials require different levels of care. Using the wrong solution on a delicate finish can lead to permanent damage.
Natural Wood Cabinets
Wood is porous and sensitive to moisture. To clean wood cabinets, use a highly diluted mixture of mild dish soap and warm water. If you prefer a natural approach, you can use a 1:1 ratio of water and white vinegar, but proceed with caution.
Painted and Matte Finishes
The design trends for 2025 and 2026 have shifted heavily toward matte finishes in "earthy" tones like mushroom, claret, and sage. While beautiful, these surfaces are prone to "burnishing"—the appearance of shiny spots caused by over-scrubbing. Use a pH-neutral cleaner and a soft microfiber cloth to maintain the flat, velvety look of matte cabinetry.
Laminate and Thermofoil
These are the most durable surfaces, but they are susceptible to heat and moisture at the seams. Avoid "sopping wet" methods that could cause the edges to peel or delaminate.
| Cabinet Material | Recommended Cleaner | Tool |
|---|---|---|
| Finished Wood | Diluted Dish Soap | Microfiber Cloth |
| Matte Painted | pH-Neutral Spray | Microfiber Cloth |
| Laminate | All-Purpose Cleaner | Soft Sponge |
| Glass Inserts | Vinegar & Water | Lint-free Cloth |
How to Clean Kitchen Cabinets Naturally
If you are looking for how to clean kitchen cabinets naturally, you don't need to look further than your pantry. Learning how to clean kitchen cabinets without chemicals is not only better for the environment but also safer for households with pets and children.
The Baking Soda Grease-Buster
For stubborn, "caked-on" grease, create a paste using two parts baking soda and one part warm water. Apply the paste to the greasy area and let it sit for five minutes. Use a soft-bristled toothbrush to gently agitate the area. This provides a mild abrasive action that lifts grease without scratching the paint or wood finish.
The Lemon and Oil Polish
For natural wood cabinets that look a little dull, skip the store-bought furniture polish. Many commercial polishes contain silicones that create a waxy build-up. Instead, mix one part lemon juice with two parts coconut oil or olive oil. Apply a small amount to a dry cloth and buff the wood in the direction of the grain for a healthy, chemical-free glow.
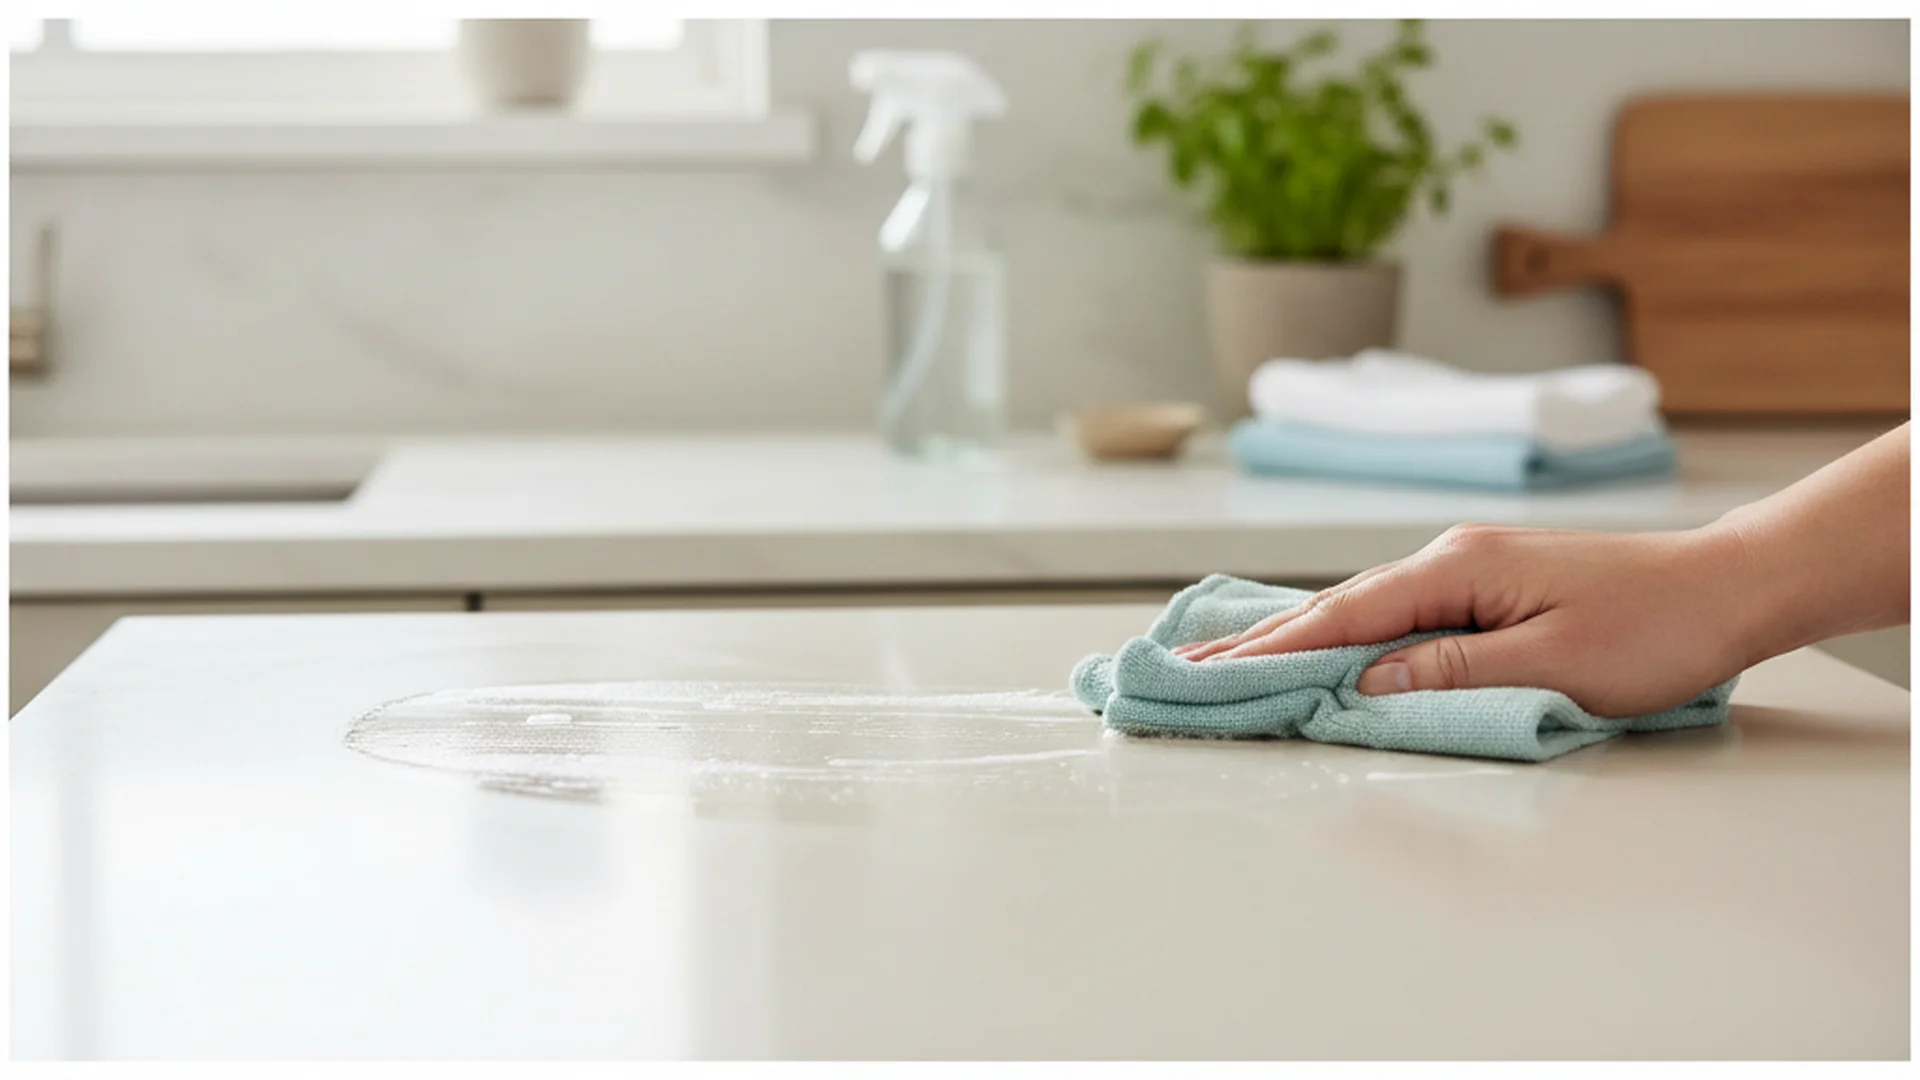
The Professional "Three-Towel System"
Professional cleaners use a specific workflow to ensure no streaks are left behind. To achieve a showroom finish, keep three separate microfiber cloths on hand:
- The Cleaning Cloth: Dampened with your chosen soapy or natural solution to lift dirt.
- The Rinse Cloth: Dampened with plain, cool water to remove any soap residue (which can attract more dust if left behind).
- The Buffing Cloth: A bone-dry microfiber used to immediately polish the surface and prevent water spots.
The "Top-Down" Rule
Always start your cleaning process with the highest cabinets. This ensures that any dust or drips fall onto surfaces you haven't cleaned yet, preventing double work.
2025-2026 Cleaning Trends: The High-Tech Kitchen
As we move into 2026, technology is changing how we maintain our homes. Here are a few trends making cabinet maintenance easier:
- Electrolyzed Water: A major trend for 2025 is the use of home electrolyzed water systems. These devices turn tap water and common salt into a powerful, non-toxic disinfectant, perfect for those wanting to clean without harsh chemicals.
- UV-C Surface Sanitization: Handheld UV-C wands are becoming a popular way to kill bacteria on high-touch handles without introducing moisture to the wood or finish.
- Smart Cabinetry: The rise of "touch-to-open" and motion-sensor hardware in 2026 designs means fewer physical handles. This significantly reduces the transfer of skin oils and Campylobacter to your surfaces.
Common Mistakes to Avoid
Even with the best intentions, certain habits can destroy your cabinets over time. Avoid these "cabinet killers":
- The "Sopping Wet" Mistake: Never use a dripping wet cloth. Wood and laminate can swell, warp, or peel if water seeps into the seams. Wring your cloth until it is just "damp-dry."
- Abrasive Overkill: Avoid green scouring pads or steel wool. These create micro-scratches that actually trap grease more effectively in the future and dull your finish.
- Dish Soap Overload: More soap does not mean more clean. Using too much soap creates a sticky film that acts like a magnet for pet hair and dust.
- Ignoring the Inside Edge: The top edge of a cabinet door is a massive dust trap. Because heat rises from the stove, grease often settles on these flat upper edges where it remains unseen for months.
Frequently Asked Questions
How often should I clean my cabinets?
Is vinegar safe for wood cabinets?
What is the best way to remove "sticky" grease?
Should I use furniture polish on kitchen cabinets?
Conclusion
Keeping your kitchen cabinets clean is about more than just aesthetics; it is an essential part of home hygiene and long-term maintenance. By understanding the 72-hour window of grease polymerization and utilizing the "Three-Towel System," you can keep your kitchen looking brand new with minimal effort. Whether you choose the latest 2026 high-tech UV-C tools or prefer to clean your kitchen cabinets naturally with baking soda and vinegar, consistency is the key to success.
Ready to Start?
Keep your kitchen sparkling clean with our pro-approved checklist.
Download the Guide