Key Takeaways
- Keyboards harbor 400x more bacteria than toilet seats; regular cleaning is essential.
- Use 70% Isopropyl Alcohol rather than 100% for effective sanitization.
- Never use acetone or standard vacuum cleaners on your hardware.
Have you ever stopped to think about what is living between your "W" and "S" keys? Recent studies from the University of Arizona have revealed a startling reality: the average desktop harbors 400 times more bacteria than a toilet seat. In fact, your keyboard can host up to 3,000 organisms per square inch. Whether you are a remote worker eating lunch over your laptop or a gamer pushing for the next rank, learning how to clean keyboard components is not just about aesthetics—it is about health and hardware longevity.
With 62% of remote workers now admitting to eating over their workstations, "sticky key syndrome" and pathogen buildup have reached an all-time high. In this comprehensive guide, we will explore the best way how to clean keyboard setups ranging from standard office membranes to high-end mechanical boards.
Why Keyboard Hygiene Matters in 2025
Beyond the "gross factor," debris buildup is the primary cause of hardware failure. Dust, skin cells, and food crumbs eventually migrate under the keycaps, interfering with the switches. For mechanical keyboard enthusiasts, this leads to "key chatter"—a frustrating phenomenon where a single press registers twice. By following a regular maintenance schedule, you can extend the lifespan of a premium keyboard by three to five years.
Furthermore, approximately 15% of office keyboards test positive for pathogens like E. coli and Staphylococcus aureus. In an era of hot-desking and shared workspaces, your keyboard is a frontline defense for your personal health.
How to Clean Keyboard Quickly: The 5-Minute Daily Routine
If you don't have time for a full teardown, you can still maintain a hygienic surface. This is the how to clean keyboard quickly method designed for busy professionals.
- The Gravity Flip: Unplug your keyboard (or turn off the power/Bluetooth). Turn it upside down over a trash can and give it several firm taps on the back. You will be surprised at how many crumbs and hairs fall out instantly.
- The Micro-Wipe: Take a microfiber cloth dampened (not dripping) with 70% Isopropyl Alcohol. Wipe the tops of the keycaps to remove finger oils.
- Electric Dusting: Use a high-velocity electric duster to blow out any remaining surface dust between the rows.
The Deep Clean: A Step-by-Step Guide
For a truly pristine setup, a deep clean should be performed every three to six months. This involves removing the keycaps to access the "plate"—the area where the most dangerous grime accumulates.
Step 1: Preparation and Documentation
Before you start pulling keys, take a photo of your keyboard layout. Even the most experienced typists can forget where the "Scroll Lock" or "Tilde" keys go during reassembly.
Step 2: Keycap Removal
Use a wire keycap puller to gently remove each cap. If you have a laptop or a low-profile membrane keyboard, be extremely careful; these often use delicate "scissor switches" that can snap if forced.
Step 3: Soaking the Caps
Fill a bowl with warm water and a few drops of mild dish soap.
- PBT Keycaps: These are durable and can withstand warmer water.
- ABS Keycaps: These are common on cheaper keyboards and can warp if the water is too hot.
Step 4: Cleaning the Plate
With the caps removed, you will likely see a "carpet" of dust and hair.
- Use an ESD-safe (Electrostatic Discharge) vacuum or an electric duster to clear the loose debris.
- Use a Q-tip dipped in 70% Isopropyl Alcohol to scrub the spaces between the switches.
Step 5: Drying and Reassembly
Keycaps must be 100% dry before being put back on. Moisture trapped inside a keycap can seep into the switch and cause a short circuit. Allow them to air-dry for at least 6 hours.
Essential Tools for 2025-2026
The technology for cleaning electronics has evolved. We are moving away from disposable canned air and toward more sustainable, effective tools.
| Tool | Purpose | Why It’s Recommended |
|---|---|---|
| Electric Duster | Debris Removal | Provides consistent pressure without chemical propellants. |
| 70% Isopropyl Alcohol | Disinfecting | The "Goldilocks" concentration; kills bacteria without evaporating too fast. |
| Ultrasonic Cleaner | Keycap Deep Clean | Uses sound waves to remove oils from every crevice of the keycap. |
| Cleaning Slime/Gel | Niche Cleaning | Biodegradable polymers that "grab" dust in hard-to-reach corners. |
| UV-C Wand | Sanitization | Kills 99% of viruses/bacteria without using any moisture. |
Specialized Care: Laptop vs. Desktop
Cleaning a laptop requires a more delicate touch than a desktop mechanical board. Laptops use membrane or butterfly switches that are not designed for frequent removal.
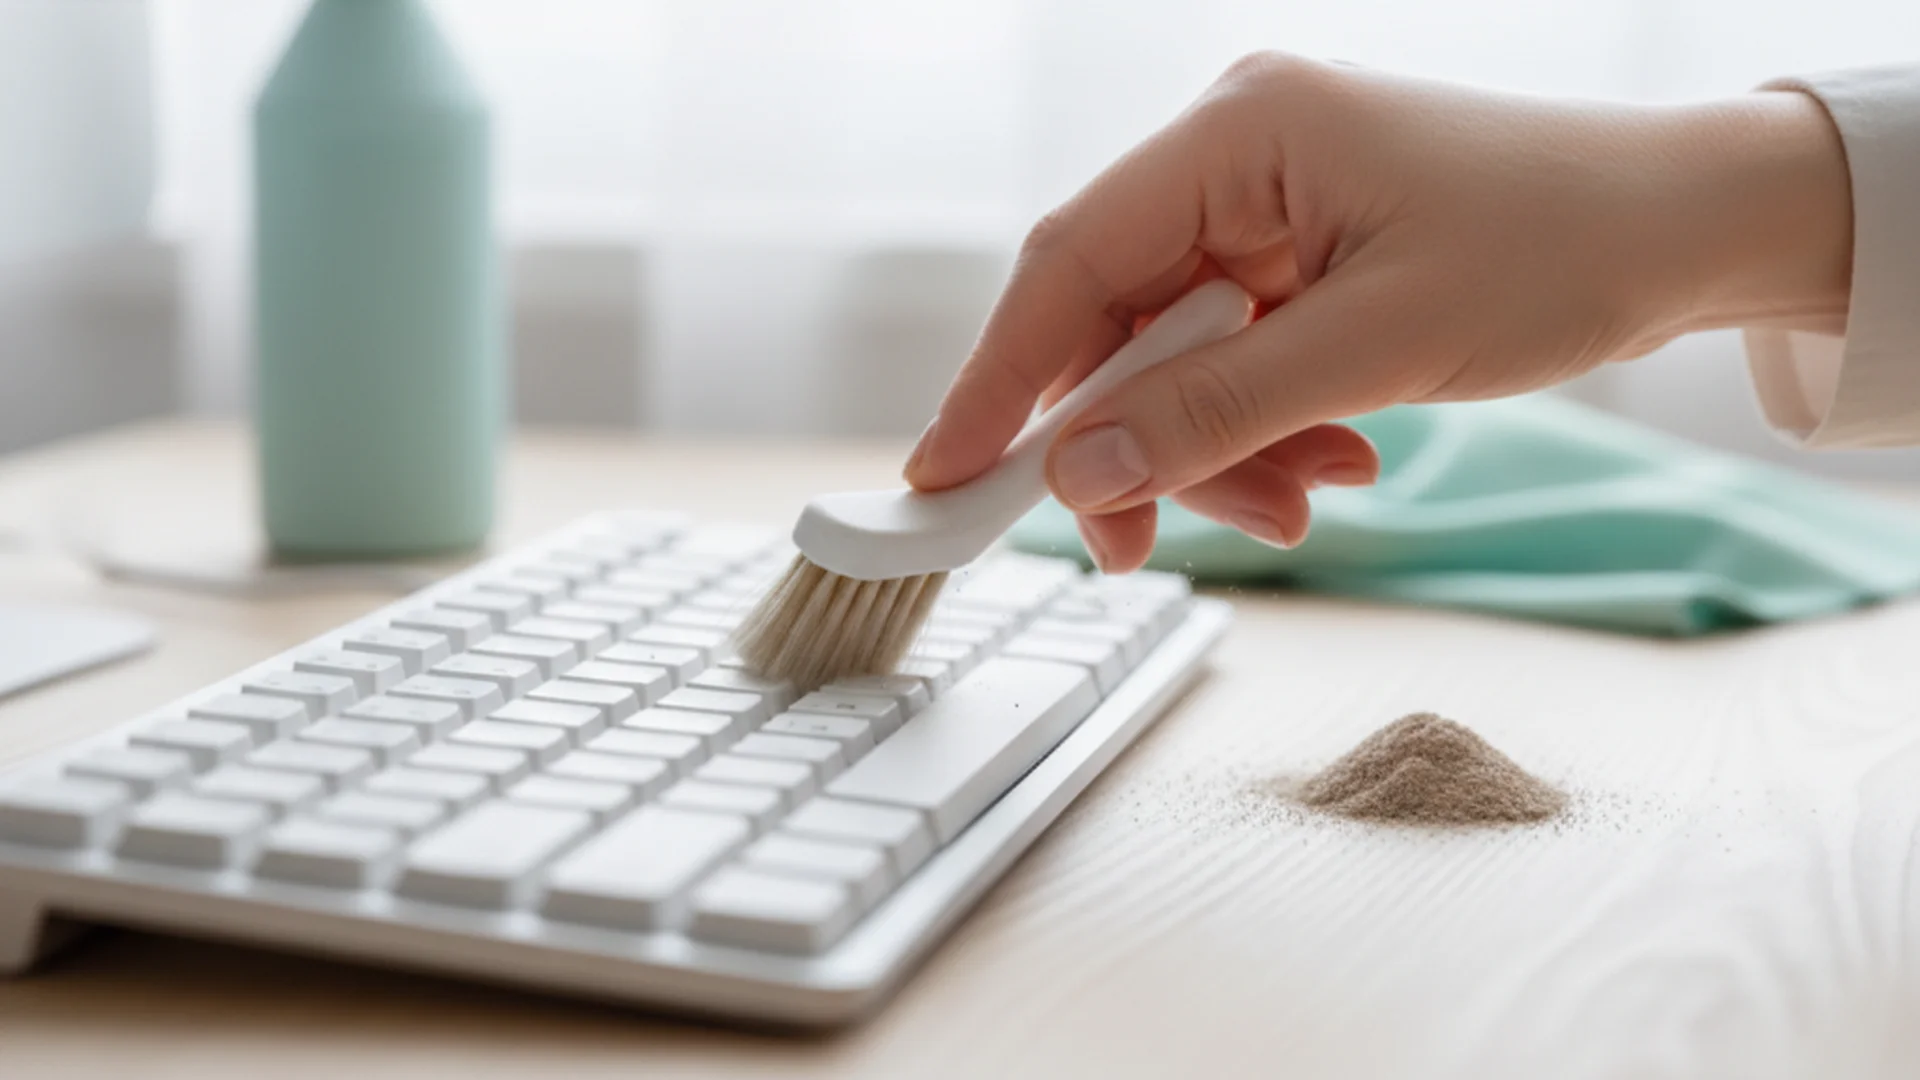
- For Laptops: Stick to the "Micro-Dab" technique. Use a slightly damp microfiber cloth for the keys. For the gaps, use a soft-bristled brush or specialized cleaning gel.
- For Mechanical Boards: You have more freedom. Since many modern boards are "hot-swappable," you can actually remove the entire switch to clean the PCB underneath. This level of cleaning was previously impossible without a soldering iron.
Common Mistakes to Avoid
Even with the best intentions, you can ruin a $200 keyboard in seconds if you use the wrong materials.
- The Acetone Disaster: Never use nail polish remover (acetone) to clean your keyboard. Acetone acts as a solvent for ABS plastic, meaning it will literally melt your keycaps and frame upon contact.
- The "Wet Wipe" Trap: Many disinfectant wipes are oversaturated. If you use one, wring it out first. If liquid drips between the keys and hits the membrane, it can cause permanent damage.
- Using Paper Towels: Paper towels are surprisingly abrasive. They can leave micro-scratches on "shine-through" (RGB) keycaps or glossy plastic finishes. Stick to microfiber.
- Using Standard Vacuums: Household vacuums generate massive amounts of static electricity. Touching a vacuum nozzle to a keyboard PCB can fry the controller. Always use ESD-safe tools.
Modern Trends in Keyboard Hygiene
In 2025, we are seeing the rise of self-sanitizing materials. Some high-end laptops now feature antimicrobial silver-ion coatings embedded in the plastic. While these help inhibit bacterial growth, they do not remove physical grime, so manual cleaning is still necessary.
Another trend is Sonic Cleaning. What was once a tool for jewelry is now a staple for the custom keyboard community. Placing your keycaps in an ultrasonic cleaner for five minutes removes skin oils and "finger gunk" more effectively than hours of hand scrubbing.
Frequently Asked Questions
Can I use a vacuum cleaner on my keyboard?
Is it safe to use 100% Isopropyl Alcohol?
How often should I clean my keyboard?
Can I put my keycaps in the dishwasher?
Conclusion
Mastering how to clean keyboard hardware is a vital skill for anyone spending significant time at a computer. By combining the "Gravity First" method with the right tools—like 70% Isopropyl Alcohol and microfiber cloths—you ensure your workspace remains a healthy, high-performing environment. Remember, the best way how to clean keyboard setups is through consistency; don't wait for the keys to stick before you take action.
Ready to Start?
Upgrade your cleaning kit with our expert-approved tools today.
Shop Cleaning Supplies