Key Takeaways
- Avoid bleach and harsh chemicals to protect seals and components.
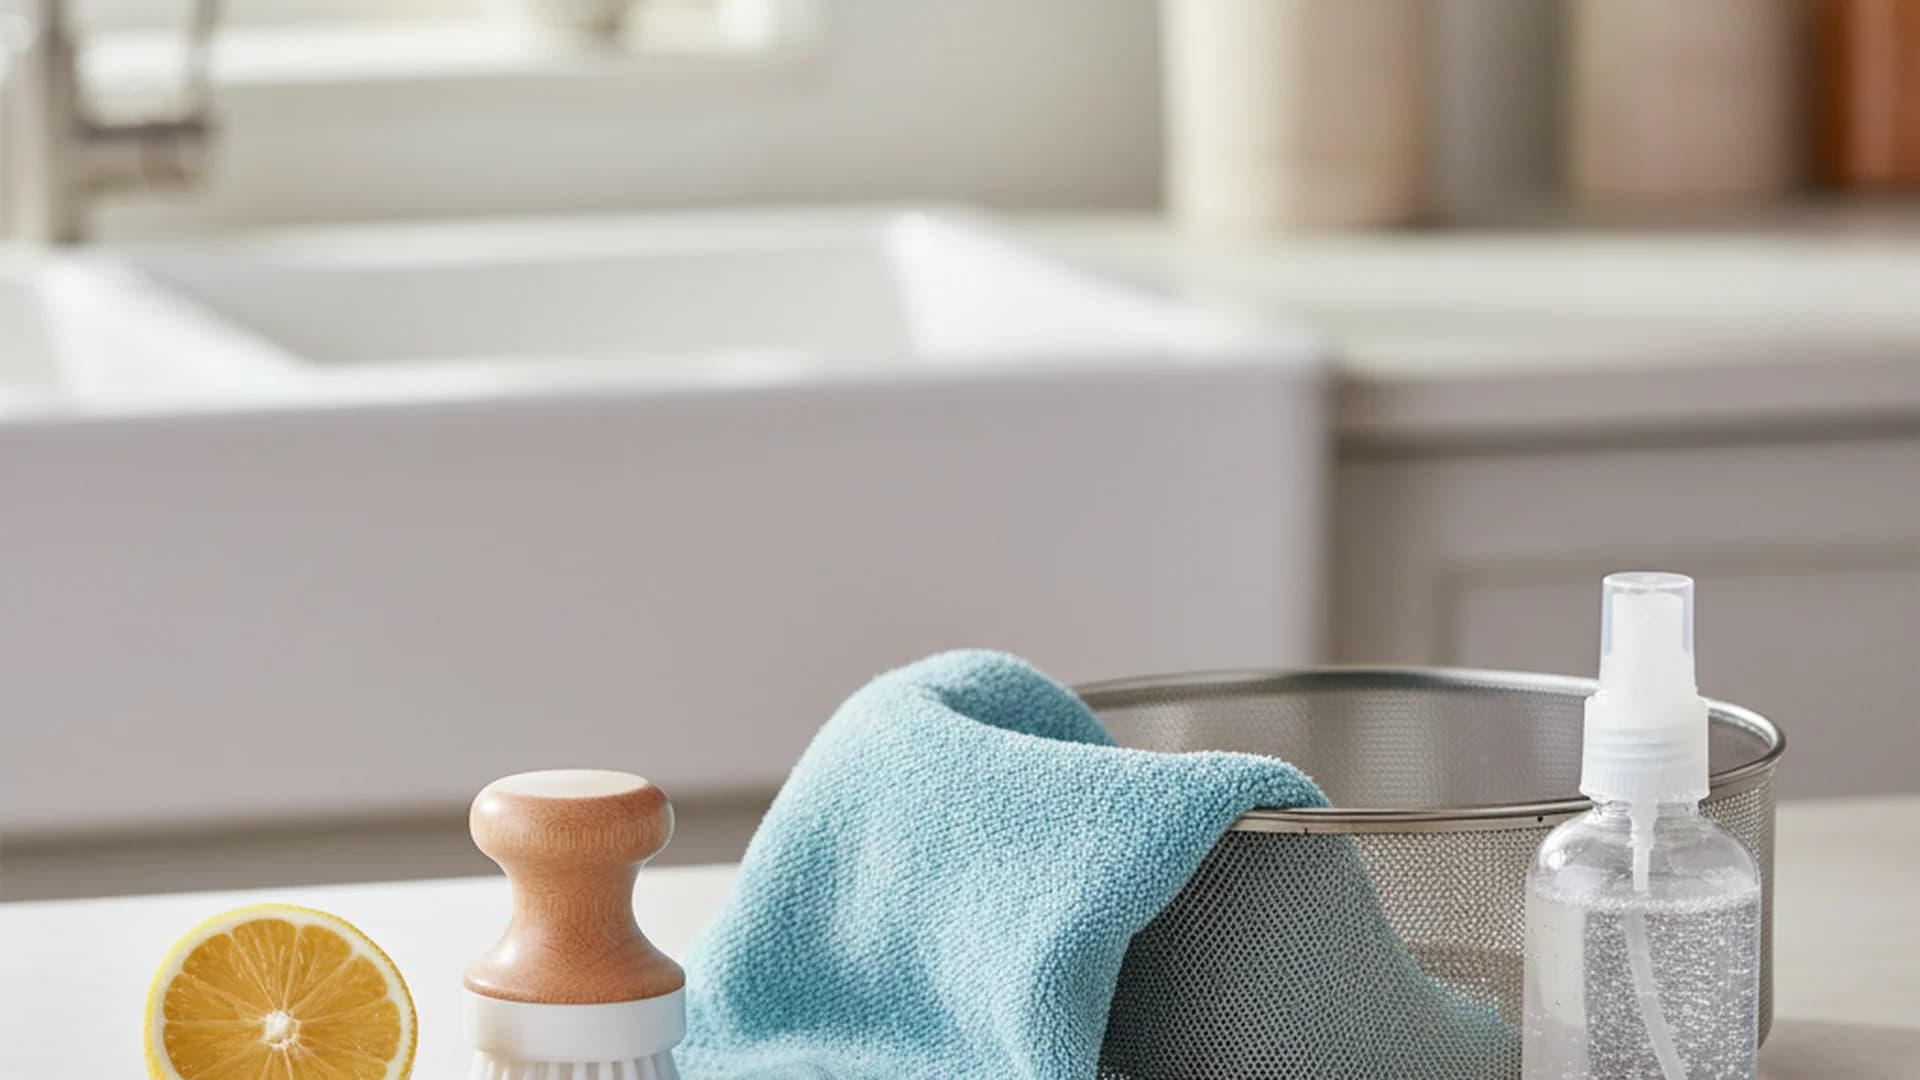
- Use bio-enzymatic cleaners or natural baking soda and vinegar for a deep clean.
- Regular maintenance extends the average unit lifespan to 15 years.
Cleaning and maintaining a garbage disposal is a task that often falls to the bottom of the household chore list until a foul odor or a stubborn clog demands immediate attention. However, knowing how to clean garbage disposal units properly is more than just a matter of pleasant kitchen scents; it is a critical part of home maintenance that ensures the longevity of one of your hardest-working appliances. In 2025, the approach to kitchen hygiene has evolved, moving away from harsh, corrosive substances toward bio-enzymatic solutions and sustainable, natural practices that protect both your plumbing and the environment.
The Importance of Garbage Disposal Maintenance
The average garbage disposal is designed to last between 8 to 15 years, but achieving that maximum lifespan requires more than just flipping a switch. Recent market data shows that the global garbage disposal market is surging, with a projected value of $6.7 billion by 2032. This growth is mirrored by a significant consumer shift: 78% of homeowners now prioritize non-toxic cleaning options.
By learning how to clean garbage disposal naturally, you aren't just following a trend; you are protecting the rubber seals and internal impellers that can be easily damaged by traditional chemical cleaners. Modern "quiet series" units can reduce food waste volume by up to 90%, but they can only perform this efficiently if the grinding chamber is free of biofilm and sludge buildup.
Safety First: The Power Down Rule
Before you begin any cleaning process that involves reaching near the unit or removing parts, you must prioritize safety.
Before performing a deep clean or scrubbing the splash guard:
- Turn off the wall switch.
- Unplug the unit under the sink or turn off the dedicated circuit breaker.
- Verify the unit has no power by toggling the switch one last time.
How to Clean Garbage Disposal Naturally
Many homeowners are looking for ways how to clean garbage disposal without chemicals to avoid the corrosive effects of store-bought drain cleaners. The most effective natural method involves a classic combination found in most pantries: baking soda and white vinegar.
The Baking Soda and Vinegar Deep Clean
This method uses a chemical reaction to create a foaming action that reaches into the nooks and crannies of the grinding chamber.
- Prep the Chamber: Ensure the disposal is empty of any food debris.
- Add Baking Soda: Pour 1/2 cup of baking soda down the drain and into the disposal unit.
- Add Vinegar: Pour 1 cup of white distilled vinegar over the baking soda.
- The Fizz Factor: Let the mixture sit and fizz for 10 to 15 minutes. This process breaks down the "biofilm"—a thin layer of bacteria and organic matter that causes odors.
- Flush: Boil a kettle of water and carefully pour it down the drain to flush away the loosened sludge.
The Scouring Method: Ice and Salt
If your disposal sounds sluggish or has a "mushy" grinding noise, you may have stuck-on debris on the impellers.
- Fill the disposal with two cups of ice cubes.
- Pour a half-cup of coarse rock salt over the ice.
- Run the cold water and turn on the disposal until the ice is completely ground.
2025 Trends: Bio-Enzymatic Cleaning
In the current cleaning landscape, "living" cleaners have become the gold standard. Products containing enzymes—such as protease, lipase, and amylase—actually "eat" organic buildup like fats, proteins, and starches.
Unlike caustic chemicals, bio-enzymatic cleaners are safe for septic systems and older pipes. For 2026, many high-end "Smart" disposals even feature dedicated ports or reservoirs for these cleaners, allowing the unit to self-sanitize during the grinding cycle.
| Cleaning Method | Best For | Eco-Friendliness |
|---|---|---|
| Baking Soda/Vinegar | Monthly Deodorizing | High |
| Ice & Salt | Removing Physical Sludge | High |
| Bio-Enzymatic | Long-term Biofilm Prevention | Very High |
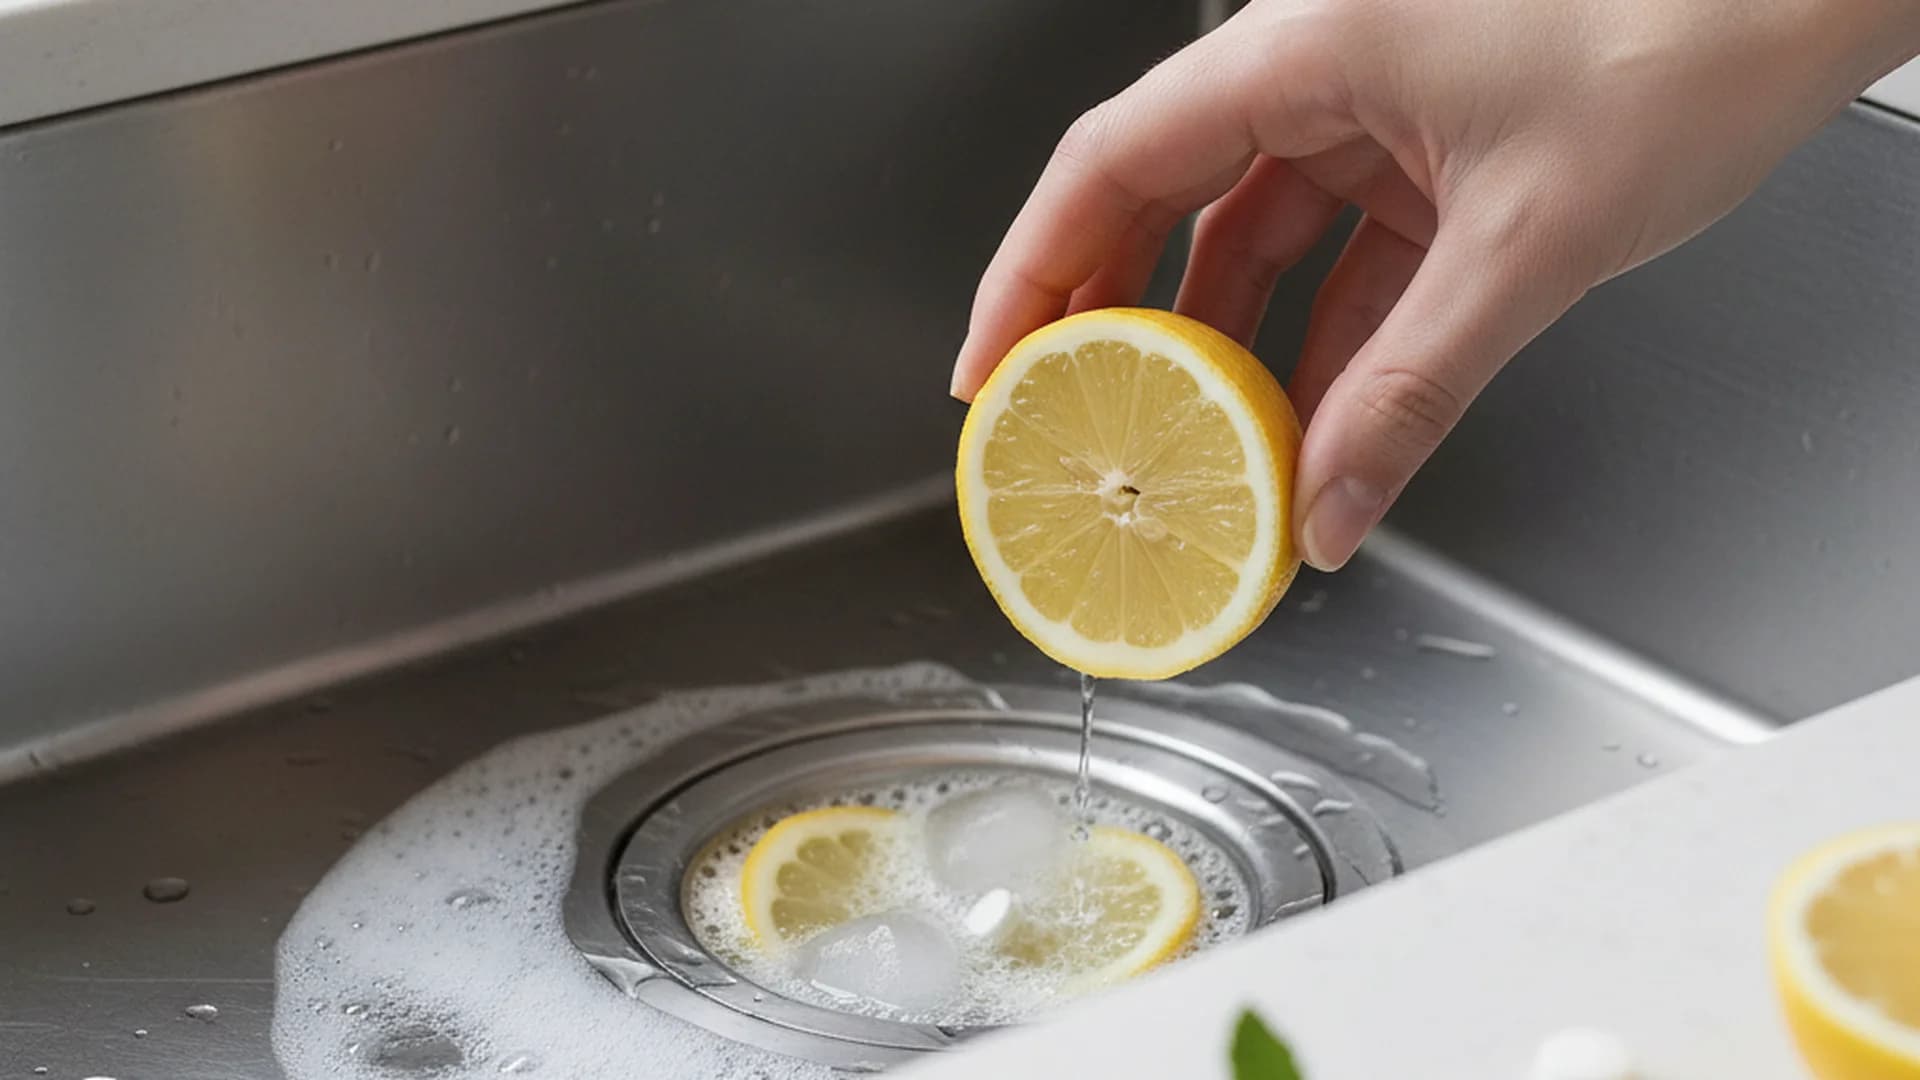
| Citrus Wedges | Quick Refresh | High |
Common Mistakes to Avoid
Even with the best intentions, many homeowners inadvertently damage their units. Here are the most frequent errors encountered by professional cleaning consultants.
1. The Lemon Rind Error
While citrus smells great, dropping whole lemon halves or large, fibrous rinds into the unit can jam the impellers. The Fix: Use only thin zest or very small wedges. Alternatively, try the "Citrus Ice Cube" hack: freeze lemon slices in water and drop them in for a combined scouring and deodorizing effect.
2. Using Hot Water During Grinding
It is a common misconception that hot water helps "melt" grease so it flows better. In reality, hot water liquefies fats, allowing them to coat the pipes further down where they eventually cool, solidify, and cause massive clogs. The Fix: Always use cold water when running the disposal to keep fats in a solid state so they can be ground up and flushed away.
3. Using Bleach or Chemical Drain Cleaners
Bleach can harden grease and damage the rubber splash guards and seals. Caustic drain cleaners are even worse, as they can corrode the metal components and void your manufacturer’s warranty.
4. Treating it Like a Trash Can
Avoid "The Big Four" clogs:
- Fibrous foods: Celery, corn husks, and onion skins (they wrap around the impellers).
- Starchy foods: Pasta, rice, and potato peels (they turn into a glue-like paste).
- Hard items: Bones, pits, and shells.
- F.O.G.: Fats, Oils, and Grease.
Real-World Examples
Example 1: The Holiday Dinner Disaster
A family hosted Thanksgiving and put two pounds of potato peels down the disposal. The starch created a "plug" that required a professional plumber.
- Lesson: Never put large quantities of starch down at once. Compost peels or dispose of them in the trash.
Example 2: The "Mystery Smell" in a New Home
A client moved into a home where the kitchen smelled like rotting food despite a clean sink. We discovered the underside of the rubber splash guard was coated in black mold.
- Lesson: The splash guard is the #1 source of odors. Scrubbing it monthly with an old toothbrush and natural dish soap is essential.
Example 3: The "Broken" Unit that Just Needed a Reset
A homeowner was ready to spend $300 on a new unit because theirs wouldn't turn on. After checking the red "Reset" button on the bottom of the motor, the unit began working perfectly.
- Lesson: Always check the reset button and the hex key jam socket before assuming a motor is dead.
Frequently Asked Questions
Can I use bleach to clean my disposal?
Does ice really sharpen the blades?
Is it safe to put coffee grounds down the sink?
Should I use hot or cold water when running the disposal?
Conclusion
Understanding how to clean garbage disposal units is a vital skill for any modern homeowner. By choosing to clean your garbage disposal naturally and avoiding the "Big Four" clogs, you can double the lifespan of your appliance and maintain a fresh, hygienic kitchen. In 2025 and beyond, the shift toward sustainable, chemical-free maintenance isn't just better for your pipes—it's better for the planet.
Ready to Start?
Keep your kitchen in peak condition with our professional guides.
View Cleaning Services