Key Takeaways
- The blender gasket is the third germiest item in the kitchen.
- Never use boiling water to clean protein-based residues.
- Weekly disassembly is required to prevent mold and E. coli growth.
For many of us, the morning begins with the whirring sound of a blender. Whether you are whipping up a protein-packed smoothie or a vibrant green juice, this appliance is a staple of a healthy lifestyle. However, a startling reality often hides beneath those stainless steel blades. If you don't know exactly how to clean blender components effectively, your "health drink" could be a breeding ground for bacteria.
A landmark study by NSF International found that the blender gasket—the small rubber seal that prevents leaking—is the third germiest item in the average kitchen, often harboring Salmonella, E. coli, and mold. In this guide, we will explore the best techniques to maintain your appliance, from the "soap tornado" hack to deep-cleaning methods that ensure your machine lasts for a decade or more.
The Hidden Dangers of Improper Cleaning
Most users believe that a quick rinse with warm water is sufficient. However, according to 2025 updates from Food Safety News, over 20% of foodborne illness outbreaks originate in the home, frequently linked to multi-part appliances. Because blenders have various nooks and crannies—especially where the blade assembly meets the jar—food particles can become trapped and rot invisibly.
Beyond hygiene, proper maintenance is a matter of economics. A high-end Vitamix or Ninja can last over 10 years, but the #1 cause of motor burnout is the strain caused by dried food residue that hinders blade movement. Learning how to clean a blender correctly is an investment in both your health and your wallet.
How to Clean Blender Naturally Without Chemicals
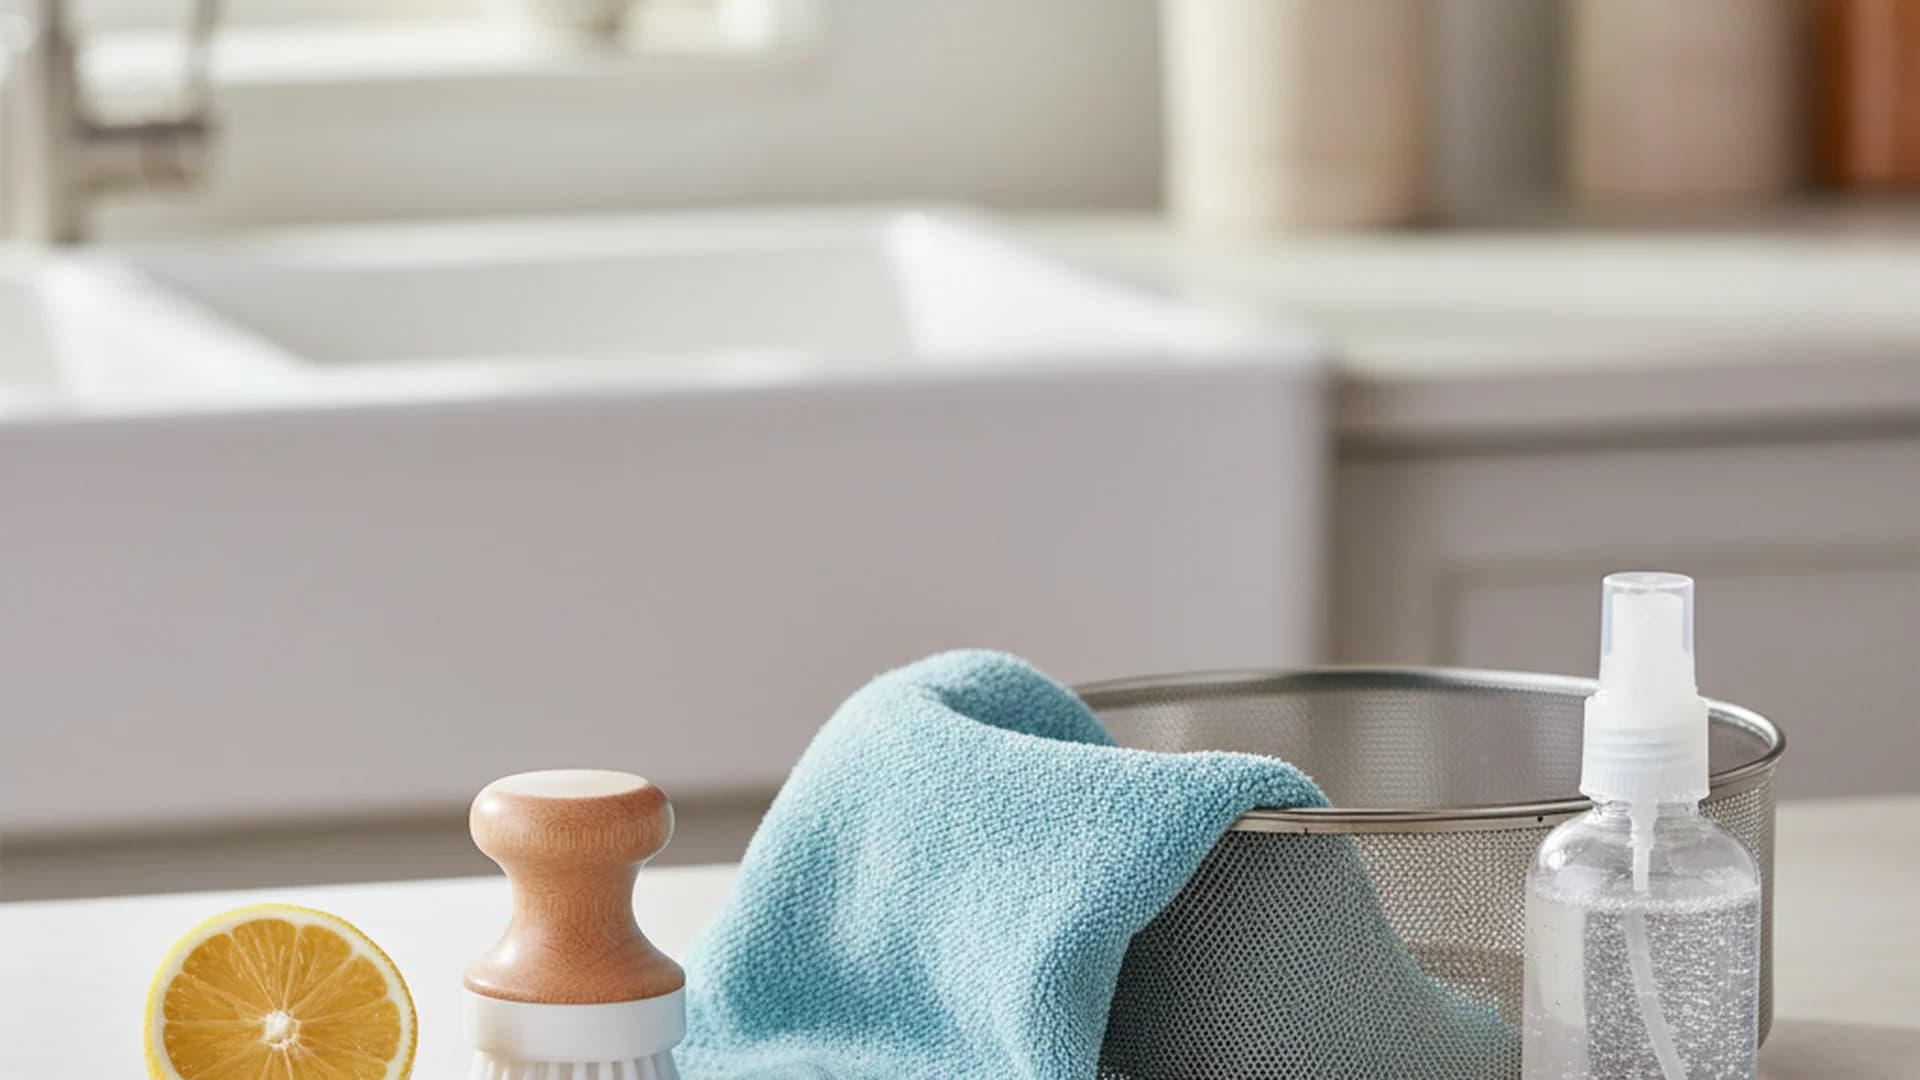
In 2025, there is a significant shift toward eco-friendly home care. You don't need harsh degreasers to keep your pitcher sparkling. In fact, learning how to clean blender naturally is often more effective than using synthetic detergents because natural acids better break down organic films.
The Natural Power Trio
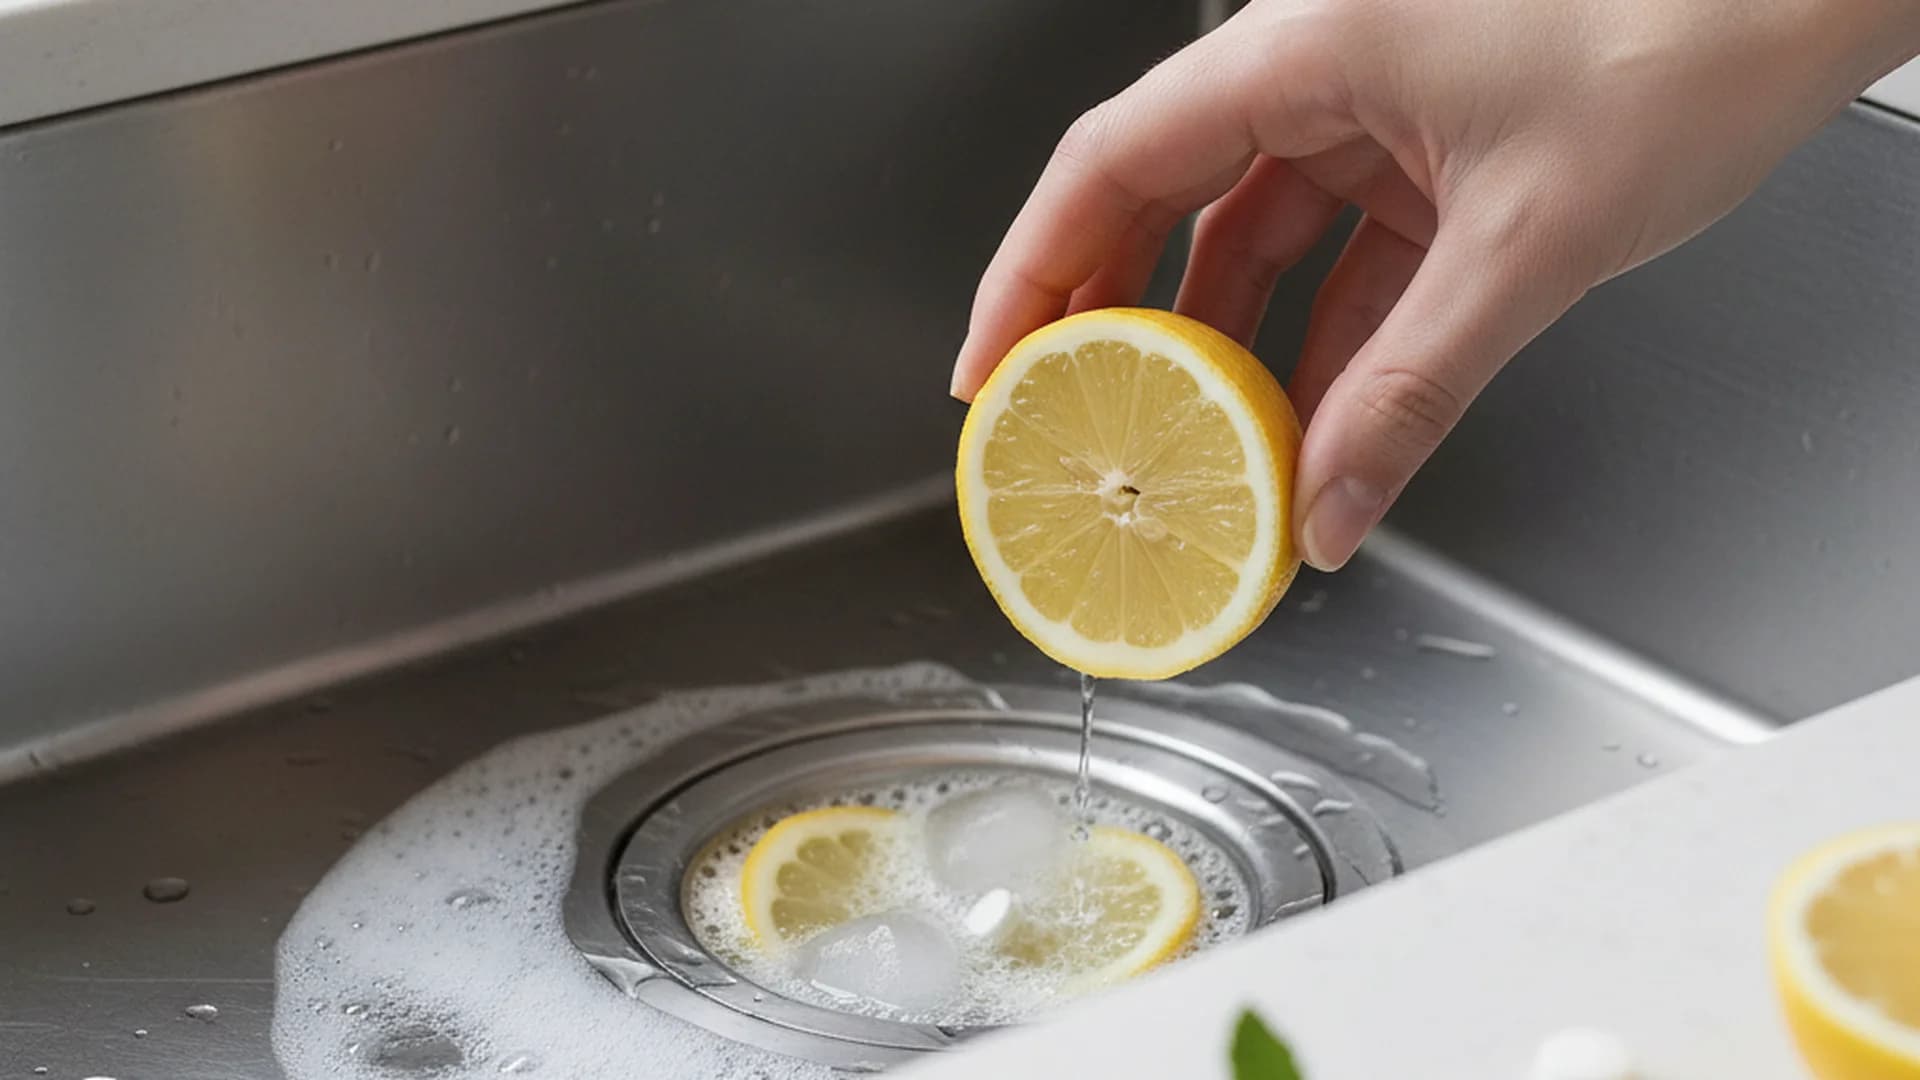
- Lemon Juice/Citric Acid: The high acidity in lemons is perfect for neutralizing pungent odors like garlic or onion. It also acts as a natural degreaser.
- Baking Soda: This is your secret weapon for "stuck-on" food. As a mild abrasive, it removes residue without scratching the plastic or glass surface of the jar.
- White Vinegar: If you live in an area with hard water, you’ve likely noticed a cloudy film on your blender. Vinegar acts as a descaler to dissolve mineral buildup.
The 30-Second Rule: The Daily Routine
The most important tip for blender longevity is the "30-Second Rule": clean the unit immediately after use. Once starches or proteins dry, they become "cement-like," requiring abrasive scrubbing that can create micro-scratches in the jar.
Step-by-Step Daily Clean
- Rinse: Immediately after pouring your drink, rinse the jar with lukewarm water.
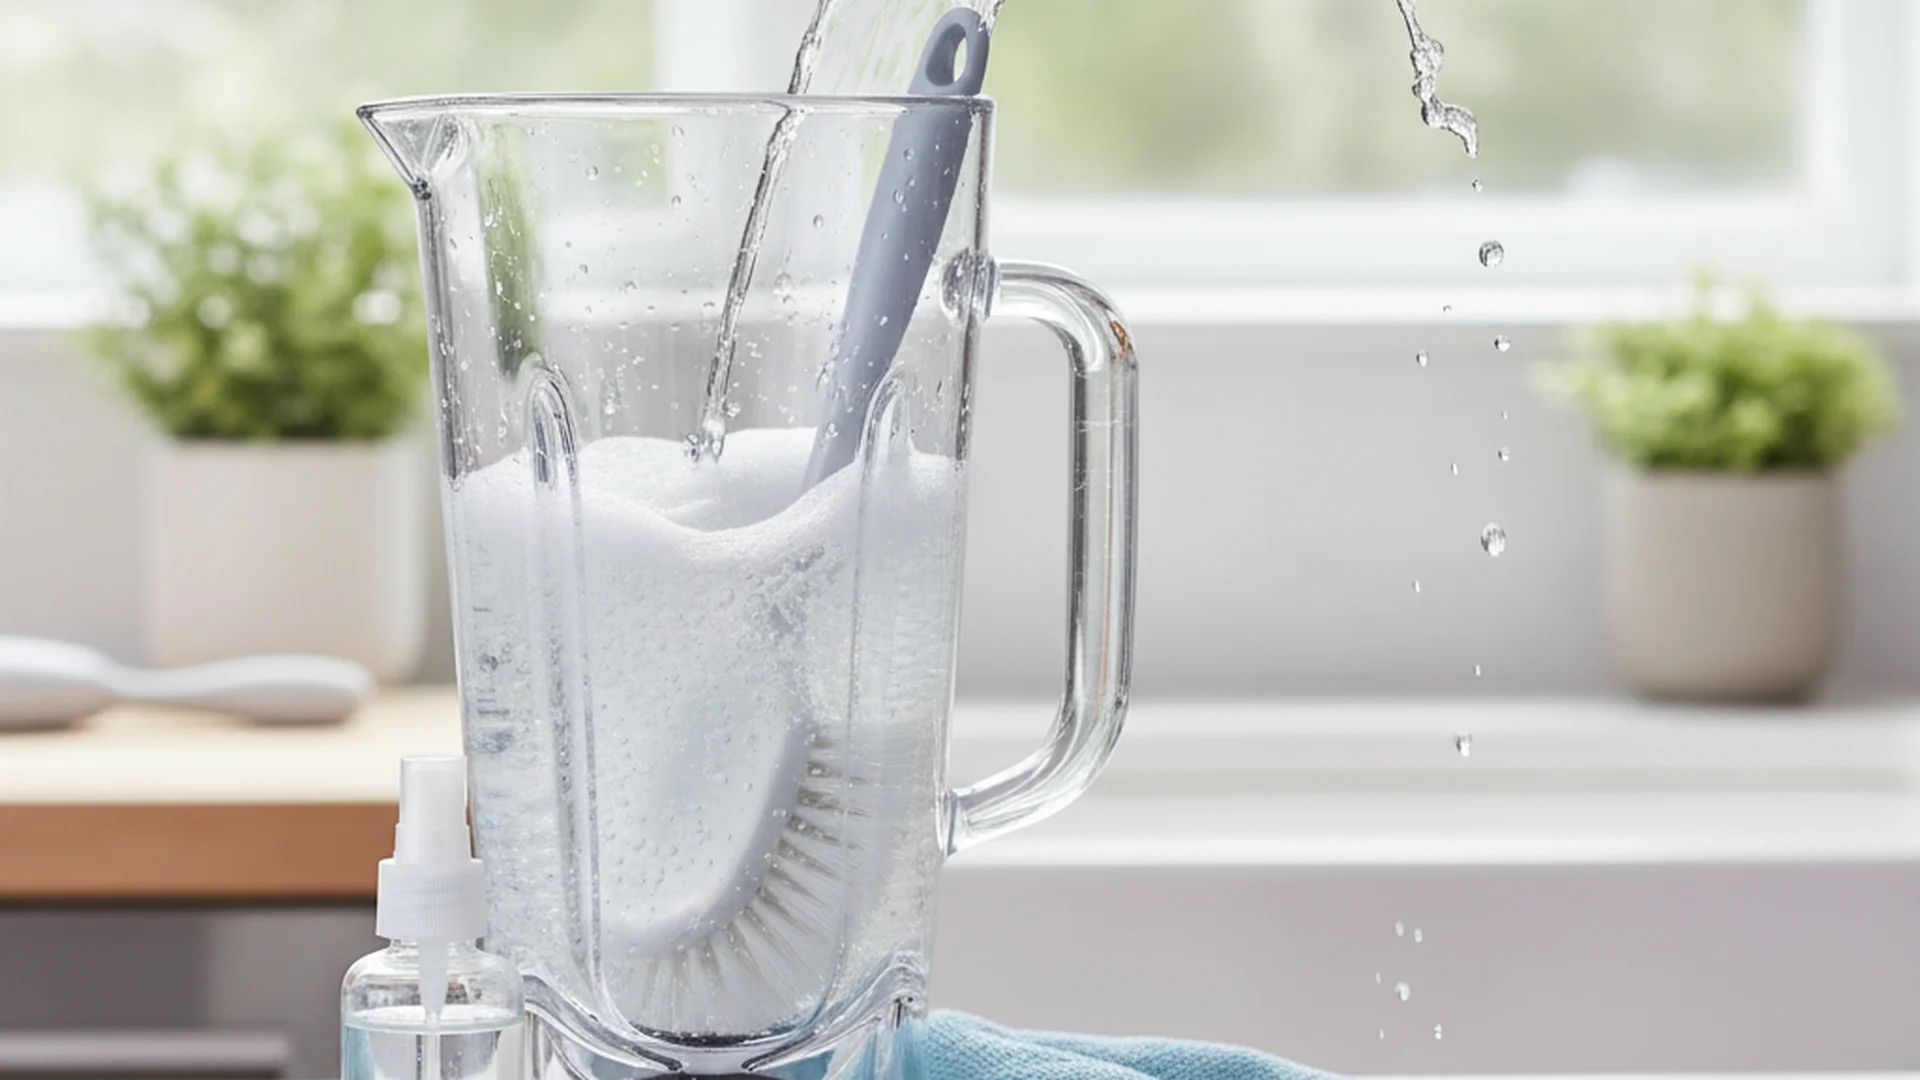
- The Soap Tornado: Fill the jar halfway with warm water and add exactly two drops of dish soap.
- Pulse: Secure the lid and run the blender on high for 30 seconds.
- Rinse and Air Dry: Rinse thoroughly and store with the lid off to allow airflow.
Deep Cleaning: The Weekly Disassembly
While the "soap tornado" is great for daily maintenance, it doesn't reach the underside of the gasket. Once a week, you must perform a deep clean to ensure you are cleaning your blender without chemicals while still achieving total sanitization.
- Unplug the Unit: Always ensure the power is off before handling the blades.
- Disassemble: Unscrew the base of the jar. Remove the blade assembly and the rubber gasket.
- Soak: Place the gasket, blade, and base in a bowl of warm water with a splash of vinegar.
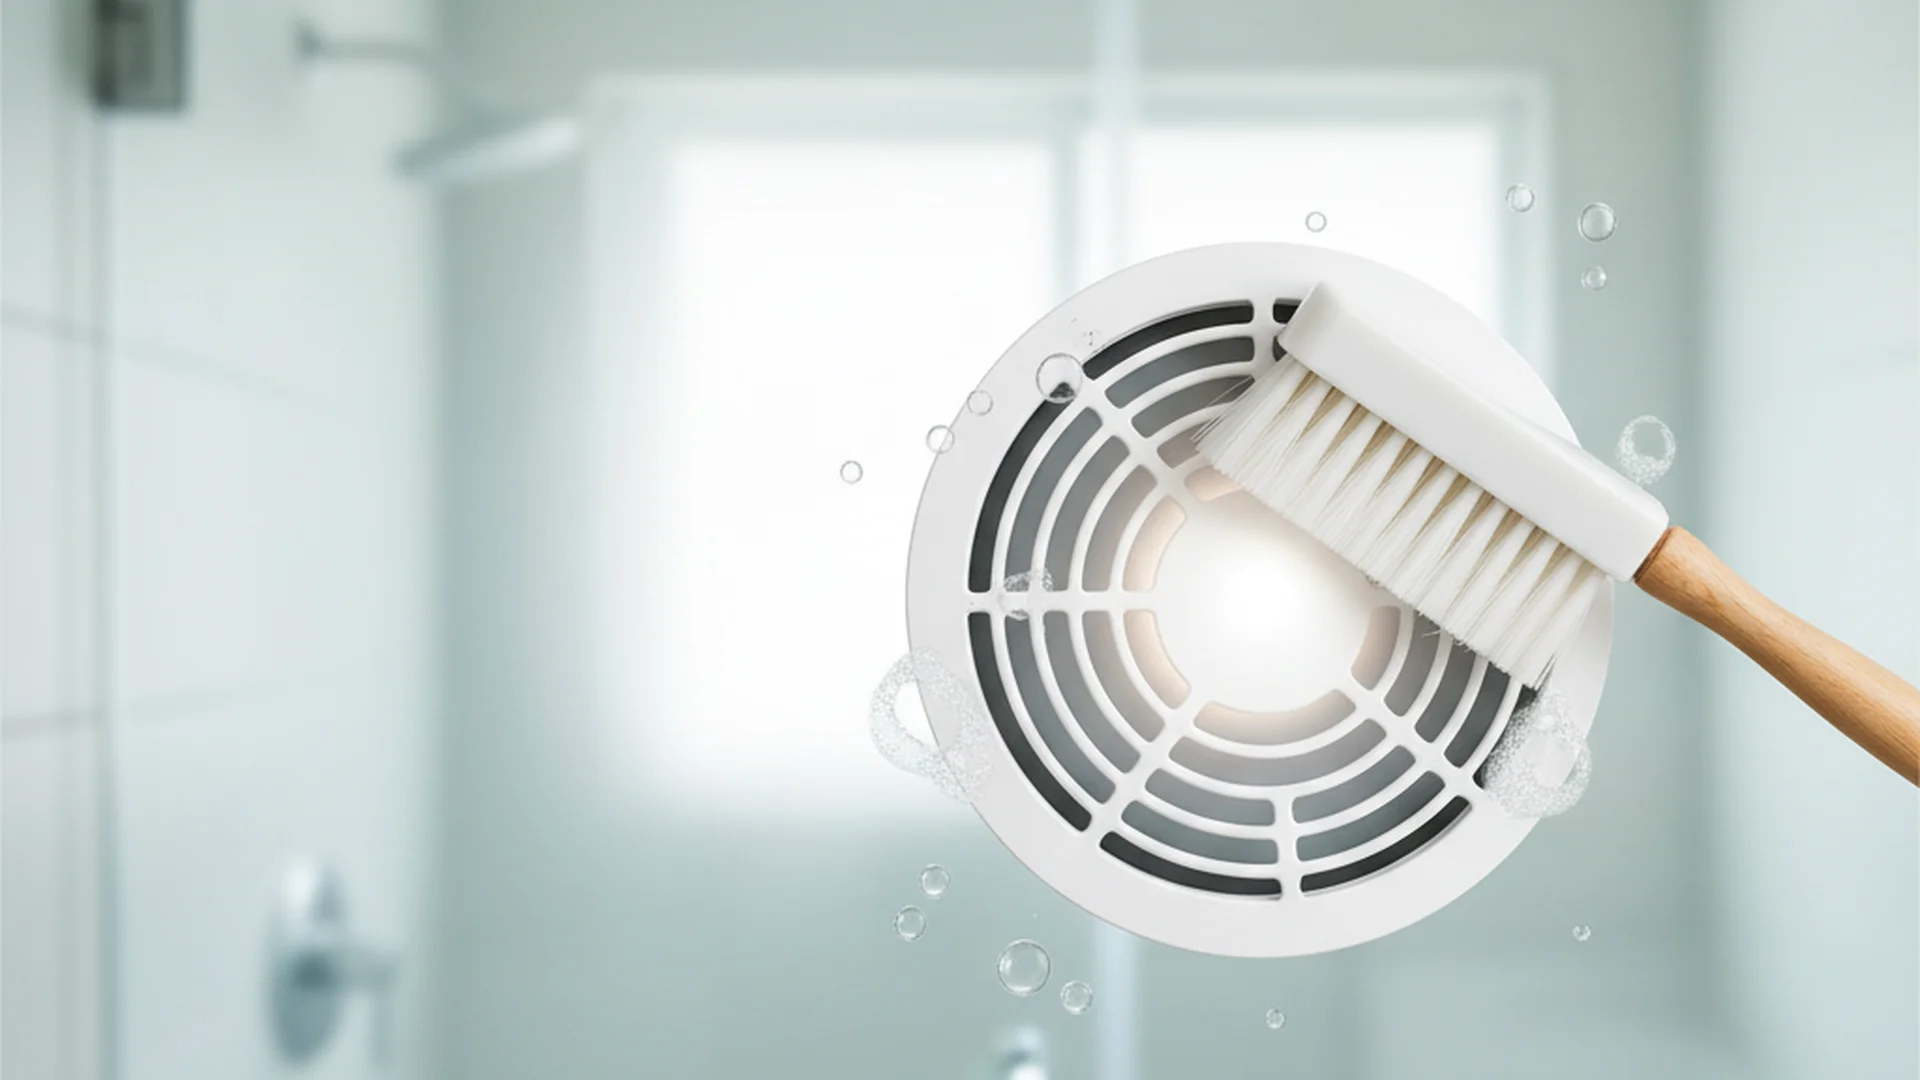
- Detailing: Use a soft-bristled toothbrush to scrub the threads where the jar screws into the base. This is a common "blind spot" for food buildup.
- The Motor Base: Never submerge the base. Use a damp microfiber cloth to wipe the exterior and a cotton swab for the area around the buttons.
| Blender Component | Cleaning Method | Frequency |
|---|---|---|
| Pitcher/Jar | Soap Tornado | After every use |
| Gasket/Seal | Hand Wash/Soak | Weekly |
| Blade Assembly | Brush & Soak | Weekly |
| Motor Base | Damp Cloth | Monthly |
Common Mistakes to Avoid
Even seasoned home cooks make errors that can damage their appliances or compromise food safety.
The "Hot Water" Error
A common mistake is using boiling water to clean a jar that held a protein shake (like whey or eggs). Hot water "cooks" protein onto the blades, making it nearly impossible to remove. Always use lukewarm water for the initial rinse of protein-based residues.
Overfilling the Cleaning Cycle
Adding too much soap or filling the jar more than halfway during a self-clean cycle often causes a "suds eruption." This can leak into the motor base, leading to electrical failure. Two drops of soap are all you need.
Using Abrasive Scouring Pads
Avoid green scrub pads or steel wool on plastic (Tritan) jars. These create tiny scratches that "trap" bacteria. If you have stuck food, use a baking soda paste and a soft cloth instead.
Real-World Examples of Blender Care
Example 1: The "Morning Protein Cement"
Consider a user who leaves their whey protein smoothie jar on the counter all day while at work. By 5:00 PM, the residue has hardened. Instead of scrubbing, they should fill the jar with warm water and two tablespoons of baking soda, letting it soak for an hour. This softens the "cement" without damaging the plastic.
Example 2: The Spicy Salsa Smell
After making a garlic-heavy salsa, the scent often lingers, tainting the next morning's strawberry smoothie. The solution is the how to clean blender naturally method: blend a whole chopped lemon with a cup of water. The citric acid neutralizes the sulfur compounds in the garlic instantly.
Example 3: The Cloudy "Hard Water" Jar
In regions with high mineral content in the water, jars can look "foggy" even when clean. A user can restore the clarity of their jar by filling it with a 50/50 mix of white vinegar and water and letting it sit overnight. This dissolves the calcium deposits without the need for chemicals.
2025–2026 Trends in Blender Hygiene
The world of kitchen tech is evolving. In late 2025, we are seeing the rise of Probiotic Surface Cleaners. Brands like Counter Culture are releasing sprays that use "good bacteria" to consume organic food residue for up to three days after the initial clean.
Furthermore, high-end models like the Vitamix Ascent X5 now feature AI-driven cleaning cycles. These units use optical sensors to detect how "soiled" the jar is and automatically adjust the duration and intensity of the cleaning cycle. For those who hate gaskets, the 2026 Ninja Blast Max features a "one-piece" blade assembly designed specifically to eliminate the mold-prone rubber seals found in older models.
Frequently Asked Questions
Can I put my blender in the dishwasher?
How do I get rid of the cloudy film on the jar?
Is the "Soap Tornado" hack enough for daily cleaning?
How do I clean the motor base safely?
What is the best way to remove odors from a blender?
Conclusion
Maintaining a clean blender is about more than just aesthetics; it is a vital part of kitchen safety and appliance longevity. By implementing the 30-second rule and performing a weekly deep-clean of the gasket, you protect your family from foodborne illnesses and keep your motor running smoothly for years to come. Remember, nature provides the best tools—lemon, vinegar, and baking soda are often all you need for a professional-level shine.