Key Takeaways
- Identify your tile porosity before choosing a cleaning agent.
- Avoid mixing bleach and ammonia-based products at all costs.
- Implement a 30-second post-shower squeegee habit to reduce 90% of buildup.
For many homeowners, the bathroom is a sanctuary, but keeping it pristine can often feel like an uphill battle against soap scum, hard water stains, and the ever-looming threat of mold. If you have been wondering how to clean bathroom tiles effectively without spending hours scrubbing on your hands and knees, you aren't alone. As we move into 2025, the philosophy of cleaning has shifted from "aggressive chemical warfare" to "intelligent maintenance," focusing on preserving the longevity of your surfaces while using eco-conscious solutions.
Understanding Your Tile: The Porosity Factor
Before you reach for the scrub brush, the best way to clean tiles starts with identifying what they are made of. In my years as a professional cleaning consultant, the most common mistake I see is the "one-size-fits-all" approach, which can lead to permanent damage.
Ceramic and Porcelain
Ceramic and porcelain are the workhorses of the modern bathroom. Porcelain, in particular, has a water absorption rate of less than 0.5%, making it incredibly dense and resistant to staining. These surfaces can handle slightly more acidic cleaners like vinegar, though they still benefit from pH-neutral solutions.
Natural Stone (Marble, Limestone, Travertine)
Natural stone is a different beast entirely. Stone is highly porous; unsealed marble can absorb liquids almost instantly. This is where you must be extremely careful. Acidic cleaners will "etch" the surface, leaving dull, cloudy spots that require professional restoration to fix.
| Tile Type | Porosity | Acid Resistance | Recommended Cleaner |
|---|---|---|---|
| Porcelain | Very Low | High | Mild Acid or Neutral |
| Ceramic | Low | Medium | Neutral pH |
| Marble | High | Zero | pH-Neutral Stone Soap |
| Travertine | High | Zero | pH-Neutral Stone Soap |
How to Clean Bathroom Tiles Without Bleach
In 2025, over 70% of cleaning service consumers prefer non-toxic options. Bleach is no longer the "gold standard" due to its harsh fumes and potential to damage grout over time. If you want to know how to clean bathroom tiles without bleach, these three professional-grade alternatives are your best bet.
1. The Power of Steam
Steam cleaning is the most effective chemical-free method available. A handheld steam cleaner uses pressurized vapor to lift dirt and kill 99.9% of bacteria and mold spores deep within the grout. It’s particularly effective for the new "3D textured" tiles that are trending this year, as the steam penetrates ridges that a sponge cannot reach.
2. Hydrogen Peroxide (The Safe Disinfectant)
For a deep clean that whitens without the toxicity of chlorine, 3% hydrogen peroxide is an excellent choice. It breaks down organic matter and kills mold effectively. Simply spray it on, let it sit for 10 minutes, and rinse.
3. Baking Soda and Vinegar (For Ceramic Only)
For soap scum removal on ceramic surfaces, a paste of baking soda and water followed by a light spray of white vinegar creates a foaming action that lifts grime.
The Professional "Three-Bucket" Method for Floors
When cleaning bathroom floor tiles, most people make the mistake of using one bucket. This essentially means you are dipping a dirty mop into increasingly dirty water and spreading it back across the floor. To achieve a professional finish, use the three-bucket method:
- Bucket 1: Hot water mixed with your cleaning solution.
- Bucket 2: Plain water for rinsing the dirty mop.
- Bucket 3: Clean rinse water for a final pass.
Real-World Example: Imagine you are cleaning a sage green terracotta floor—a popular 2026 color trend. Using the three-bucket method prevents the "cloudy film" that often appears on darker or earth-toned tiles after they dry, ensuring the warm taupe or terracotta tones remain vibrant.
Grout: The Homeowner's Greatest Nemesis
According to a 2026 NKBA report, 89% of homeowners are looking to minimize grout lines because of maintenance "angst." Grout is porous and acts like a magnet for moisture and bacteria.
Deep Cleaning Grout
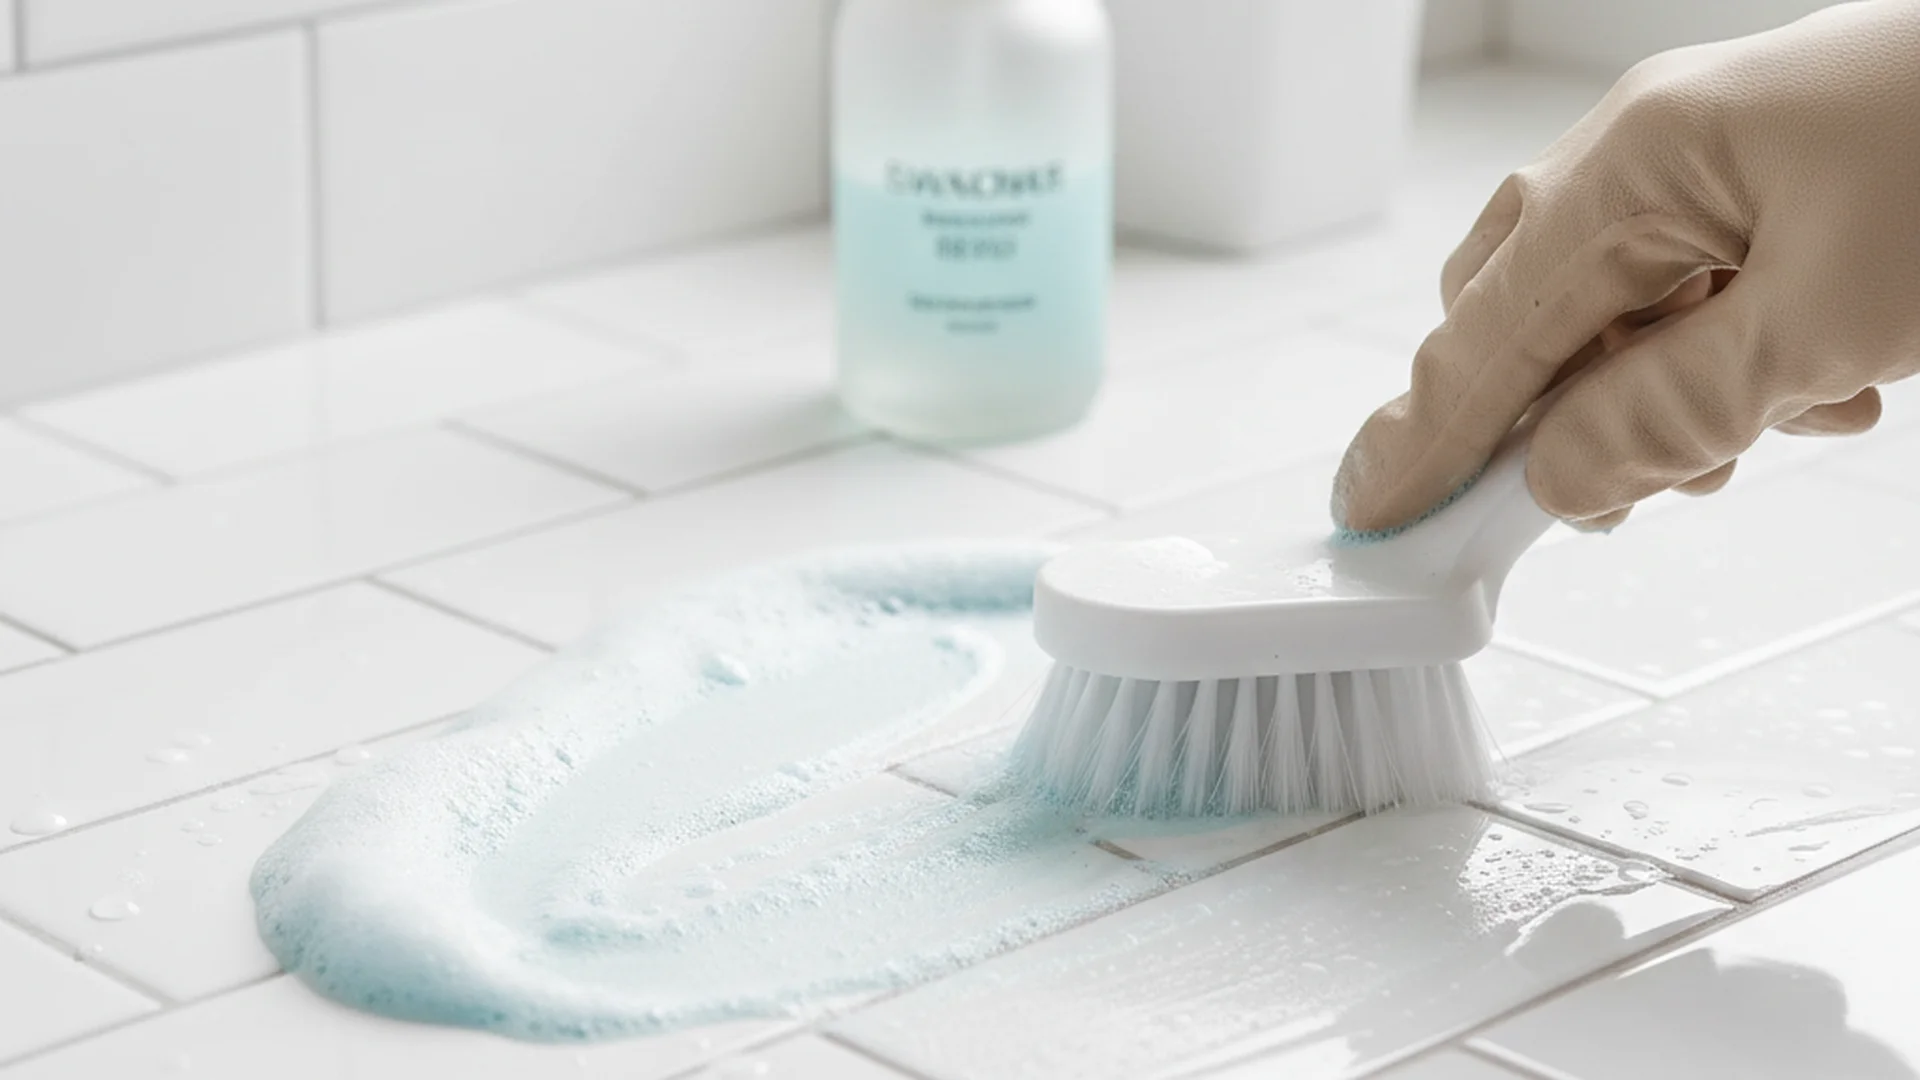
To clean grout effectively, use a stiff-bristled detail brush. Apply a paste of baking soda and hydrogen peroxide, scrub the lines, and let it sit for 15 minutes before rinsing. This lifts the deep-seated stains that standard mopping misses.
The Importance of Sealing
The best way to clean tiles is to ensure they don't get dirty in the first place. You should seal your grout every 6 to 12 months. A high-quality penetrating sealer creates a hidden barrier that prevents water and oils from entering the grout pores.
Modern Trends: Tile Drenching and Bio-Cleaners
As we look toward 2026, bathroom design is moving toward "Tile Drenching," where large-format tiles cover floors, walls, and even ceilings. This reduces the number of grout lines significantly, making the cleaning process much faster.
Furthermore, the industry is shifting toward Bio-Based Cleaners. These products use specialized enzymes that "eat" organic matter like skin cells and body oils over several hours.
Real-World Example: If you have fluted or 3D textured tiles—a major 2025 "Sensory Minimalism" trend—applying a bio-based cleaner overnight allows the enzymes to work into the intricate textures, meaning you only need a quick rinse in the morning rather than aggressive scrubbing with a brush.
Common Mistakes to Avoid
- Mixing Bleach and Ammonia: This is the most dangerous DIY mistake. Many glass cleaners contain ammonia; if you use them on a mirror while bleach-based cleaner is on the tiles, you can create toxic chloramine gas.
- Using Abrasive Tools: Steel wool or hard-wire brushes create micro-scratches on glazed ceramic or glass tiles. These scratches trap more dirt over time, making future cleaning even harder.
- Ignoring Ventilation: Always run the bathroom fan or open a window while cleaning. Proper airflow ensures the grout dries quickly. If the bathroom remains humid after cleaning, you are providing the exact environment mold needs to grow back immediately.
- Bottom-Up Cleaning Error: When cleaning wall tiles, always work from the bottom up. If you start at the top, the cleaning solution runs down the dry, dirty tile, often leaving "streak stains" that are incredibly difficult to remove once they set.
Frequently Asked Questions
How do I clean bathroom tiles without bleach?
Is vinegar safe for all bathroom tiles?
How often should I seal my grout?
What is the best way to remove hard water stains?
Conclusion
Cleaning your bathroom tiles doesn't have to be a grueling chore. By understanding the porosity of your materials, moving toward eco-friendly bio-cleaners, and implementing small daily habits like the squeegee method, you can maintain a showroom-quality finish with minimal effort. Remember, the secret to a clean bathroom in 2025 isn't about how hard you scrub, but how smart you maintain.
Ready to Start?
Keep your bathroom sparkling with our professional cleaning checklists.
Download Free Guide