In this article
What you’ll learn
- Clean your water dispenser every 3 to 6 months to prevent biofilm buildup.
- Vinegar is the most effective natural descaler for removing mineral deposits.
- Never use bleach in units with hot water tanks to avoid internal corrosion.
In an era where we are more conscious of our hydration than ever, the appliance that provides our daily water often remains the most neglected. Many homeowners assume that because only "clean" water passes through the system, the machine remains sterile. However, understanding how to clean water dispenser units is vital for maintaining water quality and appliance longevity. As we move through 2025, modern dispensers have become more advanced, featuring UV-C sterilization and smart sensors, but the fundamental need for manual deep-cleaning remains unchanged.
The Hidden Science of Water Dispenser Contamination
While your water may look crystal clear, the interior of a dispenser can be a breeding ground for microscopic life. Recent studies have highlighted a startling reality: uncleaned water dispensers can harbor between 2,000 and 1 million organisms per milliliter. To put that into perspective, the EPA limit for safe tap water is a mere 500 organisms/ml.
The primary culprit is "biofilm"—a slimy layer of bacteria like Pseudomonas aeruginosa that attaches to the walls of the reservoir. This film is resistant to simple rinsing and acts as a protective shield for colonies of bacteria. Without regular descaling and sanitization, this can lead to an "off" taste or even health issues for sensitive individuals.
Note: Over 60% of bottled water dispensers are found to be contaminated beyond acceptable health levels if they haven't been professionally or thoroughly cleaned within a six-month window.
Preparation: What You Need to Get Started
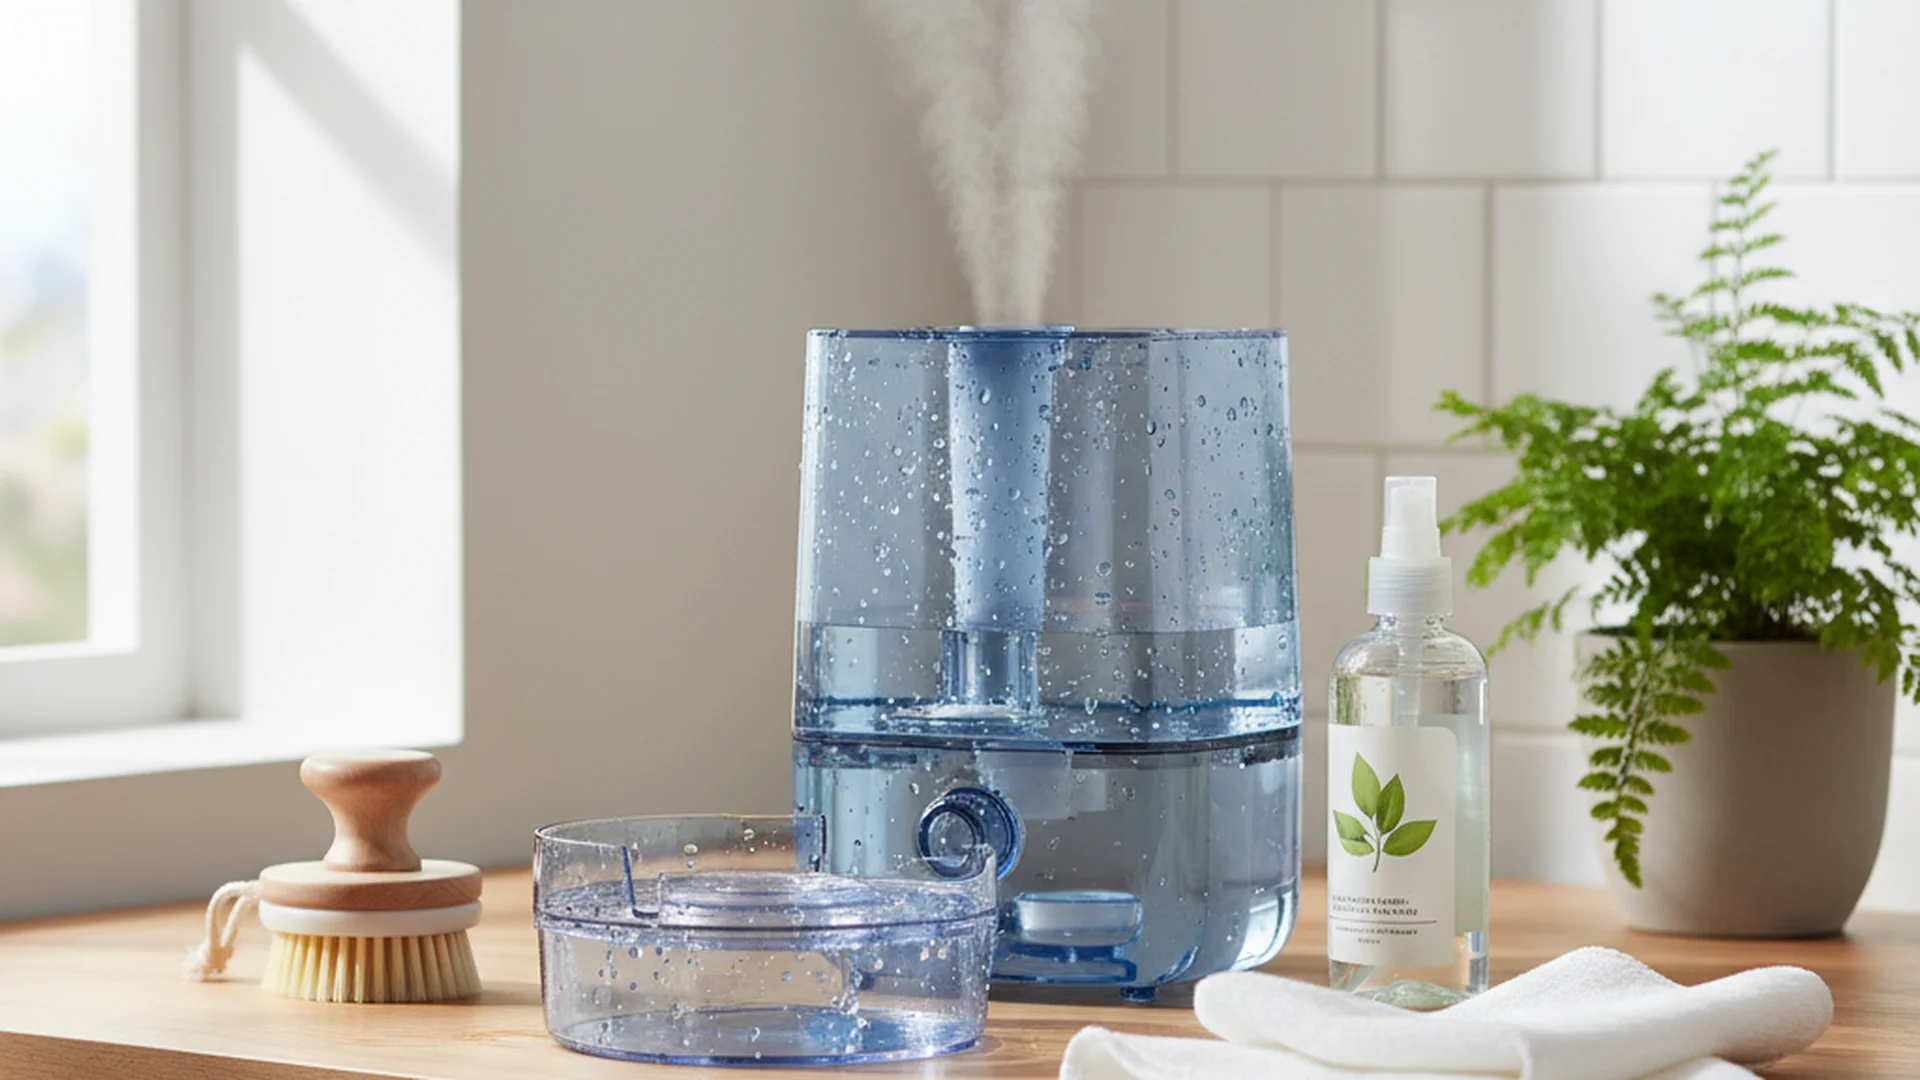
Before you begin the cleaning process, gather your supplies. To clean water dispenser naturally, you don't need harsh industrial chemicals. In fact, some of the most effective tools are already in your pantry.
- White distilled vinegar (approx. 5-6 cups)
- Fresh, filtered water (4-5 gallons for flushing)
- A clean microfiber cloth
- A small scrub brush or a dedicated clean toothbrush
- Mild dish soap
- A screwdriver (for some models with removable smart seats)
Warning: Always unplug your water dispenser from the power outlet before you begin. Mixing water and electricity is a significant safety hazard, and you’ll need the unit powered down to safely access the reservoir.
How to Clean Water Dispenser with Vinegar: A Step-by-Step Guide
Using vinegar is the gold standard for home maintenance. It acts as both a mild disinfectant and a powerful descaler, breaking down the calcium and magnesium deposits (hard water scale) that can clog your internal lines.
Step 1: Drain the System
First, remove the water bottle (for top-loaders) or disconnect the water line. Drain all remaining water through both the cold and hot taps into a bucket. Ensure the reservoir is completely empty before proceeding.
Step 2: Prepare the Vinegar Solution
Mix a 1:3 ratio of white vinegar to water. For a standard dispenser, this usually means mixing 5 cups of vinegar with about 1 gallon of water. This concentration is strong enough to break down biofilms without leaving a permanent odor after flushing.
Step 3: Sanitize the Reservoir
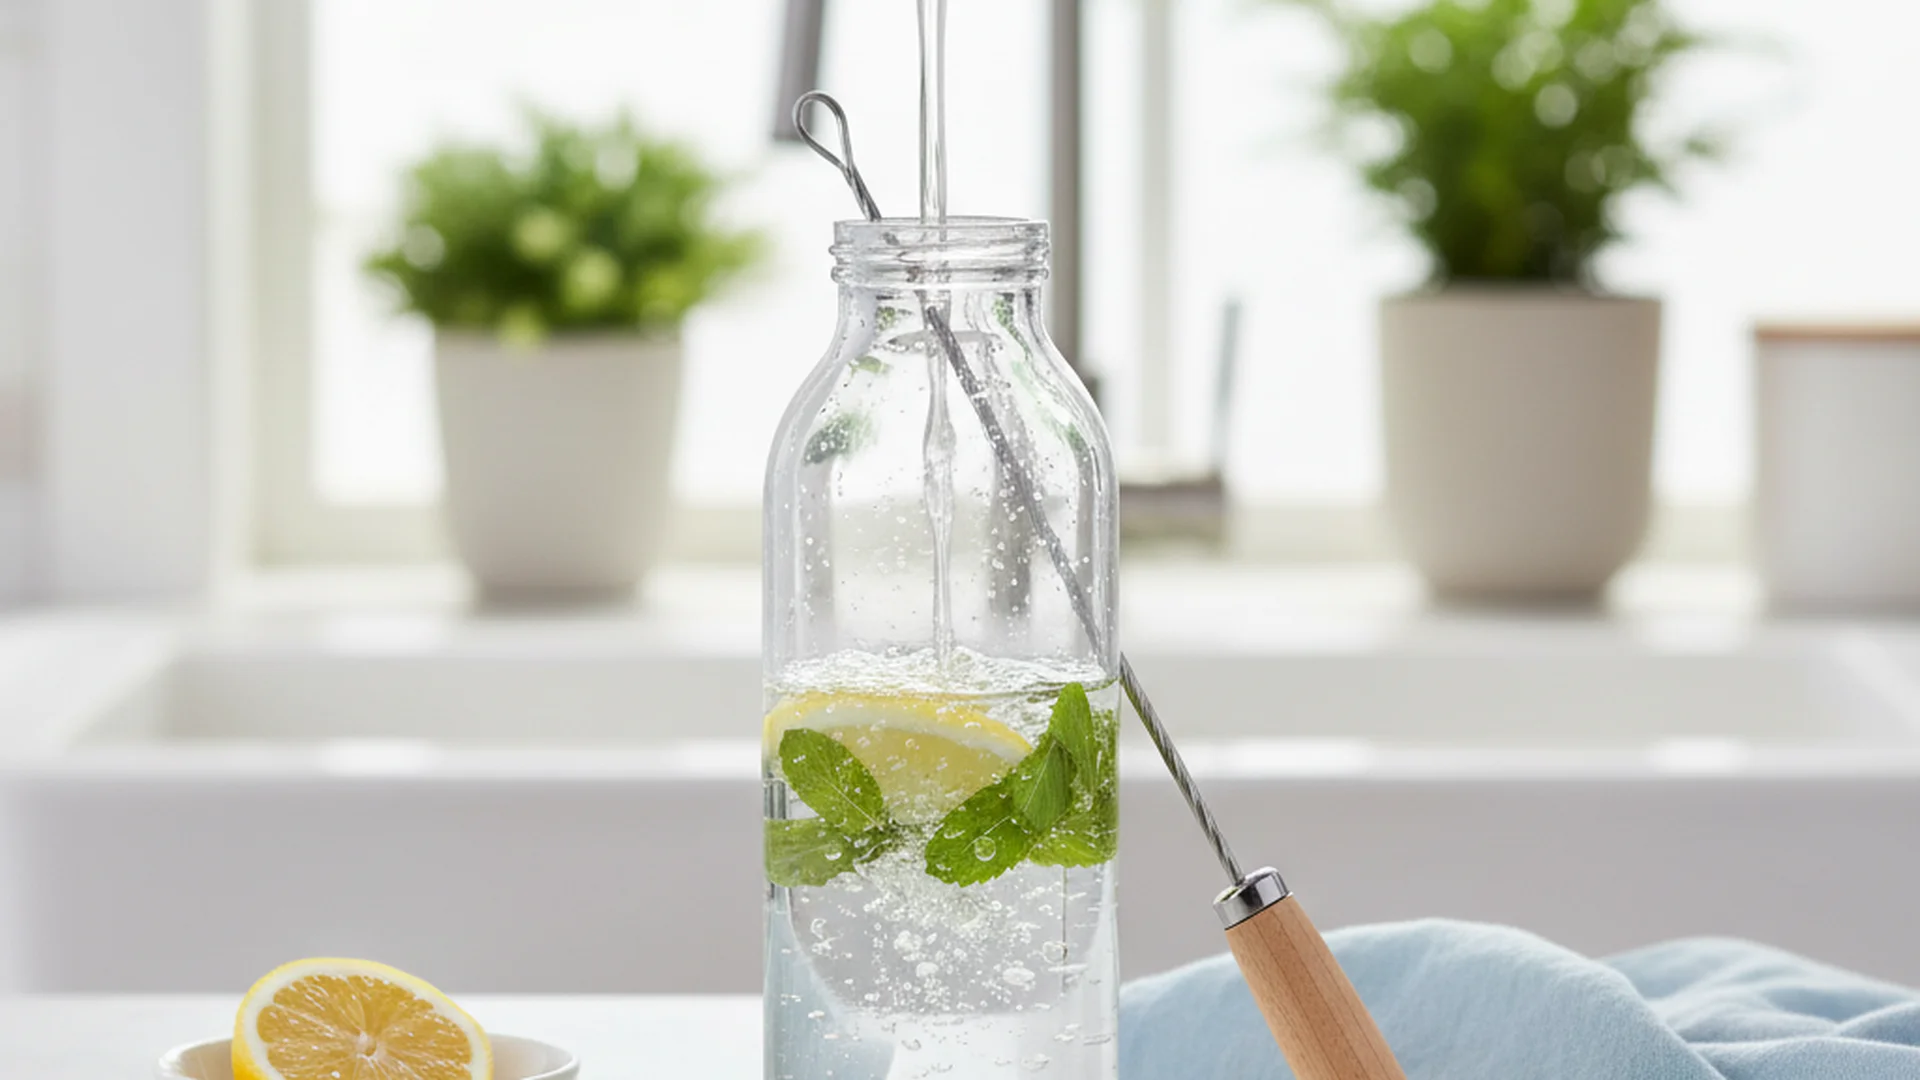
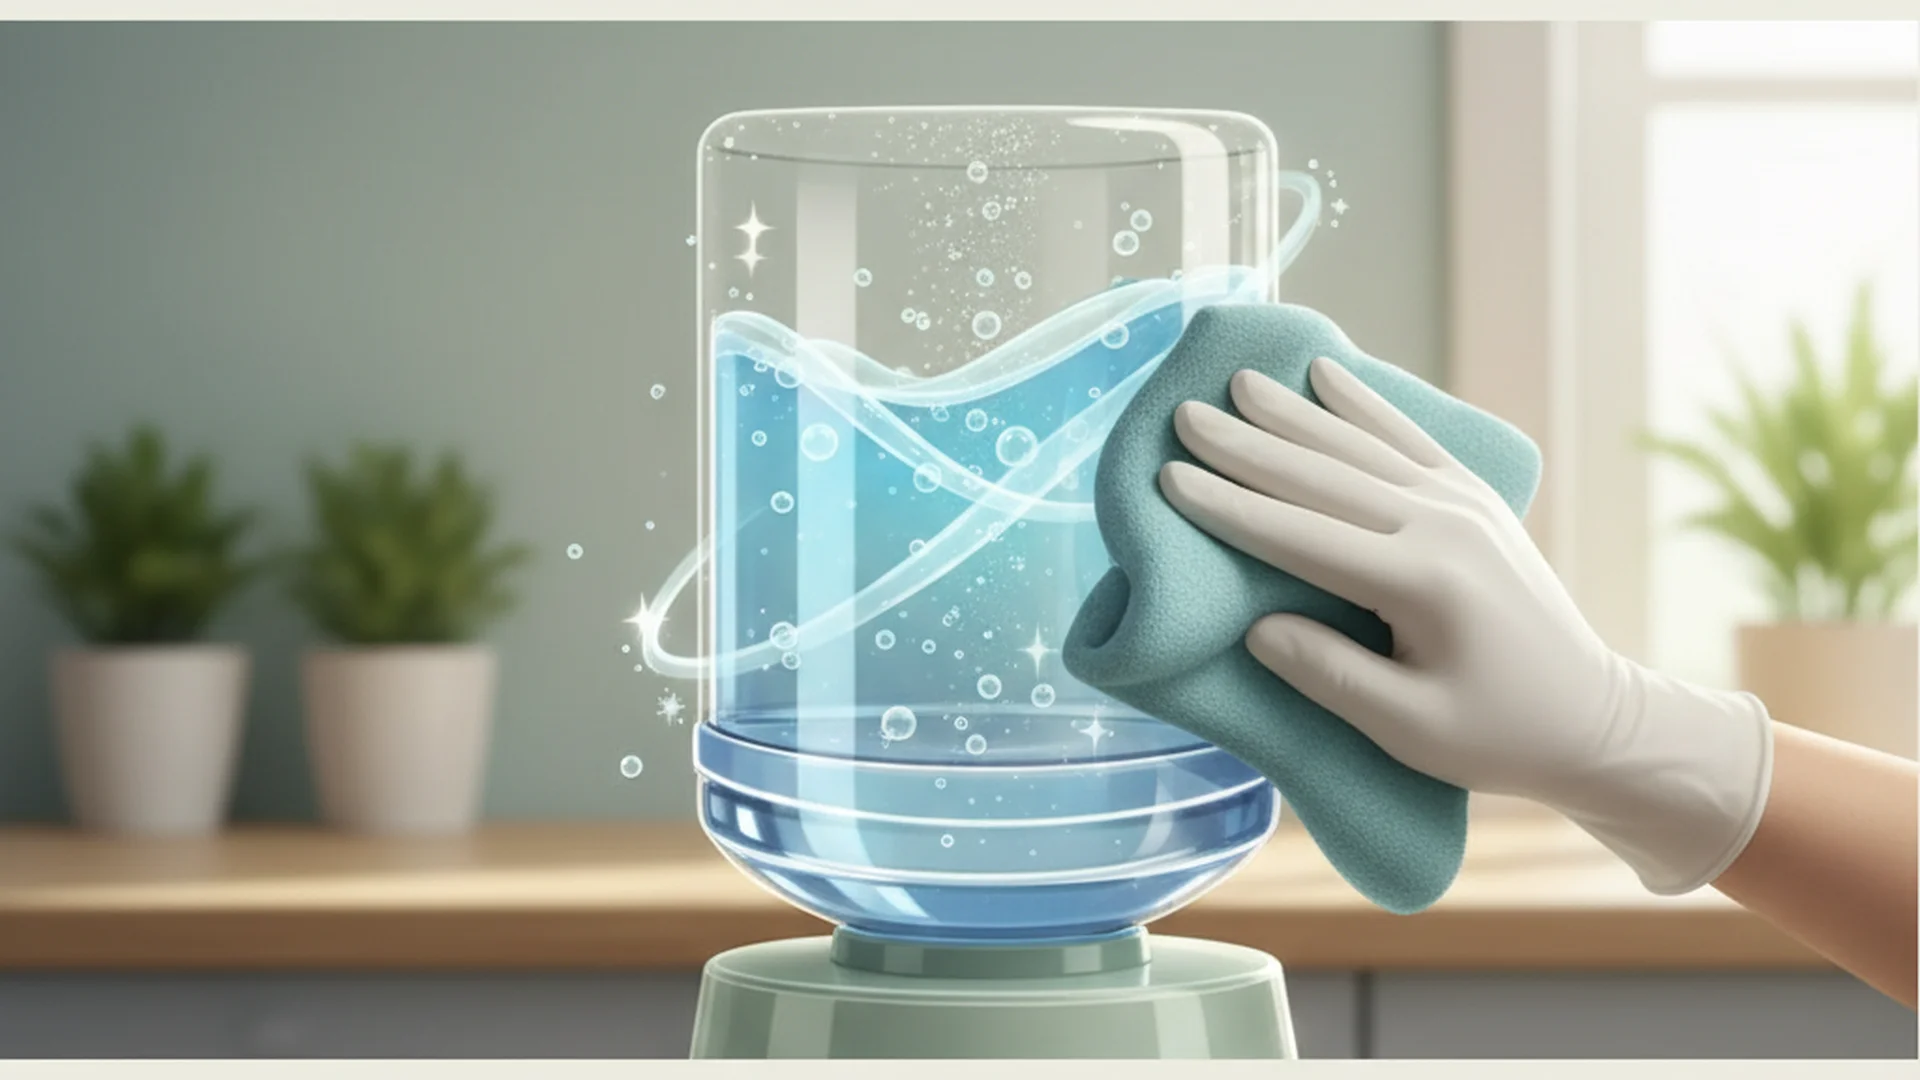
Pour the solution into the reservoir. If you have a top-loading model, ensure the solution fills the inner chamber. Let the solution sit for 10 to 15 minutes. This "dwell time" is critical for the vinegar to chemically react with mineral buildup.
Tip: While the solution sits, use a clean toothbrush dipped in vinegar to scrub the "Smart Seat" or the rim where the water bottle rests. This area is a magnet for dust and pet hair.
Step 4: Flush the Internal Lines
Once the dwell time is up, drain the vinegar solution out through the dispensing taps. This ensures that the internal tubing and spigots are also treated.
Step 5: The Final Rinse
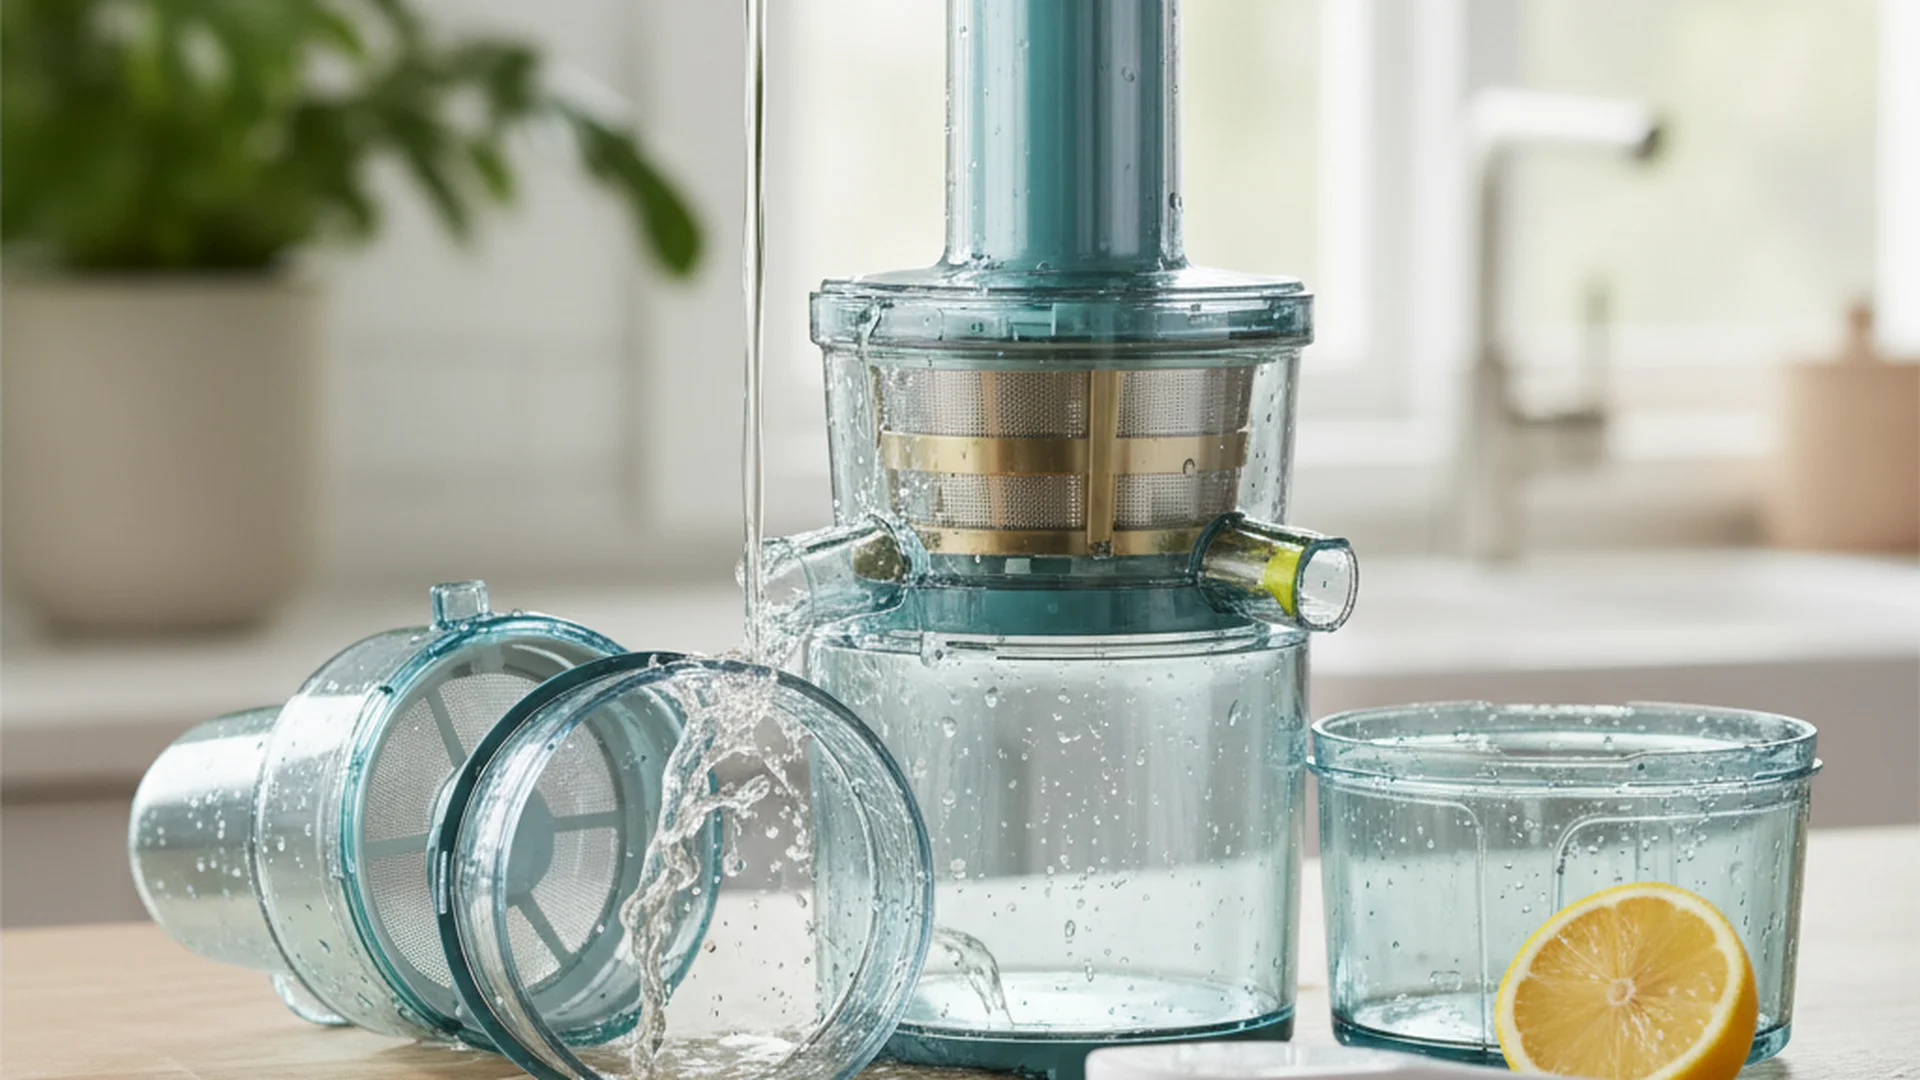
This is the most important part for taste. Flush the system with at least 2 to 4 gallons of fresh water. Continue flushing until you can no longer smell or taste the vinegar.
Success: A thorough vinegar flush not only kills bacteria but also restores the "crisp" taste of your water by removing stagnant mineral odors.
Maintaining Modern Features (2025-2026 Tech)
If you have purchased a high-end model recently (such as a Brio, Avalon, or Primo), you likely have access to 2025 hydration technology. These units require a slightly different approach.
UV-C LED Sterilization
Many 2025 models feature internal UV-C lights that run cycles every few hours. While this kills free-floating bacteria in the tank, it does not remove physical scale or clean the external spigots. You still need to perform a manual vinegar clean twice a year.
Smart Maintenance Sensors
IoT-enabled dispensers now send notifications to your smartphone when mineral buildup reaches a specific threshold.
Example: Sarah, a homeowner in Seattle, noticed her dispenser's app alerted her to "low flow rate." Upon inspection, the smart sensor had detected calcium buildup in the heating element. A simple citric acid flush resolved the issue before the heating element burned out.
| Component | Cleaning Frequency | Method |
|---|---|---|
| Drip Tray | Daily | Dish soap and warm water |
| External Buttons | Weekly | Food-safe sanitizing wipe |
| Reservoir | Every 3-6 Months | Vinegar or Citric Acid solution |
| Back Cooling Coils | Every 6 Months | Vacuum or duster |
Common Mistakes to Avoid
In my experience as a home organization expert, I see the same errors repeated frequently. Avoiding these will extend the life of your appliance.
- Mixing Bleach and Vinegar: This is the most dangerous mistake. Combining these two creates toxic chlorine gas. If you choose to use bleach for sanitization, never use vinegar in the same cleaning session.
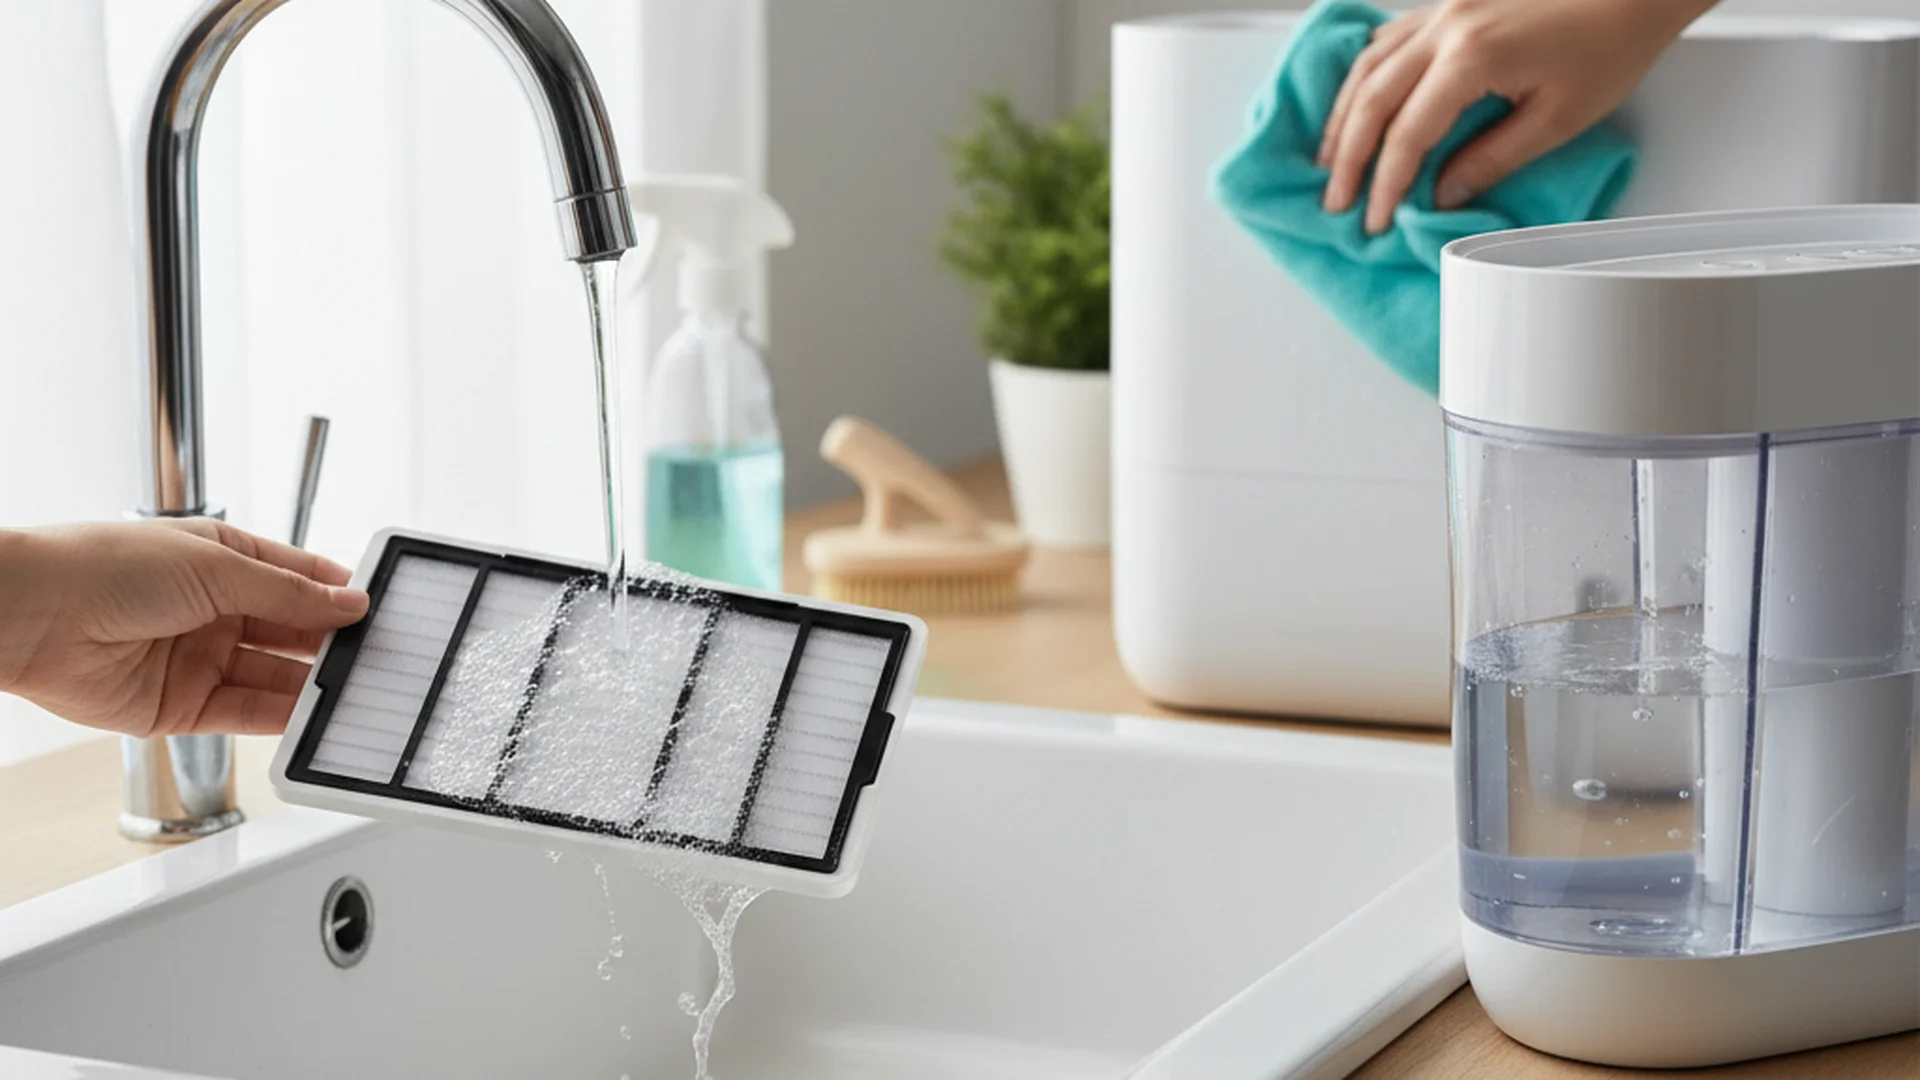
- Neglecting the Drip Tray: The drip tray is the #1 source of mold. Because it holds standing water, it can develop "ponies"—slimy microbial clusters. Treat the drip tray like a dinner plate and wash it frequently in the dishwasher or with hot soapy water.
- Using Bleach in Hot Tanks: Never use bleach if your dispenser has a hot water function. Bleach can corrode the stainless steel lining of the heating tank or react poorly with the heating element. Stick to clean water dispenser naturally methods like vinegar or citric acid for these units.
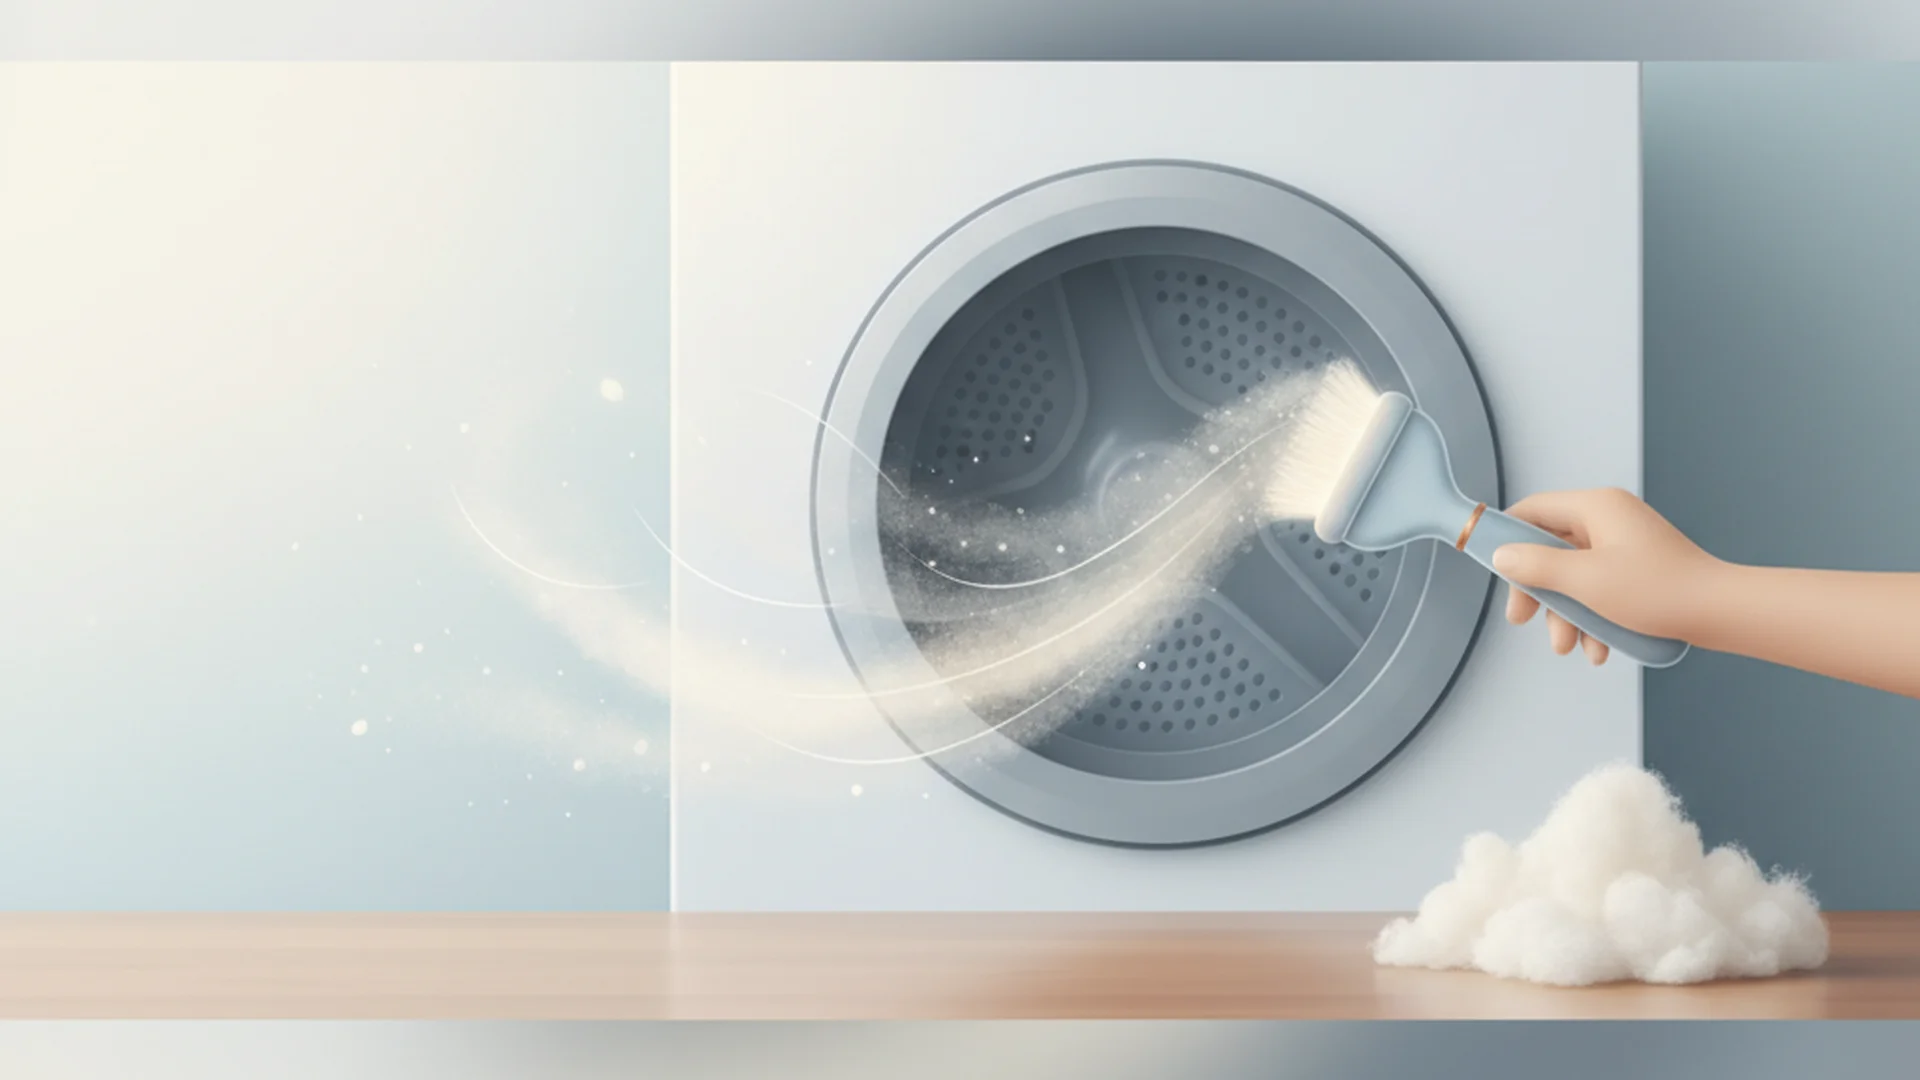
- Forgetting the Back Coils: The black coils on the back of the unit dissipate heat. If they are covered in dust, the compressor must work twice as hard, leading to higher energy bills and a shorter appliance lifespan.
Frequently Asked Questions
How often should I clean my dispenser?
Why does my water taste like plastic or "off"?
Is the "self-cleaning" feature enough?
Can I use citric acid instead of vinegar?
Conclusion
Learning how to clean water dispenser systems is a fundamental skill for a healthy home. By using the natural power of vinegar and staying consistent with your maintenance schedule, you ensure that your family’s hydration remains safe and delicious. Remember that even the most advanced 2025 models with UV sterilization require the human touch to stay truly clean.
Take 45 minutes this weekend to descale your reservoir and vacuum those back coils—your taste buds (and your appliance’s lifespan) will thank you.
Success: Regularly maintained dispensers use up to 15% less energy because the cooling and heating elements don't have to fight through layers of mineral scale.
Cleaning that keeps score
Every task earns points, every streak multiplies them, and Premium adds a household leaderboard plus a monthly Dustagorgon to beat.
- Free forever
- 30 badges to earn
- Up to 6 in a household
No card needed. Set up your rooms in a couple of minutes.