Key Takeaways
- Limescale can reduce energy efficiency by up to 25%.
- Citric acid is the fastest, odorless natural cleaning method.
- Regular maintenance can double the lifespan of your appliance.
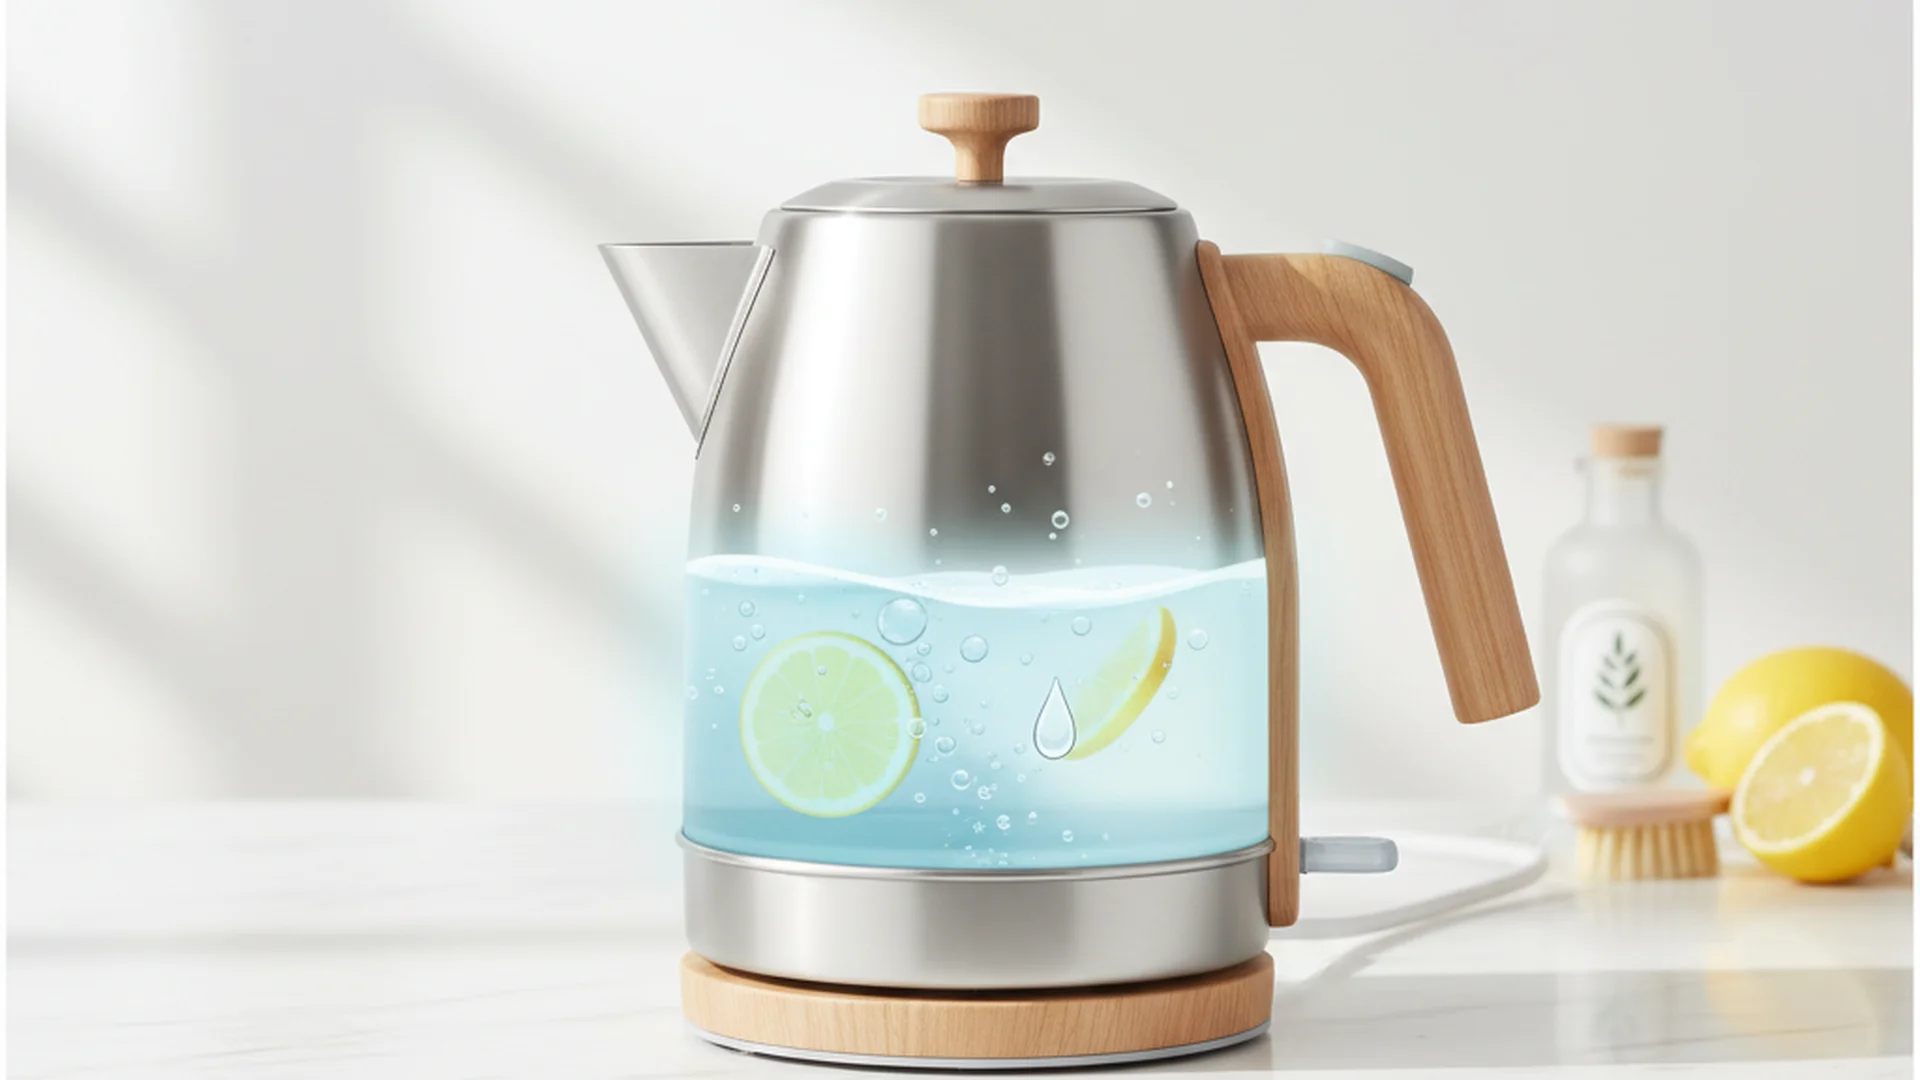
If you have noticed that your morning tea is taking longer to brew or that there are strange white flakes floating in your mug, it is time to learn how to clean electric kettle components properly. As a professional cleaning consultant, I often see high-end appliances discarded prematurely simply because of mineral buildup. Limescale isn't just an aesthetic issue; it is a silent performance killer that forces your kettle to work harder, consume more electricity, and eventually burn out.
Whether you are dealing with a modern glass model or a classic stainless steel design, maintaining a pristine interior is the secret to better-tasting water and lower utility bills. In this guide, we will explore the most effective methods to descale your appliance, including how to clean electric kettle vinegar solutions and how to clean electric kettle without chemicals using 2026’s top-rated natural alternatives.
The Science of Scale: Why Cleaning Matters
Before we dive into the "how," we must understand the "why." Most households—approximately 60% in the UK and US—are supplied with "hard water." This water contains high levels of dissolved minerals, specifically calcium and magnesium. When water boils, these minerals solidify, forming a crust known as limescale (calcium carbonate).
Limescale acts as a powerful thermal insulator. Research from the Carbon Trust and British Water indicates that a mere 1mm layer of scale can increase the energy required to boil water by 7%. If you allow that buildup to reach 3mm, your energy efficiency can plummet by up to 25%. Over time, this buildup causes the heating element to overheat as it struggles to transfer heat through the mineral barrier, leading to a 50% reduction in the appliance's lifespan.
Method A: Clean Electric Kettle Without Chemicals (Citric Acid)
As we move into 2026, the cleaning industry has seen a massive shift toward citric acid. While vinegar was once the gold standard, citric acid is now the preferred choice for professionals because it is completely odorless and highly concentrated.
The Citric Acid Step-by-Step
- Preparation: Fill your kettle about 1/4 full with fresh water.
- The Formula: Add 2 tablespoons of citric acid powder. You can find this in the baking aisle or as specialized "eco-pods."
- The Boil: Turn the kettle on and bring the solution to a boil.
- The Soak: Once it clicks off, let it sit for at least 20 minutes. The acid will fizz as it aggressively dissolves the calcium.
- Rinse: Empty the kettle and rinse it thoroughly with cold water.
Method B: How to Clean Electric Kettle with Vinegar
If you don't have citric acid on hand, the most accessible method is to clean electric kettle vinegar mixtures. This is a classic household hack that uses acetic acid to break down mineral bonds.
The Vinegar Soak Process
- Mix: Combine equal parts white vinegar and water. Fill the kettle to the halfway mark (do not overfill, as vinegar bubbles more than water).
- Boil: Bring the mixture to a boil.
- The Long Soak: For light scale, 30 minutes is enough. However, for severe buildup where the element is completely covered, let it sit for at least 1 hour or even overnight.
- Discard and Rinse: Pour out the solution. You will likely see large chunks of scale falling away.
- Neutralize: To remove the "vinegar smell," fill the kettle with plain water, boil it, and discard. Repeat this 2–3 times until the scent is gone.
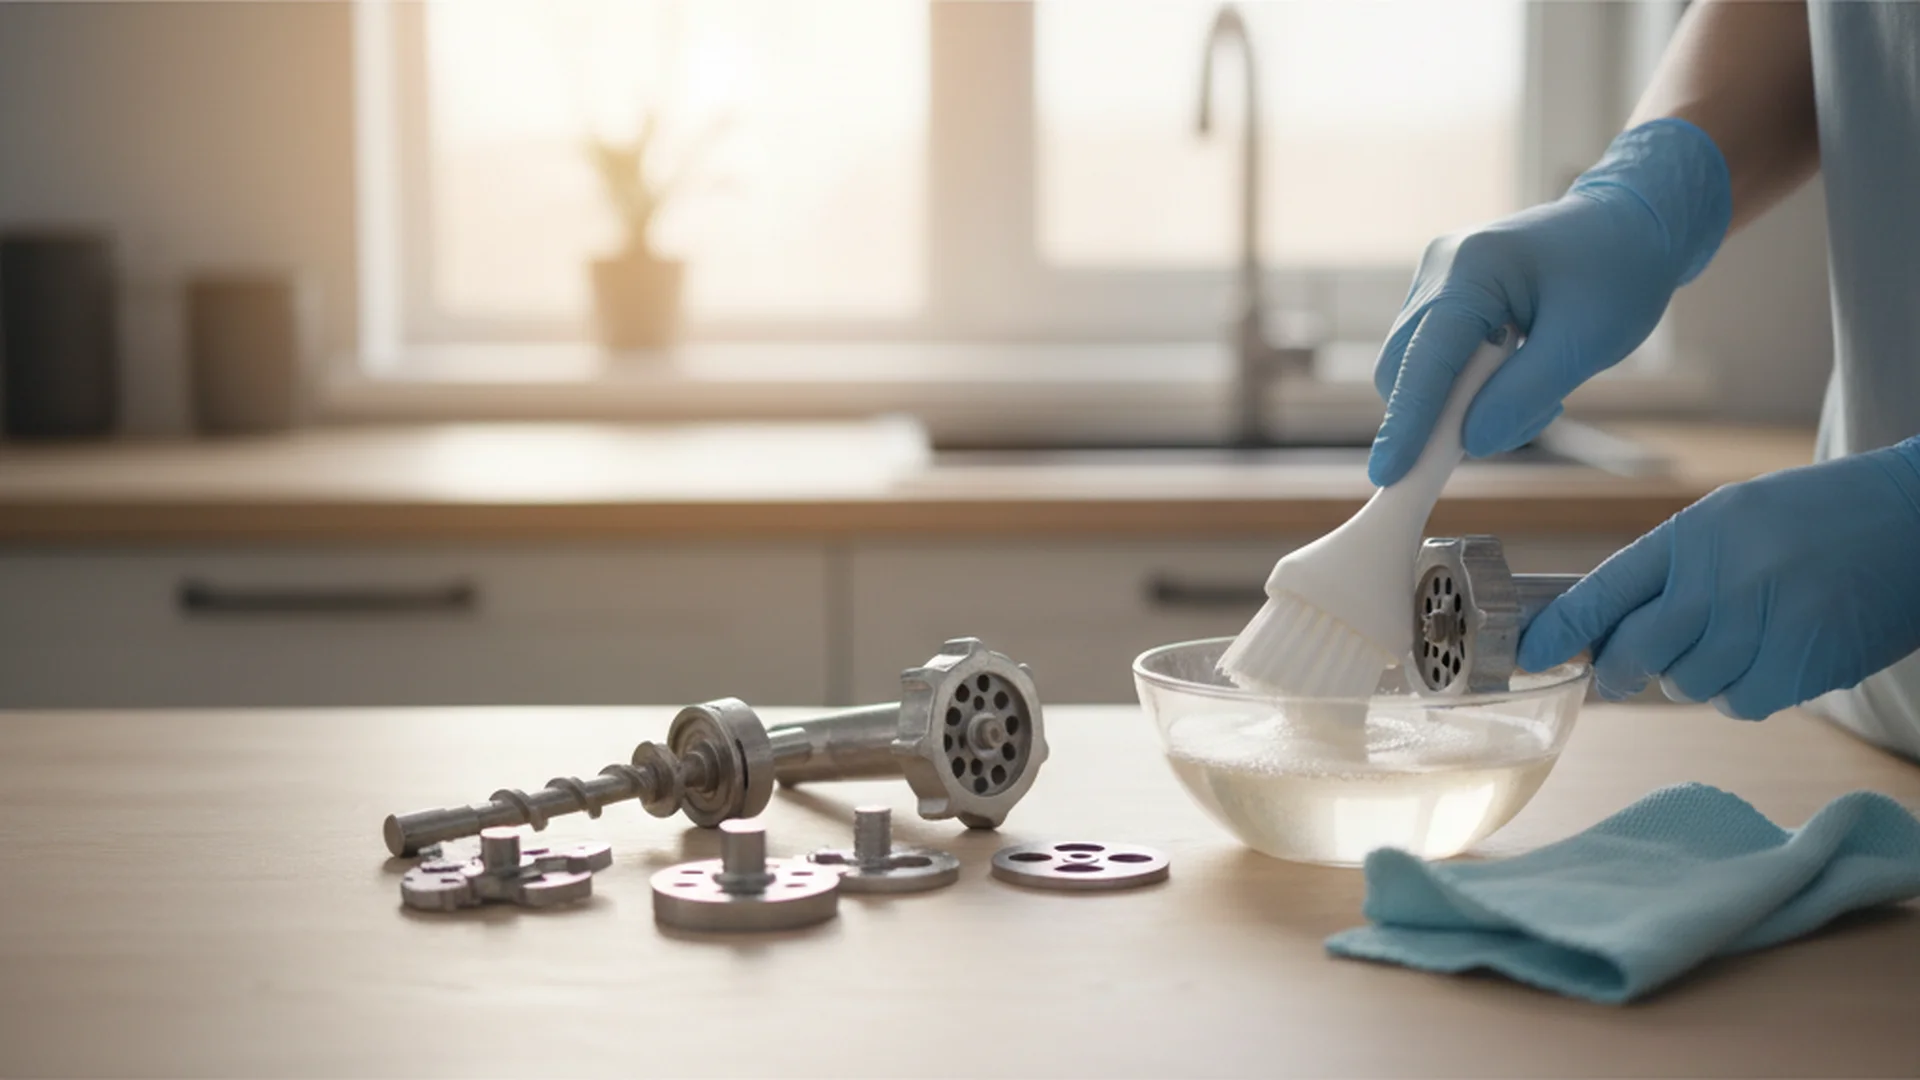
Method C: Cleaning the Exterior and Stubborn Spots
The outside of your kettle deserves as much attention as the inside, especially if you have a stainless steel model that shows fingerprints or a glass model that shows water spots.
The Baking Soda Paste
For burnt-on spots on the base or greasy residue from being near a stovetop:
- Mix 3 parts baking soda with 1 part water to create a thick paste.
- Apply the paste to the stained area.
- Let it sit for 15 minutes.
- Gently scrub with a soft microfiber cloth.
Comparing Cleaning Methods
| Method | Best For | Pros | Cons |
|---|---|---|---|
| Citric Acid | Deep Descaling | Odorless, very fast | Requires buying powder |
| White Vinegar | Regular Maintenance | Cheap, always available | Strong smell, requires rinsing |
| Baking Soda | Exterior/Stains | Non-abrasive, polishes | Not effective for internal scale |
| Lemon Slices | Freshness | Natural scent | Weak acidity, slow |
2025-2026 Trends in Kettle Maintenance
The technology behind our kitchen appliances is evolving. In 2026, we are seeing a significant move toward "smart maintenance."
- Smart Maintenance Sensors: Brands like Breville and Ninja have introduced kettles with built-in sensors that monitor boil times. If the kettle detects it is taking 10% longer than usual to reach boiling point, a "Descale" light will illuminate.
- Eco-Friendly Pods: Pre-measured citric acid pods are becoming the standard. These plastic-free, biodegradable pods eliminate the guesswork of measuring and are safer for the environment.
- Material Innovation: Many manufacturers are moving away from plastic interiors toward 304-grade stainless steel and borosilicate glass. These materials are smoother at a microscopic level, giving limescale fewer places to "grip."
- Integrated Filtration: New "2-in-1" models feature integrated water filters in the lid. By filtering out minerals before they hit the heating element, these kettles can reduce the need for deep cleaning by up to 75%.
Common Mistakes to Avoid
Even with the best intentions, it is easy to damage your appliance if you use the wrong techniques.
- The "Bleach" Blunder: I cannot stress this enough—never use bleach inside a kettle. Bleach is highly corrosive to stainless steel and can cause "pitting," which permanently ruins the element. Furthermore, it is incredibly difficult to rinse away entirely, posing a health risk.
- Abrasive Scouring Pads: Never use steel wool or the rough green side of a sponge on the interior. This creates micro-scratches. These scratches act like "anchors" for future limescale, making it much harder to clean next time.
- Submerging the Base: This is the most common cause of kettle failure. The electrical pins at the bottom must remain bone-dry. Always use a damp cloth for the exterior, never a soaking wet one.
- The "Lemon Myth": While tossing a few lemon slices in a kettle makes it smell nice, it rarely provides enough concentrated acid to remove heavy scale. Use lemons for maintenance, but use citric acid or vinegar for a real clean.
Frequently Asked Questions
How often should I clean my kettle?
Is white vinegar safe for all kettles?
Can I use the kettle for anything other than water?
How do I get rid of the "vinegar smell" after cleaning?
Conclusion: A Clearer Boil
Learning how to clean electric kettle units is one of the simplest ways to improve your kitchen's efficiency. By choosing to clean electric kettle without chemicals using citric acid or opting for a classic clean electric kettle vinegar soak, you are protecting your investment and ensuring your beverages taste exactly as they should.
Remember the "Empty Habit": never leave water sitting in the kettle overnight. This simple change prevents minerals from settling and hardening, making your monthly deep clean significantly easier.
Want More Appliance Tips?
Sign up for our newsletter to receive monthly maintenance checklists for all your kitchen tech.
Subscribe Now