Key Takeaways
- Clean the underside of your mat to prevent mold and floor damage.
- Avoid harsh chemicals like bleach which degrade foam and rubber structures.
- Air dry mats in the shade to prevent UV cracking and fading.
Your kitchen mat is one of the hardest-working surfaces in your home. Whether it’s a stylish runner or a high-performance anti-fatigue mat, it stands between you and a cold, hard floor, providing essential ergonomic support. However, because they sit at the "splash zone" near sinks and stoves, these mats quickly become magnets for grease, food particles, and bacteria. Knowing how to clean kitchen mat surfaces effectively is essential not just for the longevity of the product, but for the overall hygiene of your home.
Recent studies on kitchen microbes show that while we focus on scrubbing our sinks, the least frequently cleaned surfaces—like kitchen mats—often host the most diverse bacterial communities. If neglected, these can include S. aureus and fecal coliforms. As we move into 2026, the shift toward sustainable and ergonomic living means we must treat our floor coverings with the same care as our high-end appliances.
Why Your Kitchen Mat Needs a Deep Clean
The global anti-fatigue flooring market is projected to reach over $5.37 billion by 2032. This growth isn't just about comfort; it's about health. However, a dirty mat is a health hazard. Beyond the visible crumbs, moisture trapped between a mat and the floor can trigger mold and mildew growth in as little as 24 to 48 hours.
Furthermore, with the "Green Revolution" in full swing, consumers are moving away from harsh synthetic cleaners. By 2026, sustainable cleaning products are expected to dominate over half of the global market. This guide will show you the best way clean kitchen mat materials using both modern technology and natural, eco-friendly methods.
Understanding Your Mat Material
Before you reach for the scrub brush, you must identify what your mat is made of. Using the wrong technique can lead to "pitting" in foam or warping in natural fibers.
| Mat Material | Cleaning Method | Best For |
|---|---|---|
| Anti-Fatigue (Foam/Gel) | Damp wipe with mild soap | Long hours of standing |
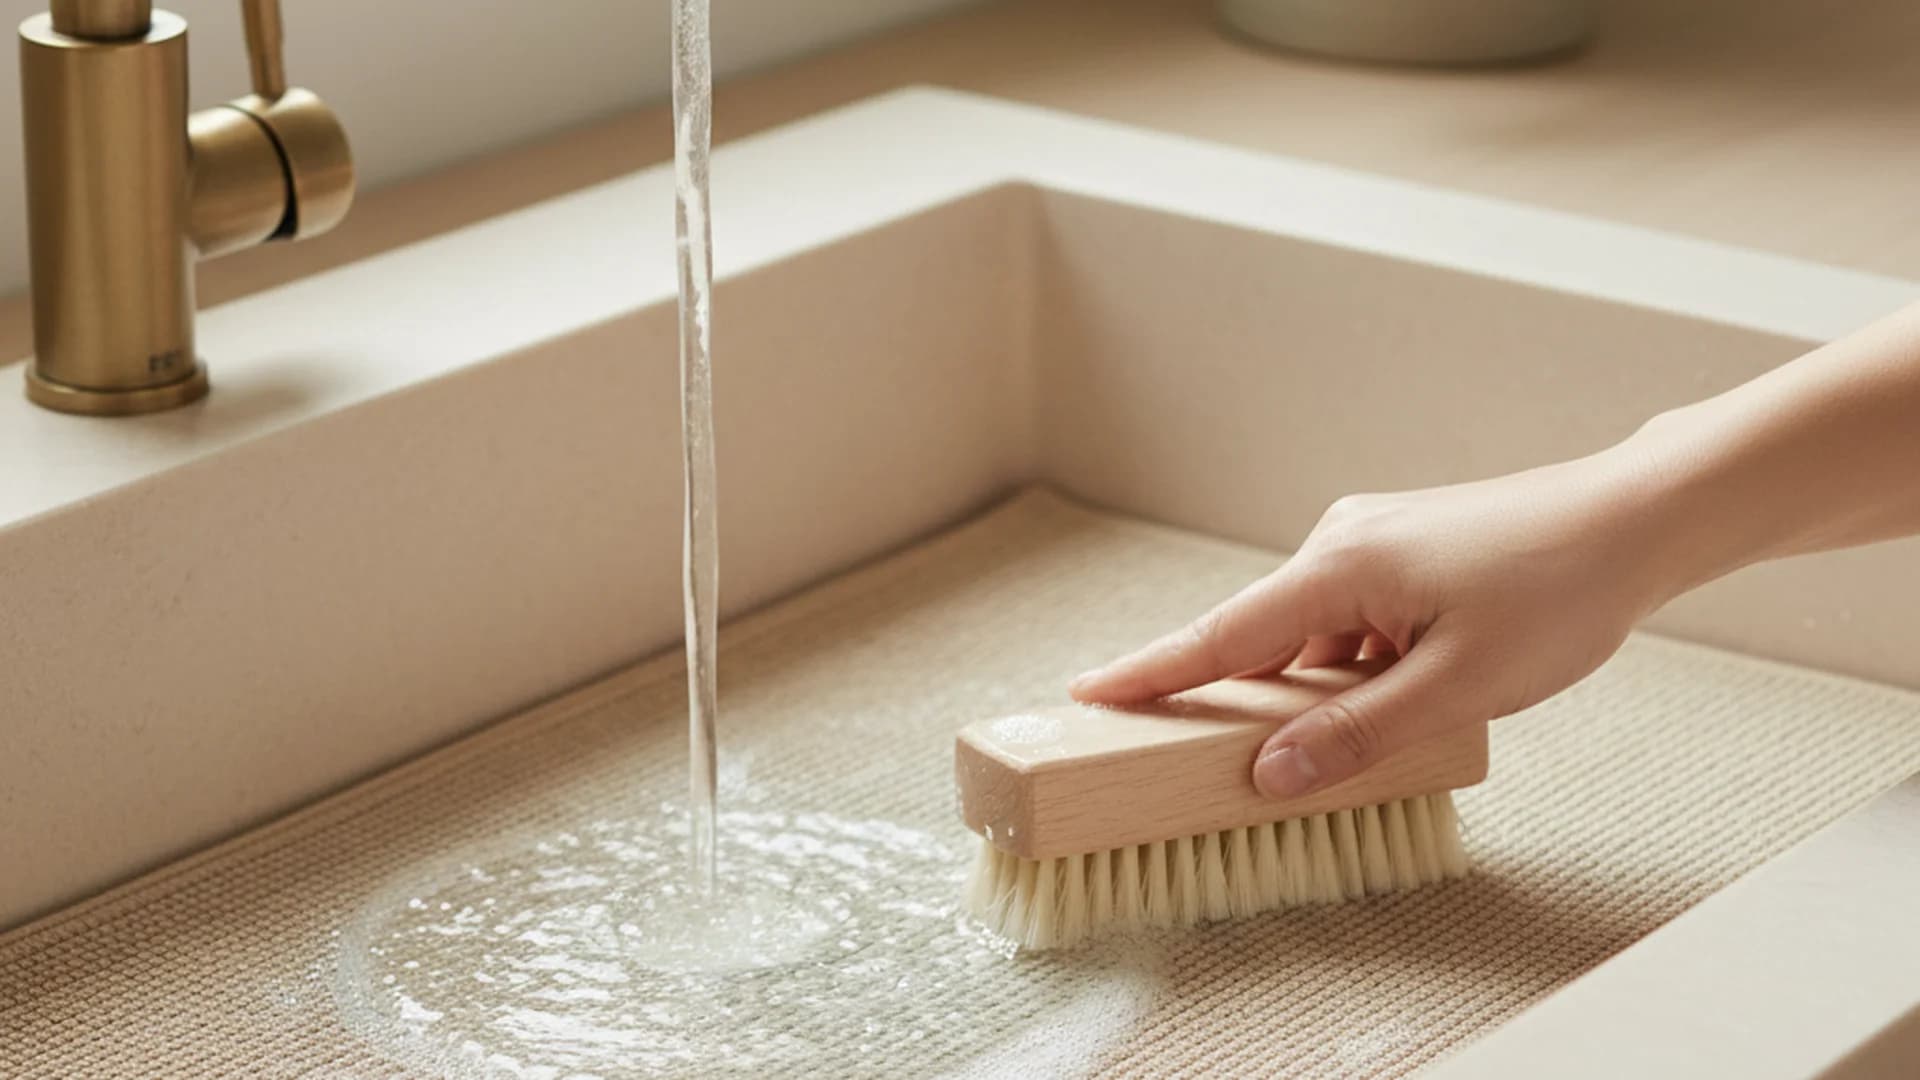
| Rubber | Scrub with soft brush | Heavy-duty grease zones |
| Fabric/Woven | Machine wash (if specified) | Aesthetic appeal |
| Bamboo/Fiber | Spot clean only | Minimalist, eco-friendly kitchens |
Cleaning Anti-Fatigue Foam and Gel Mats
These are the most popular mats in 2025, but they are also the most sensitive. The "cellular" structure that provides comfort can be destroyed by harsh chemicals or excessive heat.
- Vacuum or Shake: Remove loose debris first.
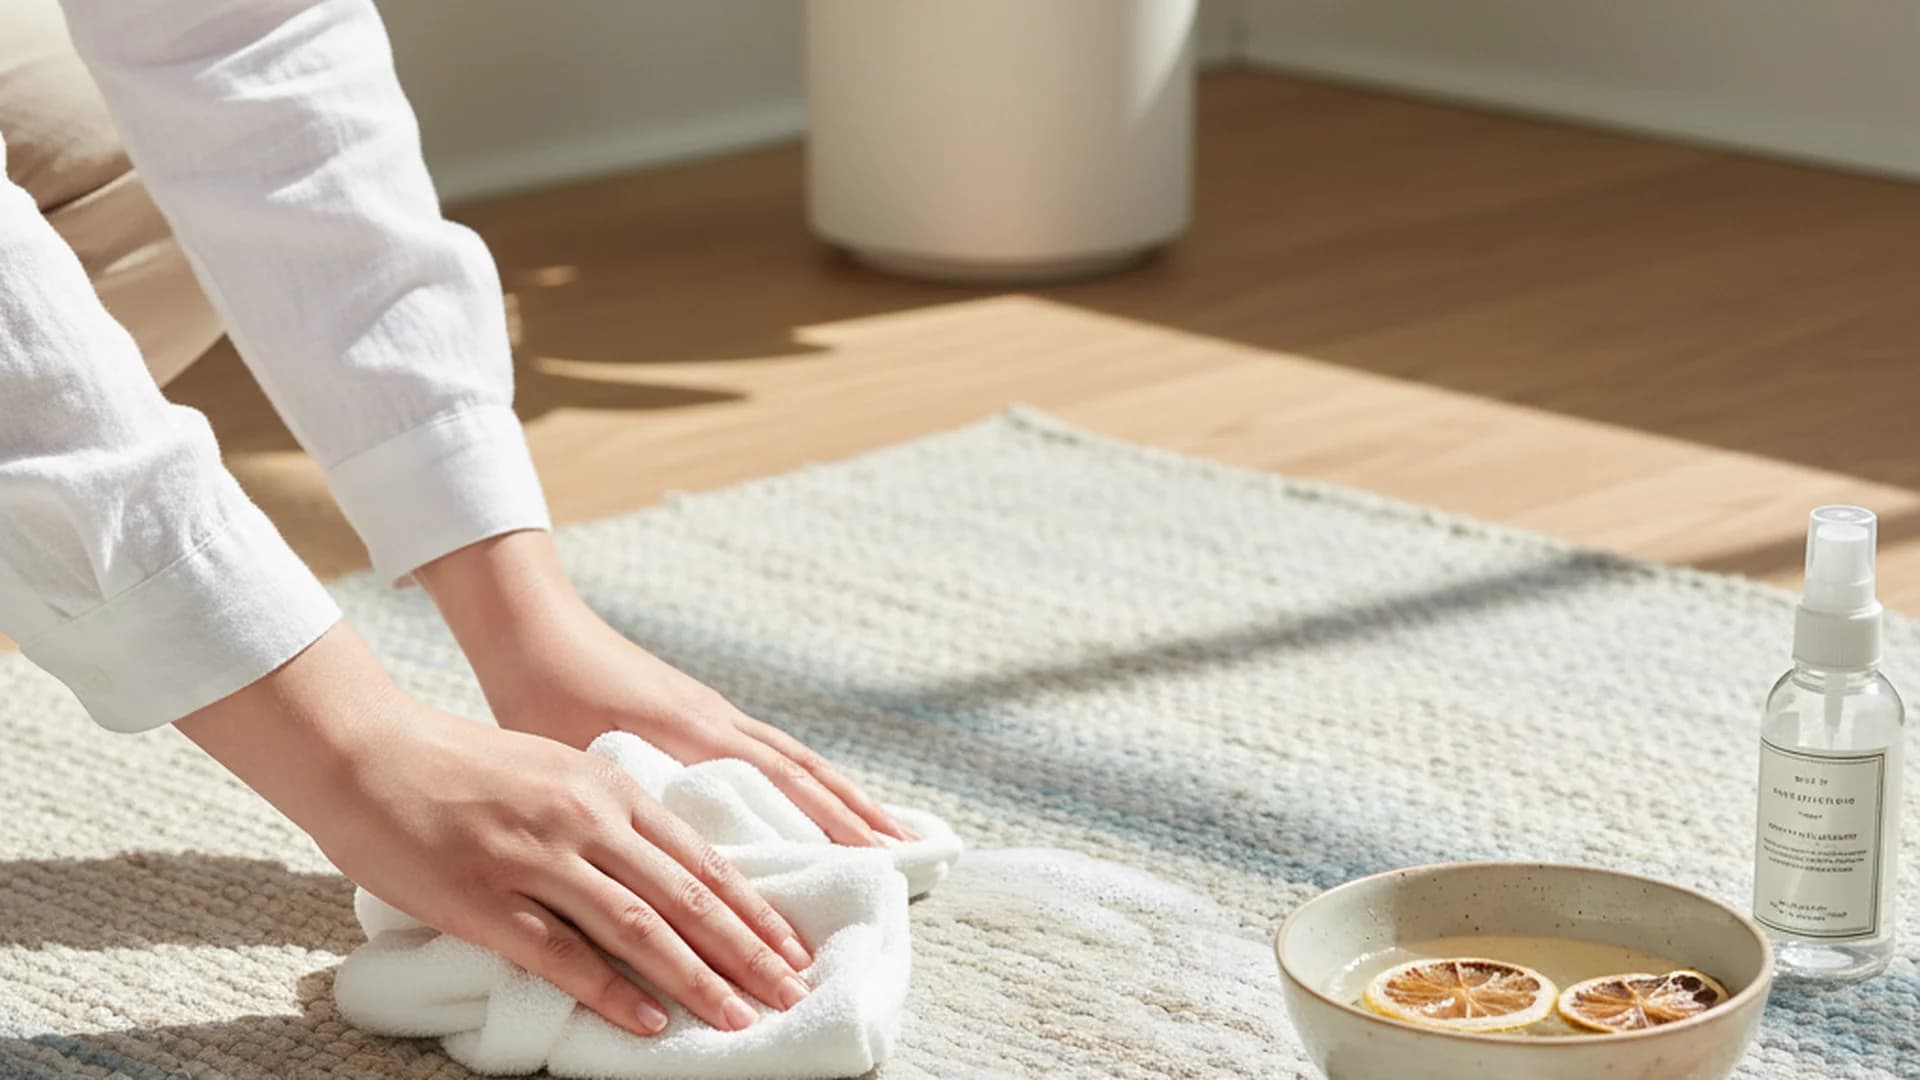
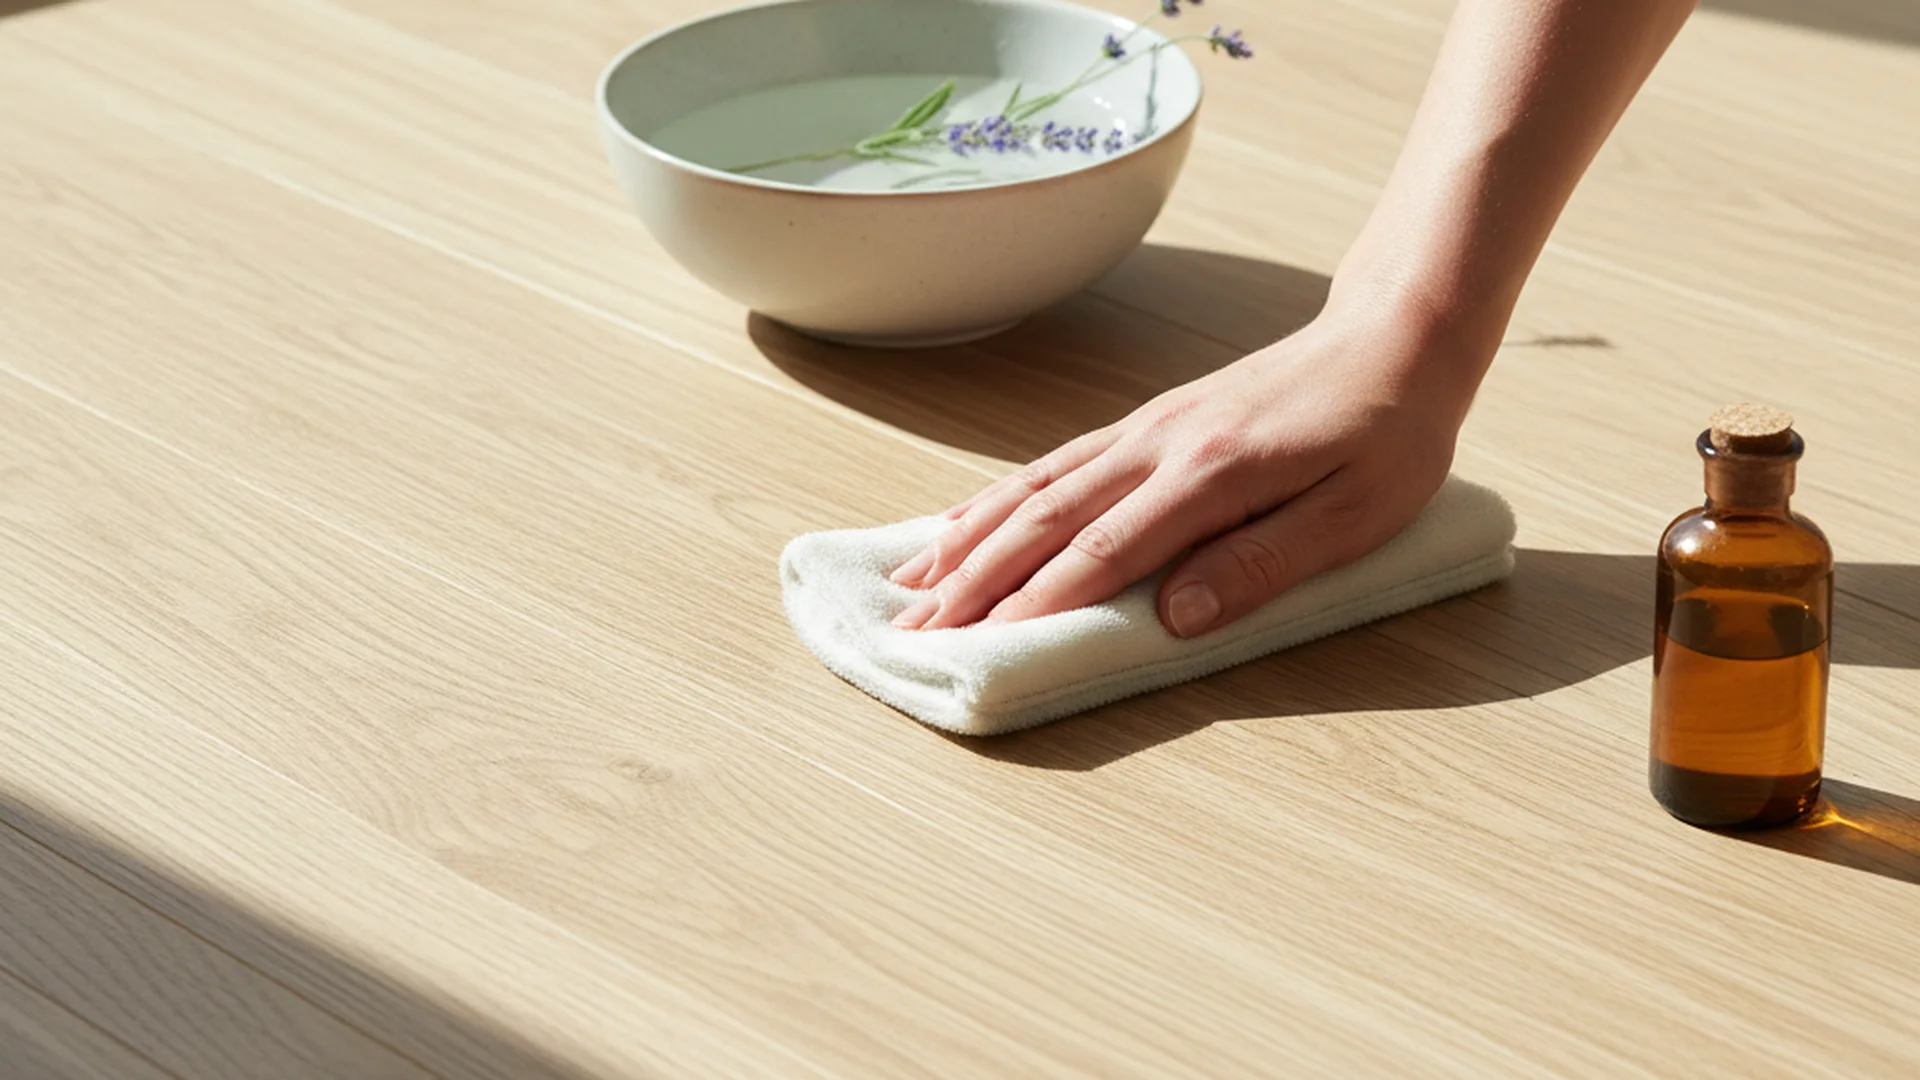
- Wipe Down: Use a microfiber cloth with lukewarm water and a drop of mild dish soap.
- The Under Link: Don't forget the bottom! Wipe the underside to remove dust that can act like sandpaper against your floor’s finish.
- Air Dry: Lay it flat in a shaded area.
How to Clean Kitchen Mat Naturally
If you are part of the 52.7% of consumers pivoting toward plant-based solutions, you'll be pleased to know that you can clean kitchen mat naturally with items already in your pantry.
The Baking Soda Deodorizer
Over time, kitchen mats can develop a "musty" smell, especially if they have a porous underside.
- The Method: Sprinkle a generous layer of baking soda over the dry mat.
- The Wait: Let it sit for at least 20 minutes. The baking soda absorbs oils and neutralizes odors.
- The Finish: Vacuum thoroughly using a brush attachment.
The Vinegar Disinfectant
White vinegar is a powerhouse for killing bacteria without the "chemical" smell of bleach.
- Recipe: Mix 1 part white vinegar with 3 parts water in a spray bottle.
- Application: Spray lightly across the surface. This is particularly effective for rubber mats which can handle the slight acidity.
Real-World Examples: Mat Care in Action
Example 1: The Weekend Baker
"Sarah" is an avid baker who spends every Saturday on her anti-fatigue mat. Flour and butter spills are common. Sarah uses the "Dry-First" rule: she never applies water to flour spills immediately, as it creates a paste. Instead, she vacuums the dry flour first, then uses a vinegar-water spray to cut through any butter grease.
Example 2: The Eco-Conscious Apartment
"Leo" lives in a high-rise and uses a bamboo mat for its sustainable profile. To keep it clean, Leo uses a barely-damp microfiber cloth once a week. Because bamboo is highly sensitive to moisture, he ensures the kitchen window is open for ventilation so the mat dries within minutes, preventing warping.
Example 3: The Busy Family Kitchen
With three kids and a dog, "The Miller Family" uses interlocking modular rubber mats. When a major spill occurs, they take the affected section apart, rinse it in the utility sink with degreasing dish soap, and snap it back into place once dry. This "modular" approach is a major trend for 2026, making maintenance much more manageable.
Recent Trends: The Future of Kitchen Mats (2025–2026)
The cleaning industry is evolving rapidly. Here are the trends currently shaping how we maintain our kitchen floors:
- Antimicrobial Coatings: Many 2026 model mats now come with silver or copper-infused surfaces. These materials provide 24/7 self-disinfecting properties, reducing the frequency of deep cleans.
- AI-Powered Maintenance: New smart wet-dry vacuums, such as the Eureka Floorshine 880, now feature dedicated "mat modes" with hot-air drying cycles. This prevents the "musty mat" smell by ensuring no moisture is left behind.
- Eco-Innovation: We are seeing a massive move toward PVC-free compositions. Modern mats are being built with Polypropylene or PET, which are easier to clean and eventually recycle.
Common Mistakes to Avoid
Even with the best intentions, you can accidentally shorten the lifespan of your mat. Avoid these four common pitfalls:
1. Drying in Direct Sunlight
It’s tempting to hang a wet mat over a porch railing. However, UV rays are the enemy of rubber and foam. They cause the material to become brittle and "crack," and will fade your vibrant patterns within weeks. Always air dry in the shade or indoors.
2. Using High pH Cleaners
Industrial degreasers or "heavy-duty" cleaners often have a pH above 9.5. These are too caustic for residential mats and can literally "eat" the protective finish. Stick to neutral-pH dish soaps.
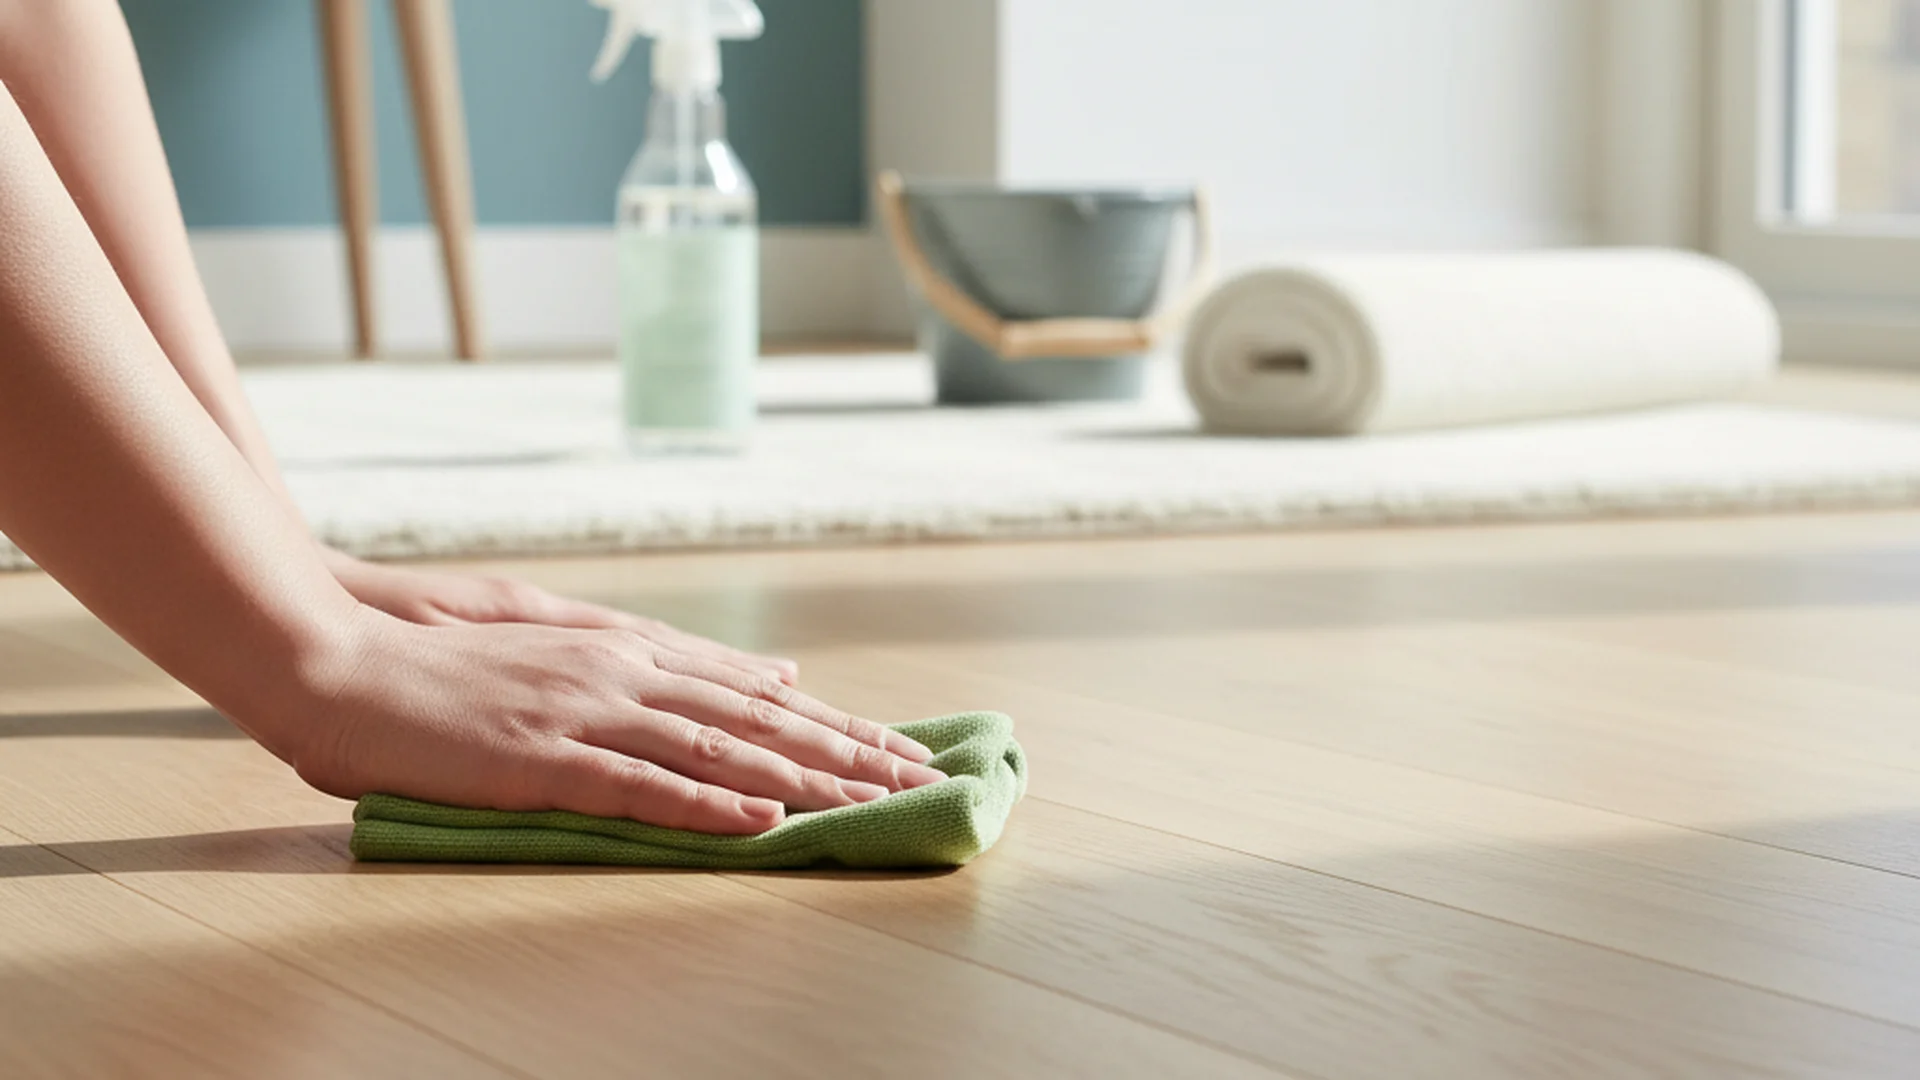
3. Folding for Storage
If you need to move your mat, never fold it. Folding creates permanent creases and "weak points" in the foam. The best way clean kitchen mat storage is to roll it with the top surface facing out.
4. Ignoring the Floor Beneath
Cleaning the mat but ignoring the floor underneath is a recipe for disaster. Dust trapped under the mat acts as an abrasive, while trapped moisture can ruin hardwood or discolor linoleum. Always mop the floor and let it dry completely before replacing the mat.
Frequently Asked Questions
Can I put my anti-fatigue mat in the washing machine?
How often should I clean my kitchen mat?
Why does my mat still smell after I've washed it?
Is bleach safe for disinfecting mats?
Conclusion
Mastering how to clean kitchen mat surfaces is a small task that pays dividends in comfort and hygiene. By matching your cleaning method to your mat's material and embracing the natural cleaning revolution of 2026, you ensure a safer, more ergonomic environment for your culinary adventures. Remember: a clean mat isn't just about looks—it's about protecting your health and your home's foundation.
Ready to Start?
Keep your home spotless with our professional cleaning checklists.
Download Free Guides