Key Takeaways
- Material-appropriate cleaning can extend floor lifespan by 20%.
- Always sweep or vacuum before mopping to prevent scratching.
- The two-bucket method is essential for preventing cross-contamination.
The kitchen is often described as the heart of the home, but from a hygiene perspective, it is also a primary battlefield. Between meal prep, pet traffic, and the occasional spilled morning coffee, learning how to clean kitchen floor surfaces effectively is essential for maintaining a healthy household. Whether you are dealing with stubborn grease or just want to maintain that "new home" shine, understanding the right techniques will help you clean kitchen floor easily while preserving your investment.
Why Kitchen Floor Hygiene Matters
It is a common misconception that the bathroom is the dirtiest place in the house. However, industry experts, including Martha Stewart, have identified the kitchen floor as one of the top three germ hotspots. Because of food debris and bacteria tracked in on shoes, your kitchen floor can harbor more bacteria than your bathroom tiles.
Beyond health, there is a financial incentive to keep things tidy. According to the National Association of Home Builders (NAHB), regular, material-appropriate cleaning can increase a floor’s lifespan by 20% or more. With the global neutral floor cleaner market projected to reach nearly $10 billion by 2032, homeowners are clearly moving away from "one-size-fits-all" chemicals in favor of specialized, pH-balanced solutions.
The Professional Step-by-Step Workflow
To find the best way clean kitchen floor areas without wasting time, you need a system. Following a professional workflow prevents you from cleaning the same spot twice and ensures no dirt is left behind.
1. Clear the Deck and the "Top-Down" Rule
Before you even touch a mop, move your kitchen chairs, barstools, and rugs out of the room. Never "mop around" furniture; this creates "dust bunnies" that turn into "mud bunnies" at the edges of your legs and baseboards. Additionally, always follow the top-down rule: clean your counters and stovetops first. Crumbs and dust will inevitably fall to the floor; cleaning floors last prevents you from doubling your work.
2. Dry Clean Before Wet Clean
This is the most critical step. Always vacuum or sweep before water touches the floor. If you mop a floor that still has loose grit or hair, you are essentially just moving wet dirt around, which can scratch delicate surfaces like hardwood or laminate.
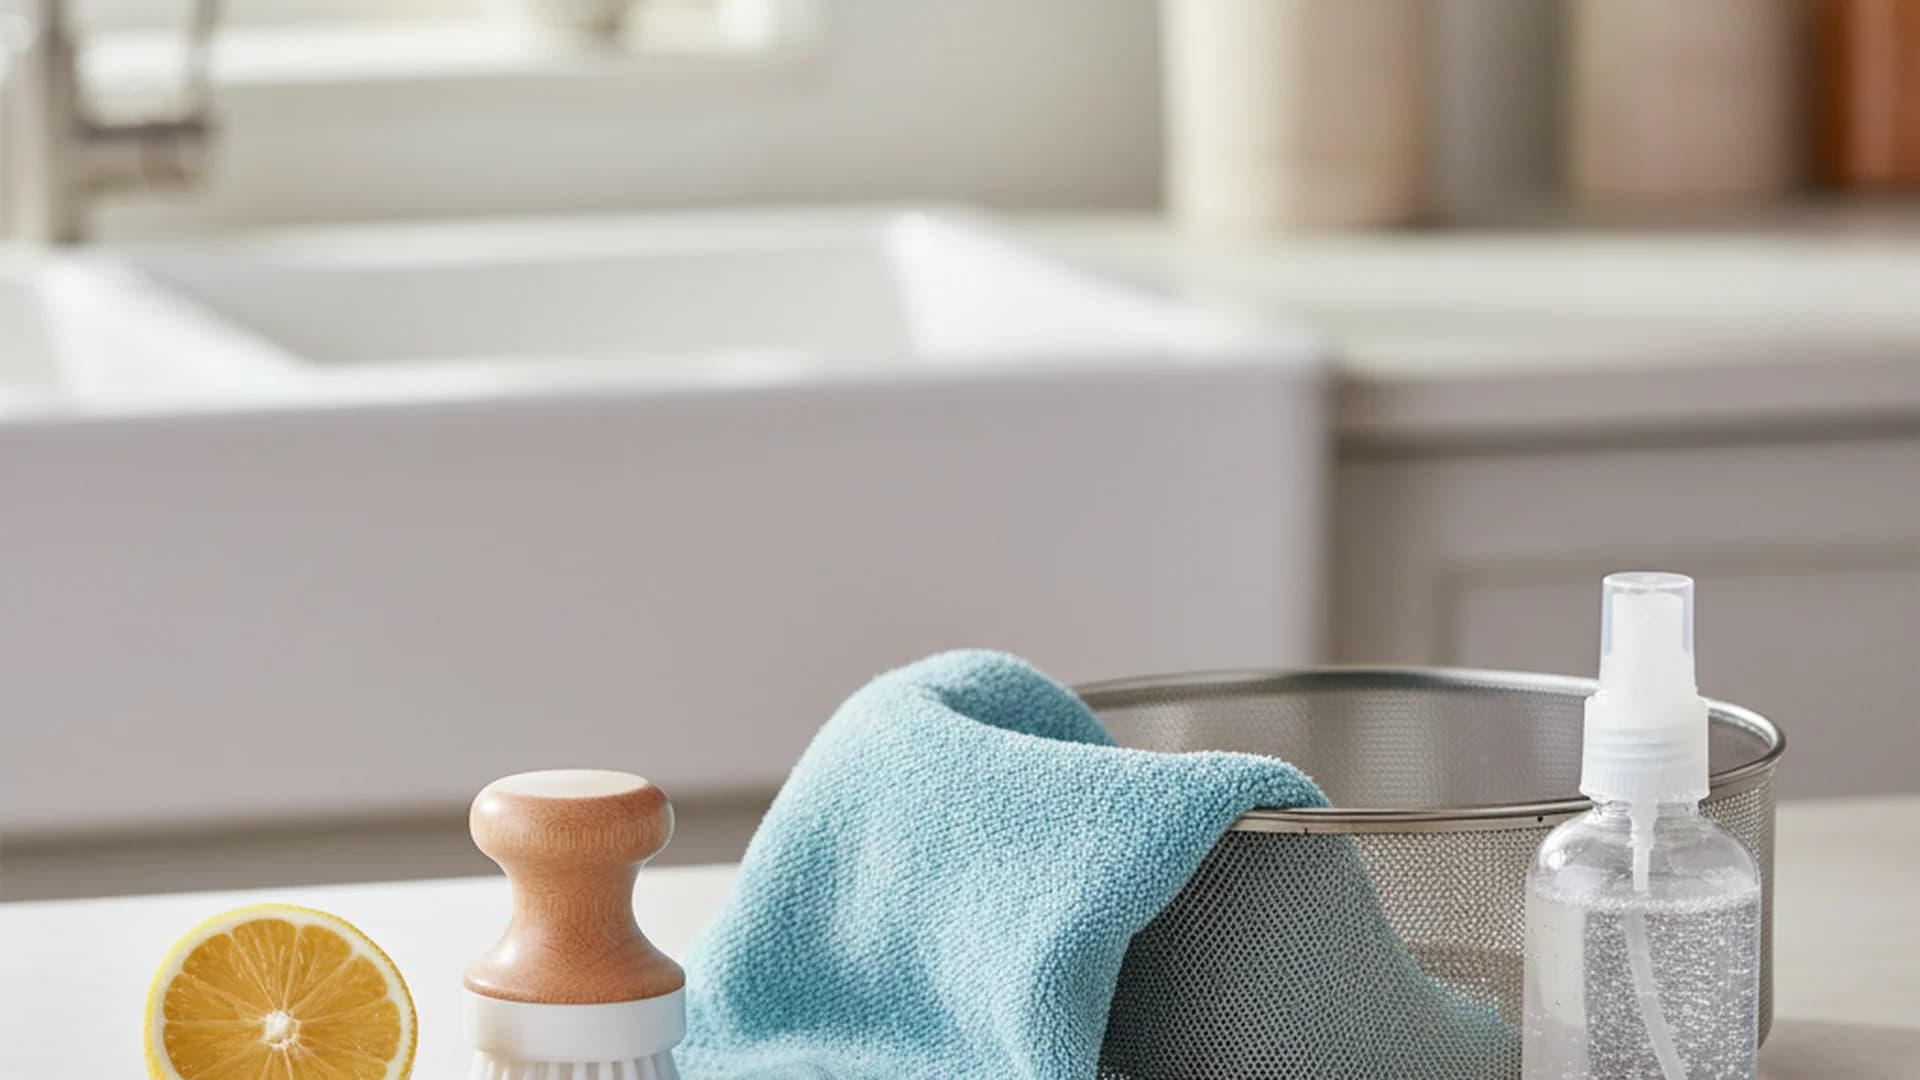
3. The Two-Bucket Method
To clean kitchen floor easily and effectively, use two buckets. Fill one with your cleaning solution and the other with plain, warm water for rinsing.
- Dip your mop in the soapy water.
- Clean a section of the floor.
- Rinse the dirty mop in the plain water bucket before dipping it back into the soap. This ensures you aren't putting dirty water back onto the floor, which is the primary cause of streaks.
4. The "Back Out" Strategy
Start at the farthest corner from the kitchen entrance and work toward the exit. Use overlapping "S" or arcing motions rather than straight lines. This technique helps trap dirt in the mop fibers rather than just pushing it forward.
Material-Specific Cleaning Guide
Every flooring material has a "kryptonite." Using the wrong cleaner can strip finishes or cause permanent warping.
| Material | Recommended Cleaner | Tool | Pro Tip |
|---|---|---|---|
| Hardwood | pH-neutral wood soap | Microfiber mop | Use "barely damp" water only. |
| Ceramic Tile | Mild detergent | String or strip mop | Use alkaline cleaners for grease. |
| Laminate | Vinegar/Water (if sealed) | Damp microfiber | Dry immediately to prevent swelling. |
| Luxury Vinyl | Dish soap or LVP cleaner | Spray mop | Avoid wax-based "shine" products. |
Hardwood and Laminate
For these surfaces, moisture is the enemy. Use a microfiber mop that is damp to the touch but not dripping. For laminate, a "cloudy" finish is often the result of too much cleaner; a quick pass with a dry microfiber cloth immediately after mopping will restore the shine.
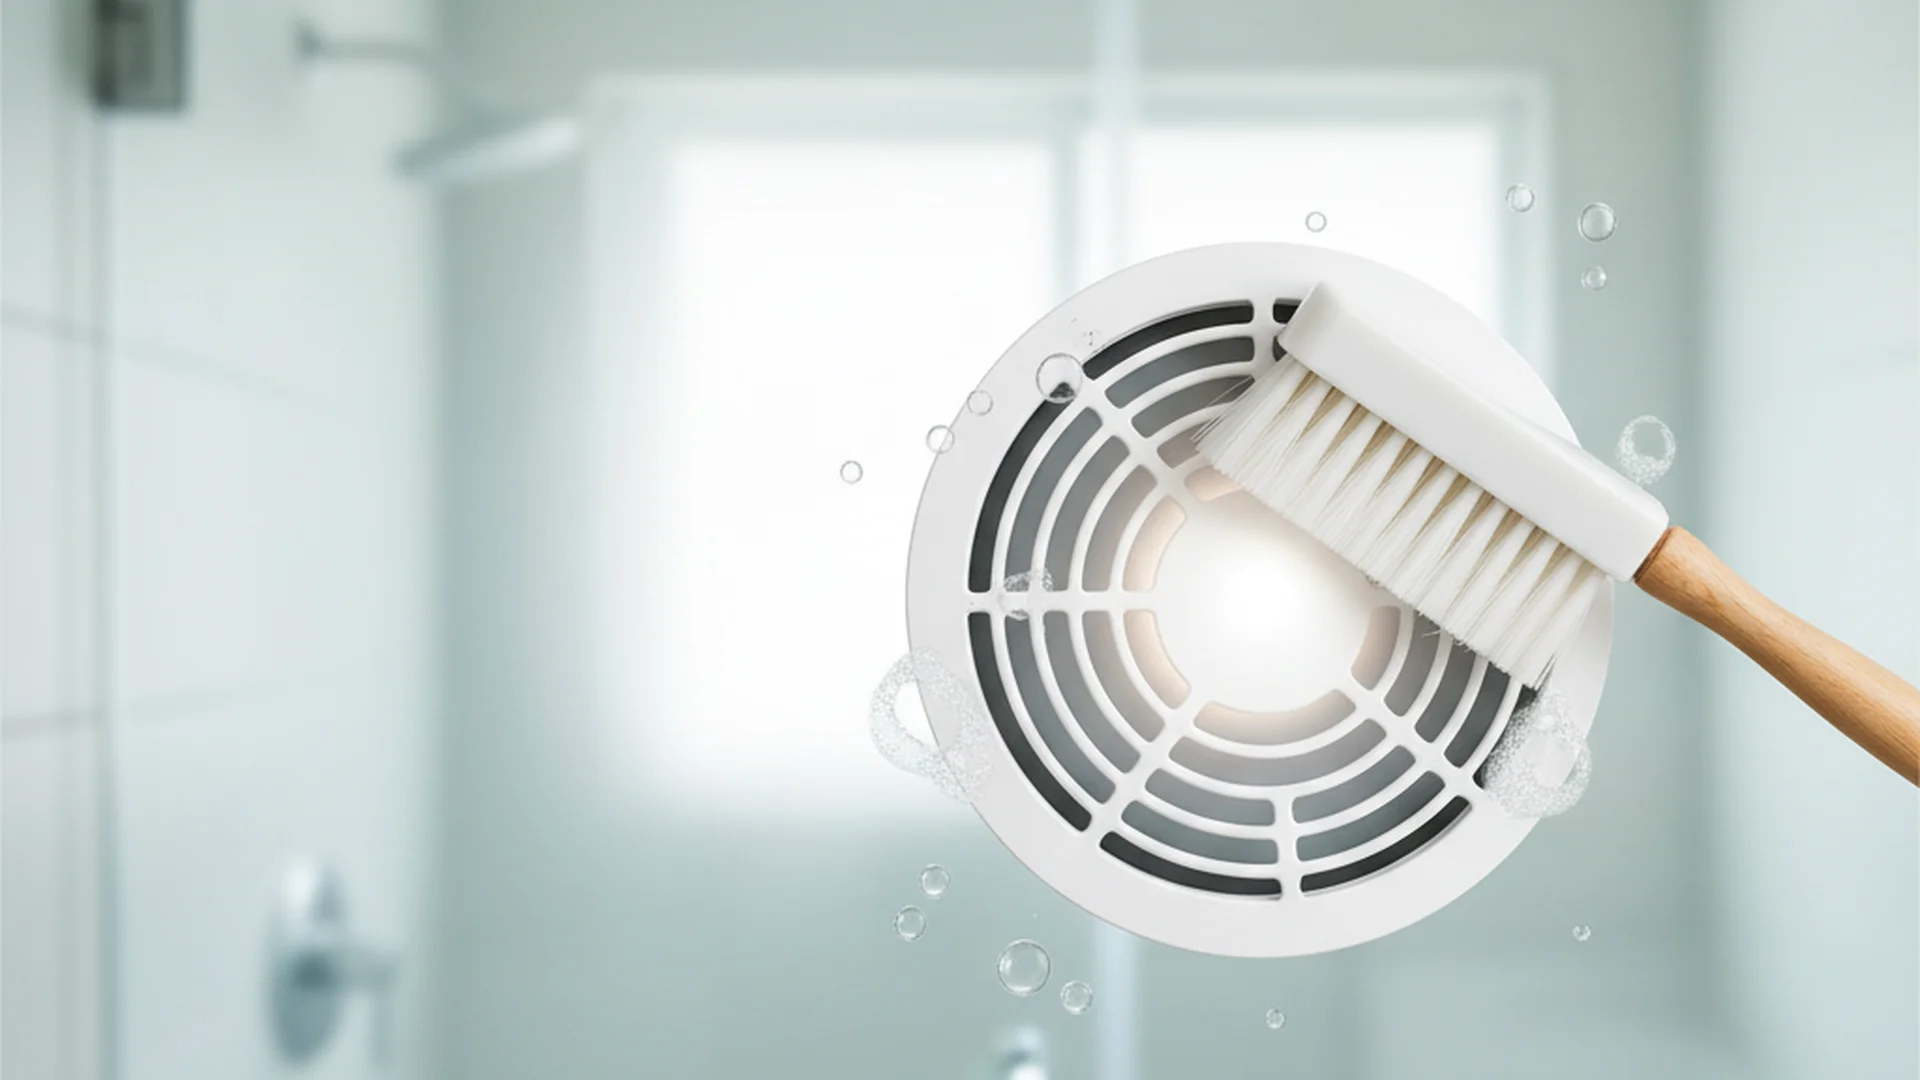
Ceramic and Porcelain Tile
These are the most durable surfaces, but the grout is their weak point. If your grout looks dark and dingy, it’s likely absorbing dirty mop water.
Real-World Examples of Floor Cleaning Challenges
Example 1: The "Holiday Party" Sticky Residue
After a large gathering, kitchen floors are often covered in a "tackiness" from spilled drinks and foot traffic. A homeowner once tried to scrub this with pure bleach, which only created a dull film. The solution? A simple mixture of warm water and a single drop of dish soap, applied with the two-bucket method, followed by a plain water rinse. The rinse step is what actually removes the sticky sugar residue.
Example 2: The Pet-Owner's Muddy Tracks
A family with two golden retrievers struggled with "paw prints" on their Luxury Vinyl Plank (LVP). They switched to a 2025-style AI-enhanced robot mop with "dirty water detection." The sensors recognized the high-soil areas and performed a secondary pass automatically, keeping the floor clean without manual labor.
Example 3: The "Zero-Waste" Kitchen
A homeowner committed to sustainability moved away from chemical cleaners. They began using an electrolyzed water system, which turns tap water and salt into a powerful disinfectant. Not only did this clean their tile floor effectively, but it also eliminated the need for plastic bottles, aligning with the 2025 trend where 72% of cleaning managers prioritize plant-based products.
Common Mistakes to Avoid
- Over-Sudsing: More soap does not equal more clean. Using too much detergent leaves a sticky film that actually attracts dirt, making your floor get dirty faster the next day.
- Skipping the Final Rinse: Even if a bottle says "no-rinse," a quick pass with a clean, damp mop and plain water will significantly improve the floor’s clarity and shine.
- Using "Mop & Shine" Products: These products often contain acrylics. Over time, these layers build up and turn yellow, eventually requiring a professional chemical strip to fix the "plastic" look.
- Ignoring Dwell Time: If you are using a disinfectant to handle raw chicken juice spills, remember that most disinfectants need to sit on the surface for 3–5 minutes to actually kill bacteria. Wiping it up instantly renders it ineffective.
2025–2026 Trends in Floor Maintenance
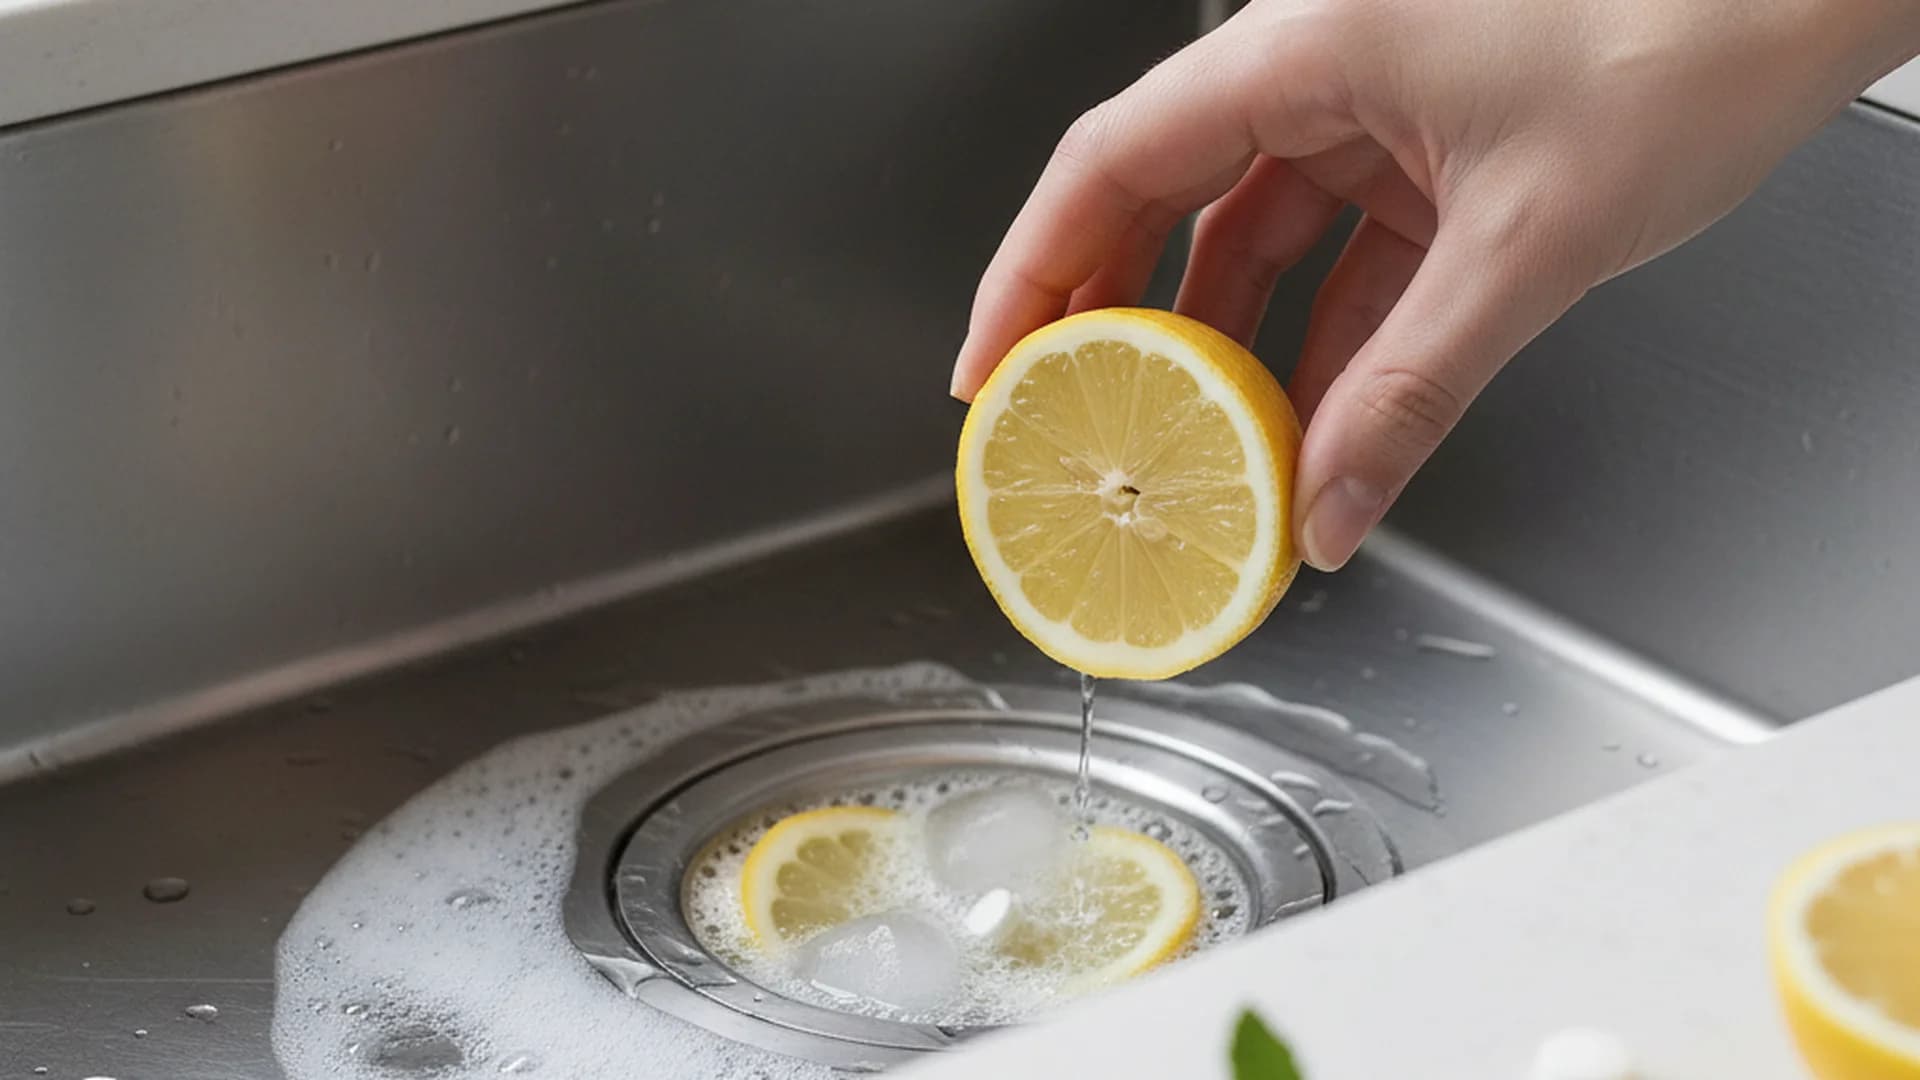
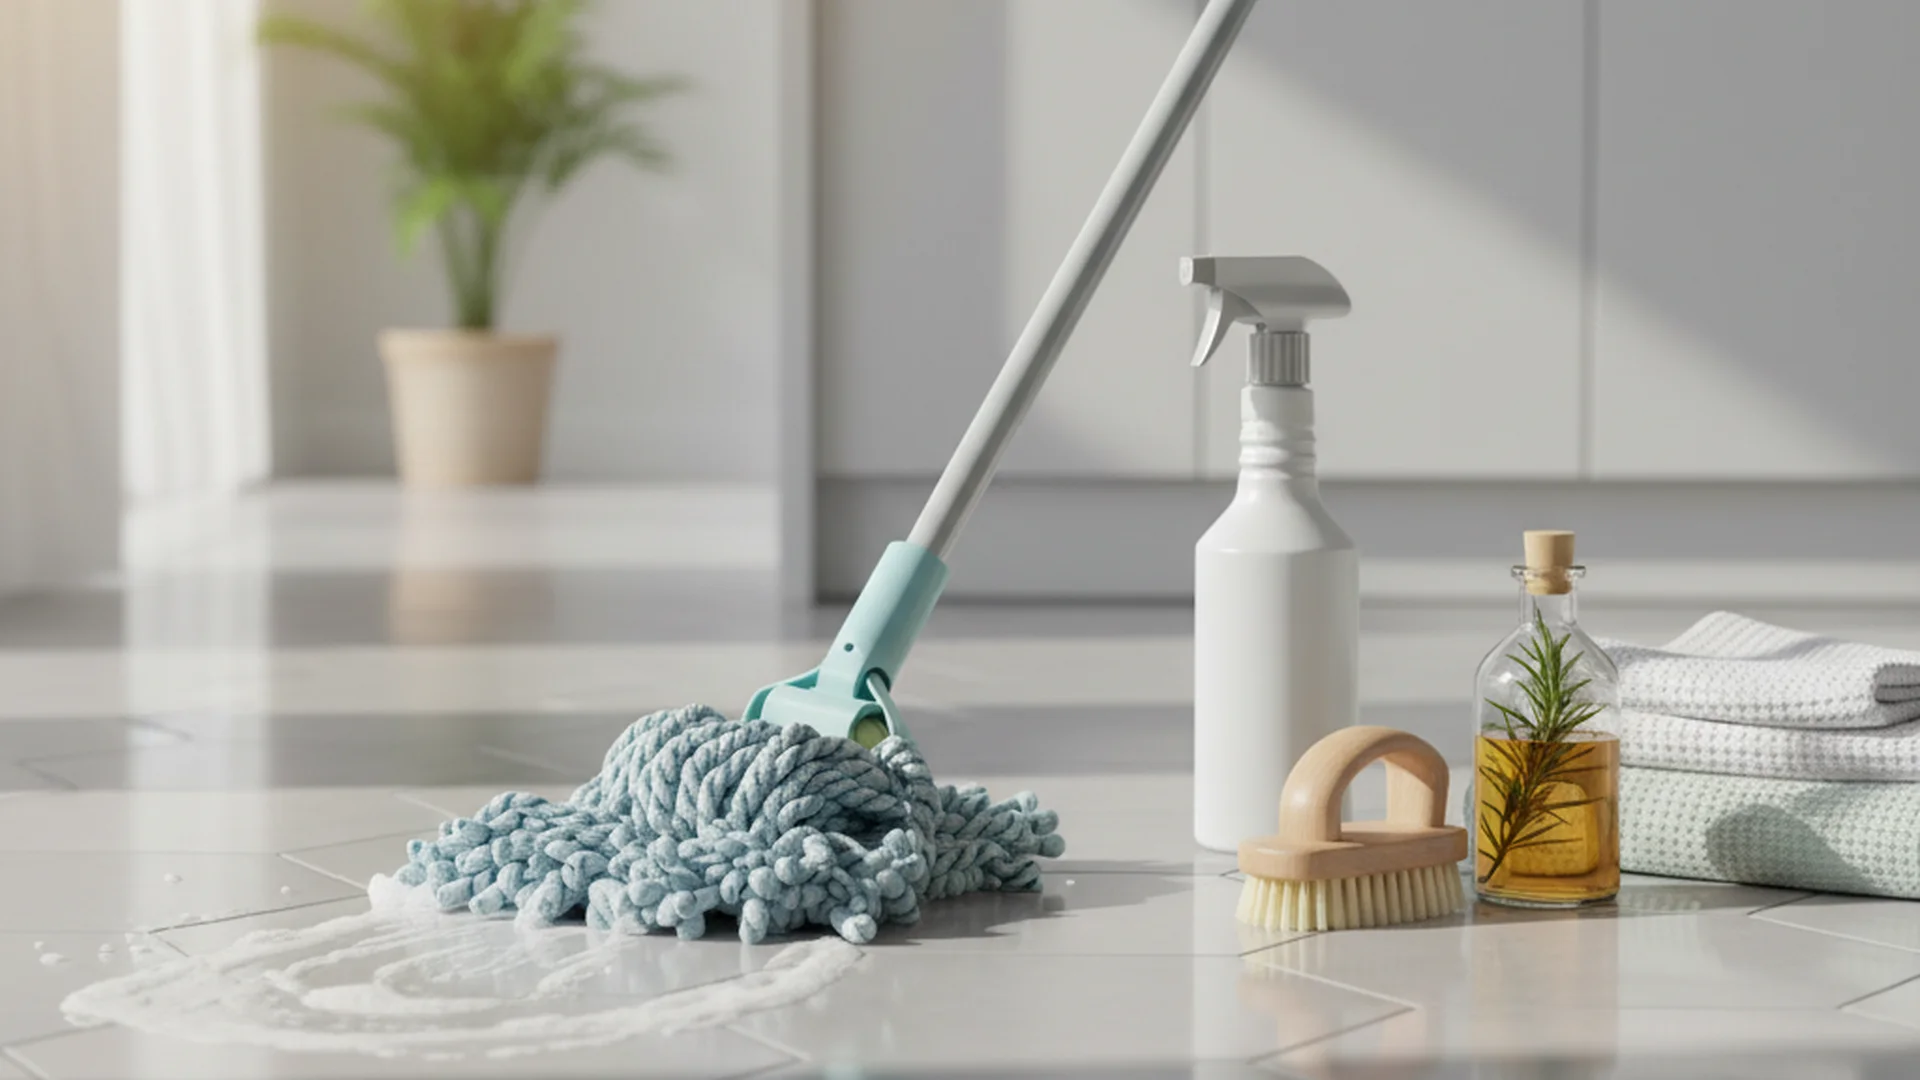
The world of floor cleaning is evolving rapidly. We are seeing a shift toward "Cleaning as Self-Care," where homeowners use aromatherapeutic, non-toxic essential oils like rosemary or lemon to improve indoor air quality while they work.
Furthermore, the installation of large-format flooring is a major 2026 trend. By using tiles as large as 24x48 inches, homeowners are minimizing grout lines—the hardest part of the floor to keep clean. Combined with the rise of residential cleaning robots (an $8.5 billion market by 2026), the future of kitchen maintenance is becoming more automated and less labor-intensive.
Frequently Asked Questions
How often should I clean my kitchen floor?
Is vinegar safe for all floors?
How do I clean grout without scrubbing for hours?
What is the best way to handle sticky spills?
Conclusion
Maintaining a spotless kitchen floor doesn't have to be a grueling chore. By adopting the "Top-Down" rule, utilizing the two-bucket method, and choosing pH-neutral cleaners, you can protect your flooring and keep your home healthy. As we move into 2025 and 2026, the combination of sustainable products and AI-enhanced tools is making it easier than ever to achieve professional results at home.