Key Takeaways
- Regular cleaning can extend tool life by 10–15 years.
- 70% Isopropyl alcohol is the gold standard for disinfecting blades without corrosion.
- Proper storage and lubrication prevent rust and mechanical failure.
Gardening is more than just a hobby; it is a significant investment in your home’s landscape and your own well-being. However, even the most expensive shears or shovels can fail if they aren’t properly maintained. Knowing how to clean garden tools is the difference between a tool that lasts two seasons and one that lasts two decades. With the global gardening tools market projected to reach over $193 billion by 2033, homeowners are increasingly focusing on the longevity and sustainability of their equipment.
Whether you are an urban gardener tending to an "edible landscape" or a traditional backyard enthusiast, the best way clean garden tools involves a combination of mechanical cleaning, chemical disinfection, and preventative lubrication. In this guide, we will explore the professional techniques used by experts at the RHS and University Extensions to keep your tools sharp, safe, and sterile.
Why Tool Maintenance is Critical in 2025
The shift toward sustainable gardening means moving away from the "disposable" culture of cheap, low-quality tools. Modern gardeners are choosing modular designs where every spring and blade can be replaced. Maintenance is no longer just about aesthetics; it is about plant health. Pathogens like fire blight and powdery mildew are incredibly resilient, often surviving on uncleaned blades for several weeks.
If you prune a diseased branch and immediately move to a healthy one without disinfecting your tools, you are effectively acting as a delivery system for plant diseases. In fact, cutting tools like shears and loppers account for 38% of the hand tool market specifically because they are the most vital for precision plant care.
Step 1: Mechanical Cleaning and Soil Removal
The first step in any cleaning routine is removing the physical debris. Soil holds moisture against metal, which is the primary catalyst for rust.
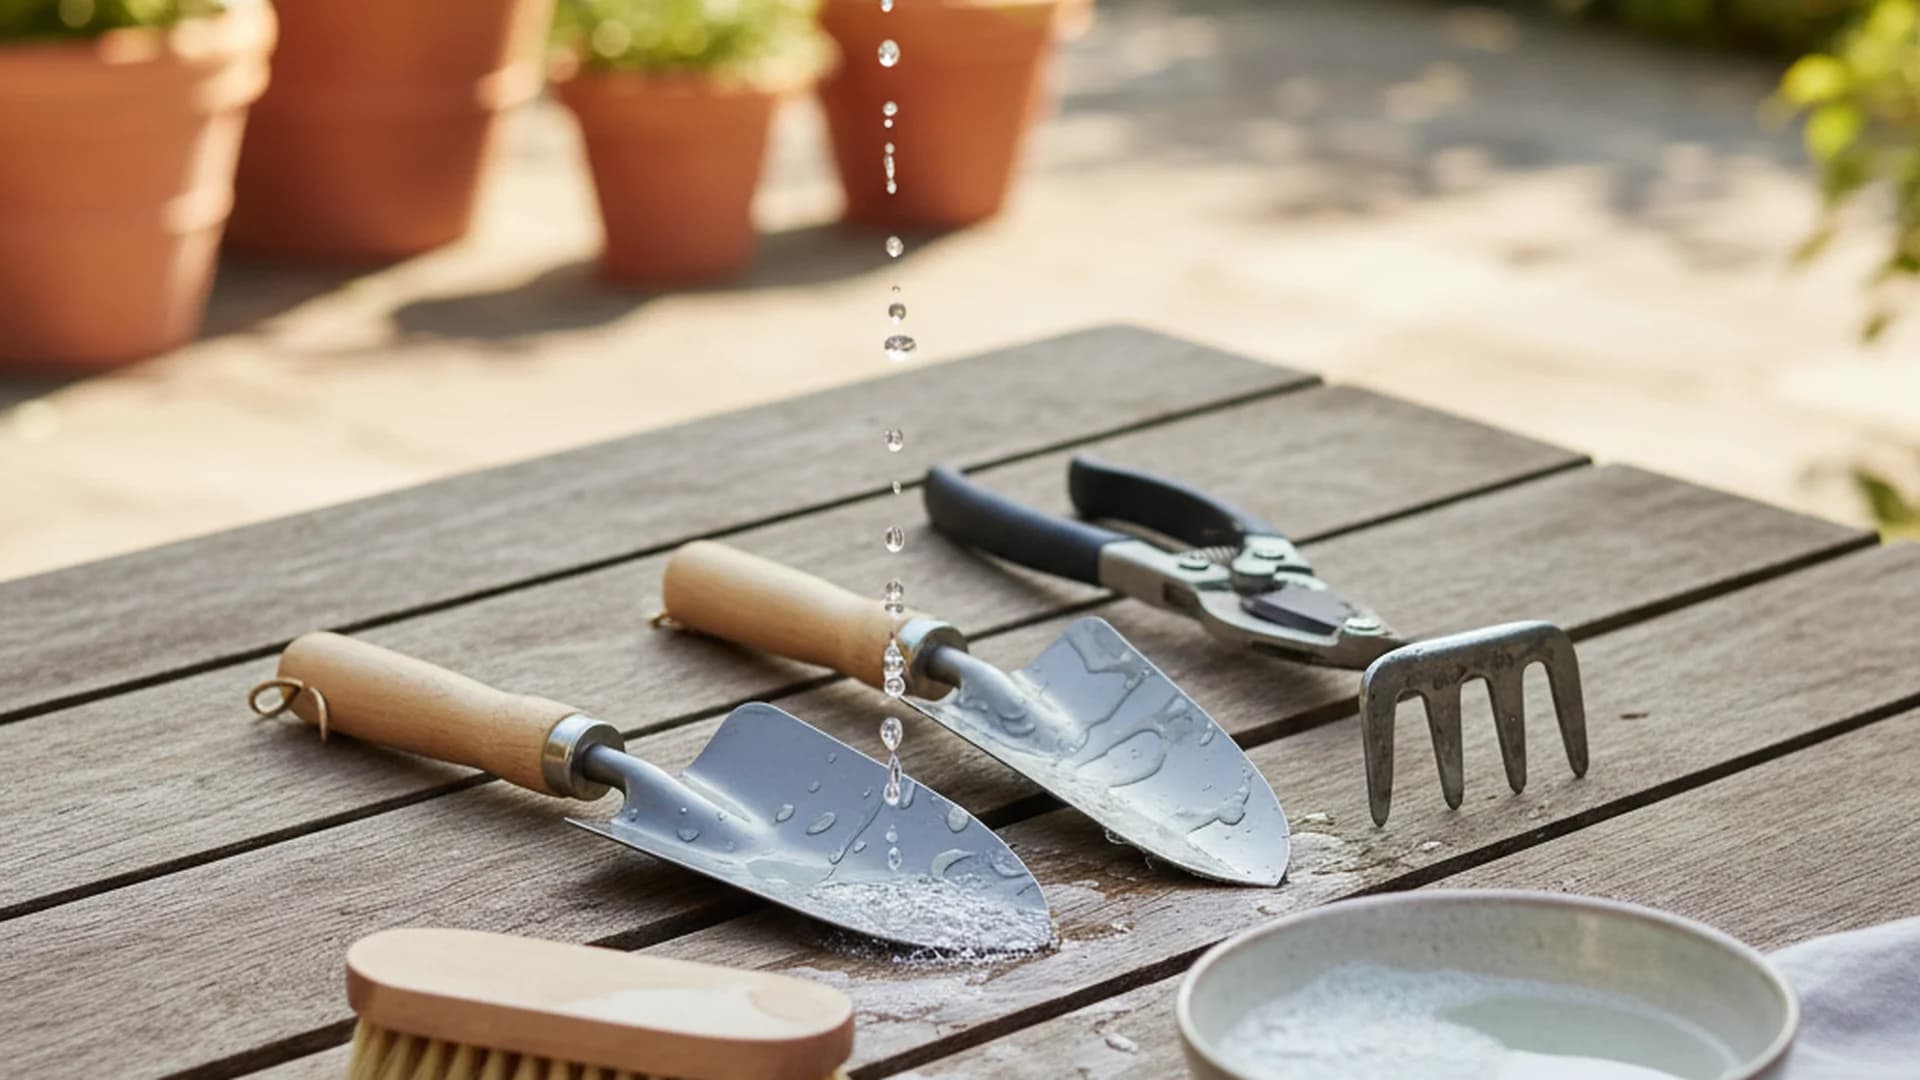
- Scrape off the Grime: Use a stiff wire brush or a putty knife to remove caked-on mud and clay.
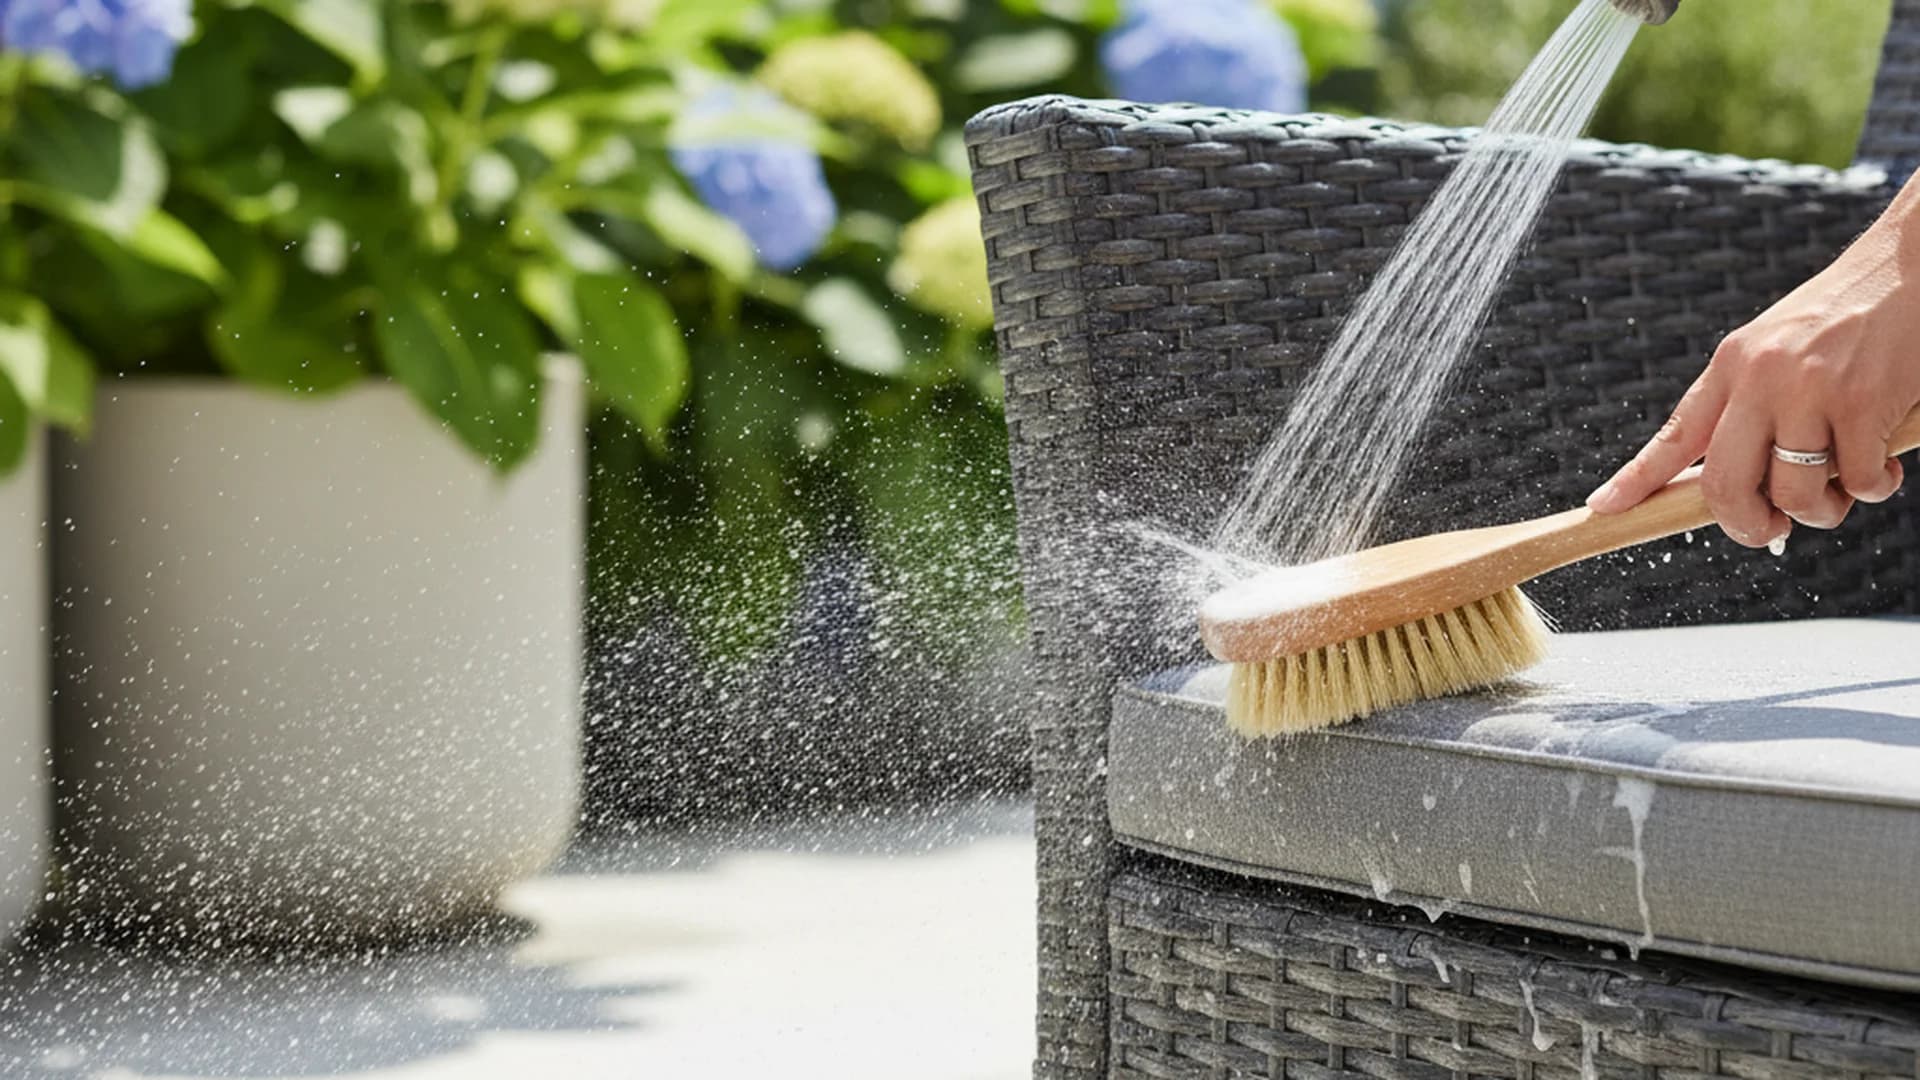
- Wash the Tool: For stubborn dirt, use a garden hose and a bucket of soapy water. A basic dish soap works well to break down organic matter.
- Address the Sap: Plant sap can be incredibly sticky and difficult to remove with water alone. Use a solvent like turpentine or a specialized "sap remover" spray to clear the blades.
Example: Imagine you have just finished digging in heavy, wet clay. If you leave that clay on your shovel, it will create a micro-environment of moisture against the steel. By using a wire brush immediately, you prevent the initial "pitting" that eventually leads to deep structural rust.
Step 2: Disinfecting for Plant Health
Disinfection is the step most gardeners skip, yet it is arguably the most important. While bleach was the old-school recommendation, modern research points toward a safer alternative.
Experts now recommend 70% Isopropyl alcohol as the gold standard. Unlike bleach, which can "pit" or nick metal blades over time due to its corrosive nature, alcohol kills most pathogens—including bacteria, fungi, and viruses—on contact without damaging the tool's surface.
How to Disinfect:
- Wipe Down: Use a clean rag soaked in alcohol to wipe the blades of pruners and shears between plants.
- Soak: For tools used on heavily diseased plants, a 5-minute soak is recommended.
- Dry Thoroughly: Never leave tools to "air dry" while wet with water; however, alcohol evaporates quickly enough that it rarely causes issues.
Step 3: Removing Heavy Rust
If you’ve inherited old tools or neglected yours for a season, you may be facing significant rust. Don't throw them away; most surface rust is treatable.
| Method | Best For | Process |
|---|---|---|
| Vinegar Soak | Heavy Rust | Soak in white vinegar for 2–12 hours, scrub with steel wool. |
| Baking Soda Paste | Light Rust | Apply paste, let sit for 30 mins, scrub with a brush. |
| Wire Brush | Surface Grime | Mechanical scrubbing for non-sensitive surfaces like shovel heads. |
After a vinegar soak, it is vital to neutralize the acid. Rinse the tool in a mixture of water and baking soda to ensure the vinegar doesn't continue to eat away at the metal.
Step 4: Sharpening and Honing
A sharp tool is a safe tool. A dull blade requires more force, which increases the risk of the tool slipping and causing injury. Furthermore, a sharp blade creates a "clean wound" on a plant, which heals much faster than a jagged tear.
- Maintain the Angle: Most garden tools have a 45-degree beveled edge. Use a flat mill file or a whetstone to follow this existing angle.
- Direction Matters: Always sharpen away from your body.
- Bypass vs. Anvil: Only sharpen the outside beveled edge of bypass pruners. Sharpening the flat inside face will create a gap between the blades, ruining the scissor-like cutting action.
Step 5: Lubrication and Storage
The final step in the best way clean garden tools is protection.
Wood Handle Care
Wooden handles can dry out and splinter over time. To prevent this, sand down any rough spots with medium-grit sandpaper and rub the wood with boiled linseed oil or tung oil. This seals the wood against moisture and prevents it from becoming brittle.
Metal Lubrication
Apply a thin coat of multi-purpose machine oil or mineral oil to all metal surfaces. In 2026, the trend is shifting toward bio-based lubricants made from vegetable oils. These are non-toxic to soil microbes and safer for "edible landscapes."
Proper Storage
- Head Down: Hang tools with the metal head facing down. This prevents moisture from running down the handle and settling into the joint where the metal meets the wood.
- Avoid Concrete: Do not store tools directly on concrete floors. Concrete can draw moisture from the air and transfer it to the metal, leading to rust.
Common Mistakes to Avoid
Even experienced gardeners make errors that can shorten the lifespan of their equipment.
- Using Motor Oil: Old advice often suggests using used motor oil for tool buckets. Modern experts discourage this because motor oil contains heavy metals and additives that are harmful to your soil and plants. Use vegetable or mineral oil instead.
- Neglecting the "Pivot": Most people clean the blades but forget the center bolt and spring. This is where most tool failures—like "frozen" joints—actually occur. Always drop a bit of oil into the pivot point.
- Over-Sharpening: You don't need a razor edge on a shovel. Filing away too much metal weakens the tool's structure. Aim for "functional sharpness."
- Storing Tools Wet: Even a single night in a damp shed with wet blades can begin the oxidation process. Always towel-dry your tools.
Modern Trends in Tool Maintenance (2025–2026)
The gardening world is becoming increasingly high-tech. Here are two major trends to watch:
- Smart Maintenance Alerts: High-end battery-powered tools now feature Bluetooth connectivity. Apps can alert you when the motor is working too hard because of debris buildup or when the blade needs sharpening.
- UV-C Sterilization: Emerging on the market are portable UV-C LED sanitizing cases. For gardeners working in large orchards, these allow you to "flash-sterilize" pruners in seconds without using chemical wipes, ensuring you never cross-contaminate trees.
Frequently Asked Questions
How often should I clean my garden tools?
Is WD-40 good for garden tools?
What is the best oil for wooden handles?
Can I use a power grinder to sharpen my tools?
Conclusion
Mastering how to clean garden tools is an essential skill for any serious gardener. By following the four-step process of mechanical cleaning, disinfection, sharpening, and lubrication, you protect your financial investment and the health of your plants. As we move into 2025 and 2026, the emphasis on repairability and eco-friendly maintenance makes these habits more important than ever. Take care of your tools, and they will take care of your garden for decades to come.
Ready to Start?
Keep your garden tools in peak condition with our expert maintenance kits.
Shop Tool Care Kits