Key Takeaways
- Annual cleaning reduces fire risk by 35%
- Clogged vents can cost $300/year in energy waste
- Vinegar is ideal for cleaning sensors and screens naturally
Keeping your home safe and efficient is a top priority for any modern homeowner, but one crucial task often slips through the cracks: knowing how to clean dryer vent systems properly. While many of us remember to swipe the lint off the internal screen after every load, that small action only captures about 70% to 80% of debris. The remaining lint travels deep into your ductwork, creating a significant fire hazard and a massive drain on your wallet.
According to recent data from the NFPA and the U.S. Fire Administration, "failure to clean" is the leading cause of home clothes dryer fires, accounting for roughly 31% to 35% of all reported incidents. In fact, fire departments respond to over 15,000 dryer-related fires annually. Beyond safety, a clogged vent forces your dryer to work harder, increasing your monthly energy consumption by up to $24. In this comprehensive guide, we will walk you through the professional steps to clear your vents and share how you can maintain your appliance using natural methods.
Why Dryer Vent Maintenance is Non-Negotiable in 2026
As we move into 2026, home insurance providers are becoming increasingly strict. Some modern policies now require documented annual vent cleaning to maintain full fire-coverage eligibility. But the benefits of learning how to clean dryer vent systems go beyond compliance.
When lint builds up, it restricts airflow. This causes the dryer drum to overheat and prevents moisture from escaping. If your clothes are still damp after a full 60-minute cycle, or if your laundry room feels like a sauna, you are likely dealing with a dangerous blockage. Clean vents mean shorter drying times, lower utility bills, and a significantly longer lifespan for your dryer.
Tools You Will Need
To do the job right, you should move beyond the traditional coat-hanger method.
- Dryer Vent Cleaning Kit: A kit with flexible, screw-together rods and a circular brush.
- Power Drill: To spin the brush for maximum lint removal.
- Vacuum with Hose Attachment: For cleaning the transition duct and the wall entry.
- White Vinegar: To clean dryer vent naturally around the entry points and the drum.
- Microfiber Cloths: For wiping down surfaces.
- Aluminum Foil Tape: To reseal joints (never use standard duct tape).
Step-by-Step: How to Clean Dryer Vent Like a Pro
Step 1: Preparation and Access
Pull the dryer approximately two feet away from the wall. This gives you enough space to work comfortably behind the unit. Disconnect the flexible "transition" duct from both the back of the dryer and the wall.
Step 2: Vacuum the Internal Port
Use your vacuum hose to reach as far as possible into the dryer's exhaust hole and the wall opening. A significant amount of lint often sits right at the entrance.
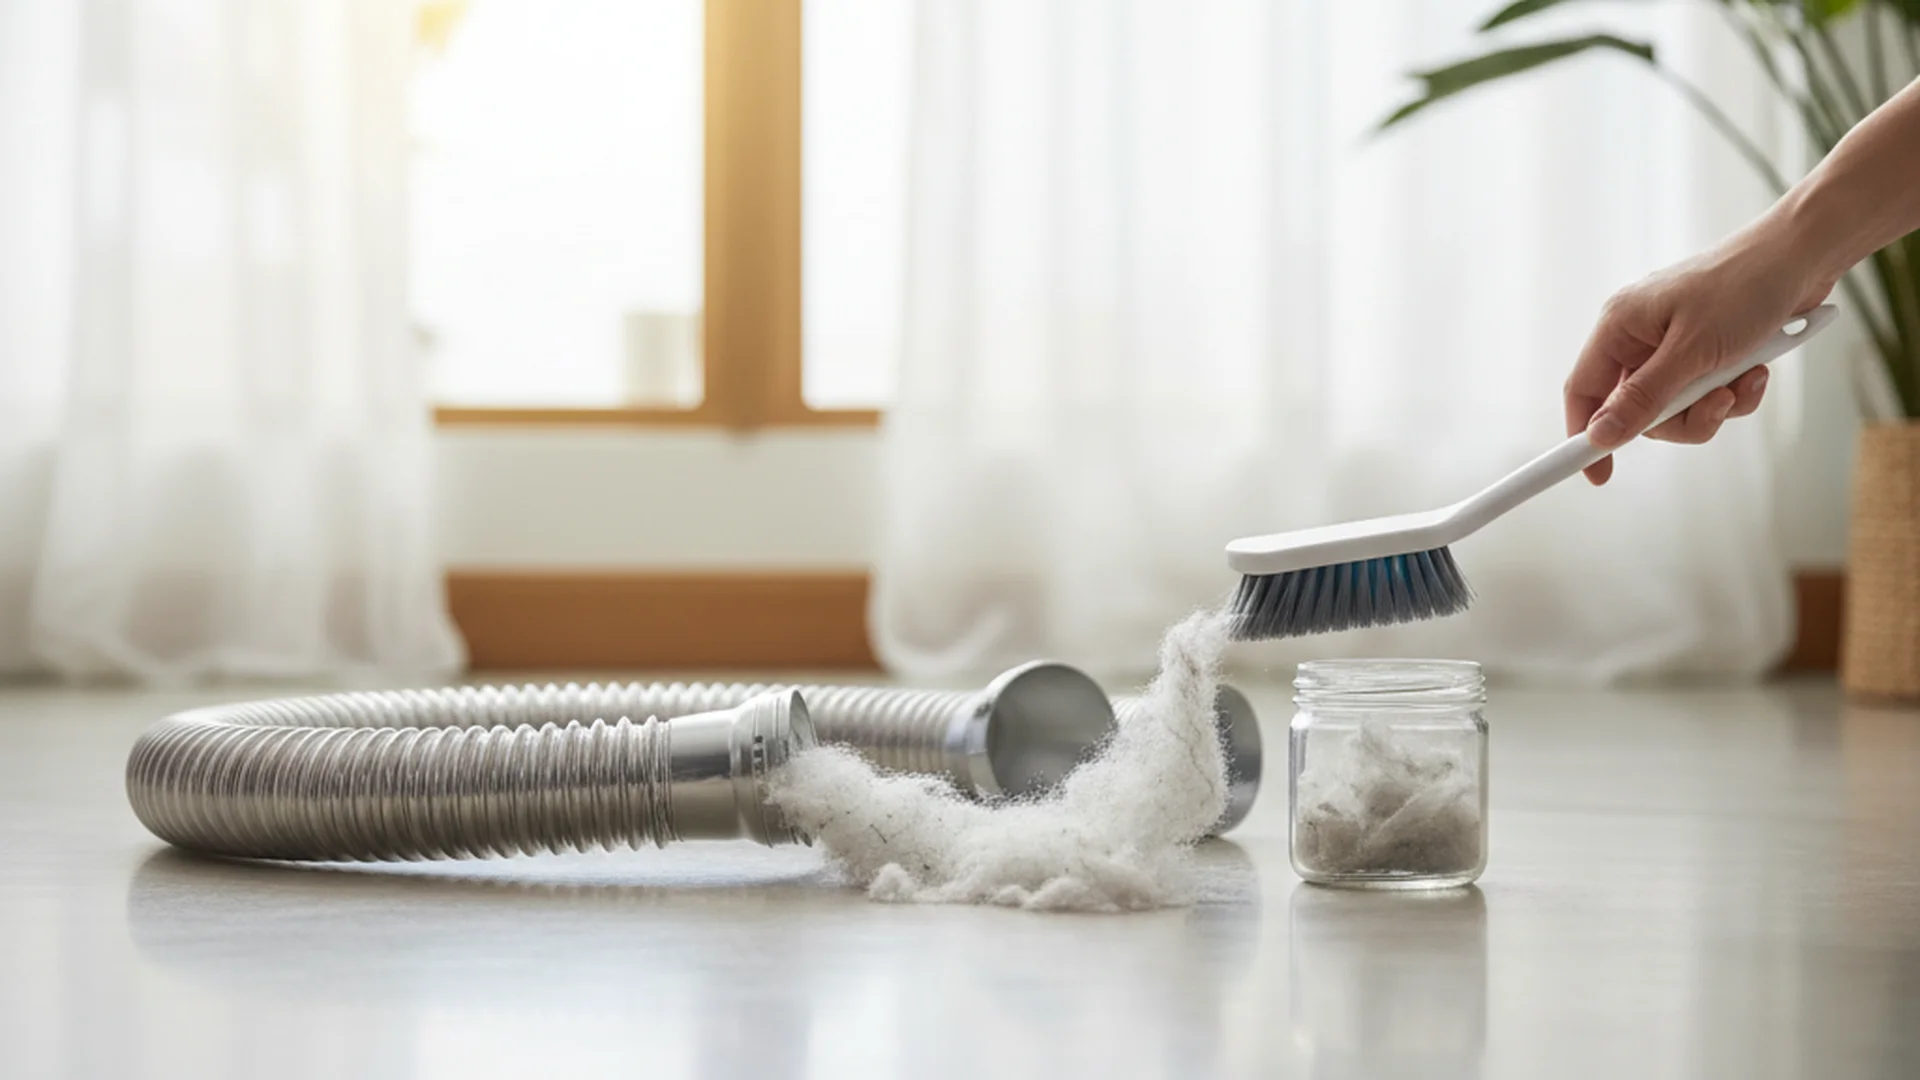
Step 3: The Rotary Brush Method
Assemble your cleaning kit rods and attach the brush head. Insert the brush into the wall duct. For the best results, attach the other end to your power drill.
Feed the brush through the entire length of the vent until you reach the exterior exit. Move the brush back and forth in short strokes to dislodge "caked-on" lint that a vacuum alone cannot reach.
Step 4: Clean from the Outside
Head outside and locate your vent exit. Ensure the exterior flap or louvers move freely. If you have a bird guard or screen, remove it and clear away any trapped debris.
Step 5: The Natural Finishing Touch
Once the physical lint is removed, it is time to clean dryer vent naturally. Use a 50/50 water and vinegar solution to wipe down the exterior vent cover and the interior transition duct ends. This helps remove sticky residue that allows new lint to "grip" the surface.
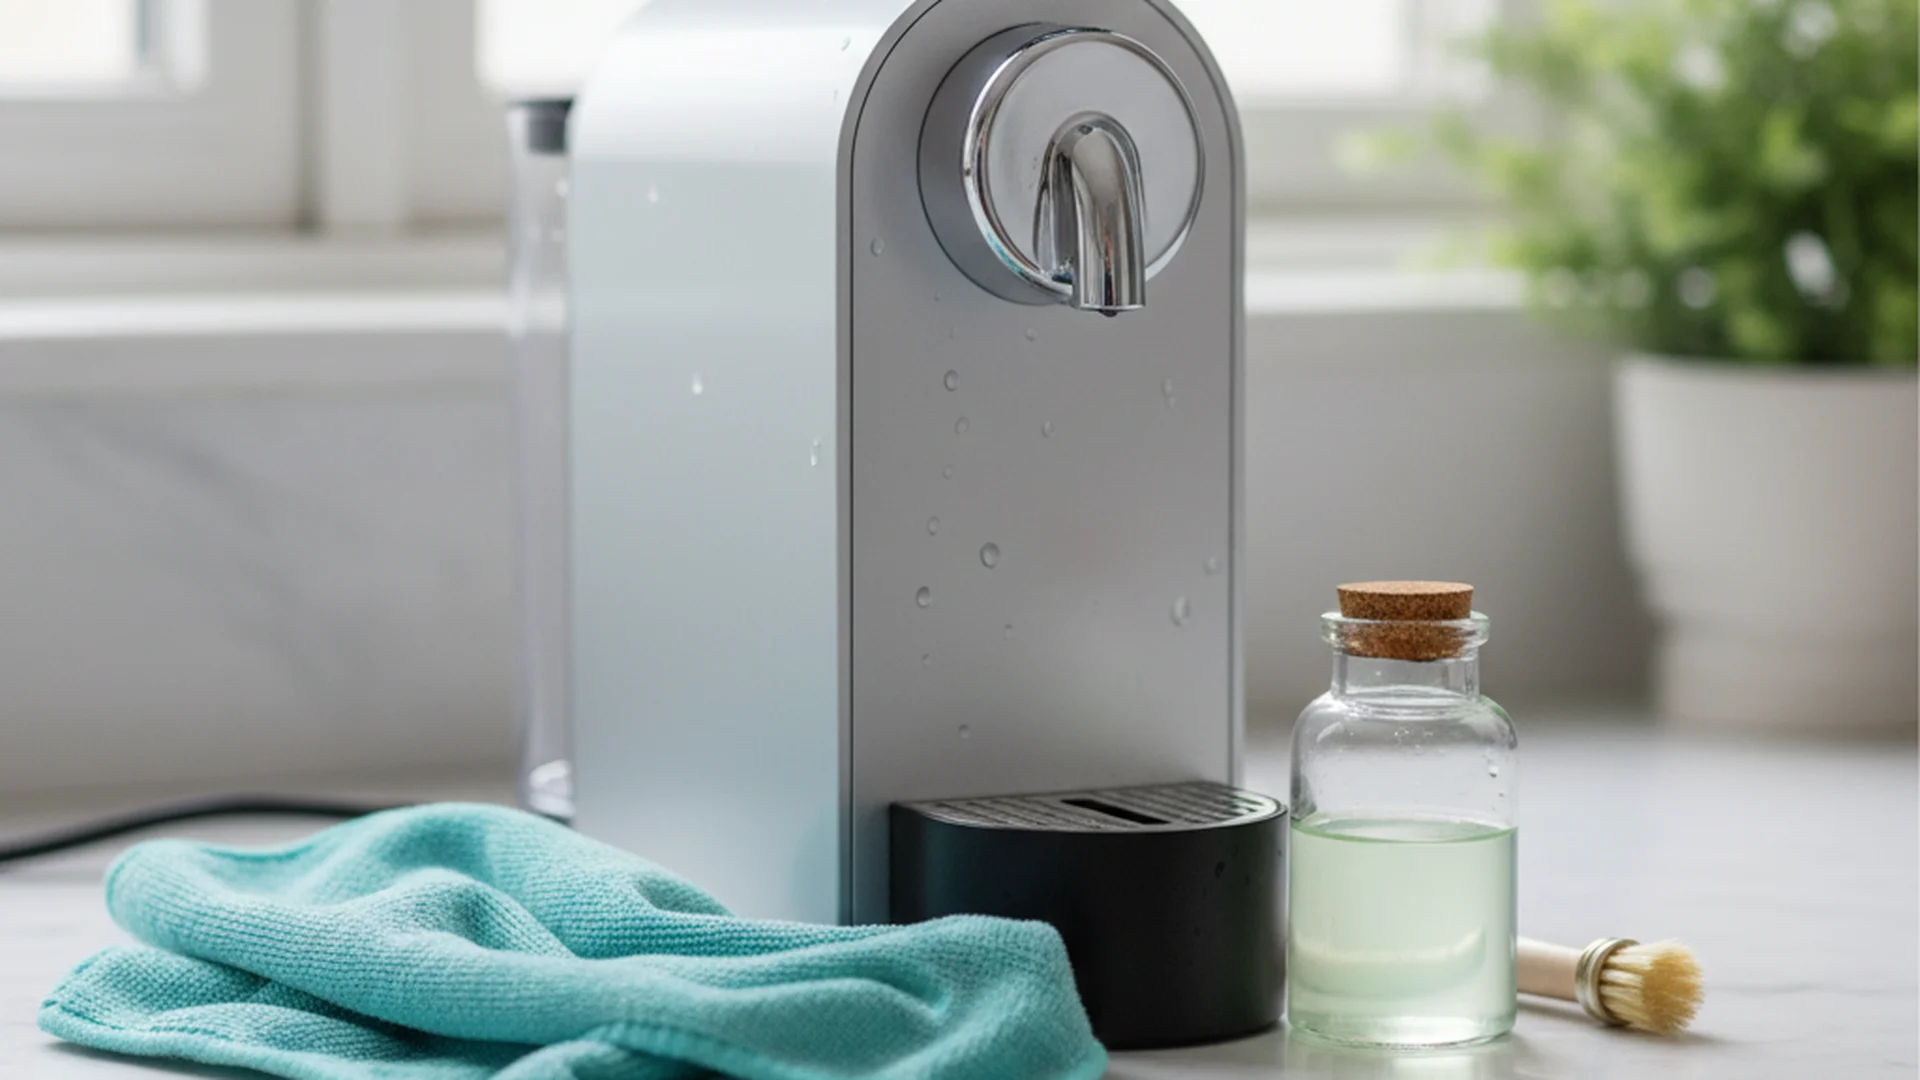
The Power of Vinegar: How to Deep-Clean Your Dryer Naturally
While you cannot use liquids to clear the actual 20-foot vent pipe, you should clean dryer vent with vinegar at the access points and throughout the dryer drum to ensure total efficiency.
Over time, dryer sheets and fabric softeners leave a waxy, invisible film on the lint screen and the moisture sensors (the small metal bars inside the drum). This film "blinds" the sensors, causing the dryer to run longer than necessary because it can't "feel" that the clothes are dry.
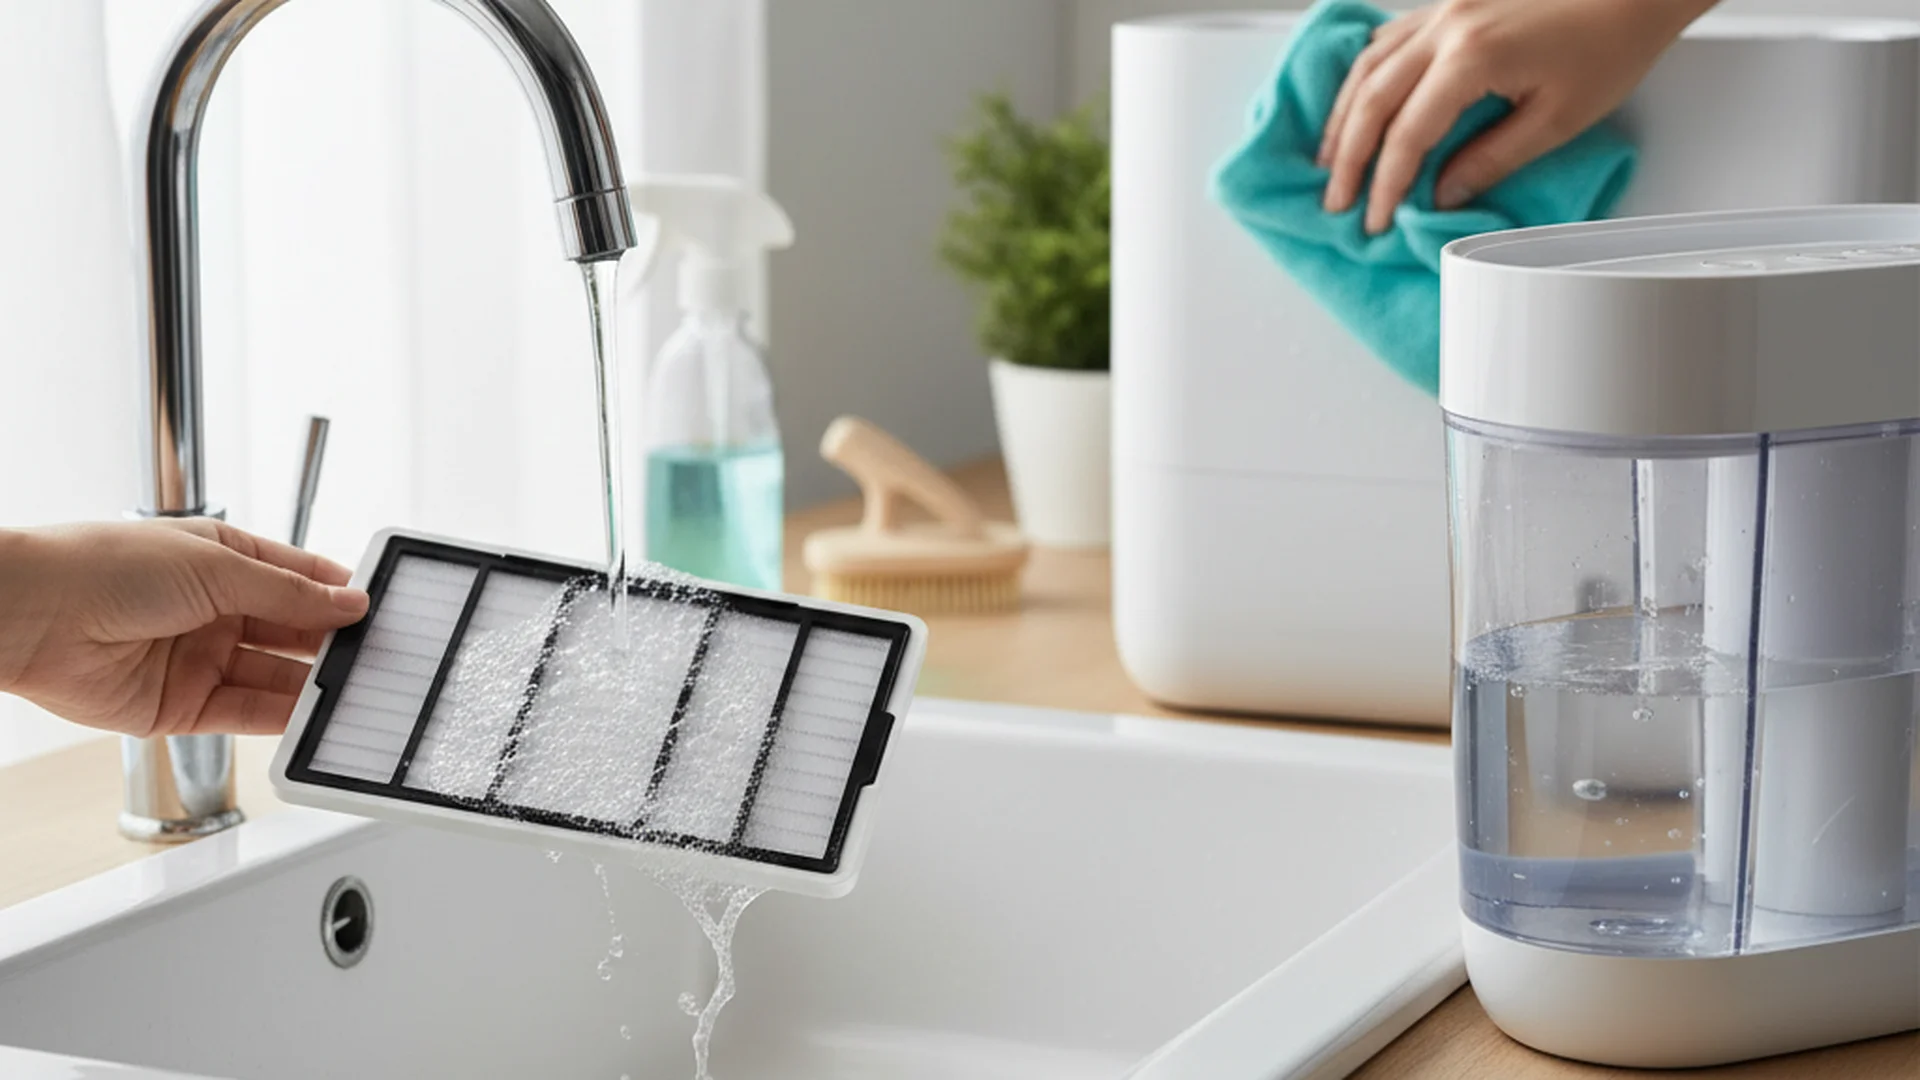
- The Lint Screen: Take your lint screen to the sink. Scrub it with a soft brush and warm water mixed with vinegar. If the water pools on the mesh instead of flowing through, the waxy buildup was blocking airflow.
- The Sensor Bars: Dampen a cloth with white vinegar and wipe the metal sensor bars inside the drum. This ensures your High-Efficiency (HE) settings work accurately.
- The Drum: Wipe the interior drum with vinegar to remove any chemical residue from laundry detergents, ensuring a truly "natural" clean.
Real-World Maintenance Examples
Example 1: The "Double-Cycle" Dilemma
A family of four in Seattle noticed their heavy towels required two full cycles to dry. Upon inspection, they found the exterior vent flap was stuck shut by a thick layer of lint. After a 30-minute cleaning session using a rotary brush, their drying time dropped from 100 minutes to 45 minutes, immediately reducing their energy bill.
Example 2: The Hidden Pest Hazard
During a routine 2025 spring cleaning, a homeowner discovered that a small bird had built a nest inside the dryer vent exit. This created a total blockage. By using a cleaning kit, they safely removed the debris and installed a pest-proof vent cover, preventing a potential fire and protecting local wildlife from the heat exhaust.
Example 3: The Smart Sensor Success
Following the 2026 trend of smart home integration, a homeowner installed a "LintAlert" backpressure monitor. The device triggered an alert when the vent was only 25% clogged. Because they caught it early, they were able to perform a quick vacuuming of the transition duct without needing a full rotary brush service, demonstrating how proactive monitoring saves time.
Common Mistakes to Avoid
- Using a Leaf Blower Alone: While it might blow out loose dust, it won't remove the sticky lint adhered to the walls of the duct. It can also create enough pressure to burst old foil ducting inside your walls.
- Forgetting the Exterior Flap: Many people clean the inside but forget the outside. A stuck flap is just as dangerous as a clogged pipe.
- Using "Duct Tape": Despite the name, standard duct tape dries out and peels off under the high heat of a dryer. Always use aluminum foil tape or heavy-duty screw clamps.
- Neglecting the Space Under the Dryer: Lint often accumulates on the floor under the appliance. If the dryer runs hot, this lint can ignite. Always vacuum under and behind the unit.
Recent Trends in Dryer Maintenance (2025–2026)
The landscape of home maintenance is changing. In 2025, we've seen a surge in robotic duct cleaning. For complex, multi-story vent runs that go through a roof, professionals now use mini-robotic crawlers with 4K cameras. This allows homeowners to see a "before and after" video of their ducts, ensuring the job was done correctly.
Furthermore, AI-integrated dryers are now hitting the market. These units monitor airflow in real-time and will automatically shut down the heating element if they detect a dangerous level of backpressure, preventing a fire before it starts. However, even with these smart features, physical cleaning remains a necessity to keep the machine operational.
Frequently Asked Questions
How often should I clean my dryer vent?
Can I clean my dryer vent naturally with vinegar?
How do I know if my vent is clogged?
Is it safe to use a leaf blower to clean the vent?
Conclusion
Learning how to clean dryer vent systems is one of the most cost-effective ways to protect your home and reduce your carbon footprint. By combining mechanical cleaning with natural solutions like vinegar, you ensure your appliance runs at peak efficiency. Whether you do it yourself with a $30 kit or hire a professional to use robotic cameras, the peace of mind and the $300 annual energy savings are well worth the effort.
Want More Home Efficiency Tips?
Join our newsletter for monthly appliance maintenance checklists and eco-friendly cleaning hacks.
Sign Up Now