Key Takeaways
- Can openers are top-four germ magnets harboring Salmonella and E. coli.
- Never put manual can openers in the dishwasher as it leads to rust and dulling.
- White distilled vinegar is the best natural solution for deep cleaning and rust removal.
When you think about the "germiest" spots in your kitchen, your mind likely goes straight to the kitchen sponge or the trash can lid. However, scientific research suggests a much more stealthy culprit is lurking in your utensil drawer. Learning how to clean can opener components effectively is not just about keeping your tools looking shiny; it is a critical matter of food safety.
According to the National Sanitation Foundation (NSF), the humble can opener is one of the top four most contaminated items in the average household. Because these tools frequently come into contact with food residue—think tuna juice, tomato sauce, or syrup—and are rarely dried properly, they become a breeding ground for harmful pathogens. In this guide, we will explore the best methods for maintenance, from daily quick-cleans to deep-soaking techniques that use natural ingredients.
Why Can Opener Hygiene is Non-Negotiable
It is easy to overlook the can opener because the blade is small and often tucked away. However, every time you skip a cleaning, you are rolling the dice with your health. A 2025 hygiene survey by ZipDo revealed that 65% of people underestimate the importance of cleaning kitchen gadgets like can openers, even though they have direct contact with the food we eat.
The NSF has documented that neglected can openers harbor Salmonella, E. coli, yeast, and mold. When the blade pierces a lid, any bacteria living on that blade are pushed directly into the contents of the can. Furthermore, as gears grind, tiny metallic shavings can flake off into your meal—a risk that increases significantly if the tool has begun to rust.
How to Clean Can Opener Without Chemicals
Many homeowners are moving away from harsh synthetic cleaners in favor of "green" alternatives. Fortunately, you can effectively clean can opener without chemicals by using items already found in your pantry. The most powerful tool in your natural cleaning arsenal is white distilled vinegar.
The White Vinegar Deep Soak
If your manual can opener has built-up "gunk" or light surface rust, a vinegar soak is the gold standard for restoration. The acetic acid in vinegar acts as a mild solvent that breaks down organic proteins and dissolves iron oxide (rust).
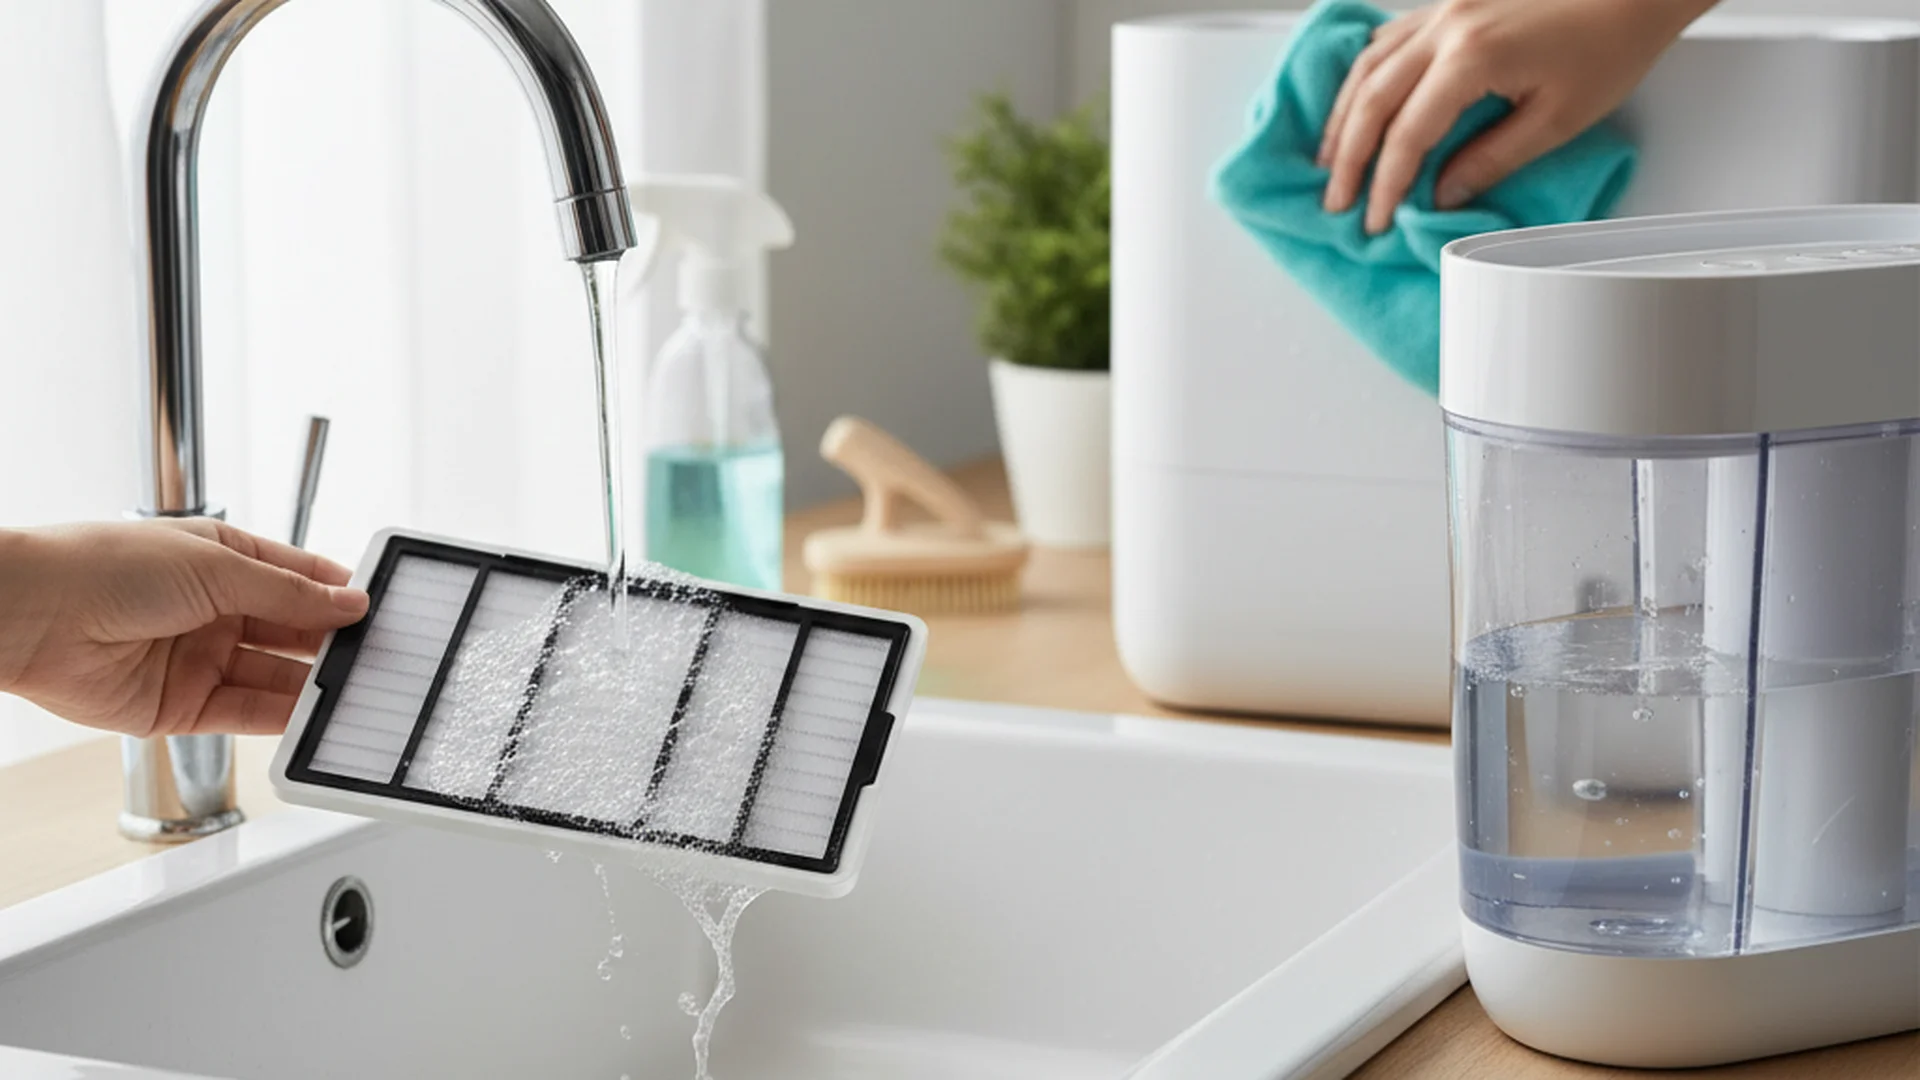
- Prepare a Jar: Fill a small glass jar with enough white distilled vinegar to submerge the head of the can opener.
- The Soak: Place the can opener handle-up into the jar, ensuring only the gears and blades are submerged. Let it sit for 30 to 60 minutes.
- The Scrub: Use an old toothbrush to scrub the loosened debris from the gears. The vinegar will have softened even the most stubborn, dried-on food particles.
- Rinse and Dry: Rinse the tool under warm running water.
The Paper Towel Trick (Daily Maintenance)
For everyday use, you don't need a deep soak. You can prevent buildup by using the paper towel trick immediately after opening a can.
- Fold a paper towel several times to create a thick strip.
- Clamp the can opener onto the edge of the paper towel.
- Twist the handle as if you were opening a can.
- As the gears move through the paper towel, the friction pulls off surface oils and liquids before they have a chance to harden.
Expert Techniques for Longevity
Maintaining a can opener involves more than just removing food; it involves protecting the mechanical integrity of the tool.
The Wax Paper Lubrication Hack
One of the most effective ways to clean can opener gears while simultaneously protecting them is by using wax paper. If your can opener feels "stiff" or "crunchy" when you turn the handle, it likely needs lubrication.
Simply fold a sheet of wax paper three or four times and run the can opener through it. The food-grade paraffin wax will coat the gears and the blade. This creates a moisture-resistant barrier that prevents rust and makes the turning mechanism move smoothly.
The Forced Drying Method
The primary reason can openers fail is "hidden rust." Even if you towel-dry the tool, water often remains trapped inside the tight spaces between the gears.
Cleaning Electric Can Openers Safely
Electric can openers pose a unique challenge because they cannot be submerged in water. However, they are often the "germiest" because they stay on the counter and collect dust alongside food splatters.
- Unplug the Unit: Never attempt to clean an electric appliance while it is connected to power.
- Remove the Cutting Head: Most modern models (2025-2026 designs) feature a "one-click" release button that allows the blade assembly to pop off.
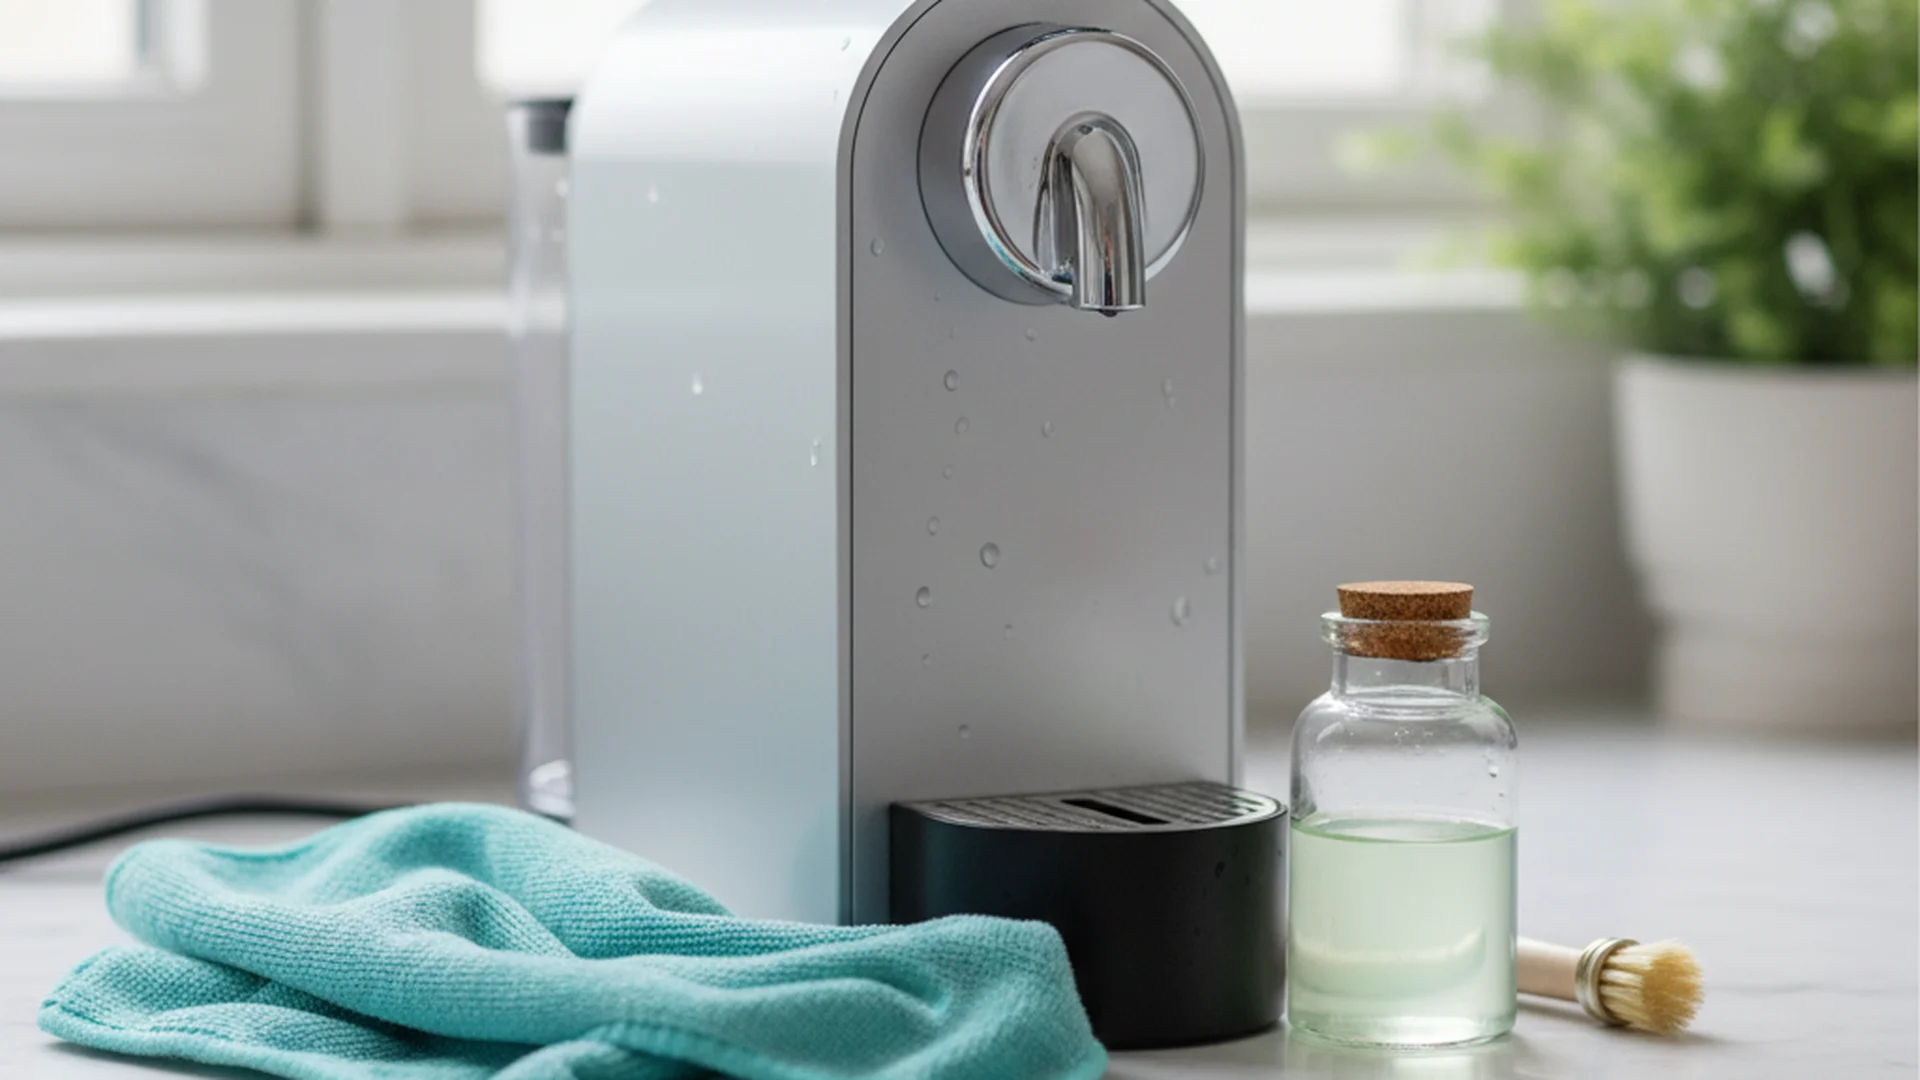
- Sanitize the Body: Wipe the main housing with a cloth dampened with a mixture of water and white vinegar.
- Wash the Blade Assembly: If the manual states it is dishwasher safe, you can toss it in the top rack. Otherwise, wash it by hand in hot, soapy water.
Real-World Examples of Why Cleaning Matters
To illustrate the importance of these habits, consider these three common scenarios:
- The Tuna Contamination: A home cook opens a can of tuna and gives the opener a quick wipe with a damp cloth. Two days later, they use the same opener for a can of peaches. The microscopic tuna residue, which has now grown bacteria at room temperature, is transferred into the peach syrup, leading to a "fishy" taste and potential food poisoning.
- The "Stuck" Gear Tragedy: A high-quality stainless steel opener begins to feel difficult to turn. The owner forces it, eventually snapping the internal pin. Upon inspection, the gears were seized by a mixture of dried tomato paste and rust. A simple monthly vinegar soak would have saved the $30 tool.
- The Health Inspection Fail: A local bistro received a point deduction during a surprise health inspection because the manual can opener mounted to the prep table had visible black residue on the underside of the blade. The inspector noted that "cleaning the blade is as important as cleaning the chef's knife."
Common Mistakes to Avoid
- Using the Dishwasher: Even if a manual can opener claims to be dishwasher safe, the high-heat drying cycle and humid environment are the leading causes of premature rusting. Always hand-wash.
- Air-Drying in the Rack: Gravity pulls water into the gear assembly. If you leave a wet can opener in a dish rack, the water pools in the mechanism, causing "frozen" gears within months.
- Neglecting the Handles: We focus so much on the blade that we forget the handles are high-touch surfaces. If you handled raw chicken before grabbing the can opener, those handles are now contaminated.
- Ignoring the "Side-Cut" Models: Many people use traditional top-cut openers. If you are worried about hygiene, consider switching to a "safety" or "side-cut" opener. These models cut the side of the rim, meaning the blade never actually touches the food inside.
| Cleaning Method | Best For | Frequency |
|---|---|---|
| Paper Towel Trick | Daily surface cleaning | After every use |
| Vinegar Soak | Deep cleaning & rust removal | Monthly |
| Wax Paper Hack | Lubrication & prevention | Every 2-3 months |
| Toothbrush Scrub | Removing visible food chunks | Weekly |
Frequently Asked Questions
How often should I clean my can opener?
Can I put my manual can opener in the dishwasher?
Is it safe to use a rusty can opener?
How do I clean an electric can opener without getting shocked?
Conclusion
Mastering the art of how to clean can opener tools is a small habit that pays huge dividends in kitchen safety and tool longevity. By incorporating the clean can opener vinegar soak into your monthly routine and using the wax paper hack for lubrication, you ensure that your kitchen remains a healthy environment for your family. Remember, a clean tool isn't just about aesthetics—it's your first line of defense against foodborne illness.
Want More Kitchen Tips?
Sign up for our weekly newsletter to get professional cleaning hacks delivered to your inbox.
Subscribe Now