In this article
What you’ll learn
- Always dry dust before applying liquid cleaners to prevent abrasive sludge.
- Match your cleaning solution to the vanity material (stone, MDF, or solid wood).
- Daily maintenance dramatically cuts how long a deep clean takes.
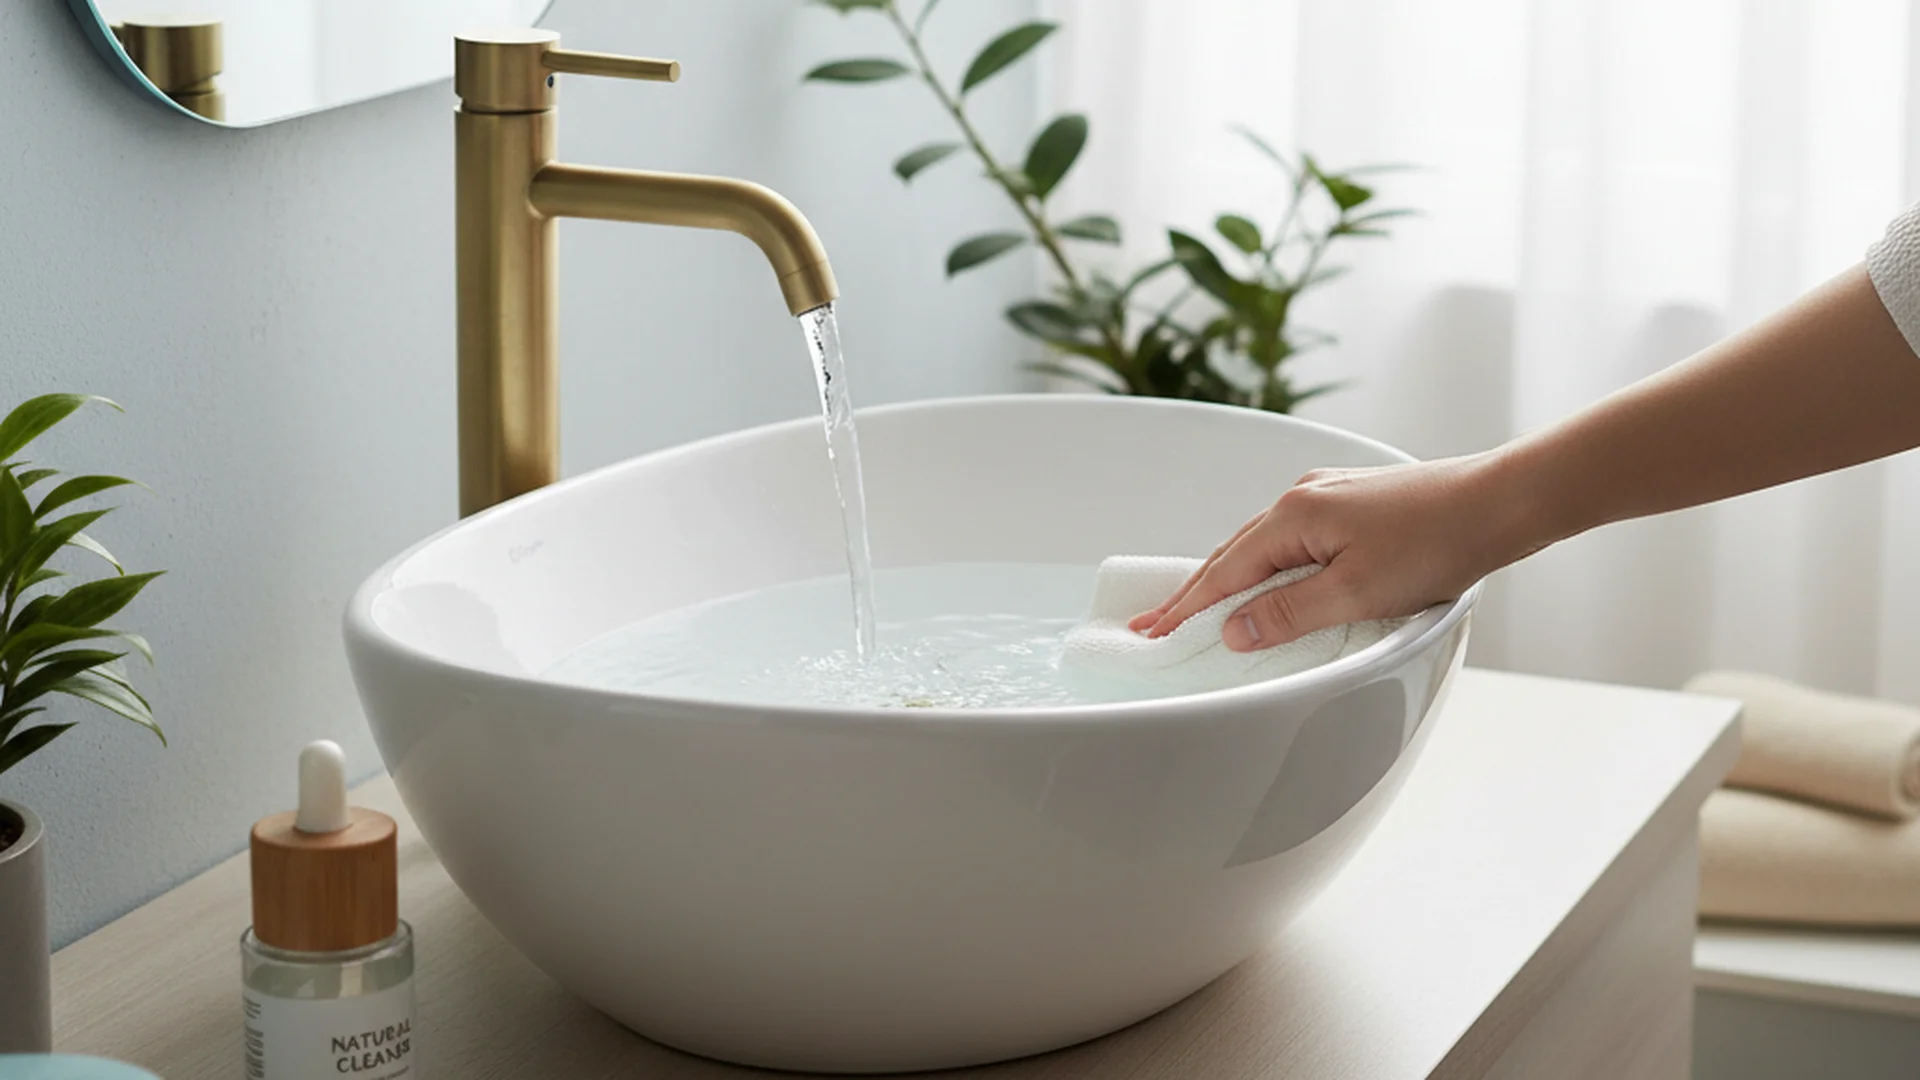
The bathroom vanity is the workhorse of the home. It is where we begin our mornings and end our evenings, bearing the brunt of toothpaste splatters, hairspray residue, and soap scum. However, learning how to clean bathroom vanity surfaces effectively is about more than just aesthetics; it’s about protecting one of your home’s most valuable assets. With the rise of luxury materials like natural stone and high-tech fixtures, a "one-size-fits-all" spray is no longer enough.
Maintaining a pristine vanity requires a blend of chemistry and technique. A consistent daily upkeep routine dramatically cuts the time a deep clean takes and heads off most water damage, such as warping or permanent staining, before it starts. In this guide, we will explore the best way to clean bathroom vanity units based on modern material science and expert cleaning hierarchies.
Why Vanity Maintenance Matters in 2025
The bathroom is a microbial hotspot. Warm, damp and rarely well ventilated, it is exactly the environment mold and bacteria favour—and it is also the room most people put off cleaning the longest. Beyond hygiene, the materials used in modern vanities—ranging from Medium-Density Fiberboard (MDF) to solid wood—require specific care to ensure longevity.
Most vanities today are constructed from MDF with a laminate or veneer finish, with solid wood a distant second. These materials are susceptible to moisture. By implementing a proactive cleaning strategy, you aren't just cleaning; you are performing essential home maintenance that preserves your property value.
The Professional Cleaning Hierarchy
To achieve a showroom-level shine without damaging your fixtures, you must follow a specific order of operations. This "Top-Down" rule ensures that gravity doesn't ruin your hard work.
Step 1: The Dry Dusting Phase
The most common mistake people make when learning how to clean bathroom vanity cabinets is reaching for the spray bottle immediately.
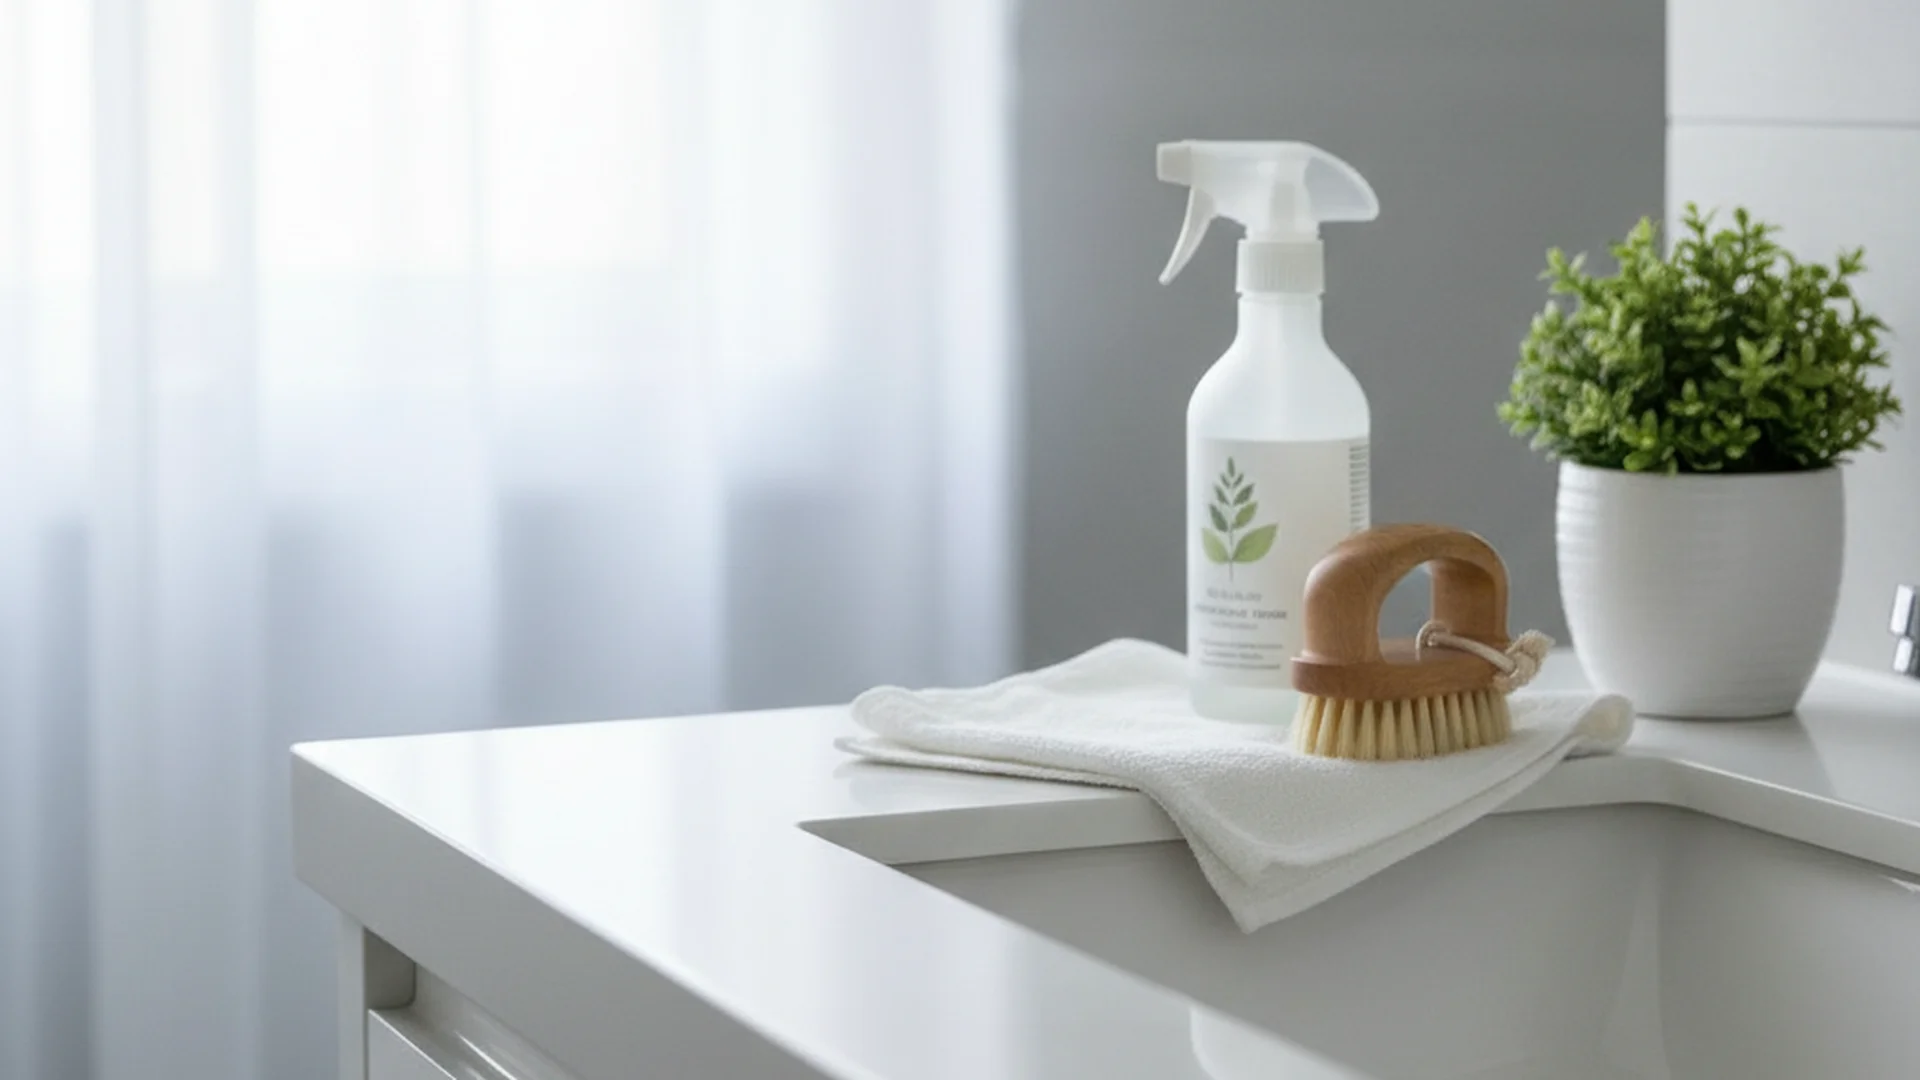
Tip: Always start with a dry microfiber cloth to remove hair and dust. Adding liquid to dust creates a "gritty sludge" that can act like sandpaper, scratching delicate finishes or stone surfaces.
Step 2: Mirrors and Hardware
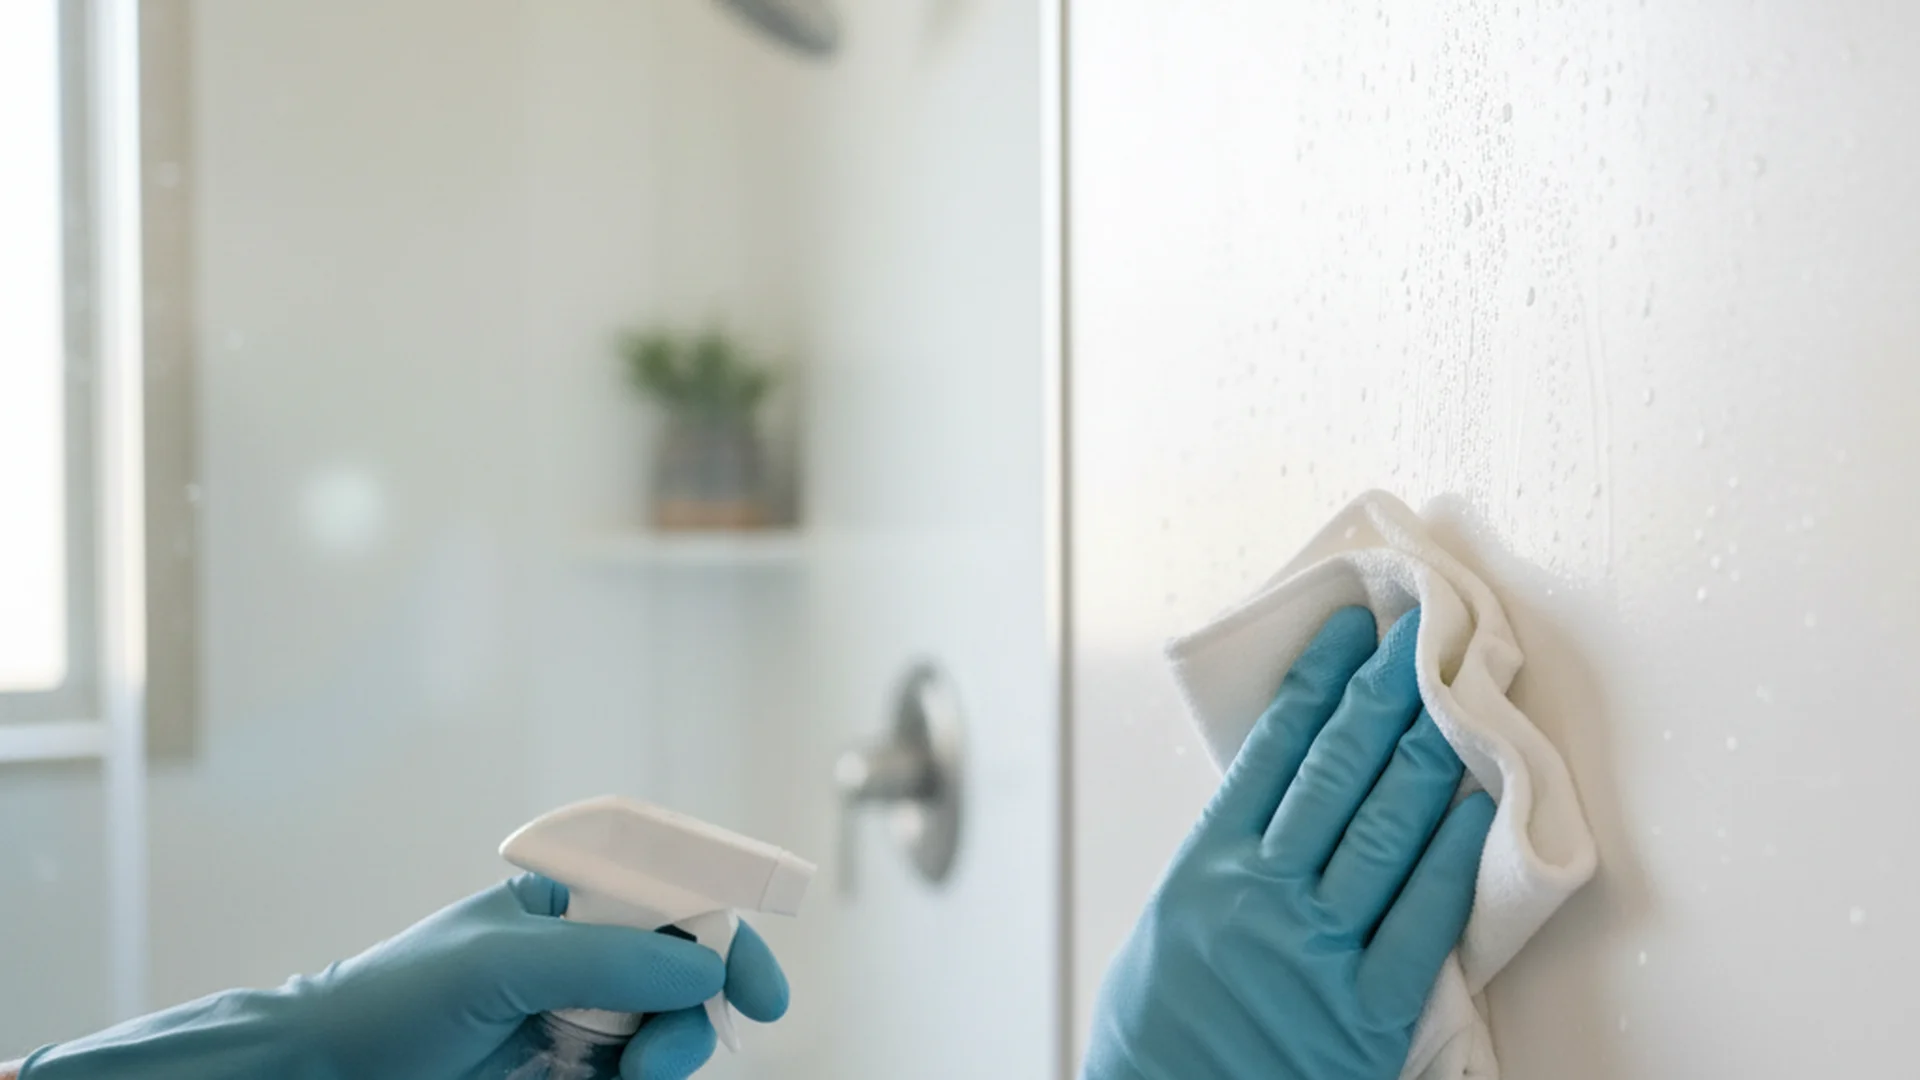
Once the dust is gone, clean the mirrors first. Any overspray from glass cleaner that lands on the countertop can then be wiped away during the next phase. For the hardware, don't just wipe the handles.
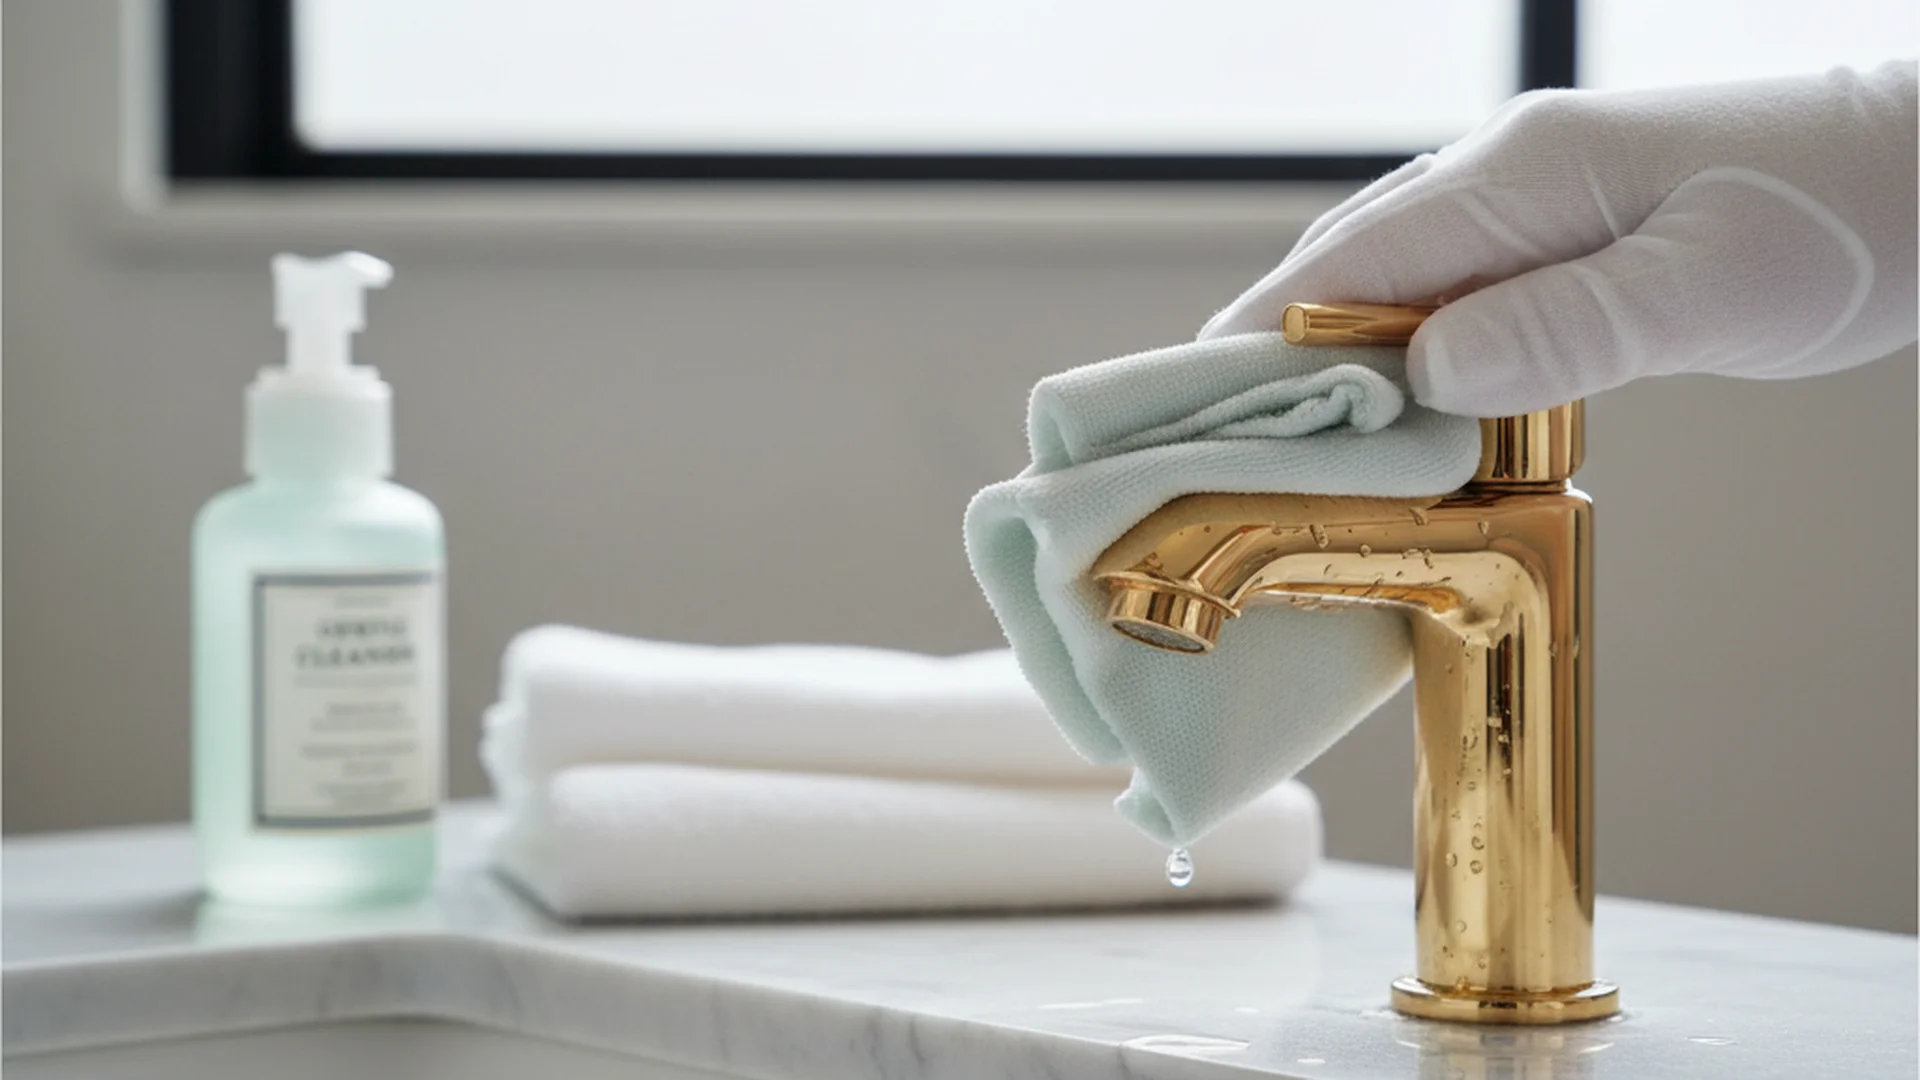
Real-World Example: Imagine a matte black faucet. If you only wipe the top, mineral deposits from water droplets will eventually "crust" around the base. Use a soft toothbrush dipped in mild soapy water to scrub the base of the faucet where skin cells and hard water minerals accumulate.
Step 3: Countertop and Basin Care
The best way clean bathroom vanity tops depends entirely on the material.
- Natural Stone (Marble/Granite): These are porous and sensitive to acid.
- Quartz/Laminate: These are non-porous and highly durable.
- Solid Wood: Requires immediate drying to prevent swelling.
Warning: Never use vinegar or lemon-based cleaners on natural stone. The acidity will "etch" the surface, leaving permanent dull spots that require professional restoration.
Material-Specific Cleaning Strategies
Understanding the chemistry of your vanity is the difference between a clean bathroom and a ruined finish.
| Material | Recommended Cleaner | Avoid At All Costs |
|---|---|---|
| Marble/Granite | pH-neutral stone cleaner | Vinegar, Lemon, Bleach |
| Quartz | Mild dish soap & water | Abrasive scouring pads |
| MDF/Laminate | All-purpose spray | Excessive soaking water |
| Solid Wood | Wood-specific soap | Steam mops/Heavy moisture |
Caring for Natural Stone
If you have a marble or granite vanity, you are dealing with a living material. Stone should be sealed at least once a year. Proper sealing makes permanent water damage far less likely. For daily cleaning, stick to a specialized stone soap or a mixture of warm water and a tiny drop of pH-neutral dish soap.
Managing High-Trend Finishes
However, until your vanity is "self-disinfecting," you must handle modern finishes like matte gold or matte black with care. These finishes are notorious for showing water spots.
Real-World Example: A homeowner with a new "minimalist luxury" floating vanity noticed white spots on their black faucet after just one week. The solution? A "proactive cleaning" approach using a specialized matte-finish spray that leaves a water-repellent barrier, similar to how wax works on a car.
Note: For stubborn "toothpaste ghosting" on non-stone surfaces, a paste of baking soda and water works as a gentle, non-toxic abrasive.
Deep Cleaning: The Interior and Underside
Cleaning isn't just about what you see on the surface. To truly master how to clean bathroom vanity areas, you must look underneath and inside.
The 4-Month Cabinet Reset
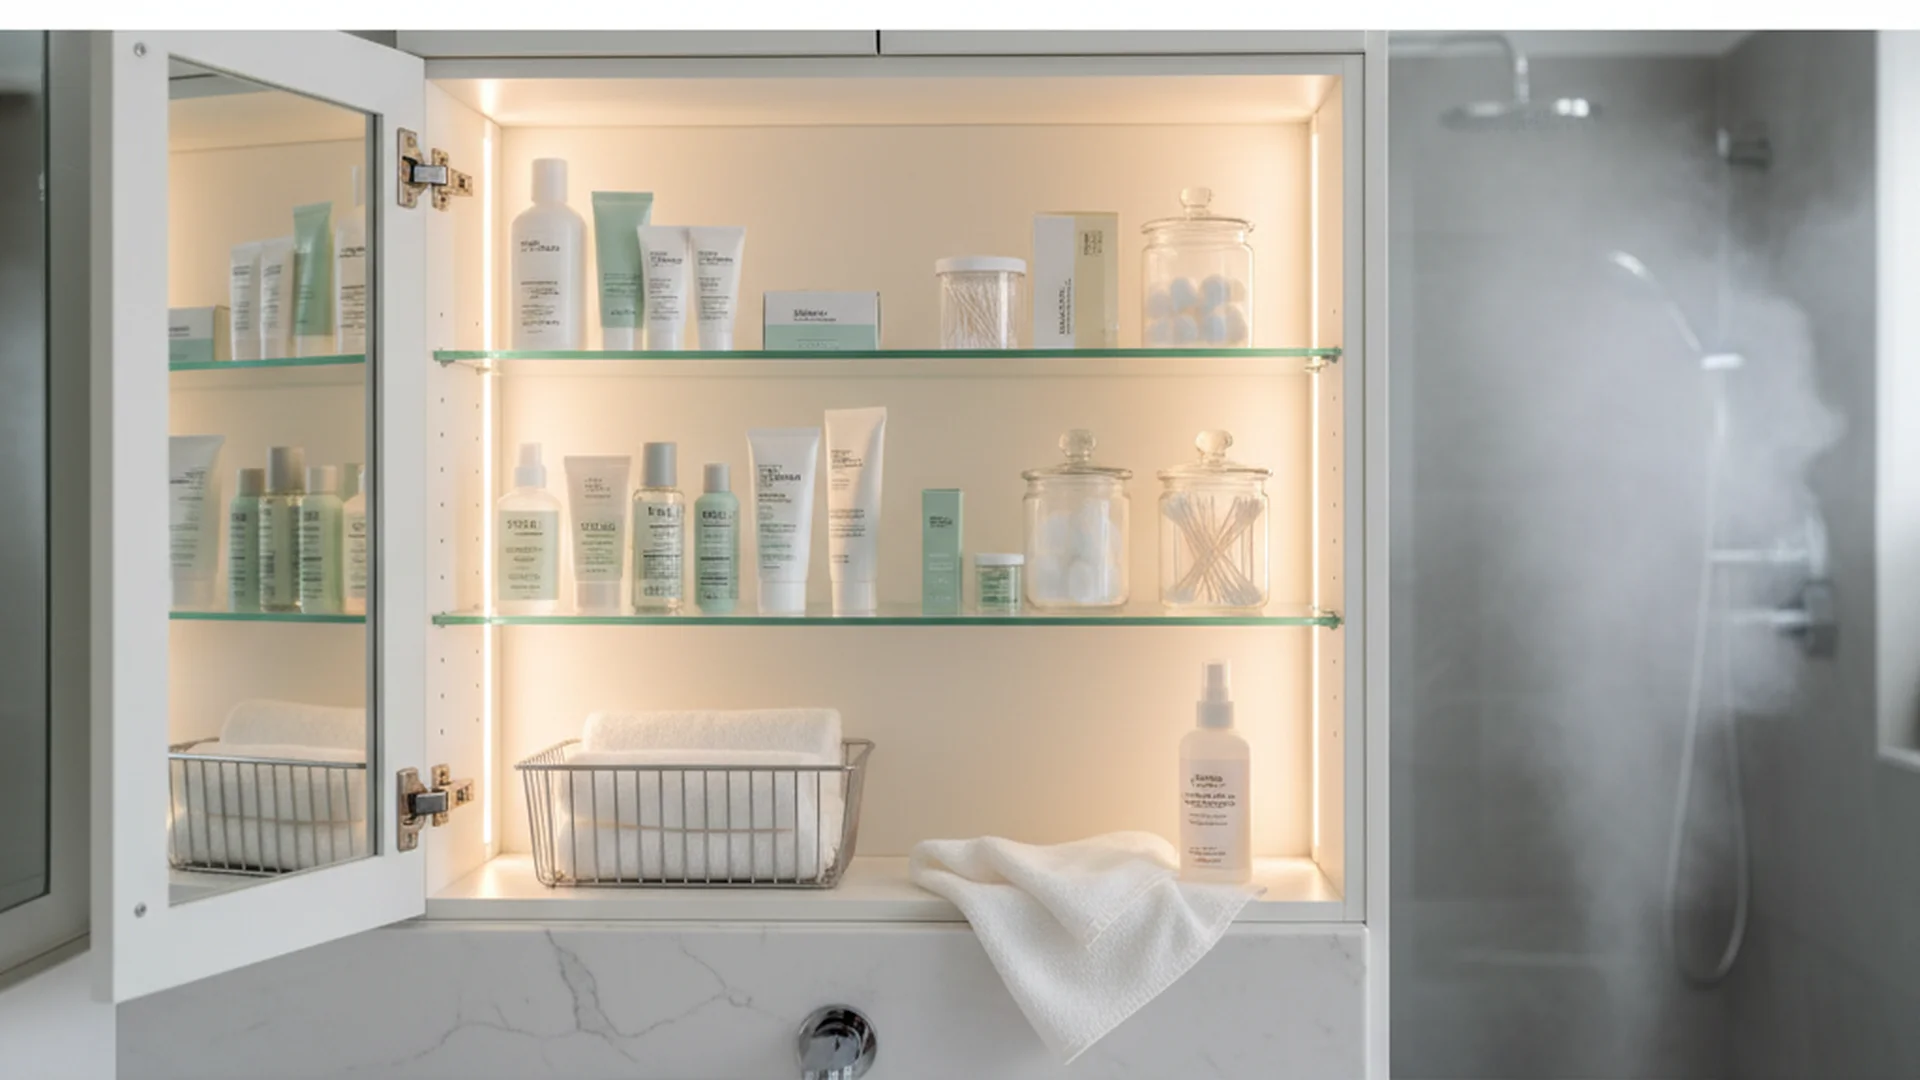
Items should be removed from the interior of the vanity every 3–4 months.
- Empty all contents.
- Vacuum out hair and dust.
- Wipe with a damp (not soaking) microfiber cloth.
- Critical Step: Ensure the area is 100% dry before replacing products. Dampness in an enclosed cabinet is a recipe for mildew.
The Forgotten Underside
Floating vanities are a major trend for 2025–2026. While they make floor cleaning easier, they expose the underside of the cabinet. Water often drips down the side of the basin and sits on the bottom edge of the cabinet. Over time, this leads to delamination—where the veneer peels away from the MDF.
Success: Wiping the bottom edge of the countertop and the underside of the cabinet after every deep clean can extend the life of an MDF vanity by several years.
Common Mistakes to Avoid
- Mixing Chemicals: The most dangerous mistake is mixing bleach with vinegar or ammonia. This creates toxic chlorine or chloramine gas, which can be fatal in the small, enclosed space of a bathroom.
- Using Abrasive Pads: Green "scouring" pads or steel wool will permanently dull the shine of acrylic, laminate, and stone surfaces.
- Neglecting Ventilation: Even the cleanest vanity will rot if the bathroom is not properly ventilated. Run your exhaust fan for at least 20 minutes after every shower.
- Overloading the P-Trap: Vanity drains are smaller than kitchen drains. Using a drain hair catcher is a critical "cleaning" step that prevents internal sludge buildup.
The Future of Vanity Cleaning (2025–2026)
The cleaning industry is undergoing a "Steam Cleaning Revolution." Handheld steam cleaners (like those from Dupray or Bissell) have become incredibly popular because they sanitize using heat rather than harsh chemicals. This is ideal for grout lines and the crevices of "smart" faucets.
Additionally, keep an eye out for autonomous bathroom robots. While still a luxury item, early models debuting in 2026 are designed to navigate under floating vanities and even polish mirrors, taking the manual labor out of the "germ gap" maintenance.
Frequently Asked Questions
How often should I clean my vanity?
Can I use vinegar on all vanity tops?
How do I remove stubborn soap scum?
My vanity is made of wood; how do I prevent water damage?
Conclusion
Mastering the art of cleaning a bathroom vanity involves more than just a quick wipe-down. By understanding your materials, following a top-down hierarchy, and avoiding abrasive chemicals, you can keep your vanity looking brand new for decades. Whether you are dealing with a traditional solid wood piece or a modern floating quartz unit, consistency is your greatest tool.
Success: By implementing these expert techniques, you will maintain a hygienic environment while protecting the structural integrity of your bathroom furniture.
Cleaning that keeps score
Every task earns points, every streak multiplies them, and Premium adds a household leaderboard plus a monthly Dustagorgon to beat.
- Free forever
- 30 badges to earn
- Up to 6 in a household
No card needed. Set up your rooms in a couple of minutes.