Key Takeaways
- Preserving the original patina is essential for maintaining a piece’s market value.
- Avoid modern aerosol sprays containing silicone, which can cause permanent damage.
- Maintain a stable home environment with 45–55% humidity to prevent wood cracking.
In an era increasingly dominated by "fast furniture" and disposable decor, the allure of heritage pieces has never been stronger. Whether you have inherited a family heirloom or discovered a hidden gem at a local estate sale, knowing how to clean antique furniture correctly is the difference between preserving history and accidentally destroying a valuable asset. As we move into 2026, the trend of "Slow Decor" emphasizes the beauty of authentic aging, meaning our approach to cleaning must be gentler and more intentional than ever before.
The Value of Heritage: Why Proper Cleaning Matters
The global furniture restoration market is projected to reach $7.2 billion by 2025. This surge is driven by a collective shift toward sustainability and historical appreciation. When you choose to maintain an antique rather than buy new, you aren't just saving money; you are preventing approximately 50kg of CO2 emissions.
However, the stakes are high. Professional appraisers warn that stripping the "patina"—the soft glow and surface wear that develops over centuries—can reduce a piece's value by 50% to 80%. Learning the best way clean antique furniture involves a "museum-standard" mindset: do as little as possible to achieve the best result.
Step 1: Assessing the Finish
Before you begin to clean antique furniture at home, you must identify what you are working with. Different finishes require different chemical approaches.
The "Rub Test" Technique
To identify the finish of your piece, find an inconspicuous spot (like the back of a leg or the underside of a drawer).
- Shellac: Place a drop of denatured alcohol on the finish. If it softens, it is shellac.
- Lacquer: If alcohol doesn't work, try a drop of lacquer thinner. If it softens now, you have a lacquer finish.
- Oil/Wax: If neither works, the wood is likely treated with a traditional oil or wax finish.
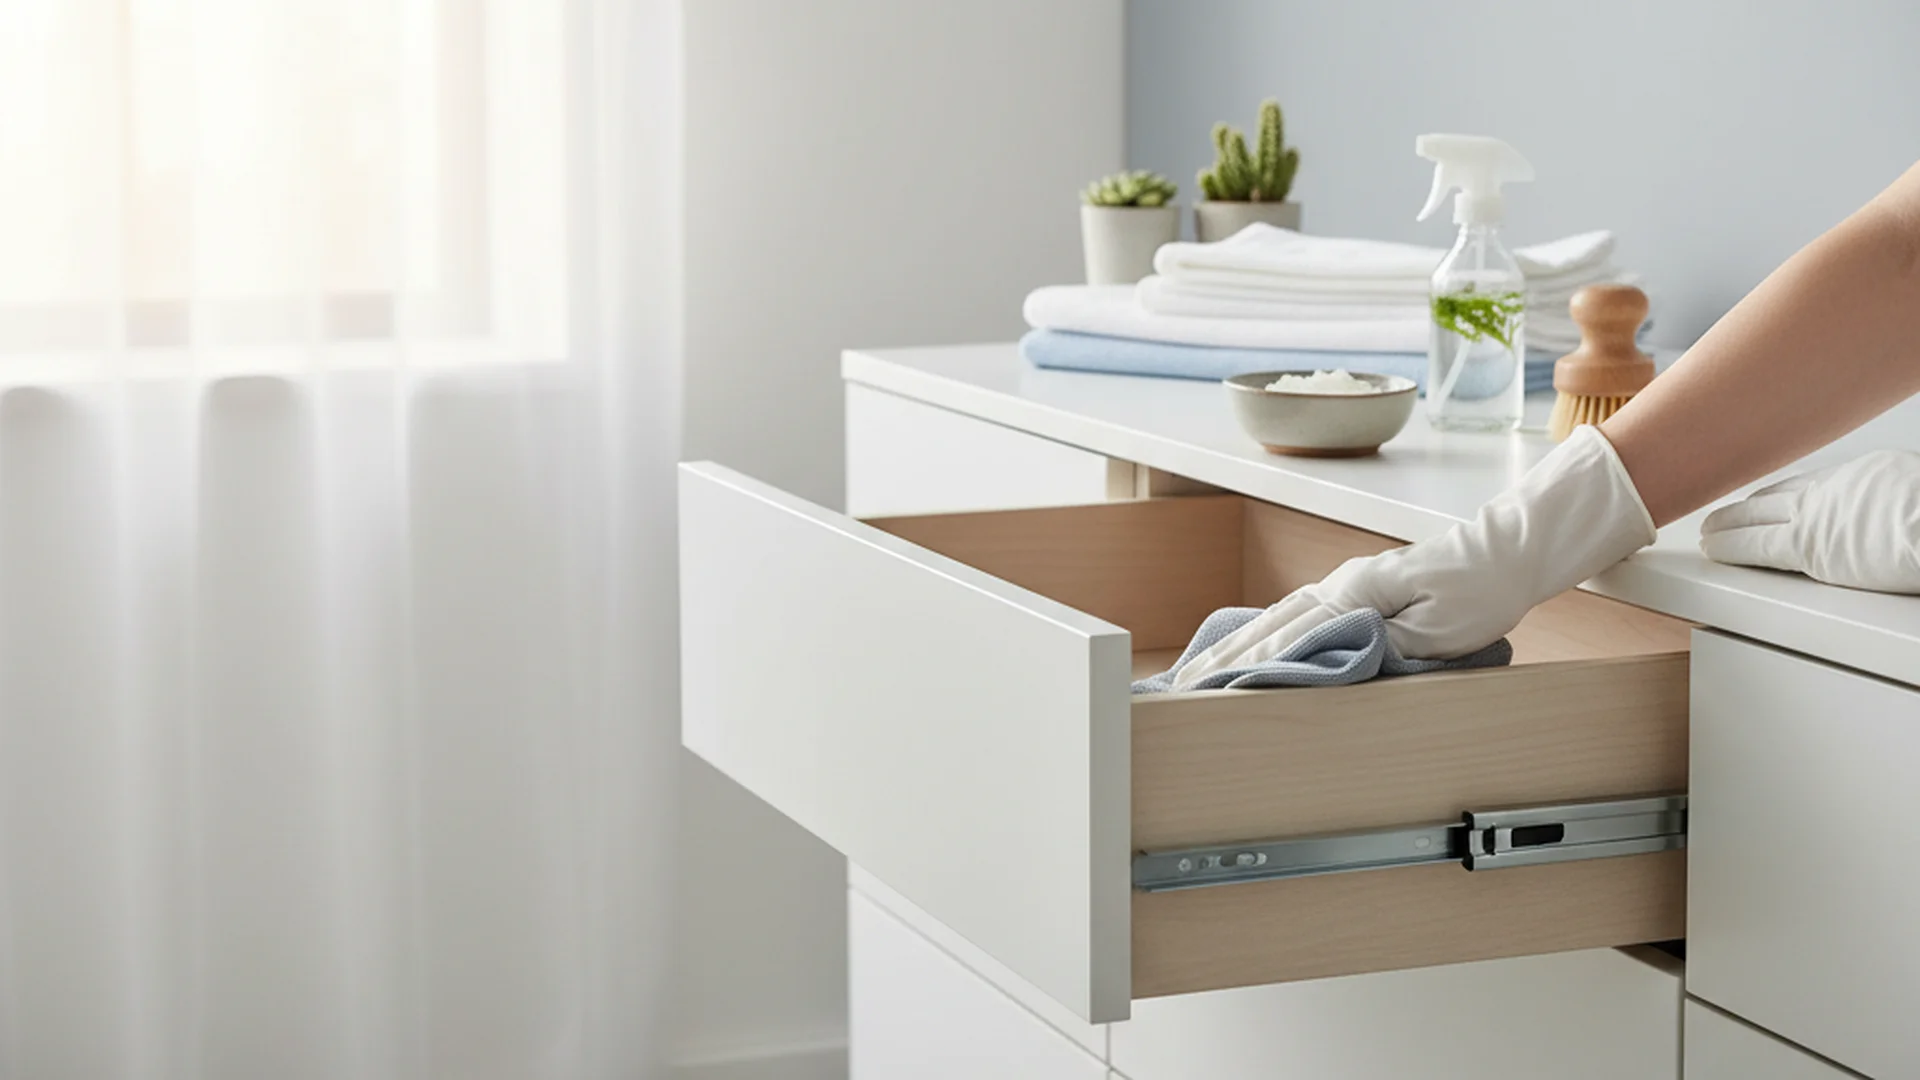
Step 2: Dusting and Surface Preparation
Dust is more than just unsightly; it is abrasive. Under a microscope, dust particles look like tiny shards of glass that can scratch delicate veneers.
For 2026, the industry standard has moved away from feather dusters, which can snag on loose carvings or fragile veneers. Instead, experts recommend a high-quality goat-hair brush for intricate carvings and a soft, lint-free microfiber cloth for flat surfaces.
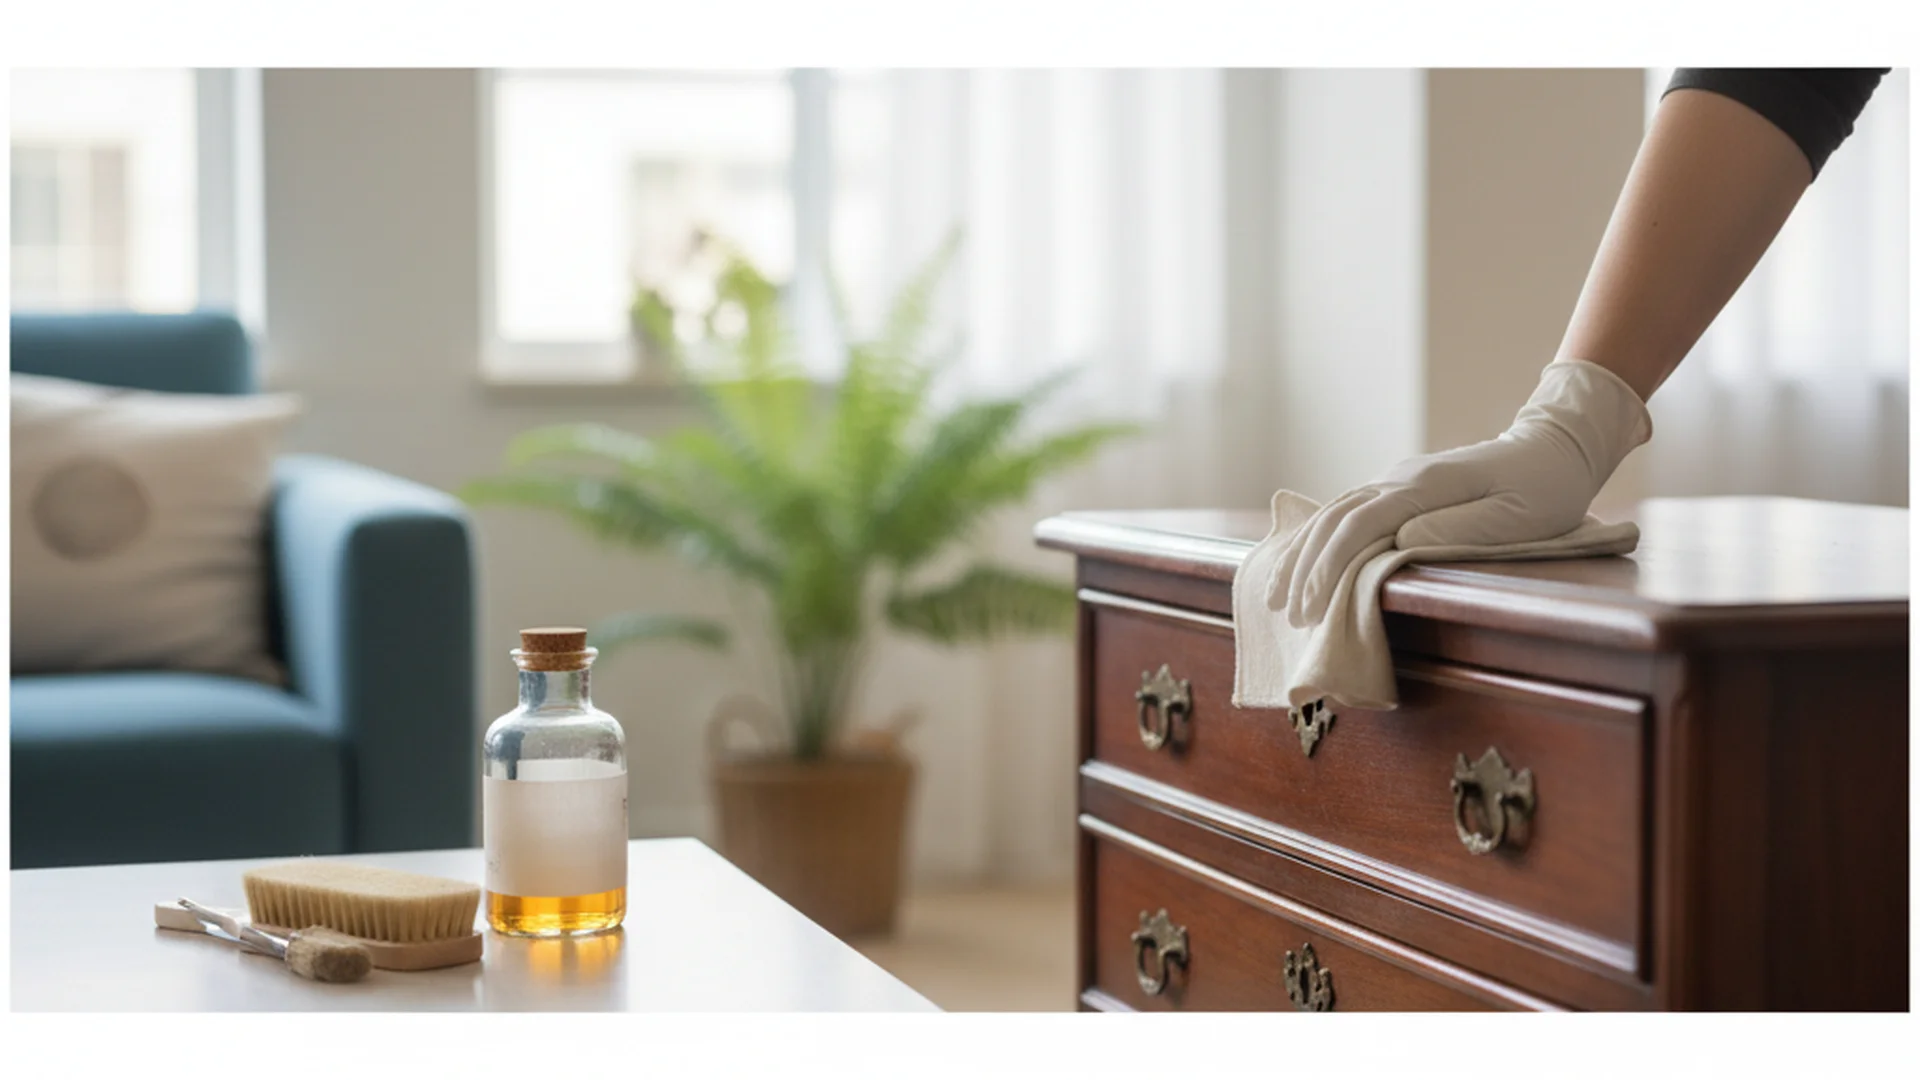
Step 3: Deep Cleaning Grime and Wax Buildup
If your furniture has spent years in a kitchen or a smoking household, dusting won't be enough. You may need to tackle "the grime."
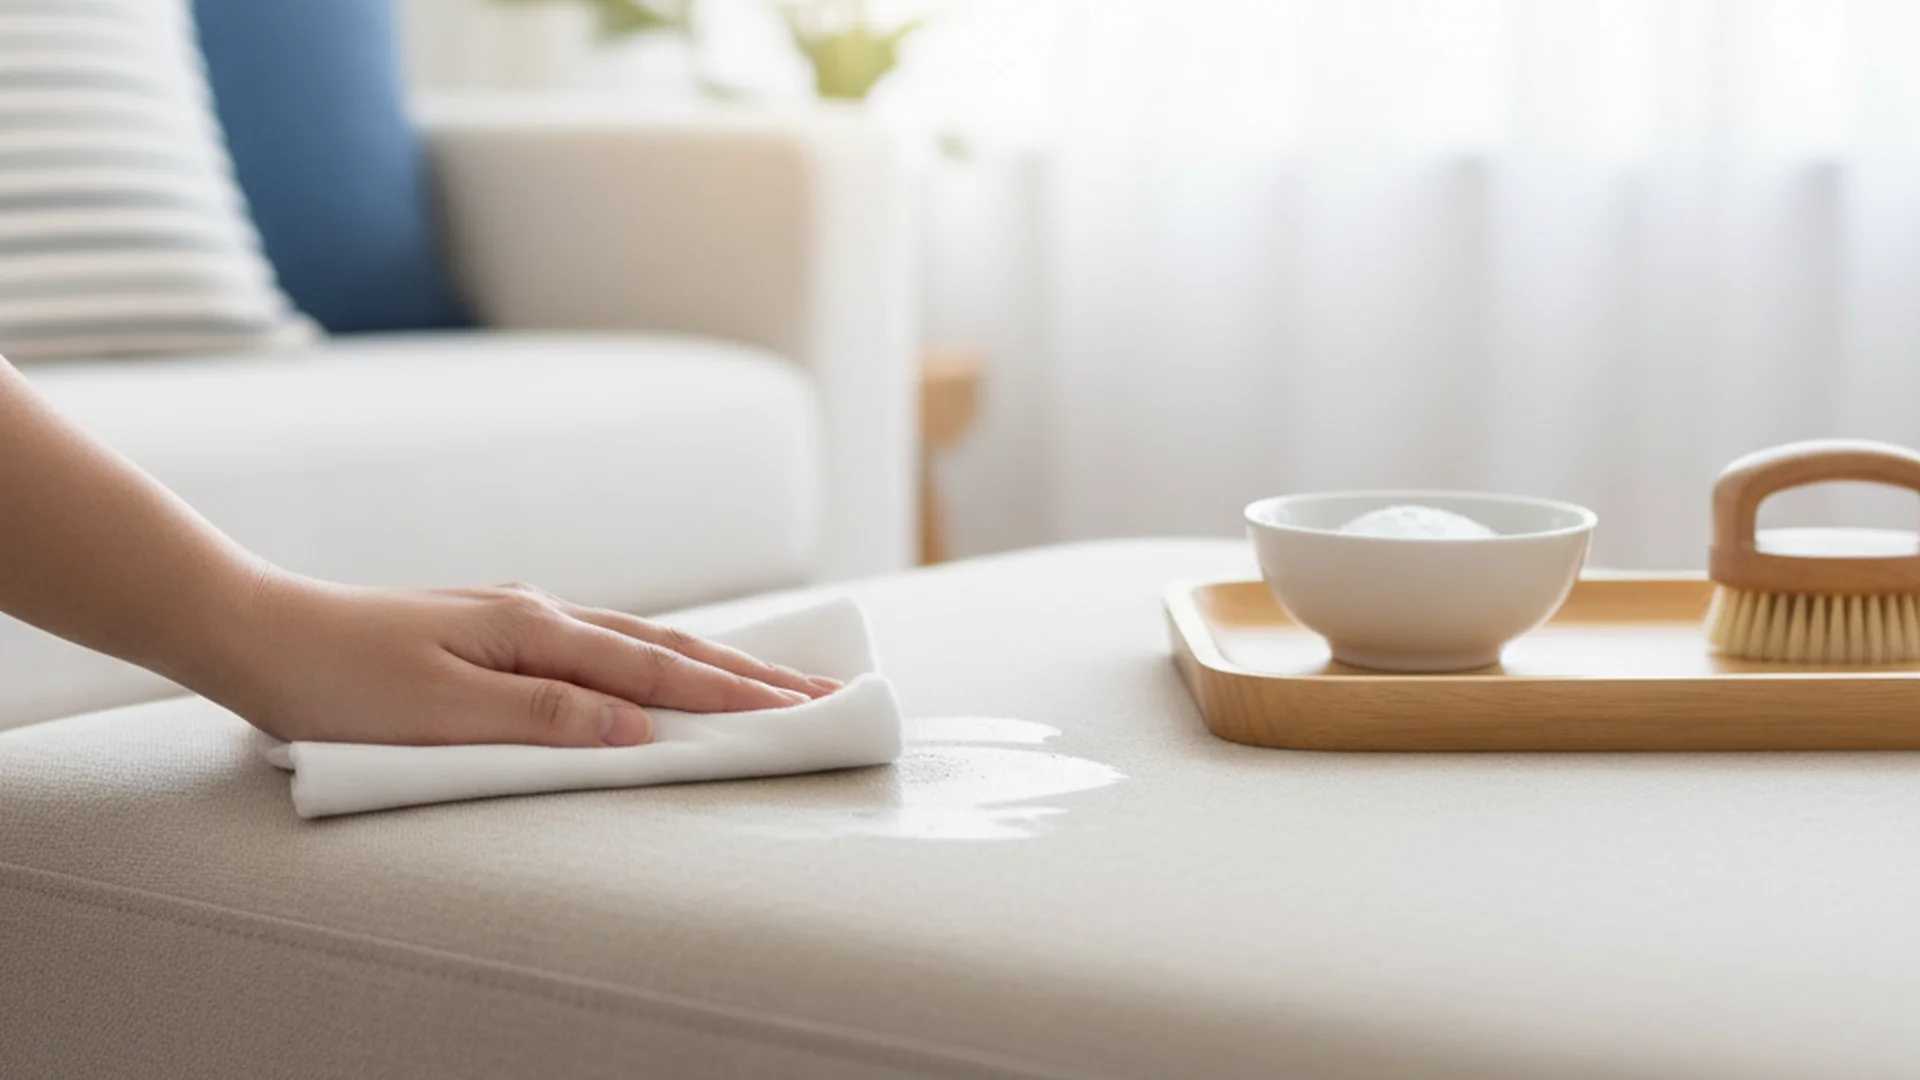
The "Barely Damp" Method
- Solution: Mix a few drops of pH-neutral, unscented dish soap with distilled water. (Distilled water is preferred as it lacks the minerals found in tap water that can leave white spots).
- Application: Dampen a microfiber cloth and wring it out until it is nearly dry.
- Wipe: Gently wipe a small section following the wood grain.
- Dry: Immediately follow up with a dry cloth. Never let moisture sit on the surface.
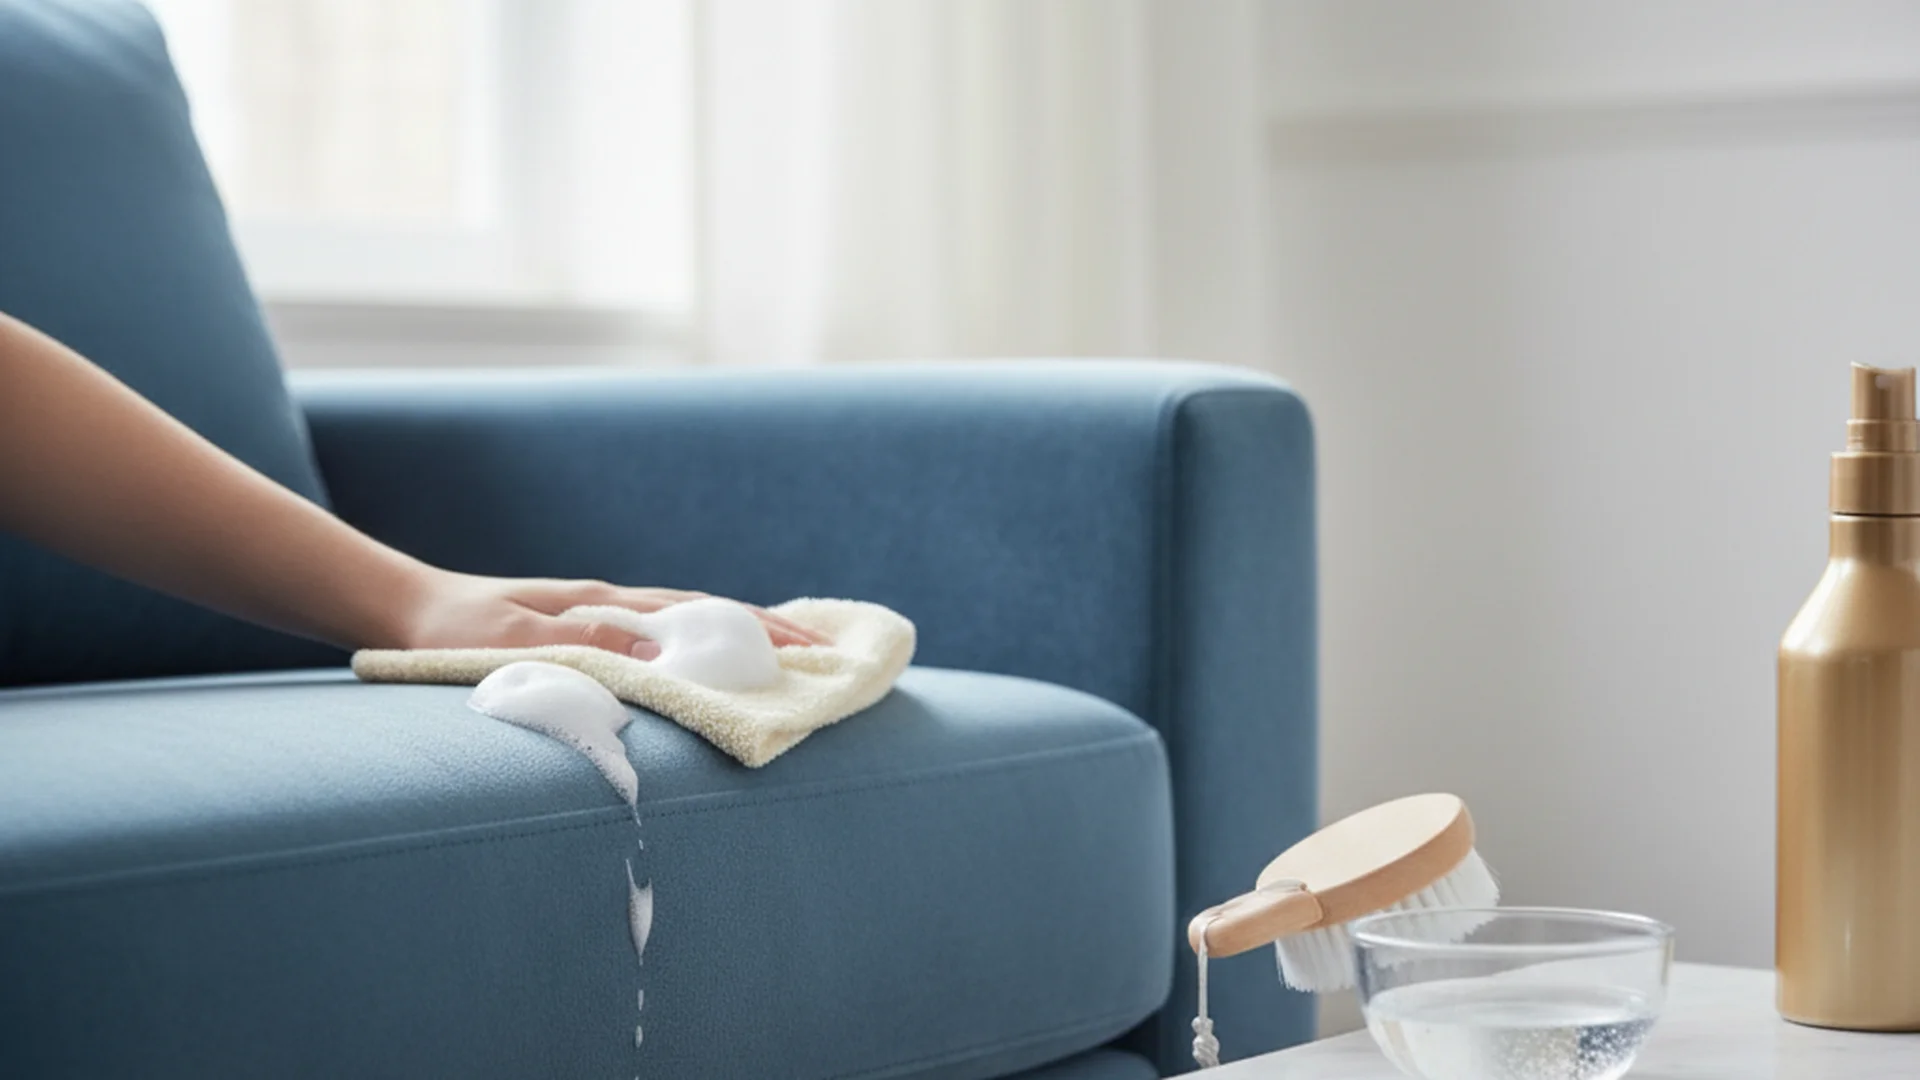
Removing Heavy Grease
For pieces with heavy wax buildup or kitchen grease, odorless mineral spirits are the professional’s choice. Mineral spirits dissolve wax and grease without damaging most underlying finishes like lacquer or shellac.
2026 Design Trends: The "Authentic Aging" Movement
As we look toward 2026, the "shabby chic" look of the 2010s has been replaced by "Authentic Aging." Interior designers are no longer asking for pieces to be refinished to look brand new. Instead, they want the "jewel-tone" luster of aged mahogany and walnut.
- Darker Timbers: After years of light oak, walnut and burl woods are trending. These woods thrive when cleaned gently and finished with high-quality waxes that highlight their deep, natural colors.
- AI-Assisted Preservation: Modern collectors are now using mobile apps to scan wood grains. These AI tools can often identify the wood species and suggest the safest cleaning products based on the era of the piece.
Common Mistakes to Avoid
Even with the best intentions, it is easy to damage an antique if you follow outdated advice.
- Using Vinegar: Many DIY guides suggest vinegar and water. This is often too acidic for delicate shellac and can eat through the finish over time.
- "Feeding" the Wood: You may have heard that wood needs to be "fed" with oils. This is a myth. Finished wood is sealed; oils just sit on the surface, turn rancid, and attract more dust.
- Modern Aerosols: Products like Pledge contain silicone. Once silicone touches an antique, it creates a "smear" that is nearly impossible to remove and can prevent future professional restoration.
- Direct Sunlight: UV rays cause the finish to "alligator" and the wood to fade. In 2026, many collectors are installing UV-filtering window films to protect their investments.
Real-World Examples
Example 1: The 19th-Century Mahogany Sideboard
A client found a mahogany sideboard covered in a "cloudy" white film. Instead of sanding it, we used the "barely damp" method with distilled water, followed by a thin coat of Renaissance Wax. The "cloudiness" (caused by surface moisture trapped in old wax) disappeared, saving the $4,000 value of the original finish.
Example 2: The Mid-Century Modern Walnut Table
Mid-Century pieces often have thinner finishes. Using mineral spirits to remove decades of cigarette smoke residue revealed the vibrant walnut grain underneath without the need for a full, expensive strip-and-refinish job.
Example 3: The 18th-Century Oak Chest
For very old pieces, we used a goat-hair brush to remove dust from hand-carved details. Because the wood was exceptionally dry, we focused on stabilizing the room's humidity rather than applying heavy oils, preventing further cracks in the side panels.
Frequently Asked Questions
Can I use vinegar and water to clean my antiques?
How do I know if my furniture has a shellac, lacquer, or oil finish?
Is it okay to use modern aerosol polishes?
How often should I wax my antique furniture?
Conclusion
Cleaning antique furniture is an act of preservation. By using the "Museum Standard"—dusting with soft brushes, using pH-neutral cleaners, and applying high-quality microcrystalline wax—you ensure that these pieces remain beautiful for generations to come. As the "Slow Decor" movement continues to grow through 2026, your well-maintained antiques will not only hold their value but serve as the soulful centerpiece of your home.
Want to Preserve Your Heirlooms?
Download our full antique care checklist to keep your furniture in museum-quality condition.
Download the Guide