Key Takeaways
- Hand-washing is always superior to dishwashing for vacuum seal longevity.
- Never use bleach or abrasive tools on 18/8 food-grade stainless steel.
- Air drying with the lid off is the most important step to prevent mold.
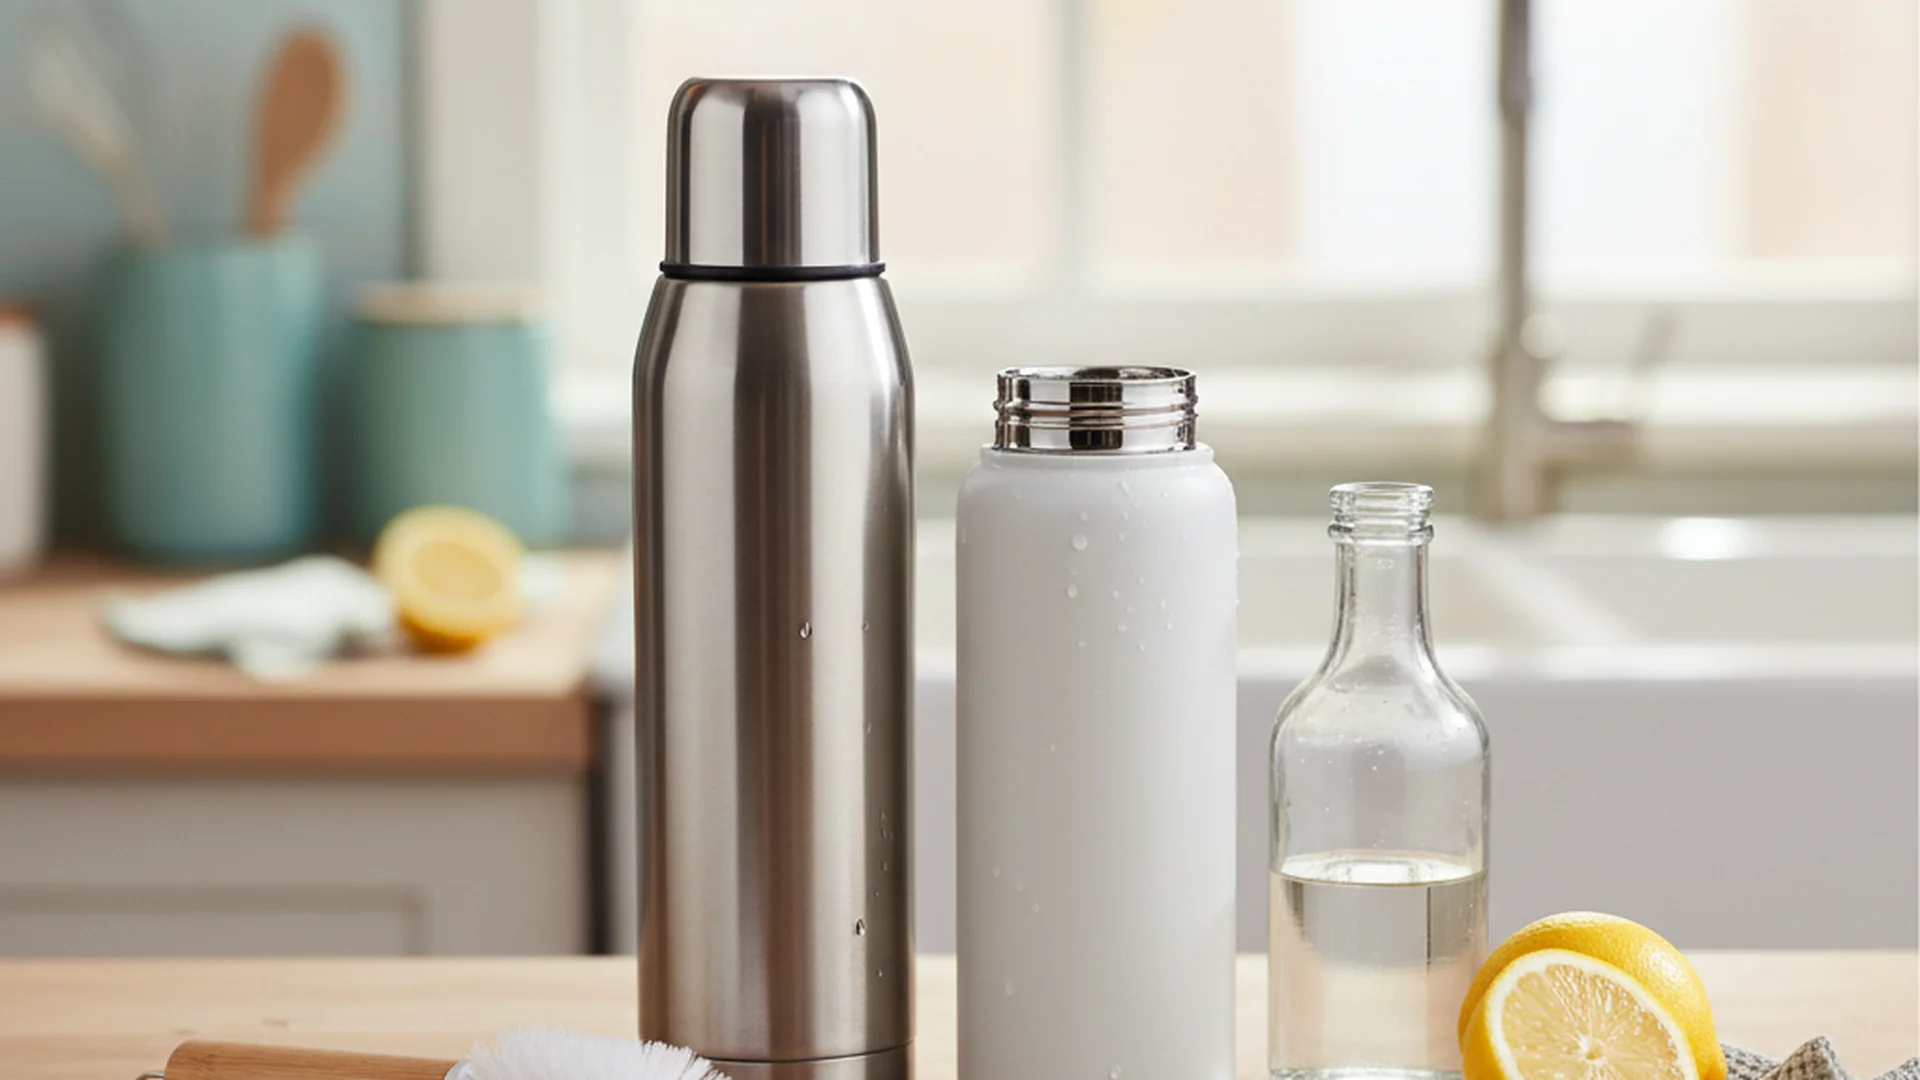
In an era where sustainability is no longer a choice but a lifestyle, the reusable vacuum flask has become an essential companion for the modern commuter, hiker, and office worker. As of 2025, over 60% of U.S. adults use reusable bottles and thermoses daily. However, while we focus on the convenience of carrying our favorite beverages, many users overlook the critical hygiene requirements of these containers. Learning how to clean thermos bottles correctly is not just about removing coffee stains; it is about protecting the integrity of the vacuum seal and preventing the growth of harmful bacteria and biofilms.
Whether you are dealing with a lingering "old coffee" smell or stubborn tea tannins, finding the best way clean thermos interiors doesn't require expensive chemicals. In fact, the most effective methods to clean thermos at home involve simple pantry staples and a bit of technique.
Why Proper Thermos Maintenance Matters
Most high-quality thermoses today are constructed from 18/8 food-grade stainless steel. This material consists of 18% chromium and 8% nickel, making it exceptionally resistant to rust and odors. However, this durability is not invincible. The "vacuum" in your thermos is a physical gap between two stainless steel walls; if this seal is compromised by high heat or corrosive chemicals, your thermos loses its ability to keep drinks hot or cold.
Furthermore, neglected thermoses are prime real estate for biofilms. These are thin, slimy layers of bacteria that adhere to the interior surfaces, often in hard-to-reach corners. Experts recommend a thorough cleaning at least once every 24 hours if the bottle is used daily to prevent these microbial colonies from forming.
The Daily Cleaning Routine
For your everyday maintenance, consistency is more important than intensity. You don't need a "deep clean" every night, but you do need to be thorough with the components that touch your mouth and the liquid.
Step 1: Complete Disassembly
The biggest mistake people make is cleaning the thermos while the lid is still assembled. Most modern lids, especially those with "click" or "sip" mechanisms, contain hidden chambers. Remove the lid and pull out any removable rubber gaskets or silicone seals.
Step 2: The Soapy Soak
Use a mild, bio-based dish soap and warm water. Avoid "ultra-strength" degreasers that may contain harsh surfactants. Let the components soak for 5-10 minutes to loosen any fresh residue.
Step 3: Brush and Scrub
Use a soft-bristled bottle brush. The goal is to reach the very bottom corners where sugars and creamers tend to settle. Avoid using metal scrubbers, as these create micro-scratches in the stainless steel.
Step 4: The Critical Air Dry
This is perhaps the most important step in the process. Never store your thermos with the lid on if it is even slightly damp.
Deep Cleaning Methods for Stubborn Stains
Sometimes, a standard wash isn't enough. If you’ve left coffee in your flask over the weekend or live in an area with hard water, you might notice scaling or dark rings. Here are three expert-vetted ways to clean thermos at home.
Method 1: The Fizz Method (Vinegar & Baking Soda)
This is the gold standard for neutralizing odors and lifting light stains.
- Pour ½ cup of distilled white vinegar into the thermos.
- Add 1 tablespoon of baking soda.
- Watch the chemical reaction foam up—this "fizz" helps physically lift particles.
- Fill the rest with warm (not boiling) water.
- Let it sit for 1–2 hours before rinsing.
Method 2: The Denture Tablet Trick
Denture-cleaning tablets are secret weapons for thermos owners. They are designed to remove organic stains (like tea and coffee tannins) from porcelain and acrylic without abrasive scrubbing.
| Step | Action | Why it works |
|---|---|---|
| 1 | Fill thermos with warm water | Preps the surface |
| 2 | Drop in 1-2 tablets | Effervescent action breaks down tannins |
| 3 | Wait 30 minutes | Allows enzymes to work |
| 4 | Rinse thoroughly | Removes all residue |
Method 3: Ice and Salt (The Abrasive Shake)
If you have physical "grime" or mineral buildup that won't budge, you need a gentle abrasive. Add a handful of crushed ice and 2 tablespoons of coarse sea salt to the dry thermos. Close the lid and shake vigorously for 2 minutes. The salt acts like sandpaper, but because it dissolves in water, it won't leave permanent scratches.
Common Mistakes to Avoid
Even with the best intentions, you can accidentally ruin your thermos if you use the wrong tools or techniques.
- The "Bleach" Mistake: Never use chlorine or bleach. Chlorine causes a chemical reaction called pitting in stainless steel. This creates tiny holes that eventually lead to rust and a permanent metallic taste.
- Boiling Water Myth: While we think boiling water "sanitizes," water above 212°F (100°C) can actually expand the air between the vacuum walls too rapidly, potentially warping the bottle or damaging the seal. Use "hot" tap water instead.
- Dishwasher Damage: Even if your brand says "dishwasher safe," the high heat cycles and abrasive detergents can fade the exterior powder coating and degrade the vacuum seal over time. Hand-washing is the best way clean thermos units to ensure they last for decades.
Real-World Examples
- The Office Coffee Lover: Sarah noticed her Stanley thermos always smelled like stale latte. She realized she wasn't removing the rubber gasket. After a 50/50 vinegar soak for the gasket and a "Fizz Method" soak for the body, the smell was gone.
- The Hiker's Limescale: Mark used his thermos for tea during mountain hikes. The hard water left white, chalky deposits. A simple soak with warm vinegar (no baking soda needed for scale) dissolved the calcium in under an hour.
- The Forgotten Protein Shake: Jason left a smoothie in his thermos for three days in a hot car. The smell was unbearable. He used the Denture Tablet method twice, followed by an overnight air-dry in direct sunlight (UV rays help kill lingering bacteria).
2025-2026 Industry Trends
The world of hydration is becoming "smarter." In 2025, we saw a massive surge in UV-C LED lids. Brands like LARQ have popularized caps that emit UV-C light to neutralize 99.9% of bacteria inside the bottle automatically every few hours.
Additionally, we are seeing a shift toward enzyme-based cleaning pods. These concentrated tabs are plastic-free and biodegradable, moving away from liquid soaps toward a more eco-conscious "drop-and-go" solution. Market trends even show a 13.6% growth in thermoses with Bluetooth connectivity that reminds users when it’s time for a deep-clean cycle based on how many times the lid has been opened.
Frequently Asked Questions
Can I put my thermos in the dishwasher?
How do I remove the "old coffee" smell?
Is it safe to use boiling water for cleaning?
How often should I deep clean my thermos?
What should I do if my thermos starts to rust?
Conclusion
Mastering how to clean thermos bottles is a small investment of time that yields significant rewards. Not only do you ensure that your morning coffee tastes exactly as it should, but you also prevent the build-up of bacteria that can lead to illness. By avoiding harsh chemicals like bleach and sticking to gentle, effective methods like the "Fizz Method" or denture tablets, you can extend the life of your 18/8 stainless steel flask for years to come.