Key Takeaways
- Your keyboard is likely 400 times dirtier than a toilet seat.
- Use 70% isopropyl alcohol for effective disinfection without damage.
- Deep clean your peripherals every 1-3 months to extend their lifespan.
Have you ever considered that your workstation might be the grimiest spot in your home? Knowing how to clean mouse keyboard setups isn't just about aesthetics; it’s a matter of essential hygiene. Recent studies from the University of Arizona have revealed a shocking truth: the average office desktop harbors 400 times more bacteria than a toilet seat. Specifically, keyboards host approximately 3,295 germs per square inch. Whether you are a remote professional or a hardcore gamer, learning the best way clean mouse keyboard hardware is vital for both your health and your equipment’s longevity.
The Hidden Dangers Under Your Fingertips
Before we dive into the "how-to," we must understand the "why." Research from Northwestern Memorial Hospital indicates that deadly drug-resistant bacteria like MRSA and VRE can survive on a keyboard for up to 24 hours. Furthermore, with 57% of workers admitting to eating lunch at their desks, our peripherals become a breeding ground for microbes. Crumbs falling between keys provide a constant food source for bacterial colonies.
Regularly choosing to clean mouse keyboard at home doesn't just prevent illness; it protects your investment. A high-end mechanical keyboard is rated for 50–100 million keystrokes, but debris trapped in the switch mechanism can lead to "key chatter" or total switch failure long before that limit is reached.
Essential Tools for the Job
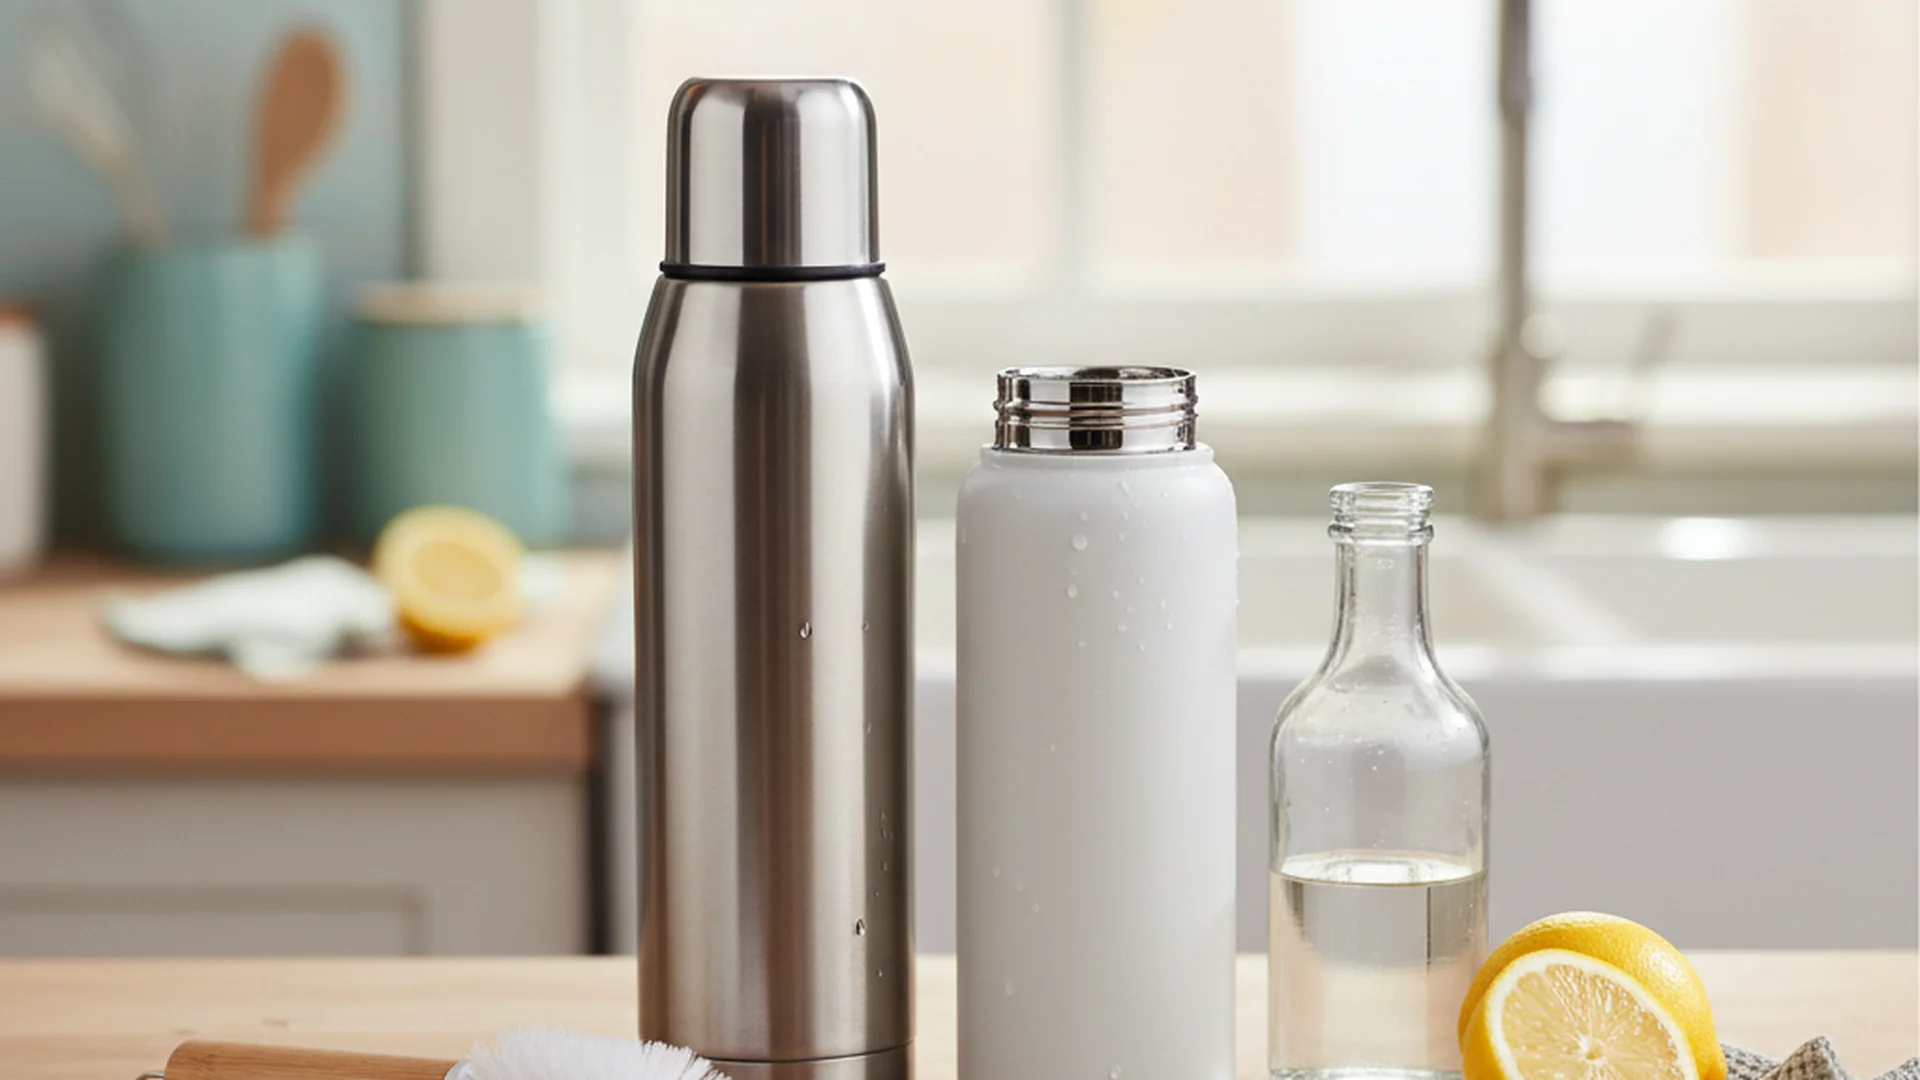
To achieve a professional-level clean, you need the right kit. In 2025, specialized "7-in-1" or "10-in-1" cleaning kits have become the gold standard for tech enthusiasts.
| Tool | Purpose |
|---|---|
| 70% Isopropyl Alcohol | Disinfects and evaporates quickly |
| Microfiber Cloths | Lint-free surface wiping |
| Compressed Air / Electric Duster | Dislodging deep-seated debris |
| Keycap Puller | Safely removing keys for deep cleaning |
| Cleaning Gel (Slime) | Grabbing surface dust in crevices |
| Soft-bristled Brush | Agitating dust in tight corners |
The Quick Clean: Your Weekly Routine
You don't always need to dismantle your desk to maintain a hygienic environment. For those looking for the best way clean mouse keyboard surfaces during a busy work week, follow this rapid protocol.
Step 1: Power Down
Always unplug your keyboard and mouse or remove their batteries. This prevents accidental key commands and protects the internal circuitry from short circuits.
Step 2: The Shake and Blast
Turn your keyboard upside down over a trash can and give it a gentle shake. Follow this by using compressed air at a 45-degree angle. This removes the "top layer" of crumbs and hair that accumulate daily.
Step 3: Surface Disinfection
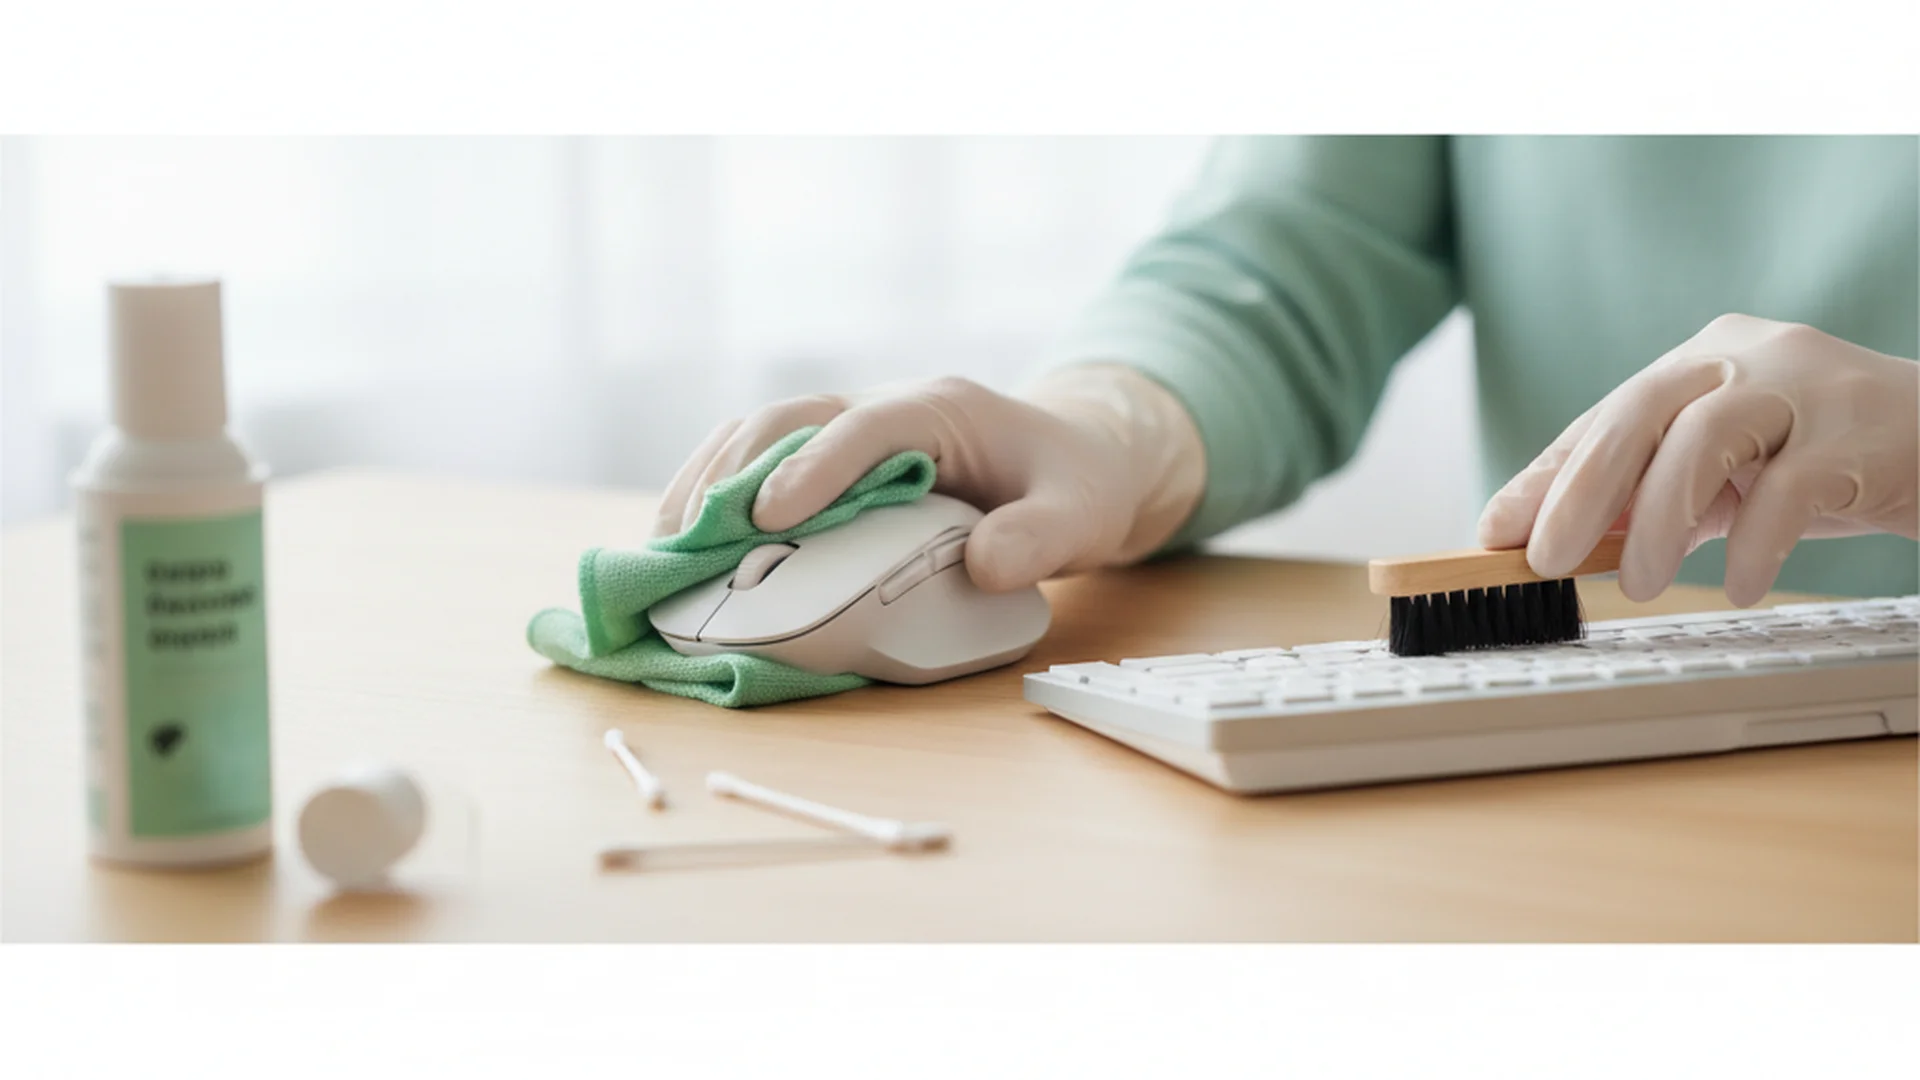
Moisten a microfiber cloth with 70% isopropyl alcohol. Wipe down the keycaps and the entire body of the mouse.
Deep Cleaning Your Keyboard: A Step-by-Step Guide
Every 1–3 months, your keyboard requires more than a surface wipe. The process differs slightly depending on whether you have a mechanical or membrane board.
Phase 1: Keycap Removal (Mechanical Only)
If you have a mechanical keyboard, use your keycap puller to gently remove the caps.
Phase 2: The Soaking Method
Place your plastic keycaps in a bowl of warm water mixed with a few drops of mild dish soap. Let them soak for 30 minutes. This breaks down the skin oils (sebum) and sweat that build up on the plastic.
Phase 3: Scrubbing the Baseplate
While the keys soak, use a soft brush and compressed air to clean the exposed baseplate of the keyboard. If there is stubborn grime, use a Q-tip lightly dipped in isopropyl alcohol to clean around the switches.
Phase 4: Reassembly
Ensure every keycap is 100% dry before snapping them back onto the switches. Any trapped moisture can seep into the switch housing and cause permanent damage.
The Mouse Protocol: Sensor and Scroll Wheel Care
The mouse is often the most neglected part of a desk setup, yet it carries about 1,676 germs per square inch.
Cleaning the Sensor
The optical sensor is the "eye" of your mouse. If your cursor is jumping or stuttering, dust in the sensor hole is likely the culprit. Use a dry cotton swab to gently wipe the sensor lens.
Dealing with "Scroll Wheel Gunk"
Over time, skin cells and oils mix with dust to create a sticky residue on the scroll wheel. Use a toothpick to gently scrape out the debris from the edges of the wheel, then wipe it down with a dampened microfiber cloth.
Replacing Mouse Feet
If you find your mouse isn't gliding smoothly even after cleaning, check the "skates" (the pads on the bottom). In 2026, many users are opting for after-market PTFE or glass skates to restore that "out-of-the-box" glide.
2025–2026 Trends in Peripheral Maintenance
The world of desk hygiene has evolved. Here are the latest trends you should know about:
- Antimicrobial Coatings: Many modern "work-from-home" peripherals now come with silver-ion or copper-infused coatings that actively inhibit bacterial growth between cleanings.
- UV-C Sanitizer Boxes: For a water-free way to kill 99.9% of pathogens, portable UV-C light boxes are becoming popular. You simply place your mouse inside for 60 seconds.
- Eco-Friendly "Slime": Biodegradable cleaning gels, often lemon-scented, have replaced aerosol cans for many users as a sustainable way to "grab" dust.
- Data-Led Cleaning: Some high-end offices now use IoT sensors to track how many hours a desk has been used, triggering an automated alert for a deep clean.
Common Mistakes to Avoid
- The Dishwasher Myth: You may have heard that you can put a keyboard in the dishwasher. Fact: Unless it is specifically labeled "Dishwasher Safe" (common in medical models), the heat and minerals in tap water will likely corrode the circuit board or warp the plastic.
- The Windex/Bleach Error: Ammonia and bleach can strip protective coatings from keys and eventually dissolve certain plastics. Stick to 70% IPA.
- Using Paper Towels: Paper towels are abrasive and can leave behind lint or even tiny scratches on the shiny finish of modern mice.
- Banging the Keyboard: Tapping a keyboard against the desk to dislodge crumbs can damage internal soldering. Always use compressed air instead.
Real-World Examples
- The "Home Office" Scenario: Sarah, a graphic designer, noticed her "E" key was sticking. By performing a deep clean and removing the keycap, she found a stray staple and coffee residue. A quick soak in soapy water and a brush-down of the baseplate saved her from buying a new $150 keyboard.
- The "Gamer" Setup: Mark noticed his gaming mouse felt "sluggish." After cleaning the sensor and replacing the worn-out PTFE feet (skates), his tracking accuracy returned to professional levels.
- The "Corporate" Environment: An office manager in London implemented a "Friday Wipe-Down" policy using 70% IPA wipes. Within three months, the team reported a 15% decrease in seasonal sick days.
Frequently Asked Questions
How often should I clean my mouse and keyboard?
Can I clean my keyboard without taking the keys off?
Is it safe to use water on my keyboard?
Can I use a vacuum cleaner?
Conclusion
Mastering how to clean mouse keyboard peripherals is a fundamental skill for anyone living in the digital age. By following the best way clean mouse keyboard routines—from weekly wipes to quarterly deep cleans—you ensure a healthier workspace and a longer life for your favorite tech. Remember, a clean desk isn't just about appearances; it's about performance, hygiene, and professional maintenance.